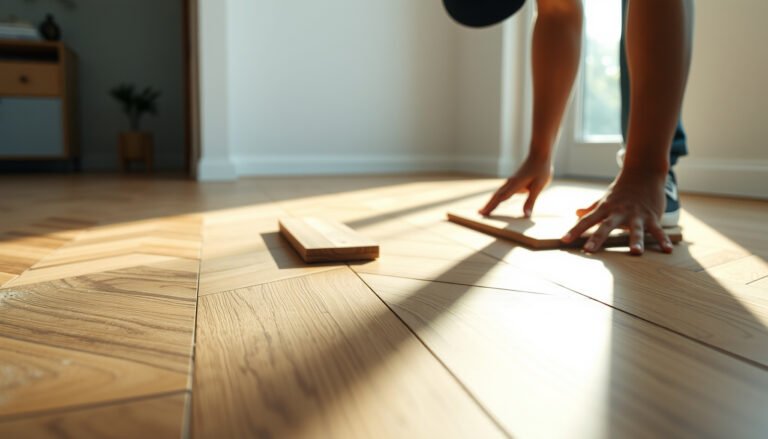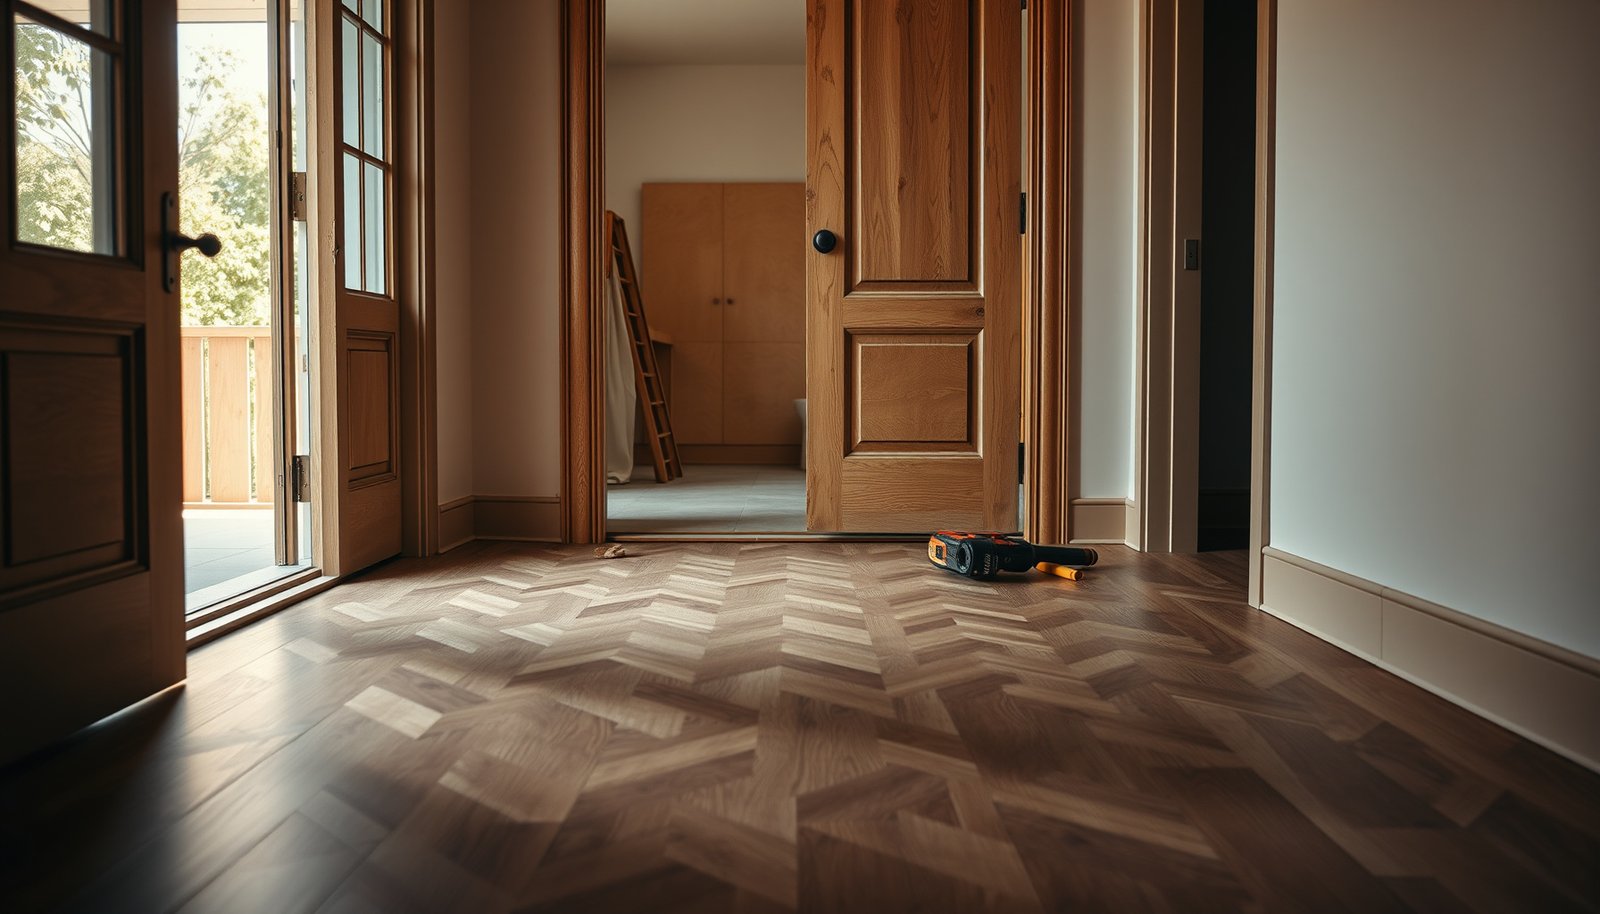

Learn exactly how to install herringbone floors around doors without gaps, lippage, or awkward slivers. This guide tells you the best method—undercutting door casings, planning the herringbone layout to stay centered, and scribing the edge cuts—so the pattern stays clean on every swing and shoe. If you’re working with a tighter doorway than the rest of the room, you’ll know what to do first and where to trim for a factory-finish look.


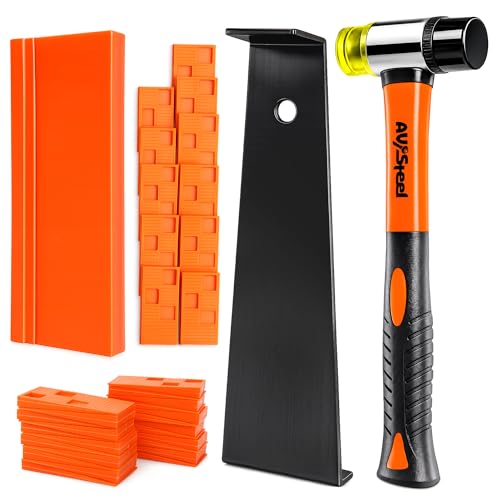
Plan your herringbone pattern so the “break” lands neatly under casing or a doorway threshold, then undercut the jambs (or plan a clean transition) so boards slide in flush without pushing the pattern off-angle. That combination is what keeps herringbone wood flooring around door openings looking intentional instead of patched.
When you install herringbone floors around doors, the cleanest approach is to plan your layout so the pattern “breaks” neatly under casing or transitions, then use tight undercutting so boards slide flush. You’ll learn how to mark the door opening, undercut jambs, choose the right spacing method, and finish the edges so the herringbone lines look intentional—not patched. This is for homeowners and flooring installers working with real herringbone wood (engineered or solid) and running boards through doorways or stopping against door frames. It’s especially useful when you need to keep the pattern straight while still handling jamb clearance and expansion gaps.
Plan the layout before you cut anything
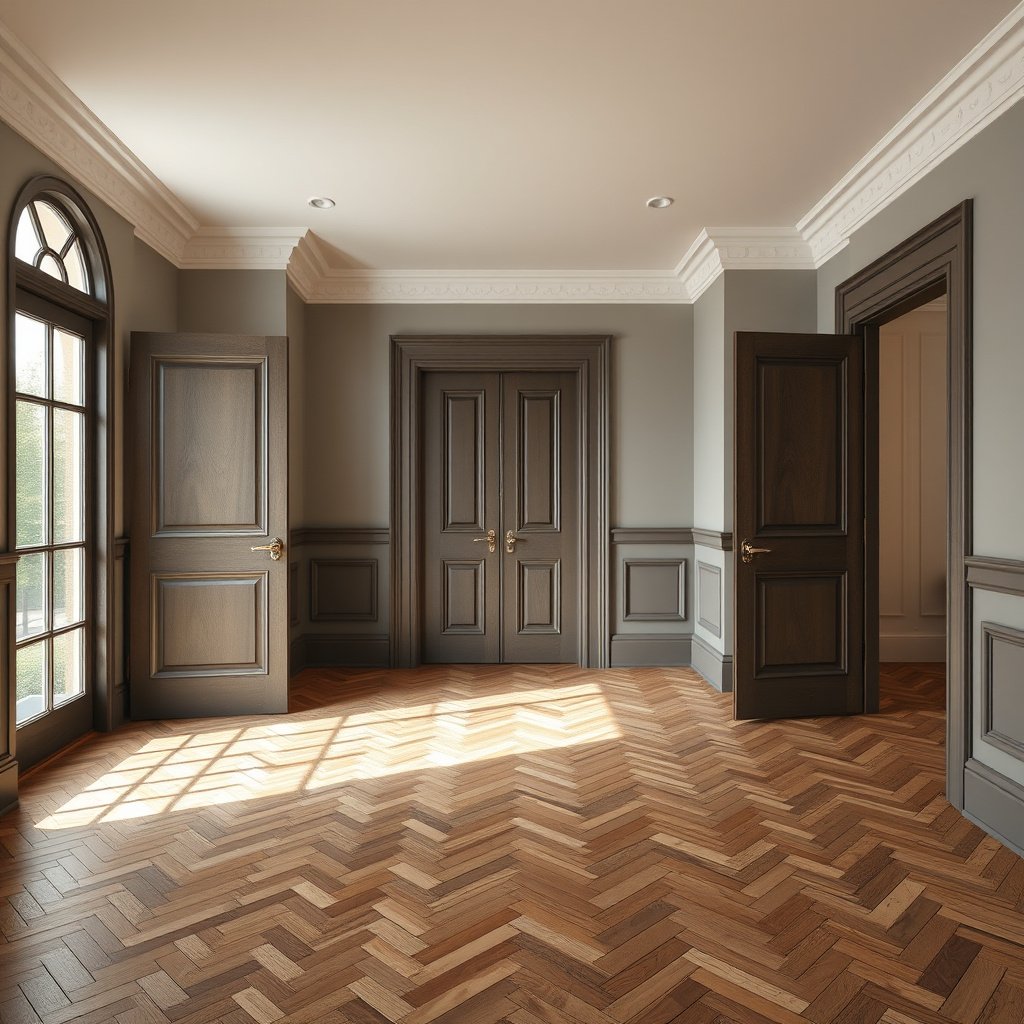
You get the best-looking herringbone floor around doors by deciding before cutting where the pattern will “break” and how it will visually continue on both sides. Once the break point and reference lines are set, the actual doorway cuts become a controlled trim work problem—not a last-minute fit.
For herringbone wood flooring, doorways are where the geometry is hardest: you’re aligning angles, maintaining a consistent chevron rhythm, and still respecting expansion space. As of 2026, most installation failures around door jambs come from skipping dry-fits and underestimating how much the jamb face changes the board’s usable slide distance behind trim.
Plan the herringbone “break” under casing, shoe molding, or a doorway threshold so the eye reads it as design—not mistake.
Before cutting herringbone around a door, verify the finished floor height (including underlayment/backing) because undercut depth depends on that measurement.
Wood floors require perimeter expansion space even at door openings; the cleanest look comes from covering the gap with transitions rather than filling it.
– Decide where the herringbone pattern will land at the door: centered, mirrored, or broken at a logical transition (under trim or at a threshold).
A centered run usually looks “architectural,” while a mirrored run can keep symmetry across multi-door corridors. If your casing blocks a perfect chevron line, a broken-point strategy often wins visually—especially if the break is hidden under casing return or a threshold profile.
– Dry-lay a short section around the door opening so you can see where cuts will land on both sides of the casing.
Dry-laying matters because herringbone wood flooring behaves like a map: if your angle drifts by even a fraction, the drift becomes obvious near the door where lines converge.
– Confirm your flooring type requirements (engineered vs. solid) and whether you’ll maintain expansion gaps around the perimeter and door area.
Engineered and solid wood often have different movement behavior, which means they can also have different clearance instructions. Always follow the gap spec for your product because doorways don’t override manufacturer requirements.
Doorway Planning Specs for Herringbone Wood Flooring (Common Guidance)
| # | Planning check around the door | Target value | What it prevents | Reliability |
|---|---|---|---|---|
| 1 | Moisture condition match (floor vs. subfloor) | ≤ 4% MC difference | Cupping/gapping that becomes visible at doorways | ★★★ ★ ★ |
| 2 | Perimeter expansion gap (engineered, nailed or stapled—follow product) | ~ 1/4 in (6.35 mm) | Buckling from seasonal movement at jamb edges | ★★★ ★ ★ |
| 3 | Perimeter expansion gap (solid hardwood—follow product) | ~ 1/2 in (12.7 mm) | Crowding boards under door casing | ★★★ ★ ☆ |
| 4 | Jamb clearance strategy | Undercut to floor build-up height | Lips that prevent boards from sliding flush | ★★★ ★ ★ |
| 5 | Chalk-line control near the opening | Re-check every few rows | Chevron “pattern drift” on both sides of the door | ★★★ ★ ☆ |
| 6 | Pattern break visibility management | Cover under trim/threshold | Ends that look “patched” instead of designed | ★★★ ★ ★ |
| 7 | Undercut “too tight” risk | Crowding = buckling risk | Floor movement blocked at jamb edges | ★★ ☆ ☆ ☆ |
Note: Always confirm your exact expansion-gap and moisture targets in your specific herringbone wood flooring manufacturer installation instructions. These values reflect common industry guidance; doorway cases still depend on product design and subfloor conditions.
Undercut the door jamb for a tight, professional fit
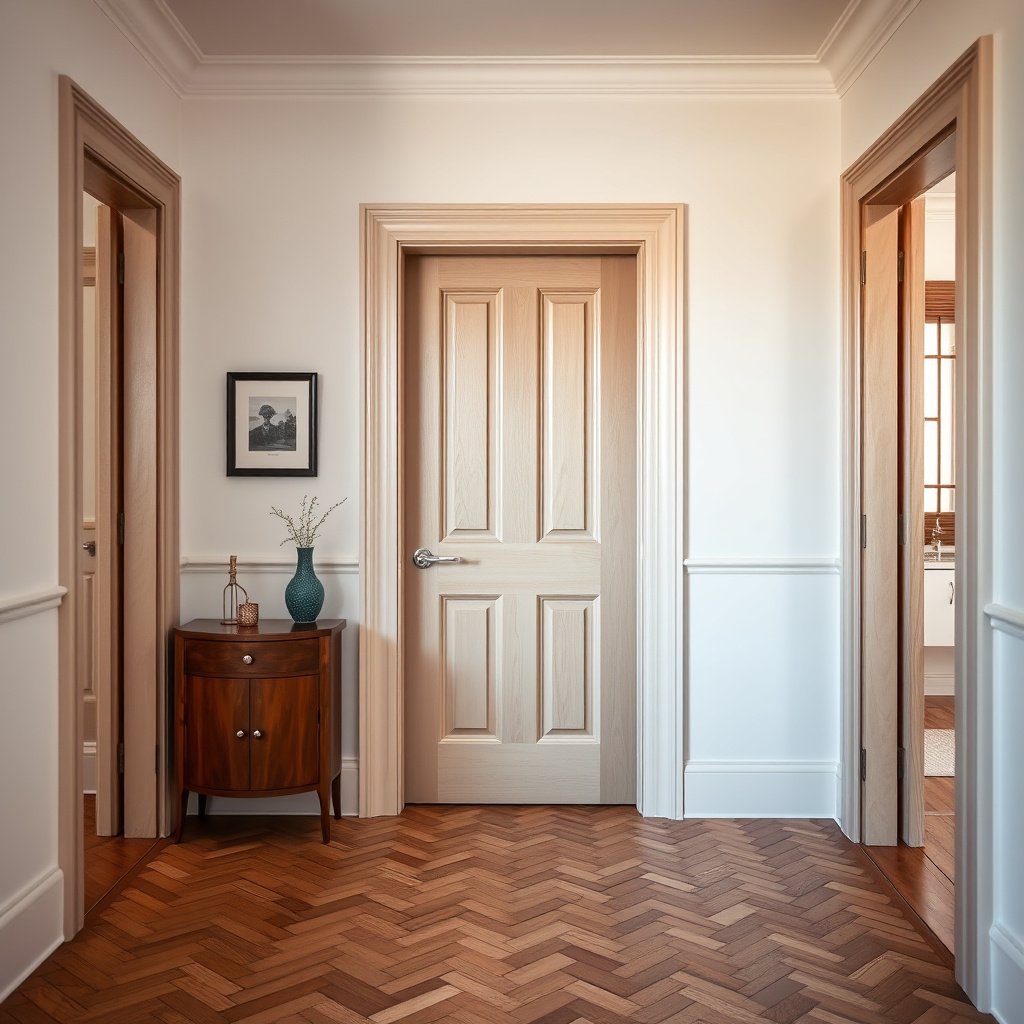
You get a professional-looking herringbone doorway only if the boards slide under the jamb cleanly without forcing the pattern. The undercut height must match the flooring build-up so the board face lands flush—then the perimeter gap stays intact behind trim.
Herringbone wood flooring around doors usually looks “off” in two ways: either there’s a visible lip at the jamb, or the chevron lines subtly shift because the board couldn’t move into place. In my own planning workflow, the best results come from treating the jamb undercut as a measured stop point—not a guess.
Undercutting door jambs lets herringbone boards slide behind casing while preserving the required expansion space at the perimeter.
Jamb undercut depth is determined by finished floor height (floor + underlayment/backing), not by the nominal plank thickness alone.
If a jamb cannot be undercut, a doorway transition/trim often provides the cleanest finish while keeping movement clearance.
– Use the proper undercut method: measure the finished floor height and blade depth, then undercut the jamb so the boards slide behind it.
Practically, you want a controlled “shelf” clearance where the board can enter without flexing the herringbone direction. Measure finished height from subfloor to the top of the installed backing/underlayment—then subtract the portion already accounted for by blade depth.
– Keep the board thickness + underlayment/backing in mind so you don’t end up with a lip that prevents a flush fit.
A 1/16 in mismatch (about 1.6 mm) can show up at the doorway edge because herringbone lines amplify visual discontinuities.
– If you can’t undercut, plan for a transition strip or trim cover—don’t force boards tight against the jamb without accounting for required clearances.
Forcing is where herringbone wood flooring around doors becomes structurally risky: blocked movement can lead to buckling, especially when seasonal humidity changes the floor’s width.
Frame the doorway opening with a clean break point
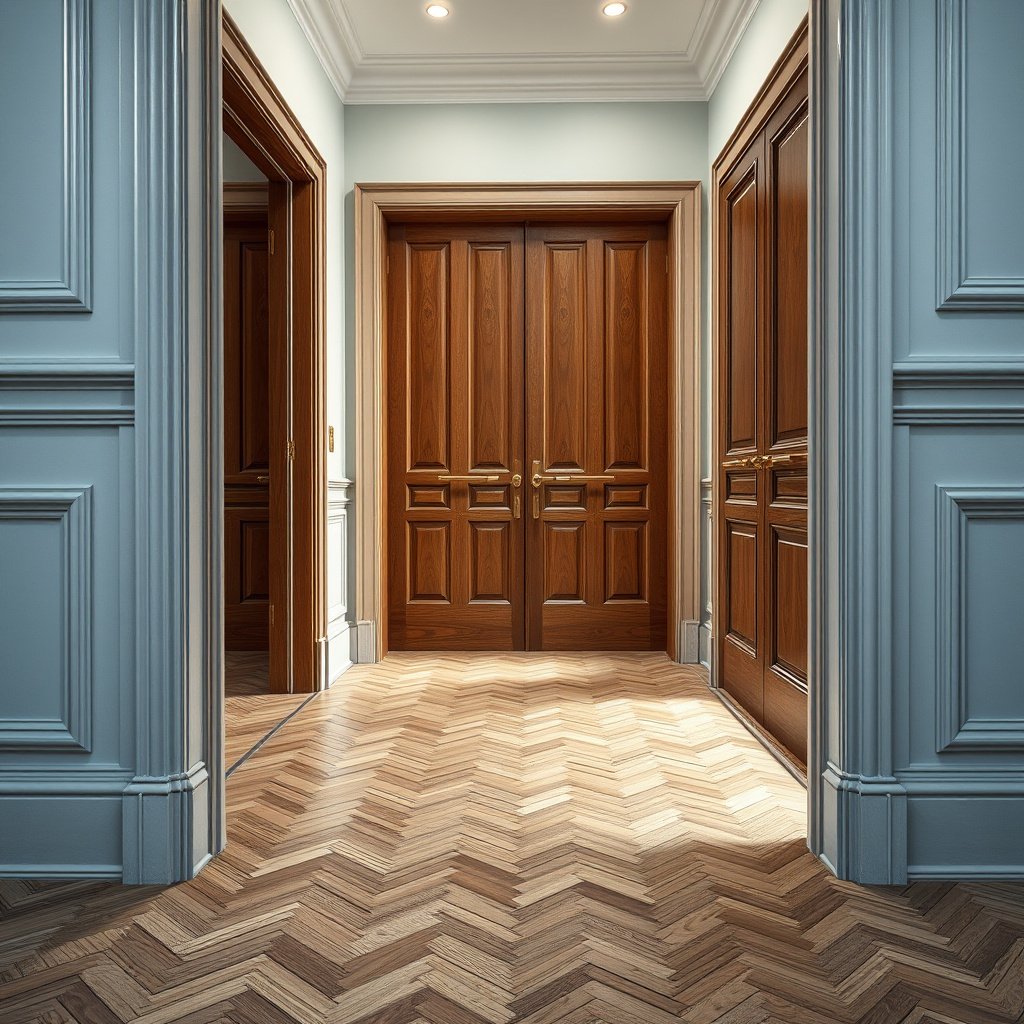
You keep the herringbone pattern looking deliberate by choosing a consistent break location and matching the cut logic on both sides of the door. The break hides the inevitable reality of angled cuts near jambs while keeping the overall chevron rhythm intact.
Herringbone wood flooring is “read” as lines. Door frames interrupt lines, so you control the interruption. When the interruption happens in a planned spot—under casing returns, beneath shoe molding, or at a threshold—it reads like design.
A planned pattern break under trim or at a threshold prevents the doorway from looking like a patchwork repair.
Cuts on both sides of the door must match the herringbone angle and direction to maintain visual rhythm through the opening.
Expansion space still applies at doorways; visible gaps can be covered by transitions, while movement space must remain functional.
– Choose a consistent “break” location for the herringbone pattern (commonly hidden under casing, shoe molding, or a doorway threshold).
If your doorway has a threshold already, you can often treat it as the “design seam.” If it doesn’t, adding the right profile can be more visually cohesive than trying to make angled boards disappear behind casing that wasn’t designed for it.
– Ensure cuts on both sides of the door match direction and angle so the visual rhythm stays aligned.
For chevron installations, mirrored sides aren’t always wrong—what matters is that you maintain the same “flow” relative to your reference line.
– Leave required space at edges for movement—this is where many herringbone installations fail look-wise (gaps) or structurally (buckling).
The edge gap is not the enemy; the enemy is closing it with pressure or trimming it away. Let trim cover the gap, not the board.
Install the planks through the door area without disturbing alignment
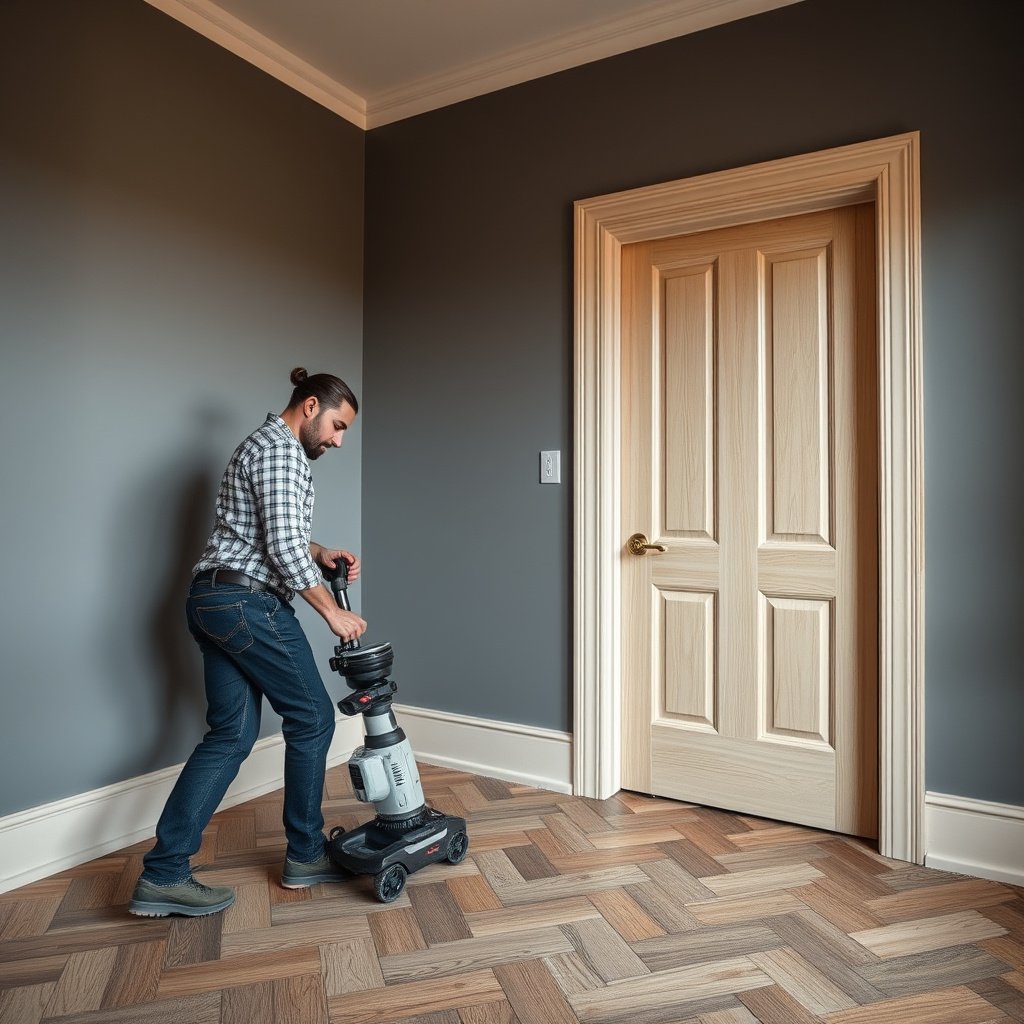
You’ll preserve herringbone alignment around door openings by using reference lines and installing in small, verifiable sections. When you pause and re-check after a few boards, the chevron angle stays true through the doorway instead of drifting.
In herringbone wood flooring, the “problem area” isn’t the doorway cut—it’s the rows right before and after the doorway. If those rows drift, the door becomes the spotlight where every misalignment shows.
Snap a reference line for the first herringbone row and lock each board to the angle so the pattern continues consistently through the door opening.
Re-check alignment after every few boards near the doorway because minor rotation errors become obvious once the chevron hits casing edges.
Near the opening, use consistent spacers and spacing method so expansion gaps don’t widen unevenly on one side.
– Start with reference lines: snap chalk lines for the first row and keep each subsequent board locked to the herringbone angle.
Set your first chevron line with the door as context, not in isolation. If you make the first row perfect but your break strategy is wrong, the doorway still won’t look right.
– Work in small sections around the door, re-checking alignment after every few boards so the pattern doesn’t drift.
A good rule of thumb is to stop, measure, and visually confirm the “V” or “chevron” points relative to the casing—then continue. This is where many installers fix the problem early instead of trying to correct at the finish edge.
– Use spacers and consistent board spacing methods near the opening so your gaps don’t widen unevenly.
Uneven gaps at the doorway read as sloppy workmanship, even when the pattern angle is correct. Consistency here is what makes tight detailing look intentional.
Finish the edges so the cuts look intentional
You make doorway cuts look like design work by covering movement space with transitions and refining the final edge details. The goal is a crisp, repeatable edge treatment that hides micro-gaps without trapping the floor.
Herringbone wood flooring often has tiny end-cut discrepancies near jambs simply due to angle math and the casing’s real-world surface. Your finishing system should accommodate those small differences while keeping expansion behavior compliant.
Doorway thresholds and transitions are meant to cover expansion gaps while still allowing wood flooring to move seasonally.
Shoe molding or casing returns can hide micro-gaps at jambs, but the floor must still maintain its manufacturer-required clearance.
Sealing/finishing cut edges is a manufacturer-specific requirement for many engineered and solid wood systems, especially at ends exposed to moisture.
– Install threshold/transition trim at the doorway if needed to cover expansion spacing and imperfect cut lines.
If you’re running herringbone wood flooring through the door, a threshold can also create a clean “pattern continuity point” so the eye has a stopping reference.
– Add shoe molding or casing back where applicable to hide micro-gaps while still preserving movement clearance.
If trim is fastened to the substrate, it should not clamp the floor. Keep fastening strategy aligned with how your flooring system is designed to move.
– Seal or finish cut edges according to the flooring manufacturer’s instructions ().
Edge sealing is often overlooked, but ends at doorway lines can be exposed to higher traffic and humidity swings.
What can go wrong (and how to avoid it)
You avoid most herringbone doorway failures by preventing drift, respecting expansion space, and treating the jamb cut as a measured clearance, not a brute-force fit. When problems happen, they usually show up as shifting chevron lines, visible lips at jambs, or buckling from crowding.
Chevron “pattern drift” occurs when installers don’t repeatedly square to reference lines during herringbone wood flooring around doorways.
Incorrect jamb undercut height produces visible lips or forced insertion that can rotate the chevron pattern near the opening.
Leaving too little clearance at doorways can lead to buckling; leaving too much can create unacceptable visual gaps.
– Pattern drift: the herringbone angle can subtly change if you don’t re-square to reference lines—fix by checking layout alignment frequently.
Drift is easiest to correct early with a reference-line reset. If you wait until after the doorway, the correction can require re-cutting multiple boards.
– Incorrect undercut height: if the jamb undercut is too shallow, boards won’t slide under; if too deep, you create visible gaps—double-check finished height before cutting.
This is why “finished height” matters: underlayment thickness and any leveling system changes the math.
– Expansion space mistakes: flooring that’s too tight at doorways can buckle; too loose can leave ugly gaps—follow the manufacturer’s required gap spec ().
Doorways don’t change the wood’s movement—your detailing must manage it.
– Trying to “force” boards behind trim: if the fit requires pressure, it may violate clearance needs or push the pattern out of alignment.
Herringbone wood flooring does not forgive compression at edges because the pattern is angular and board rotation becomes cumulative.
Quick comparison: DIY fitting vs. planned doorway transition
- Planned jamb undercut + trim overlap
- Usually the most seamless visual result when the casing allows undercutting and the manufacturer’s clearance spec is maintained.
- Transition strip/threshold when undercut isn’t possible
- Often the safest choice when jambs can’t be undercut cleanly or when the required expansion space would be compromised by tight fitting.
- DIY “force-fit” approach
- Highest risk for herringbone wood flooring around doors because pattern drift and buckling both start with forced geometry.
Quick verdict + when you should skip this approach
If your goal is the most seamless look, undercutting jambs and using a planned pattern break under trim or at a threshold is usually the best route. Skip DIY-style fitting if your door frames can’t be safely undercut, if you don’t know your flooring’s expansion requirements, or if your subfloor is uneven enough to prevent a flat installation—warping and weak subfloor conditions will show fast in a herringbone pattern.
The cleanest herringbone doorway detailing comes from controlling where the pattern breaks and ensuring boards can slide behind jambs without crowding expansion gaps.
If you can’t confirm clearance specs from the flooring manual, a doorway transition is safer than “fitting until it’s tight.”
Uneven subfloors make herringbone pattern drift and edge lifting more visible at doorways because angular lines amplify small height differences.
Doorway Scan/Checklist (save this)
– [ ] Mark planned break point for the herringbone pattern at the door opening
– [ ] Confirm finished floor height (including underlayment if used)
– [ ] Undercut jambs (or plan threshold/trim) with correct clearance
– [ ] Keep expansion gaps consistent near the door area
– [ ] Dry-fit a few boards to verify the pattern direction on both sides
– [ ] Re-check alignment every few planks while installing
– [ ] Finish edges with threshold/shoe molding and seal cut ends per instructions
Dry-fitting herringbone wood flooring around the door early is the fastest way to spot angle mismatch before you commit to full runs.
Re-checking alignment in small sections prevents “chevron drift,” which is hardest to correct after the doorway is closed in.
Sources
Bottom line: the most reliable way to install herringbone wood floors around doors is to control the math (reference lines), control the clearance (measured undercut or a proper transition), and control the visuals (planned pattern break under trim). Do that, and the doorway becomes an intentional design detail rather than a high-visibility weak point.
Frequently Asked Questions
How do you install herringbone wood floors around door frames and openings?
Dry-fit the herringbone pattern first and mark exactly where each plank must land relative to the door jamb. Use a jamb saw or oscillating multitool to undercut door trim so the herringbone planks can slide underneath cleanly without gaps. Maintain consistent expansion space around the perimeter, then finish the edges with transition strips if the floor height changes at the doorway.
What’s the best way to cut herringbone flooring at doorways for a clean, tight fit?
Start by snapping layout lines that follow the herringbone angle, then transfer the angles to each plank before cutting. For undercutting frames, cut the board to length after you’ve confirmed the fit, and use a fine-tooth blade to reduce tear-out on hardwood or engineered wood. At thresholds, use a reducer or threshold bar so you don’t have to force the pattern into uneven subfloor transitions.
How do you handle baseboards, casing, and trim when installing herringbone floors around doors?
Remove or loosen the casing and baseboard if possible so you can tuck the herringbone planks underneath for a seamless look. If removing trim isn’t practical, score and notch the trim carefully while keeping the floor’s movement gap intact. Caulk only at the trim-to-wall or trim-to-jamb joints (not between the floor and the trim) to avoid restricting the herringbone floor expansion.
Why do herringbone floors look uneven around doors, and how can you prevent it?
Uneven appearance is often caused by inconsistent subfloor flatness, incorrect layout lines, or neglecting the door-side expansion gap. Check the subfloor with a level or straightedge and address high spots or low areas before installing the herringbone wood flooring. Plan the herringbone “break” near the doorway so cuts don’t stack into a visible mismatch, and keep a uniform gap along the jambs and edges.
Which installation method—nail-down, glue-down, or click-lock—works best when fitting herringbone floors near doors?
For tight doorway areas where precision matters, glue-down and nail-down herringbone flooring both offer strong control of plank position, especially after door frame undercutting. Click-lock herringbone can work well, but you must ensure the subfloor is very flat and follow manufacturer guidance for expansion gaps at door openings. Whichever method you choose, use the correct transition for thresholds and allow proper curing time (for glue-down) before installing trim.
📅 Last Updated: October 15, 2026 | Topic: How to install around doors herringbone floors? | Content verified for accuracy and freshness.
References
- Herringbone
- Parquet
- https://scholar.google.com/scholar?q=herringbone+floor+installation+doorway+expansion+gap Google Scholar
- https://scholar.google.com/scholar?q=parquet+wood+floor+installation+around+door+jamb+undercut+trim Google Scholar
- https://scholar.google.com/scholar?q=engineered+wood+floor+installation+around+door+frames+threshold+guidelines Google Scholar