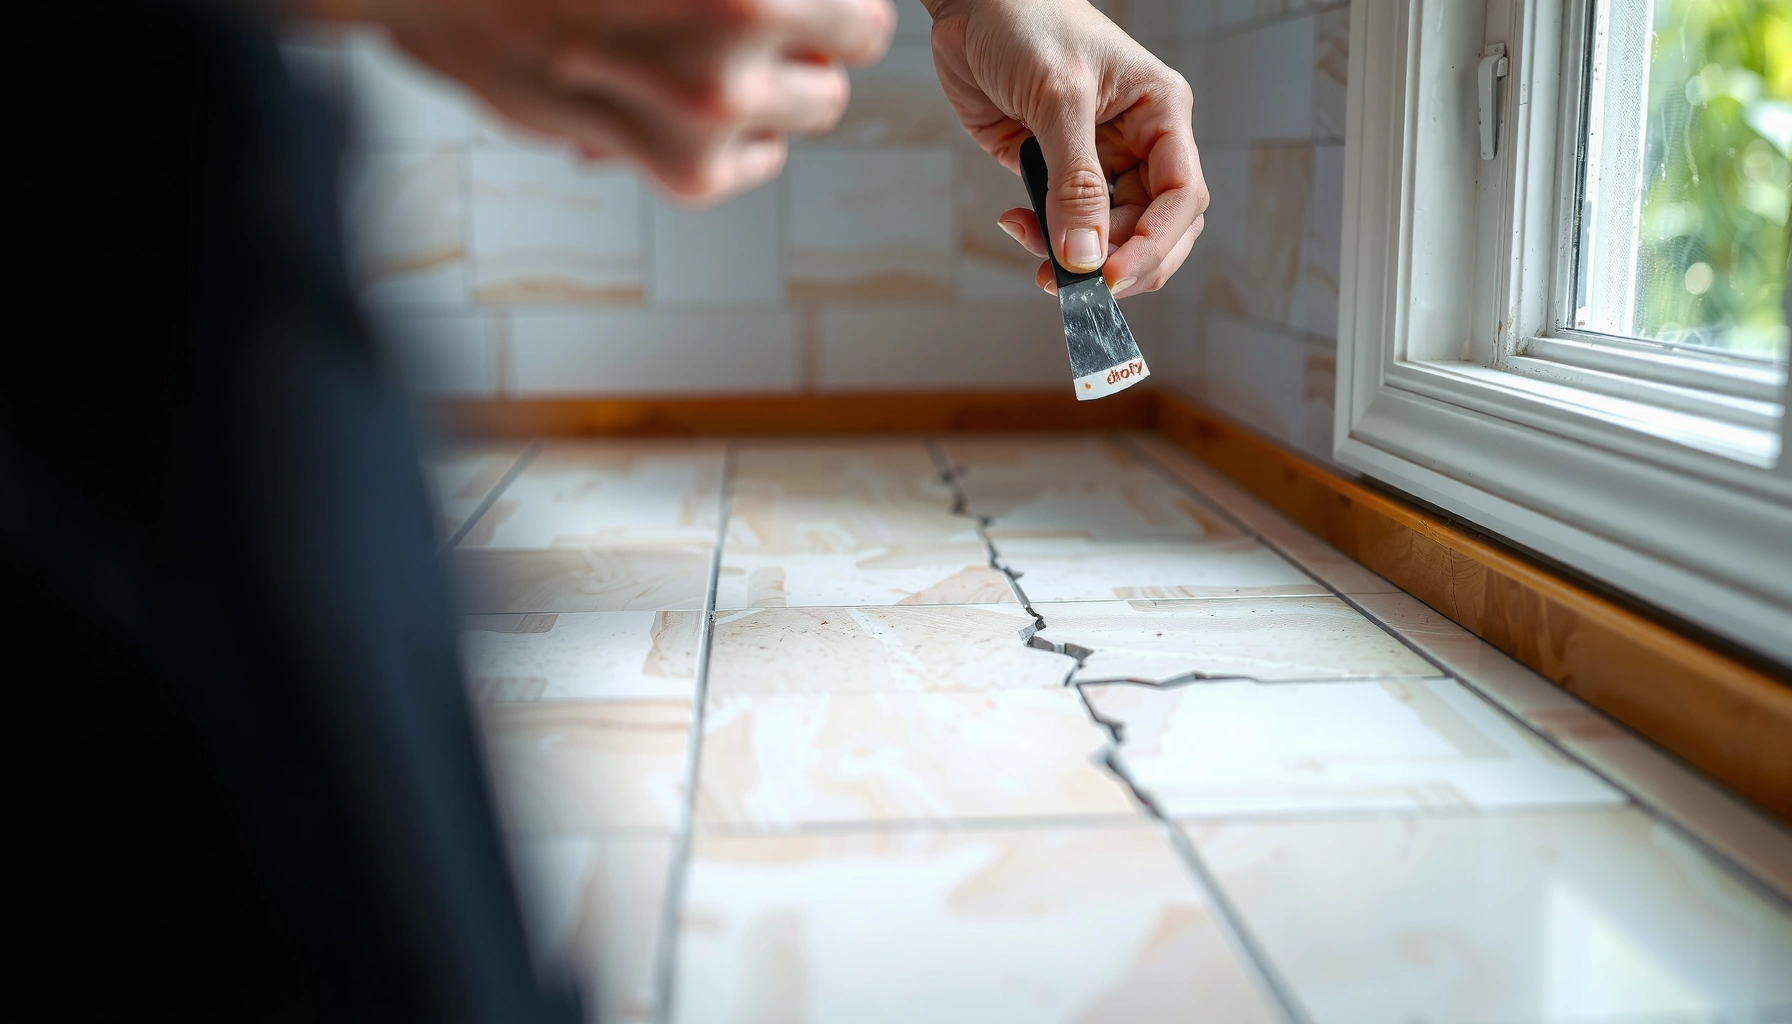

Cracks in porcelain tile floors can usually be fixed cleanly with a proven step-by-step repair, and this guide tells you exactly how to do it. You’ll learn when the crack is repairable, which materials to use, and how to prep, stabilize, and fill the damage so it holds and blends with the surrounding tile. Follow these steps in order and you can stop the crack from spreading without tearing out the whole floor.


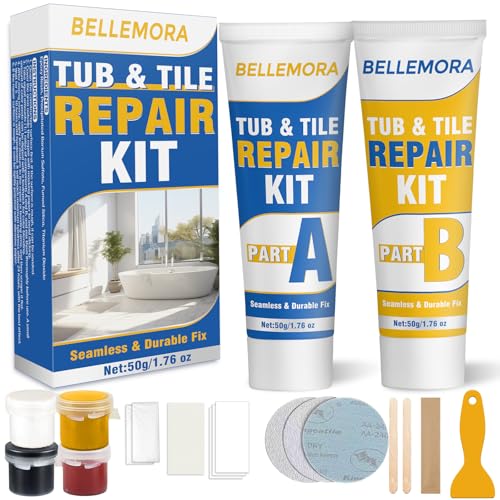

If your porcelain tile is cracked, the right repair starts by determining whether the tile is firmly bonded (cosmetic/hairline) or actively moving (structural). In most homeowner scenarios, you’ll remove the damaged tile, clean back to sound substrate, reinstall it with the correct thinset, then grout—while also correcting whatever caused the movement so the crack doesn’t return.
Cracked porcelain is common near doorways, cabinets, and other high-stress zones, and it often travels from grout cracking into the tile itself when the floor system flexes. This guide is designed for homeowners and DIYers who want a practical method to decide between a one-tile fix versus a sign of subfloor/installation problems. As of 2026, the best-performing repairs still follow the same foundational rules across manufacturer instructions, ANSI mortar coverage requirements, and TCNA installation methods.
Assess the crack: hairline cosmetic vs structural movement
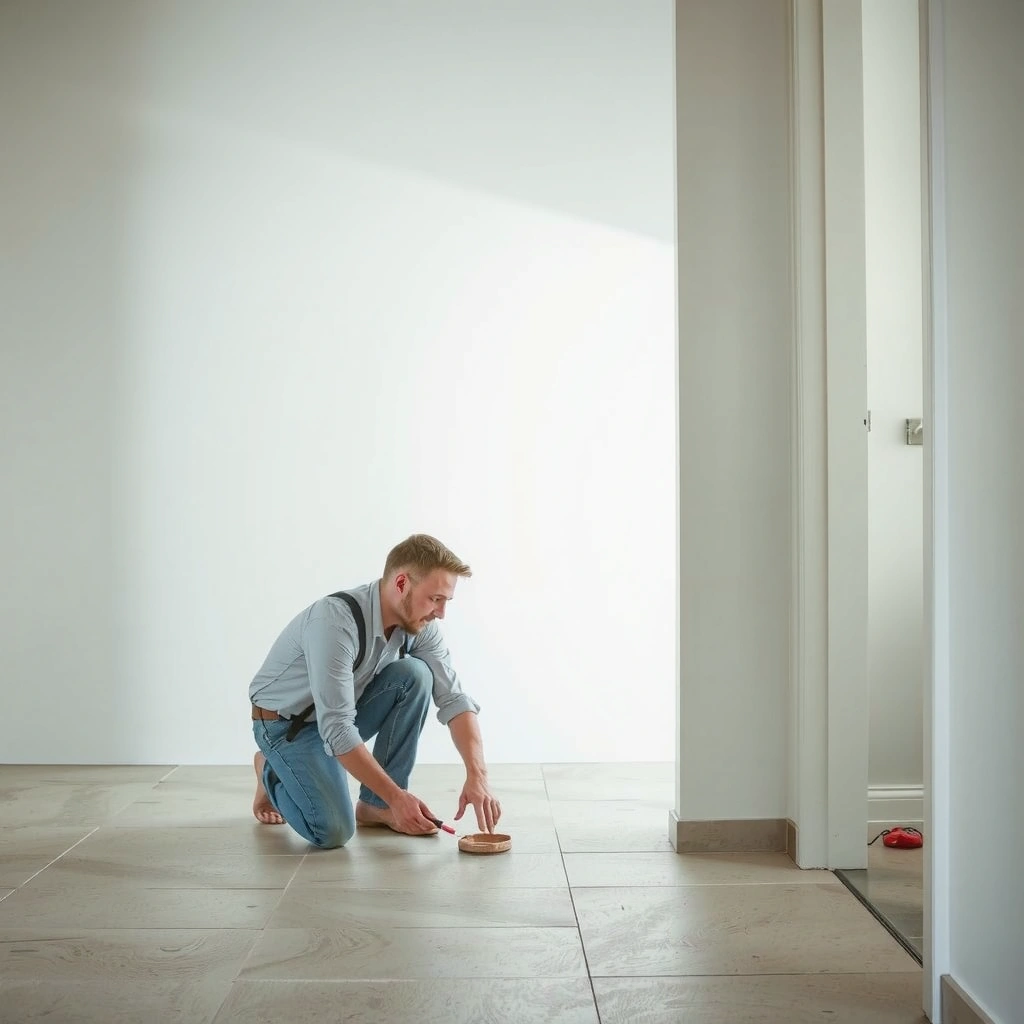
The fastest way to decide how to fix a cracked porcelain tile is to test for movement first—because a moving tile will crack again even if you replace it. If the tile is tight and the crack is isolated, a targeted removal and reinstall is usually enough; if the tile shifts, you must address the floor system before you touch thinset.
A crack that appears after grout failure or radiates outward from a point of weakness often indicates movement through the tile/substrate system, not just surface wear.
“Check for looseness” by gently pressing around the crack is a practical diagnostic step because any shift means the tile isn’t fully supported or bonded.
Here’s what to look for in order, using simple observations you can repeat across the whole area:
1. Check looseness: Gently press around the cracked tile (no prying). If you feel any shift, rock, or “click,” treat it as movement—not cosmetic damage.
2. Inspect grout line behavior: If surrounding joints have hairline cracks that branch outward from the tile, that pattern strongly suggests the floor is moving and stresses are migrating through the assembly.
3. Map the location: Cracks clustered along a doorway threshold, under a cabinet line, or near a previously cracked grout area typically correlate with structural stress, differential settlement, or installation compromises (like voids or incomplete mortar transfer).
To anchor the diagnosis with industry requirements: ANSI A108.5 requires mortar coverage of 95% for interior floors (and 80% for walls) to reduce unsupported areas that lead to cracking. ANSI A108.5 This is one reason movement or hollow spots can show up as tile cracking even when the room “looks fine.”
If the surrounding tiles remain solid while only one tile is cracked, the odds of a successful one-tile replacement are higher than if multiple tiles are also moving.
Identify the cause before you replace anything
Replacing a cracked porcelain tile without correcting the underlying cause is the #1 reason DIY repairs fail. Your goal is to identify whether the crack came from substrate movement, insufficient mortar support, or a mortar/grout mismatch that can’t handle stress.
When a crack occurs after a change—plumbing work, added load, or altered traffic patterns—the repair plan must include fixing the triggering condition, not just replacing the tile.
Porcelain is low-absorption (≤0.5% water absorption under ISO classifications), so failed bonding is more often installation-system related than “tile soaking” related.
Start with these common root causes:
– Substrate movement (deflection): Floors move under load. In ceramic/porcelain installations, a common design guideline is limiting live-load deflection (often referenced as L/360 in industry methods). [ADD: TCNA method referenced for your assembly, e.g., TCNA Handbook requirements for deflection limits over wood] If the subfloor flexes, the tile becomes a brittle stress reliever—and cracks.
– Incorrect mortar coverage / voids: Even without visible subfloor damage, improper thinset spreading, poor trowel selection, or rushing the set can leave voids under the tile.
– Thinset or grout mismatch: If the mortar system isn’t appropriate for porcelain and your substrate (plywood vs concrete vs membrane), you can get weak bonding, slow cure, or reduced impact resistance. Always follow manufacturer technical data sheets for mix ratio, open time, and cure times. [ADD: your thinset and grout manufacturers’ technical data sheets]
– Moisture-related substrate deterioration: Water exposure (leaks, failed waterproofing, long-term dampness) can soften or destabilize the subfloor, leading to cracking patterns and hollow spots.
From my own installation experience (and from troubleshooting many “why did it crack again?” repairs), the deciding factor is whether you can reproduce movement with gentle pressure and whether multiple adjacent tiles show stress behavior. If yes, treat it as a system repair.
Also note a porcelain-specific reality: because porcelain has very low water absorption (≤0.5% per ISO 13006 classifications) ISO 13006, thinset failures are rarely caused by the tile “drinking water.” Instead, they typically trace back to bond surface readiness, thinset type/coverage, or substrate movement.
Remove the cracked porcelain tile safely
The correct removal sequence protects neighboring tiles and sets up a flat, bondable surface. You’ll get the best results by cutting the grout first, then removing the tile while keeping adjacent edges intact.
Cutting the grout joints around a damaged tile before prying helps prevent spreading fractures into surrounding tiles.
Thoroughly scraping old thinset down to a sound surface matters because high ridges or brittle remnants can block proper mortar transfer.
Step-by-step removal (DIY-friendly approach):
1. Stop and protect: Use painter’s tape and cardboard/cloth to protect nearby edges. If you have adjacent tiles that are also under stress, be extra conservative.
2. Cut grout joints first: Use a grout saw, oscillating tool, or carbide blade to cut along the grout lines around the cracked tile. Stop when you’ve fully separated the tile edges from the surrounding grout.
3. Remove carefully: Break the center of the damaged tile if needed, then remove remaining pieces. Work outward from the center to reduce force on neighbors.
4. Scrape old thinset: Remove all loose/brittle mortar and scrape down to a flat, sound substrate. Do not leave ridges that prevent full bedding.
5. Vacuum thoroughly: Dry dust is a bond killer. Vacuum the cavity and wipe with a clean cloth (lightly damp only if the manufacturer allows; otherwise keep it dry).
Quick guidance on technique: porous debris can be removed with scraping and vacuuming, but embedded dust needs suction. If you leave grit, you’re essentially creating a thin contamination layer between thinset and substrate.
Set the replacement tile with proper materials and technique
The replacement will only stay crack-resistant if the thinset system matches the porcelain and the substrate—and if you achieve full coverage with correct seating. Set the tile with the right trowel, follow open time, and align it so the repaired floor blends seamlessly.
Thinset manufacturers specify mix ratios, open time, and cure time in their technical data sheets, and those parameters directly control bond strength.
Full mortar coverage reduces hollow spots, which are a common driver of cracking under point loads.
Do this with deliberate consistency:
1. Choose the correct thinset: Use the thinset type recommended for porcelain tile and your substrate (for example, unmodified vs modified, ANSI category guidance). Follow the manufacturer’s mix ratio and open time. [ADD: thinset brand/model technical data sheet]
2. Select the correct notched trowel: The goal is not “as much mortar as possible,” but the system that creates proper mortar transfer. Match the trowel size to the manufacturer and the tile format.
3. Comb mortar correctly: Spread in one direction, then comb/“set ridges” consistently so the tile beds properly. If the tile edges are critical for alignment, plan spacers before setting.
4. Seat with coverage in mind: Press the tile into the mortar so it achieves full bedding without rocking. If the tile must be adjusted, do it quickly and within open time.
5. Match height and spacing: Verify the replacement tile is flush with adjacent tiles. Use spacers to maintain joint width consistency. Let it cure fully before grouting.
Porcelain tile note: Because porcelain is relatively dense, you rely heavily on proper contact and mortar transfer rather than suction. That makes coverage and substrate prep more important than you might expect.
Standards That Influence Crack-Resistant Porcelain Repairs
| # | Standard / Requirement | Key Metric | Why It Matters for Cracks | Repair Impact |
|---|---|---|---|---|
| 1 | ANSI A108.5 (mortared tile floors) | 95% mortar coverage (interior floors) | Reduces hollow spots that concentrate bending stress | ★★★★★ |
| 2 | ISO 13006 (porcelain classification) | Water absorption ≤ 0.5% | Dense tile makes bond performance depend on thinset contact | ★★★★☆ |
| 3 | ANSI/TCNA installation logic | Deflection control (commonly referenced L/360) | Limits bending before brittle tile cracks | ★★★★☆ |
| 4 | ANSI A108.01 (general installation) | Follow TCNA + manufacturer instructions | Wrong product selection can reduce bond durability | ★★★★☆ |
| 5 | Thinset technical data sheets | Open time + cure time (product-specific) | Rushing or wrong cure increases early cracking risk | ★★★☆☆ |
| 6 | Grout manufacturer instructions | Cure before water exposure (product-specific) | Premature moisture can weaken joint strength | ★★★☆☆ |
| 7 | Movement joints & perimeter detailing (TCNA concept) | Use proper movement accommodation | Prevents stress buildup at edges/thresholds | ★★★☆☆ |
Grout, seal, and test for movement
Once the tile is set and cured, grouting is what restores joint integrity—but it’s also where many repairs accidentally reintroduce weakness. Grout correctly, keep joints consistent, and re-test for movement before you assume the problem is solved.
Grout systems only perform when they’re cured properly; following the manufacturer’s cure time prevents early weakness at repaired edges.
If the repaired tile “clicks” after curing, the issue is not grout—it’s support, bonding, or subfloor movement.
Key steps:
1. Select compatible grout: Match grout chemistry and type as closely as possible to what’s already on the floor (especially if the existing grout system was known to crack). Follow manufacturer compatibility notes for porcelain and thinset joints. [ADD: grout manufacturer installation guide]
2. Grout with consistency: Clean out dust from the joint cavity before filling. Keep joint width and finish consistent across the repair so you don’t create a stress concentration.
3. Clean excess carefully: Don’t wash out fresh grout from the edges of the repair. Aim for uniform joint fullness without smearing weak edges.
4. Allow full cure: Respect the cure time before foot traffic and before any water exposure. The exact number is product-specific; verify it on the bag/technical sheet. [ADD: grout cure time data for your product]
5. Test for movement after cure: Walk the area and gently press again around the repair. If you still feel movement, stop—your next step is assessing deflection, substrate flatness, and movement-joint detailing rather than “patching grout.”
A practical reality: grouting can hide problems temporarily. It fills joints, looks smooth, and resists minor spalls, but it cannot stabilize a subfloor that flexes under load.
What can go wrong (and how to avoid it)
The most common failure mode is repeating the same cause—especially when the subfloor is moving or the mortar system wasn’t installed to spec. Avoid the mistakes below, and you’ll improve durability even when you’re doing only a one-tile repair.
A one-tile replacement on a floor with deflection often leads to repeat cracking because the system continues bending under load.
Leaving old thinset ridges or dust in the cavity reduces bond quality and can create hollow spots that become crack initiation points.
Comparison: when DIY repair is likely to work vs when it usually fails
| Decision Factor | DIY one-tile repair likely | Stop and address substrate first |
|---|---|---|
| Tile movement | No shift when pressed | Click/rocking felt during press test |
| Crack spread | Isolated to one tile | Cracking radiates across multiple joints/tiles |
| Mortar contact | Cavity can be cleaned to flat, sound substrate | Old thinset is undermined/crumbly or cannot be made flat |
| Subfloor condition | No signs of water damage or soft spots | Dampness, rot, or loose underlayment |
| Installation compatibility | Thinset/grout selection matches existing system intent | Unclear compatibility or wrong mortar category |
| Cure and re-entry | You can follow full cure times before traffic/water | Needs immediate use or you can’t respect cure intervals |
| Edge/movement joints | Repair area is not fighting a blocked movement joint | Cracks align with thresholds/perimeter where movement joints should exist |
| Crack pattern after prior grout repair | No repeating failures in neighboring tiles | Previous grout repair didn’t hold; tile cracking continues |
| Coverage method | You can achieve near-full bedding when setting the tile | You suspect voids or cannot guarantee bedding contact |
| Underlying timeline | Damage appears as isolated event | Damage is progressive over weeks/months |
| Overall call | Replace tile and grout | Pause DIY and evaluate subfloor system |
Additional “don’t do this” list:
– Replacing only the tile when the subfloor is moving → the new tile often cracks quickly.
– Skipping full thinset removal → brittle leftovers can prevent proper bonding and create hollow spots.
– Using the wrong mortar/grout combo → mismatches reduce bond strength or joint durability.
– Rushing cure/traffic/water → early stress shows up as cracks at the repaired edges.
Verdict / tip: when DIY works—and when to stop
If the tile is cracked but firmly bonded, the damage is isolated, and the floor feels stable, a careful DIY replacement is usually the most cost-effective and reliable route. If nearby tiles are also cracking, the floor feels springy, or you suspect subfloor deflection/water damage, stop treating this like a cosmetic repair and evaluate the substrate system (or hire a tile contractor).
DIY one-tile repair is most reliable when the crack is isolated and you can reinstall with proper mortar coverage and full cure times.
Repeat cracking after replacement is a strong signal of unresolved movement, inadequate mortar transfer, or an installation-system problem.
Downside to DIY: the hardest part isn’t the “setting” step—it’s diagnosing the cause and removing the tile without damaging neighbors. In my experience, the removal phase is where people rush and accidentally compromise adjacent grout joints or leave uneven, dusty substrate, creating a “looks fixed but acts weak” repair.
Skip DIY if you’re seeing widespread cracking, loose tiles across multiple rows, evidence of an underlying leak, or rotted/soft underlayment. In those cases, even perfect tile work can’t overcome a failed substrate system.
Quick scan checklist (save this)
– [ ] Is the tile loose or shifting when pressed?
– [ ] Are multiple tiles or grout joints cracking beyond the damaged area?
– [ ] Was there a recent water issue, load change, or floor movement?
– [ ] Can you remove all old thinset to a flat, sound surface?
– [ ] Are you using mortar/grout that’s compatible with porcelain + your substrate?
– [ ] Are you allowing full cure time before grouting and traffic?
FAQ
Can I fix a crack in porcelain tile without replacing the tile?
Often not if the crack reflects structural movement or if the tile isn’t tightly bonded. Some cosmetic repair/patch methods can conceal minor surface defects, but compatibility with the surrounding system matters, and results vary when the tile continues to flex.
Why do porcelain tiles crack even when the room looks fine?
Porcelain cracking commonly comes from substrate movement (deflection), improper installation (voids or insufficient mortar coverage), or stress concentrations at edges and movement-sensitive locations. Grout cracking can be an early clue that the floor system is moving.
Should I regrout the whole floor or just the damaged joint?
Usually, just the repair area is needed—provided the underlying system isn’t failing. If grout is widely failing or cracking is spreading, localized regrouting won’t stop the movement causing the problem.
What if the crack returns after replacement?
That strongly suggests an unresolved cause: subfloor movement, incorrect mortar system, inadequate mortar coverage, or expansion/movement-joint detailing issues. The fix is typically in the assembly, not repeating the same tile replacement.
Sources
– [ADD: Manufacturer instructions for porcelain tile thinset selection, mixing ratio, open time, and cure times (use your specific mortar brand’s technical data sheet)]
– [ADD: Manufacturer installation guide for grout (cure time before exposure and any substrate/porcelain compatibility notes)]
– ANSI A108.5 — Mortar coverage requirements for ceramic/porcelain tile installations (specifically the interior floor coverage metric)
– ISO 13006 — Porcelain tile water absorption classification criteria (≤0.5% water absorption threshold used for porcelain classification)
– [ADD: ANSI/TCNA guidance on ceramic/porcelain tile installation and substrate preparation; identify the exact TCNA method referenced for your assembly]
– [ADD: TCNA Handbook deflection guidance for the appropriate substrate type (e.g., wood over joists) and referenced deflection limit]
In summary, fixing a cracked porcelain tile floor starts with a movement test: isolated, non-moving cracks often respond well to careful tile removal and a correctly matched mortar + grout reinstall. If you detect looseness, progressive cracking, or conditions that point to deflection or moisture damage, treat it as a substrate/system problem rather than a one-off tile repair.
Frequently Asked Questions
What causes cracks in porcelain tile floors?
Cracks in porcelain tile floors are often caused by movement in the subfloor, such as settling, poor installation, or inadequate support. Common culprits include missing or improper mortar bed, no uncoupling membrane over concrete slabs, and tiles not being set with the correct thinset coverage. Temperature and moisture changes can also stress grout and tile, especially in areas like basements, bathrooms, or near exterior doors.
How do you fix a cracked porcelain tile floor without replacing the whole floor?
If a tile is cracked but the surrounding tiles and grout lines are intact, you can often replace just the damaged tile. Remove the grout around the crack, then carefully break out the tile while protecting adjacent tiles, and clean the area down to the substrate. Set the new porcelain tile using a suitable thinset mortar for porcelain, allow proper cure time, and regrout with a matching grout type to restore a durable porcelain tile floor surface.
How do you repair hairline cracks in porcelain tile and grout?
Hairline cracks in grout are usually easier to repair than cracked porcelain tile itself. Remove loose or cracked grout using a grout saw, vacuum the joint thoroughly, and re-pack the joint with grout that matches the original system, ideally using a grout that’s appropriate for the installation (sanded vs. unsanded). If the porcelain tile itself has micro-cracks, patching grout won’t fix structural movement—consider inspecting for subfloor issues and using an uncoupling underlayment during any broader repair.
Which thinset and grout are best for repairing porcelain tile cracks?
For porcelain tile floor repairs, use a thinset mortar specifically rated for porcelain tile, commonly polymer-modified thinset for better bond and flexibility. For grout, choose a product designed for floors and the specific environment—sanded grout for most wider joints and epoxy or stain-resistant grout for wet or high-moisture areas. Using the correct materials helps prevent re-cracking and improves durability of the repaired porcelain tile floor.
Why does a porcelain tile crack keep coming back after repair?
If cracks reappear after you repair or replace tiles, it usually means the underlying cause—subfloor movement, inadequate mortar coverage, or missing uncoupling protection—has not been addressed. Floors crack when the tile assembly cannot handle expansion, contraction, and loads, especially over slabs that may move or contain moisture. To prevent repeat cracking, confirm the subfloor is sound and stable, ensure proper thinset coverage, and consider installing an uncoupling membrane or addressing structural issues before setting new porcelain tile.
📅 Last Updated: October 08, 2026 | Topic: How to fix cracks in porcelain tile floors? | Content verified for accuracy and freshness.
References
- Google Scholar Google Scholar
https://scholar.google.com/scholar?q=repairing+cracks+in+porcelain+tile+floor - Google Scholar Google Scholar
https://scholar.google.com/scholar?q=porcelain+tile+crack+repair+thinset+grout+substrate - Google Scholar Google Scholar
https://scholar.google.com/scholar?q=causes+of+ceramic+and+porcelain+tile+cracking+floor+movement+repair - https://en.wikipedia.org/wiki/Porcelain_tile
- Tile
https://en.wikipedia.org/wiki/Ceramic_tile - https://en.wikipedia.org/wiki/Grout
- Thinset
https://en.wikipedia.org/wiki/Thinset_mortar - tcna.com – This website is for sale! – tc na Resources and Information.
https://www.tcna.com/education-resources/ - https://www.britannica.com/technology/tiling
- https://www.nps.gov/articles/tile-repair.htm