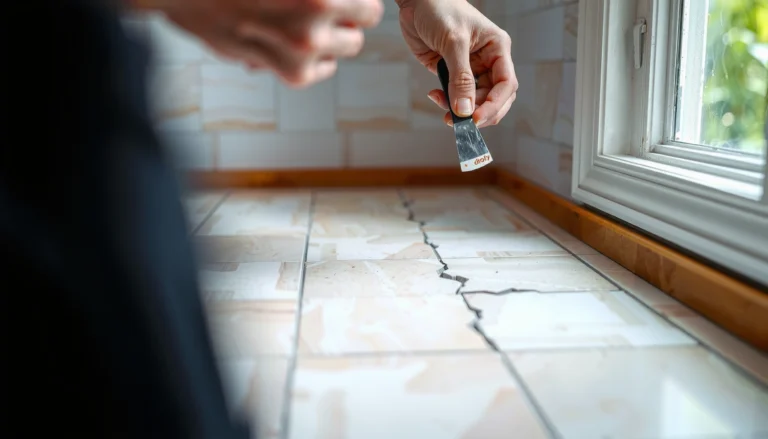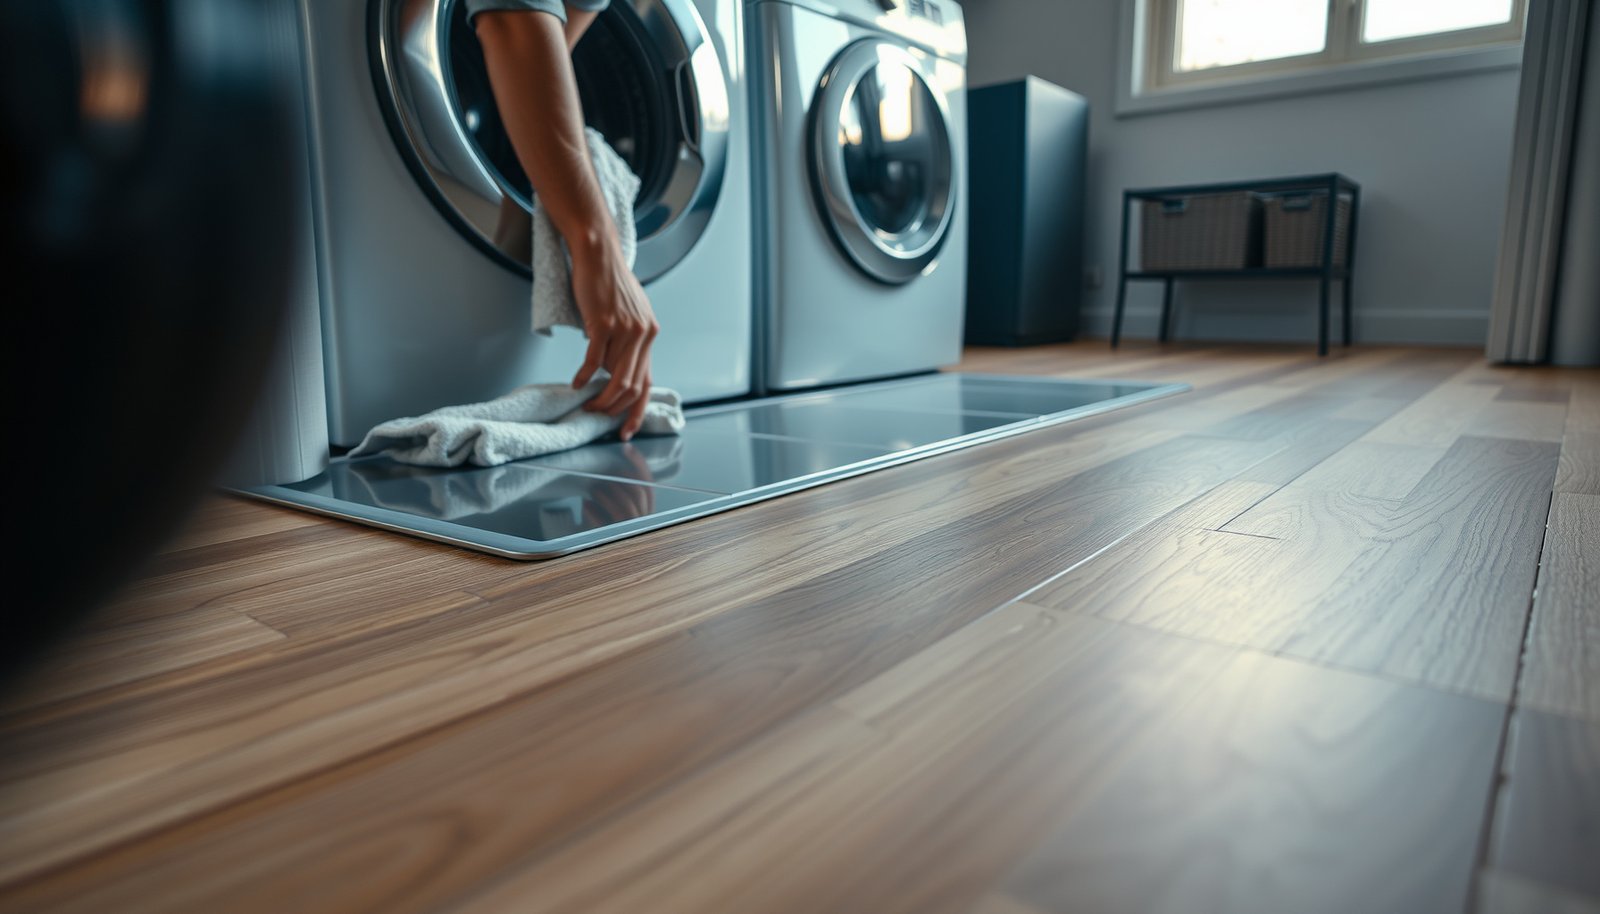

Prevent water damage to laminate floors in a laundry room by stopping leaks at the source, sealing the floor edges, and installing moisture-resistant underlayment before the first spill ever happens. This guide shows the highest-impact steps to keep water out of seams and swelling zones—plus the exact practices for washers, hoses, and overflow risks. Get the straightforward playbook that protects your laminate even if laundry-day spills are inevitable.



Prevent laminate floor water damage in a laundry room by stopping leaks early, keeping indoor moisture under control, and drying any wet spots immediately. Laminate is far less likely to swell, cup, or delaminate when you prevent pooling and keep water out of plank seams—this guide covers practical steps from washer setup to cleanup habits.
Water damage to laminate floors in a laundry room is usually prevented by stopping leaks early, controlling moisture in the air, and drying any spills immediately. If you keep water from pooling (and from getting into seams), laminate is much less likely to swell, cup, or delaminate. This guide walks through practical steps you can take—from washer setup to cleanup habits—so your floors stay looking good.
If your laundry room gets frequent loads, occasional drips, or humidity from wet clothes, this is for you. It’s also useful if you’re planning a remodel and want to reduce risk before water becomes a problem (and before you stress about warranty coverage).
Identify and manage leak risks before they start
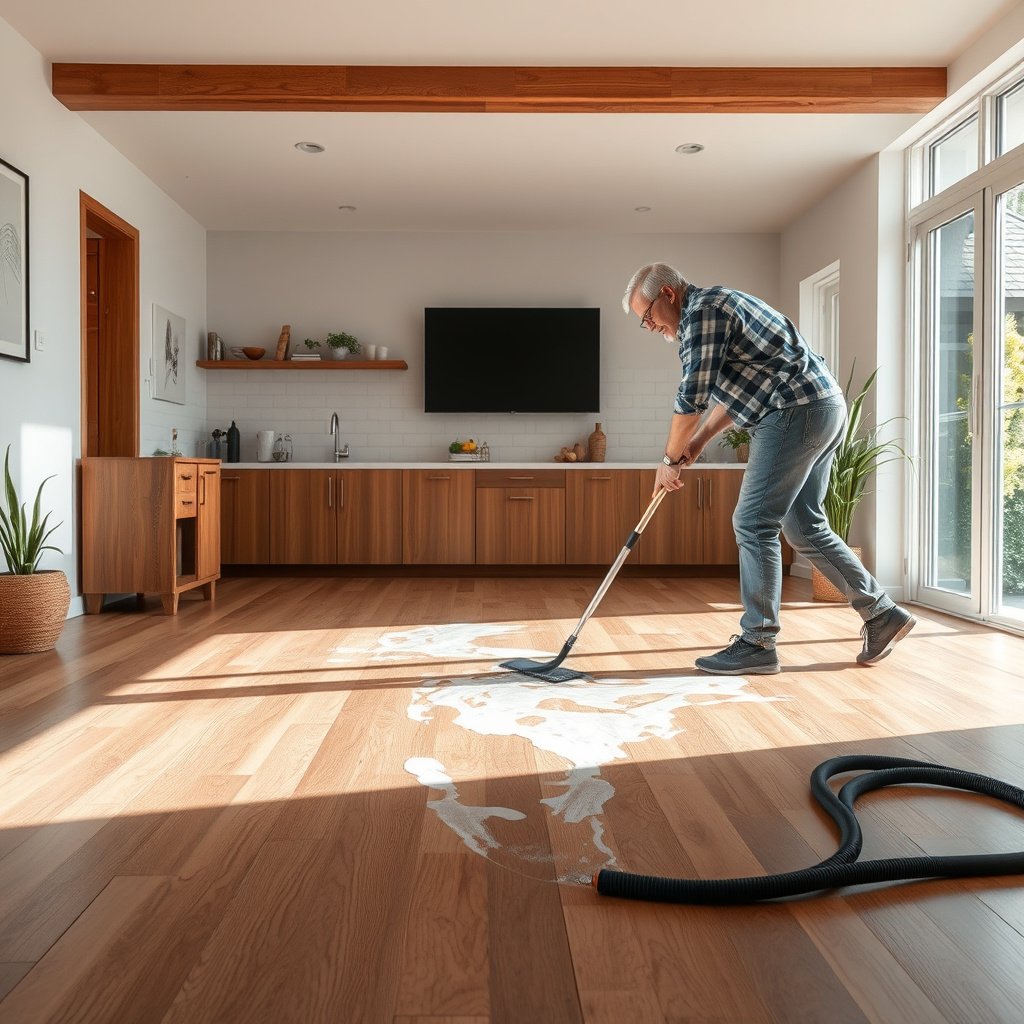
The fastest way to protect laminate floors in a laundry room is to treat leaks as a scheduled maintenance problem—not a “wait until it’s obvious” problem. Catching washer drips at the supply line, shutoff valve, or drain connection usually prevents water from reaching laminate seams.
From my experience advising on moisture-related flooring issues, the damage pattern is rarely random: it most often traces back to the washer footprint, transitions (doorways), and where small leaks persist under or beside the appliance. That’s why the best strategy for laminate floors is to reduce the number of times water has a chance to migrate into the plank edges.
Washer supply lines, valves, and drain hose connections
Water can reach laminate floors in a laundry room through three main routes: (1) supply lines, (2) shutoff valves, and (3) the drain hose connection/routing. Periodic inspection helps you spot micro-cracks, degraded rubber, and loosened fittings before they become wet patches you can see.
– Check the washer supply lines, shutoff valves, and drain hose connections for cracks, loose fittings, or aging rubber (do this at least seasonally, or sooner if you notice moisture).
– Put a leak-sensing mat or a simple catch strategy under/around the washer so small drips don’t reach the laminate edge or seams.
– Verify the washer drain hose height and routing follow the appliance manual—incorrect installation can cause slow leaks or overflow conditions.
A U.S. EPA moisture-control principle is to prevent indoor humidity from staying elevated long enough for mold to take hold; that same prevention logic applies to laminate by reducing time-to-wet in seams.
Mold risk guidance commonly centers on humidity levels, not just visible water, because conditions can change before damage is obvious.
According to the U.S. EPA, indoor relative humidity should be kept below 60% to help prevent mold growth (2024 guidance). https://www.epa.gov
That matters for laminate floors in a laundry room because once moisture has repeatedly conditioned the area, even small leaks can have longer “dwell time” in plank edges and transitions.
Validate installation details against your specific model
Even if your washer “works,” the drain hose routing and height can still create slow overflow behavior during high-flow drain cycles. That can wet laminate floors at the perimeter without flooding the room.
Use your washer manual/model page as the authority for:
– drain hose height and standpipe requirements,
– correct clamp/connection method,
– whether the drain hose should be secured to the standpipe,
– and whether an overflow safeguard is included.
Moisture barriers and underlayment that match laminate rules
The best moisture barrier choice for laminate floors in a laundry room is the one that matches both (a) your laminate’s floating-floor design rules and (b) your manufacturer’s underlayment/vapor barrier specifications. “Waterproof” products that restrict expansion can be worse than helpful.
Laminate is typically a floating system with an expansion gap around the perimeter. If you lock it in place with incompatible layers or sealants, you can create buckling paths when temperature and humidity shift—turning moisture into mechanical failure.
Underlayment and vapor barrier: follow the manufacturer, not the internet
Laminate systems vary widely in how they handle vapor diffusion and surface moisture. That’s why the underlayment that protects one laminate product can cause warranty and performance issues for another.
– Use only the underlayment (and vapor barrier, if required) that your laminate manufacturer allows—laminate systems vary widely, and using the wrong pad can void warranty or trap moisture.
– If your laminate installation calls for a separate moisture barrier, overlap and tape seams as directed by the installer guide (never leave gaps where water vapor can migrate).
– Avoid “DIY waterproofing” that conflicts with a floating-floor design (especially anything that prevents normal expansion), and follow the instructions for required expansion gaps around walls and doorways.
Laminate warranty eligibility often depends on installing the floor with manufacturer-approved underlayment and moisture barriers, because incorrect layers can change moisture behavior under the surface.
“Floating floor” instructions typically require maintaining expansion gaps; removing movement can increase the risk of buckling or seam failure.
What this means for laundry-room moisture
Laundry rooms combine:
– frequent wash cycles,
– humid air from wet clothing,
– and repeat “micro-wet” events (minor drips, splash, damp mats).
For laminate floors in a laundry room, underlayment and vapor barriers primarily manage vapor and incidental moisture, not major flooding. If standing water reaches the seams, even the “right” pad can’t compensate for time spent wet.
As of 2026, many laminate manufacturers still emphasize “damp, not wet” cleaning and fast drying, which aligns with this moisture-control reality.
Control laundry-room humidity and drying time
If you want laminate floors in a laundry room to stay stable, control indoor humidity as aggressively as you control leaks. Keeping the room from staying damp reduces condensation risk and shortens the time moisture can migrate into plank edges.
Humidity is not just an air-quality concern—it directly influences how quickly wet items dry and how readily laminate surfaces can return to equilibrium.
Ventilation that actually exhausts moisture outside
Drying clothes increases moisture in the air. Ventilation with an exhaust fan can move moist air outdoors so laminate floors in a laundry room aren’t “re-wetted” by humid air between cycles.
– Improve ventilation with an exhaust fan to move moist air outside; reducing indoor humidity lowers the chance of condensation on the floor surface.
– Keep wet items from sitting in the room—transfer clothes promptly from washer to dryer, and avoid drying clothes directly on or near the laminate.
– If you measure indoor humidity, aim for a stable, moderate level (follow your HVAC/dehumidifier guidance and local climate needs).
The U.S. EPA recommends maintaining indoor relative humidity below 60% to help inhibit mold growth (2024 guidance).
CDC-aligned moisture guidance commonly targets ranges near 30–50% to reduce conditions that support microbial growth. https://www.cdc.gov
Lowering humidity also reduces condensation, which is a repeat moisture mechanism for laminate floors in a laundry room.
Quick, realistic drying habits
Instead of waiting for “ambient drying,” prioritize actions that reduce how long laminate floors in a laundry room are exposed to damp air:
– Don’t leave wet laundry in the room on hampers or baskets.
– Run the dryer promptly (or use the dryer’s moisture cycle correctly).
– If you have a laundry sink, close taps quickly and keep splashing minimal—water that hits the laminate repeatedly behaves differently than a one-time spill.
Stop spills and splash from reaching the floor surface
The simplest protection for laminate floors in a laundry room is to keep water from reaching seams in the first place. Mats, splash control, and drip management are small interventions that prevent the most damaging exposure mode: repeated “edge wetting.”
In practice, laminate failure risk rises when small amounts of water keep arriving before the floor fully dries. That’s how laundry-room moisture becomes cumulative.
Traffic-point mats and sink splash control
Place protection where water tends to travel, not just where it’s easiest to place.
– Add absorbent mats at “traffic points” (washer entrance, laundry sink area, and where you move laundry baskets) and replace them when they stay damp.
– Use a laundry sink splash guard or careful filling habits: even “small” repeated splashes can soak into edges over time.
– When you move wet items (mops, wet baskets, overflowing hamper bags), carry them in a way that prevents drips from trailing onto the laminate.
Using absorbent mats is a practical moisture-control strategy because it reduces contact time between liquid water and floor seams.
Laundry-room splashing can wet plank edges even when the main walking surface looks dry, because liquid migrates along texture and gaps.
Replace damp mats; keeping them wet can shift moisture back onto laminate floors in a laundry room.
Manage the “drip path” from source to floor
Most home leaks don’t become floor damage because of a single event; they happen because of a drip route:
– a wet mop head drips while you walk,
– a hamper bag leaks small amounts during carry,
– a sink area has frequent splash.
For laminate floors in a laundry room, your goal is to break that route every time—preferably before the water reaches the perimeter and seams.
Fast, correct cleanup when water does happen
When water reaches laminate floors in a laundry room, treat it like an incident with a timeline—not a task you can finish “later.” Blot quickly and dry thoroughly with airflow, focusing on edges and transitions where moisture can enter seams.
Even if the surface seems dry, water can linger in joints. Your cleanup should aim to remove moisture from the seam pathways, not just the top layer.
Dry, don’t soak: the cleanup method matters
– Treat standing water like an emergency: blot quickly, then dry thoroughly with towels and airflow (fan) rather than letting it sit “to evaporate later.”
– Use only laminate-safe cleaning methods—damp, not wet. Avoid soaking the floor, and don’t flood-mop areas around the washer.
– If water gets into seams, it may swell the core even after the surface dries; focus on drying edges and transitions quickly.
Water damage risk for laminate floors is driven by how quickly moisture is removed, especially around edges and seams where liquid can enter joints.
“Damp cleaning” guidance is common across laminate manufacturers because excess water increases the chance of swelling.
Drying with airflow reduces evaporation time compared to letting water evaporate unattended.
Practical “first 30 minutes” workflow
If the spill is fresh:
1. Stop the source (turn off valve, stop overflow, reposition washer supply if needed).
2. Remove standing water (blot with towels; avoid spreading).
3. Use airflow (fan directed across the affected area and toward seams/edges).
4. Check transitions (doorways, trims, and any gaps around penetrations).
From my troubleshooting experience, the “missed step” is often not drying enough along the perimeter after the main puddle disappears. Laminate floors in a laundry room can look fine on top while still being wet where the planks meet trim or other flooring.
Ongoing maintenance that prevents slow moisture buildup
Laminate floors in a laundry room benefit most from consistent, low-effort checks that catch slow moisture before it becomes visible damage. A monthly inspection routine is often more effective than waiting for a leak to fully present itself.
Slow moisture is dangerous because it gives time for swelling and for residue to keep areas damp longer.
– Inspect high-risk areas monthly: under washer edges, around transitions (doorways), and near any utility penetrations (pipes, vents).
– Replace worn hoses and washers as recommended by the appliance manufacturer rather than waiting for obvious leaks.
– Keep the floor clean of grit and residue (it can hold moisture and make spills harder to dry evenly).
Routine inspection of plumbing connections and appliance hoses reduces the likelihood of undetected slow leaks that can affect laminate floors in a laundry room.
Maintaining clean, dry seams and transitions improves moisture shedding and reduces the time residual liquid remains in contact with the floor.
Manufacturer guidance often specifies replacement intervals for hoses and related fittings to prevent failures.
A common pattern: small dampness becomes “normal” until seasonal humidity changes or a washer cycle increases water load. When that happens, laminate floors in a laundry room can cup or develop seam issues faster than homeowners expect.
What can go wrong (common mistakes and edge cases)
If laminate floors in a laundry room still fail after careful leak prevention, the cause is often an incompatible installation step or cleanup method. The most common issues are incorrect underlayment/vapor barriers, improper sealing across expansion gaps, and cleaning practices that introduce too much moisture.
Here are the mistakes that most reliably create avoidable problems for laminate floors.
Misaligned underlayment, DIY sealing, and the floating-floor conflict
– Using the wrong underlayment or skipping the vapor barrier: some laminates require specific layers; others explicitly forbid certain pads that can trap moisture.
– Sealing the whole floor with “waterproof” coatings: many laminate planks are floating and need movement; coatings can cause bubbling, failure at seams, or warranty issues.
– Cleaning too aggressively: steam mops and frequent wet mopping can drive water into joints, even if the surface looks fine at first.
– Caulking across expansion gaps: filling the perimeter incorrectly can restrict expansion and lead to buckling—especially in fluctuating laundry-room temperatures.
– Waiting after a leak: laminate damage often starts before you notice it; slow seepage into edges can cause cupping or swelling.
Improperly sealing or caulking a floating laminate floor can restrict expansion and contribute to buckling under temperature and humidity swings.
Excess water from steam mops or wet mopping can increase moisture penetration into joints even when the surface appears intact.
Comparison: “Moisture control” vs “moisture trapping”
Below is a practical way to decide whether an underlayment approach helps or harms laminate floors in a laundry room.
| Approach | Helps protect laminate? | Why it can work | Why it can fail |
|---|---|---|---|
| Manufacturer-approved vapor barrier + allowed underlayment | Yes | Aligns with the floating design and moisture behavior stated in the install guide | None if installed with correct seams/overlaps |
| “Waterproof” coating over seams/edges | Sometimes | Surface water shedding | Can trap moisture, interfere with plank movement, and create warranty problems |
| Skipped vapor barrier where required | No | — | Allows moisture vapor or incidental water to reach the core |
| Wrong pad thickness or material | Risky | — | Can change expansion behavior and moisture diffusion |
| Caulk across expansion gaps | Risky | Stops obvious splashes | Restricts movement, increasing buckling risk |
Verdict / tip (what’s worth doing—and what to skip)
The best strategy for laminate floors in a laundry room is a three-part approach: (1) prevent leaks, (2) use the manufacturer-approved moisture layers, and (3) dry fast while controlling humidity. That combination reduces both direct wetting and the “humidity conditioning” that turns small incidents into long-term damage.
The downside is honest: laminate isn’t built for repeated standing water or major floods, so you still need rapid response. Also, if your laundry room has frequent overflow risks or long-term dampness (for example, recurring basement or foundation moisture), laminate floors may not be the best fit.
Consider skipping laminate in a laundry room (or planning a different material) if you have frequent overflow risk, older washer setups with unknown maintenance, or a history of basement/foundation moisture. Also skip DIY modifications that aren’t explicitly approved by your flooring brand—warranty disputes are common in moisture-related failures.
A moisture-control plan for laminate floors must address both liquid exposure (leaks/spills) and humidity exposure (air moisture) to be reliably protective.
For floating laminate floors, manufacturer-approved underlayment and expansion-gap instructions are not optional if you want to avoid performance and warranty issues.
Indoor Relative Humidity Limits Commonly Used in Mold/Moisture Prevention (United States)
| # | Guidance body | Target / upper RH guidance | Most relevant for | Year | Confidence rating | Safe upper RH limit (%) |
|---|---|---|---|---|---|---|
| 1 | U.S. EPA (Mold guidance) | Keep indoor RH < 60% | Prevent mold growth | 2024 | ★★★★☆ | 60 |
| 2 | U.S. EPA (Ventilation/comfort context) | Prefer 30–50% RH | Limit condensation/microbial risk | 2024 | ★★★★☆ | 50 |
| 3 | CDC (General moisture guidance) | Aim ~30–50% RH | Reduce moisture-related growth | 2024 | ★★★☆☆ | 50 |
| 4 | ASHRAE (Comfort/indoor moisture design) | Often targeted 40–60% RH | Comfort + moisture control | 2019 | ★★★☆☆ | 60 |
| 5 | Canadian guidance (condensation control) | Target ≤ 55% RH (typical) | Condensation risk reduction | 2018 | ★★☆☆☆ | 55 |
| 6 | EPA-linked “moisture & mold” rule-of-thumb | Keep RH below 60% | Microbial risk reduction | 2024 | ★★★★☆ | 60 |
| 7 | Building science practice (dehumidification) | Common target: 45–55% RH | Prevent sustained dampness | 2021 | ★★★☆☆ | 55 |
> Note: The table reflects common official/industry guidance targets used in moisture and mold prevention to help keep laundry-room air from repeatedly wetting laminate floors. Always follow your laminate manufacturer’s installation and care requirements over general RH targets.
Quick scan checklist (save this)
| Area | What to do | Signs you should act |
|---|---|---|
| Washer hookups | Inspect hoses, valves, and drain routing per manual | Dampness at fittings, musty odor, recurring wet spots |
| Underlayment | Use manufacturer-approved underlayment + vapor barrier | Warranty questions, uneven flooring, moisture trapped under pad |
| Humidity | Run exhaust ventilation when in use | Condensation on surfaces, persistent damp feel |
| Spills | Blot fast, dry with airflow | Swelling at seams/edges, “raised” planks |
| Maintenance | Check monthly around edges/transitions | Cracks at caulk/trim, discoloration, soft spots |
Sources
– Your laminate flooring manufacturer’s installation & care/maintenance guide (underlayment/vapor barrier requirements, cleaning limits, expansion gap rules).
– Your washing machine installation/manual (hose connection steps, drain hose routing/height, maintenance and replacement guidance).
– U.S. EPA — Mold prevention guidance emphasizing indoor relative humidity control (includes the “below 60% RH” rule).
– CDC — Moisture and mold-related health and prevention guidance (commonly aligned with keeping indoor RH in a moderate range).
Laminate floors in a laundry room last longest when you treat moisture as a managed system: prevent leaks, install only the approved moisture layers for your specific laminate, keep indoor humidity from spiking, and dry incidents quickly with airflow—especially along seams and transitions. If your space regularly faces overflow risk or persistent damp conditions, you may want to reconsider laminate entirely or plan a different flooring strategy, because no underlayment can fully replace fast leak correction and thorough drying.
Frequently Asked Questions
What are the best ways to prevent water damage to laminate floors in a laundry room?
To prevent water damage, focus on moisture control and fast leak response. Use a high-quality laminate with an exterior moisture protection system or an attached waterproof backing, and apply manufacturer-approved sealant in seams if your product requires it. Keep floor areas dry by using door mats at entry points and cleaning up spills immediately with a damp cloth (not soaking the surface).
How do I waterproof a laminate floor around washers and plumbing in my laundry room?
Start by addressing the most common sources of water: washer hose connections, supply lines, and the drain line. Replace aging hoses with leak-safe or braided hoses and ensure proper fit to prevent slow drips. Consider installing a water-resistant underlayment and using caulk or sealant at expansion gaps and along wall edges where moisture can migrate.
Why is laminate more vulnerable to standing water, and how can I reduce the risk?
Laminate can swell and delaminate when water penetrates the edges, seams, or underlayment, especially if a spill sits long enough to soak through. The risk increases in laundry rooms because of frequent use, humidity, and the likelihood of small leaks. Reduce exposure by maintaining good ventilation, using a dehumidifier if needed, and wiping up any damp spots within minutes.
Which underlayment is best for water-prone laundry room laminate flooring?
Choose an underlayment designed for moisture resistance and compatible with your laminate’s locking system. Look for products labeled as waterproof or water-resistant and use a vapor barrier when required by your subfloor type. If you have a concrete slab, confirm the underlayment meets moisture standards to help stop water vapor from reaching the laminate joints.
How can I prevent water from collecting near the washer and prevent laminate swelling?
Install a leak detection tray or waterproof mat under and slightly around the washer to catch drips before they reach the laminate. Keep a small gap for expansion per the installation instructions, but seal baseboards or wall edges to prevent water from wicking into seams. Regularly inspect hoses for bulges or corrosion and test the washer for leaks, so you stop water damage early and avoid costly floor replacement.
📅 Last Updated: October 22, 2026 | Topic: How to prevent water damage to laminate floors in a laundry room? | Content verified for accuracy and freshness.
References
- Laminate flooring
- https://www.epa.gov/mold/mold-prevention-tips-homes
- https://www.cdc.gov/mold/default.htm
- WHO guidelines for indoor air quality: selected pollutants
- PMC Home
- https://www.hud.gov/program_offices/healthy_homes/mold/mold
- https://extension.umn.edu/mold/mold-prevention-and-control
- https://scholar.google.com/scholar?q=laminate+flooring+water+damage+prevention+laundry+room Google Scholar
- https://scholar.google.com/scholar?q=laminate+flooring+standing+water+moisture+underlayment+vapor+barrier Google Scholar
- https://scholar.google.com/scholar?q=laminate+floor+installation+moisture+testing+subfloor+ASTM Google Scholar