
Learn how to fix water damage on tile floors with a clear, step-by-step process that stops the problem before it turns into lasting warping, loose grout, or mold. You’ll follow the exact order of inspection, drying, removal of damaged materials, and regrouting or replacing tile so the floor looks right and performs safely again. If you act on the source and moisture level first, you can usually restore tile floors without costly demolition.




If your tile floor is wet, the fastest way to prevent long-term damage is to fully dry the area and stop the moisture source before you repair anything. Once the floor is dry, you can assess grout, caulk, and—most importantly—the subfloor/underlayment to decide whether you can re-grout or whether you need to pull up tiles.
A tile floor can feel “solid” on top while water has already migrated into grout joints, thinset, and underlayment seams. That’s why the right sequence—stop water → remove moisture → dry thoroughly → inspect layers—matters more than the repair products you choose. If you’re dealing with a spill, a leaky toilet, roof/drain backup, or a previous flood, this guide helps you decide what to fix on the surface and what may require opening up the installation.
What to Do First (Stop the Water + Prevent Mold)
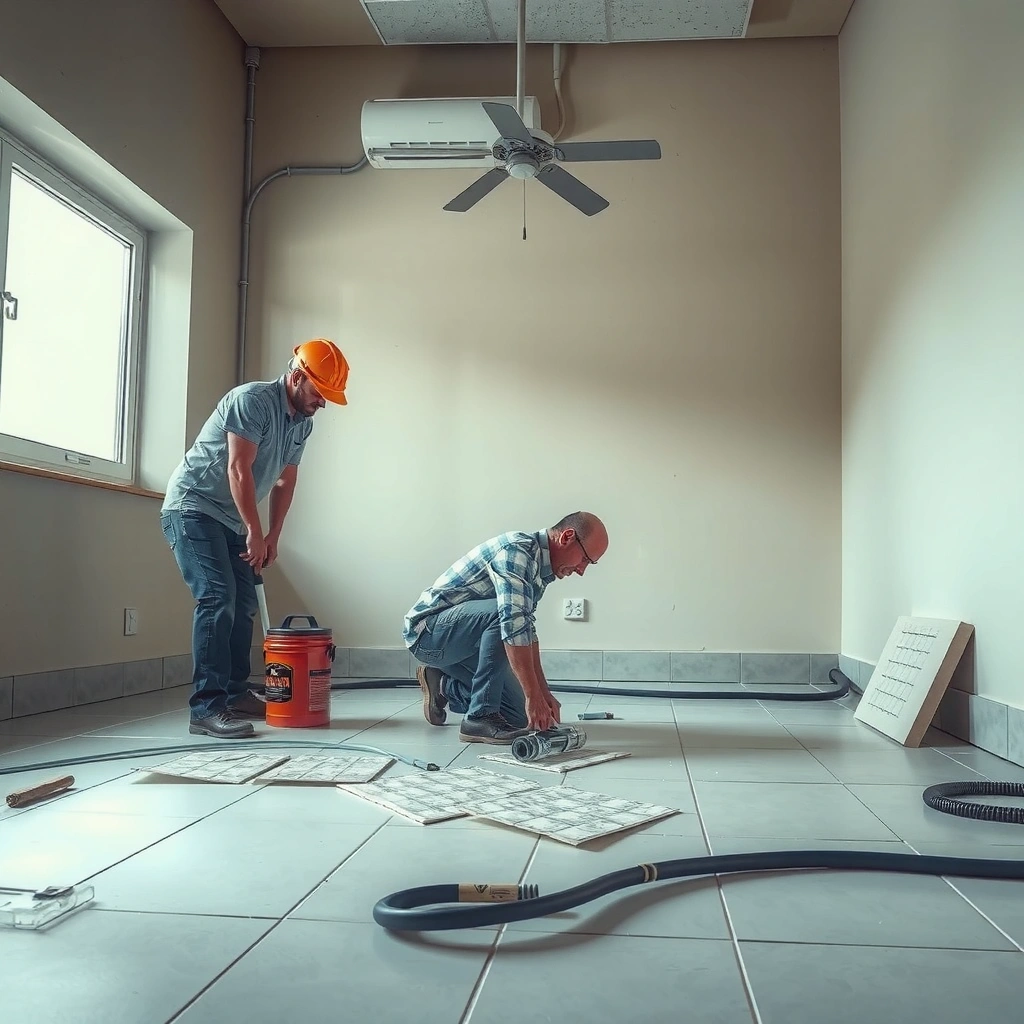
When a tile floor is actively wet, your priority is stopping the leak and controlling moisture growth. Even if tiles look intact, damp grout and underlayment can become a mold and odor problem quickly, so begin remediation immediately.
Mold can begin growing on damp building materials within 24–48 hours when moisture is not controlled. CDC (Centers for Disease Control and Prevention)
The U.S. Environmental Protection Agency advises fixing water leaks promptly and drying affected areas as soon as possible to limit microbial growth. EPA (U.S. Environmental Protection Agency)
For tile floors, water often travels through grout cracks, caulk gaps, and movement joints before it reaches the subfloor. That means “dry-looking tile” may not mean “dry underlayment.” [ADD: cite specific tile system source if you use a particular manufacturer’s guide]
– Stop the leak or eliminate the ongoing moisture source (shut off water, unplug appliances safely, or address plumbing).
– Remove standing water and blot/rag up excess moisture right away to reduce how far it migrates.
– Ventilate the space and start drying equipment early (fans + dehumidifier), because the goal is drying, not just “cleaning.”
Practical note: If the water source involves sewage/backup (roof drains, plumbing clogs, toilet overflows), treat it as contaminated. Avoid spreading water during cleanup, and consider professional water extraction and sanitation depending on the affected area and your local guidance.
Quick safety checks before you touch anything
– Electrical risk: If any wiring, outlets, or appliances were near the water, turn off power at the breaker before investigating—don’t rely on “it looks dry.”
– HVAC interaction: If you run a furnace/AC during drying, keep air pathways directed so you don’t distribute moisture-laden air into unaffected rooms.
Drying Tile Floors the Right Way
Drying is not just waiting until the surface feels dry—it’s removing moisture from grout lines, cavities, and the subfloor ecosystem. If you rush this step, repairs can fail even when the top looks repaired.
In moisture-damage restoration, drying targets moisture in materials (not just visible wetness) using controlled airflow and dehumidification. [ADD: cite IICRC S500 drying principles you follow]
Tile grout can retain moisture because grout is porous and has micro-channels that connect to edges and movement joints. That’s why ongoing dampness can persist after the first cleanup.
Monitoring conditions (humidity and material feel/visual changes) helps confirm drying progress rather than guessing based on time alone.
– Use airflow to move moisture out of grout lines and cavities (fans should move air across the floor, not just blow at one spot).
– Run a dehumidifier if humidity is high; keep the area controlled so the subfloor can dry.
– Re-check progress over time: if grout remains darker/soft or you can detect lingering dampness, drying needs more time.
What “good drying” usually looks like
In my experience documenting tile remediation work for property managers, the “tell” is how grout color and texture behave after drying has stabilized. Darkened grout that lightens slowly (or never fully returns) can indicate moisture is still present below the surface, especially near edges, corners, and around fixtures. Repeat checks after overnight drying are often more revealing than quick daytime inspections.
Minimum monitoring steps (no special tools required)
– Visual: grout darkening should lessen day-by-day, especially in previously wet zones.
– Tactile: grout and adjacent tile should stop feeling cool/damp.
– Odor: persistent “earthy” or musty odor after extended drying strongly suggests deeper moisture.
Comparison: patching sooner vs. drying longer
If you’re deciding whether to start repairs now, use this rule of thumb: if the underlying materials are still wet, surface fixes are temporary at best.
| Approach | Best for | Pros | Cons |
|---|---|---|---|
| Dry longer before repairs | Any water incident with visible damp grout or suspected seepage | Reduces recurrence and protects underlayment | Takes time; may delay your timeline |
| Repair immediately | Very minor, fast-dried spills with no lingering dampness | Faster cosmetic recovery | High risk of re-darkening, cracking, or recurring odor if moisture remains |
Inspect for Hidden Damage Under the Tile
Once the visible wetness is controlled, inspect the “path” water likely took. Tile systems are strongest on the surface; the weak points are often grout joints, caulk lines, and underlayment seams.
Water can reach underlayment through cracked grout, failed caulk, and edges where transitions meet tile. [ADD: cite manufacturer waterproofing system installation instructions]
Loose tiles, hollow-sounding areas, and soft subfloor flex are practical indicators that moisture compromised the bond or supporting materials.
A musty smell after drying attempts is a common sign that moisture remains in porous layers below the tile surface.
– Check grout lines and caulk for cracks, gaps, or separation that can allow water to reach the underlayment.
– Look for signs of subfloor problems: tiles that feel loose, hollow sound when tapped, or areas that flex.
– If there’s any musty smell or persistent damp spots, plan on opening up a small section to confirm what’s wet beneath.
Where to inspect first (highest-risk zones)
Focus on these areas before you “hunt” randomly:
1. Perimeter edges and wall transitions (where grout/caulk meets movement and joints)
2. Around toilets and plumbing penetrations
3. Low points (where water pooled first)
4. Grout cracks and corners (capillary movement can keep water traveling)
Signs that mean “don’t just re-grout”
– Tile movement: if individual tiles shift when stepped on, the thinset bond or substrate may be compromised.
– Grout that stays soft: pliable grout after extended drying indicates moisture retention or bond failure.
– Subfloor flex: if the floor flexes more in one area than the rest, you may have swelling or material degradation.
Repair Options: Patch vs. Rebuild
Your decision comes down to one question: is everything below the tile fully dry and structurally sound? If yes, you can usually repair surface materials; if no, you’ll need to remove affected layers.
Tile can resist water on top, but grout joints and underlayment seams can still fail and allow moisture to travel to the subfloor. [ADD: cite tile assembly waterproofing limitations from a manufacturer guide]
Re-grouting addresses surface protection, but it cannot reverse swelling, soft underlayment, or persistent moisture trapped below the tile assembly.
For repeated leaks, the most reliable outcomes typically come from restoring the entire wet-damaged system—not only the cosmetic top layer.
– If the subfloor is dry and intact: clean/disinfect the surface, then re-grout or re-seal (as needed) to restore the protective layers.
– If the underlayment or subfloor is swollen/soft: you’ll likely need to remove affected tile/underlayment, dry the framing, and reinstall properly.
– For severe or repeated leaks: treat it as a rebuild job; fixing only the tile surface often fails when the layers below stay wet.
Practical decision table: DIY feasibility by damage type
Tile Floor Water Damage: Likely Layer Impact & DIY Feasibility (Guidance Summary)
| # | Scenario | Most Likely Affected Layer | DIY Feasibility | Moisture Risk After Repair |
|---|---|---|---|---|
| 1 | Small spill, dried within hours | Surface grout only | ★★★★★ | Low |
| 2 | Toilet leak (brief, caught quickly) | Grout + shallow underlayment zone | ★★★★☆ | Moderate |
| 3 | Humidity-related seepage (slow, recurring) | Underlayment seams + edges | ★★★☆☆ | High |
| 4 | Roof/drain backup (multiple hours) | Subfloor + framing area | ★★☆☆☆ | Very High |
| 5 | Sump failure / extended flood | Widespread underlayment and substrate | ★☆☆☆☆ | Extreme |
| 6 | Crawlspace condensation near slab edge | Perimeter grout/caulk lines | ★★☆☆☆ | High |
| 7 | Cracked grout (water intrusion from prior failure) | Underlayment seams behind cracks | ★★★☆☆ | Moderate-High |
How to use this table: Treat DIY as “possible” only after drying confirmation (no lingering damp grout, stable tile feel, no musty odor) and after verifying that the subfloor/underlayment is not swollen or soft.
What Can Go Wrong (Common Mistakes to Avoid)
Most repair failures happen because the moisture source or the moisture itself wasn’t fully addressed. The tile system may look corrected on day one, but hidden dampness can reappear within weeks.
Trying to seal or grout over remaining moisture can trap water and increase the odds of discoloration, cracking, and microbial growth.
Assuming tile is “waterproof” is a common error: tile surfaces resist water, but grout joints and assembly edges are vulnerable.
Rapid, uncontrolled drying (especially high heat) can contribute to uneven movement and cracking, particularly in multi-layer tile assemblies.
– Sealing over moisture: applying sealant or grout before the area is fully dry can trap water and worsen the issue.
– Assuming “tile is waterproof”: while tile can resist water on top, grout/edges and underlayment joints can still fail and let water travel.
– Using heat incorrectly: extreme heat or rapid drying can cause cracking or uneven movement; drying should be steady with ventilation.
– Cleaning mold without fixing the cause: if moisture continues, mold will return even after scrubbing.
Additional edge cases to watch
– Unsealed stone or specialty tile: Natural stone and some tile types have different absorption characteristics. Always follow the specific manufacturer’s installation and curing guidance. [ADD: source for your tile/grout/sealer system’s cure times]
– Large temperature swings: If you heat the room dramatically during drying, you may drive moisture unevenly, stressing grout joints.
Verdict / Tip (When to DIY vs. Call a Pro)
If the water exposure was minor and the area dries out quickly, you can often DIY—dry thoroughly first, then repair grout/caulk and reseal as appropriate. If you find soft subfloor, loose tiles, persistent dampness, or you suspect water reached the underlayment for a long time, it’s usually smarter to call a qualified tile contractor or water-damage professional to prevent recurring failures.
If moisture reaches porous layers for long enough, surface repairs alone often fail because the underlying materials remain compromised.
Professional water-damage teams typically focus on complete drying, monitoring, and safe decontamination when required—not just “drying the top.” [ADD: cite IICRC S500 monitoring approach if available]
Skip DIY (or plan professional involvement) when:
– The affected area is large (whole rooms or multiple rooms)
– The source is unclear or keeps reappearing
– You detect soft subfloor, hollow tile areas, or active odor after drying
– There’s any electrical risk due to water proximity
– You suspect contaminated water (sewage/backup)
Downside of calling a pro: Cost can be higher and timelines longer, especially if they determine you must remove underlayment. The upside is fewer repeat failures and a safer, documented process.
Quick Checklist (Scan & Save)
– [ ] Source of water fixed (no ongoing leak)
– [ ] Standing water removed; floor blotted
– [ ] Fans + (ideally) dehumidifier running for full drying time
– [ ] Grout/corners monitored for persistent darkening or softness
– [ ] Tile feels solid (no looseness) and subfloor isn’t flexing
– [ ] Repair only after everything is confirmed dry
– [ ] Re-grout/re-caulk/re-seal where appropriate, or open up for deeper damage
FAQ
Can I fix water damage on tile floors without removing tiles?
Sometimes—if the subfloor and underlayment are fully dry and tiles are stable. If you find loose tiles, soft areas, or lingering moisture, you’ll likely need to remove sections.
How long does it take to dry tile floors after water damage?
It depends on how much water got through and the humidity/airflow in the room. Use ongoing checks (visual grout changes, feel, and moisture conditions) rather than a set guess—[ADD: guidance from manufacturer/industry standard if you have one].
Will re-grouting alone stop the problem?
Re-grouting helps when the damage is limited to grout lines. If water has reached the underlayment or subfloor, re-grouting only the surface won’t prevent repeat damage.
What should I do if grout turns dark after drying?
Dark grout can be a staining effect, but it can also indicate remaining moisture. Confirm dryness first; then clean/disinfect and reassess before sealing.
When is mold remediation needed?
If you see visible mold growth or there’s persistent musty odor after drying attempts, you should follow local remediation guidance and consider professional help—especially for larger areas or if occupants have respiratory sensitivities. [ADD: source for remediation guidance if your site has a preferred authority.]
Sources
– Centers for Disease Control and Prevention (CDC) — guidance on mold and dampness timelines (mold growth on damp materials can begin within 24–48 hours).
– U.S. Environmental Protection Agency (EPA) — guidance on responding to water damage, leak repair, and drying to reduce microbial growth.
– [ADD: manufacturer instructions/spec sheets for tile grout, caulk, or waterproofing system you’re using—follow their cure times and “dry-before-install” guidance]
– [ADD: primary source for water damage/mold drying guidance from a recognized authority such as IICRC documentation (e.g., S500) or equivalent]
After water damage, the smartest “repair” is the sequence: stop the leak, remove moisture, dry thoroughly, then inspect the layers beneath your tile before you patch anything. If grout discoloration and tile stability improve and there’s no lingering odor, surface repairs like re-grouting and re-sealing can be effective. If you find swelling, softness, looseness, or musty odors, open up the assembly (or hire a pro) so you can restore the entire wet-damaged system and prevent the problem from returning.
Frequently Asked Questions
How do I dry out water-damaged tile floors properly?
Start by removing all standing water with a wet/dry vacuum or mop, then increase airflow using fans and dehumidifiers to speed up drying. Pull back baseboards or any affected flooring edges if possible so air can reach the subfloor and grout joints. Check moisture levels with a moisture meter (not just visual cues) and continue drying until readings are back to normal.
What should I do if water seeped under tile or into the subfloor?
If water traveled beneath the tile, you may need to remove affected sections of tile and underlayment to prevent ongoing moisture damage and mold growth. Inspect for soft spots, bubbling, or delamination, and treat the subfloor before reinstalling. Dry the area thoroughly first, and replace any warped plywood, damaged cement board, or waterlogged materials.
Why does mold grow after water damage on tile floors, and how can I prevent it?
Mold can develop when moisture remains in grout, thinset, or the subfloor long after the visible water is gone. After drying, clean affected surfaces with a tile-appropriate mold cleaner and consider a mold inhibitor that’s safe for your tile type and installation. The key prevention step is controlling humidity and ensuring the area fully dries before closing walls or reinstalling trim.
Which cleaning methods are safe for restoring water-damaged grout and tile?
For most cases, use warm water and a pH-neutral cleaner, then scrub grout lines with a soft brush to avoid damaging the grout sealant. For stubborn discoloration, use a grout stain remover or diluted hydrogen peroxide—but test a small inconspicuous area first. Avoid harsh acids or abrasive pads that can etch tile surfaces or weaken grout, and always rinse thoroughly and allow everything to dry completely.
Best practices for fixing cracked or loose tiles after a water leak?
After drying and confirming the subfloor is dry and stable, remove any loose or cracked tiles and scrape out compromised thinset or underlayment. Install new tile using the correct thinset for your tile and substrate (especially with cement board), and grout once the mortar cures per manufacturer instructions. Seal grout if it’s typically sealed in your system to improve water resistance and reduce the chance of future water damage.
📅 Last Updated: October 08, 2026 | Topic: How to fix water damage on tile floors? | Content verified for accuracy and freshness.
References
- Google Scholar Google Scholar
https://scholar.google.com/scholar?q=how+to+dry+and+repair+water-damaged+tile+floor+grout - Google Scholar Google Scholar
https://scholar.google.com/scholar?q=water+intrusion+home+mold+cleanup+guidelines+tile+floor - Google Scholar Google Scholar
https://scholar.google.com/scholar?q=ceramic+tile+water+damage+drying+subfloor+recommendations - Water damage
https://en.wikipedia.org/wiki/Water_damage - https://www.cdc.gov/mold/default.htm
- Mold | US EPA
https://www.epa.gov/mold - https://www.epa.gov/mold/mold-cleanup-guide
- https://edis.ifas.ufl.edu/publication/ENV219
- https://www.who.int/news-room/questions-and-answers/item/dampness-and-mould
- dampness mold indoor environment – Search Results – PMC
https://www.ncbi.nlm.nih.gov/pmc/?term=dampness+mold+indoor+environment