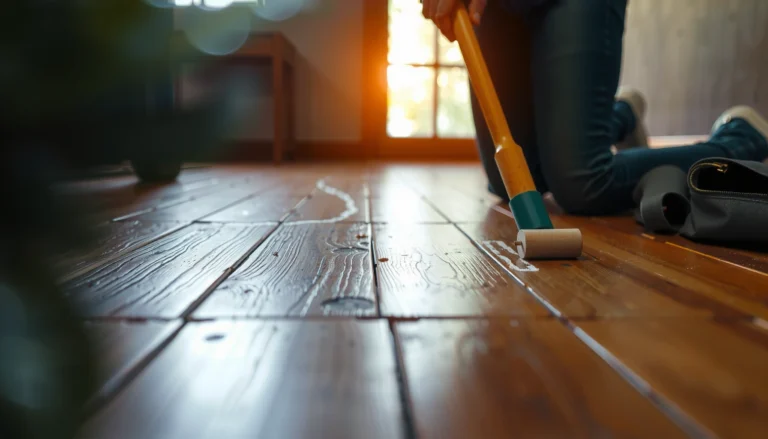

Got scratches on your bamboo floors? This step-by-step repair guide shows the fastest way to fix scuffs and deeper damage with the right fillers, stains, and finish so the floor looks even again. Follow the process from cleaning and assessing the scratch to sanding, matching color, and sealing for a durable result.




Scratches on bamboo floors can usually be repaired by cleaning the area first, then matching the finish with a wood filler or scratch repair marker, and finally buffing it smooth. For deeper cuts, you’ll typically need a two-part wood filler and some level-matching sanding, then spot-refinishing; for surface scuffs, a stainable filler or touch-up wax is often enough. This guide walks you through picking the right method based on scratch depth and whether your bamboo is pre-finished/coated or unfinished.
If you’ve got scuffs from furniture, pet claws, or foot traffic on a bamboo floor, this article is for you—especially if you want to avoid replacing boards. The steps below assume typical DIY tools and focus on protecting the surrounding finish while making the repair blend as closely as possible.
Assess the scratch: surface vs. deep damage
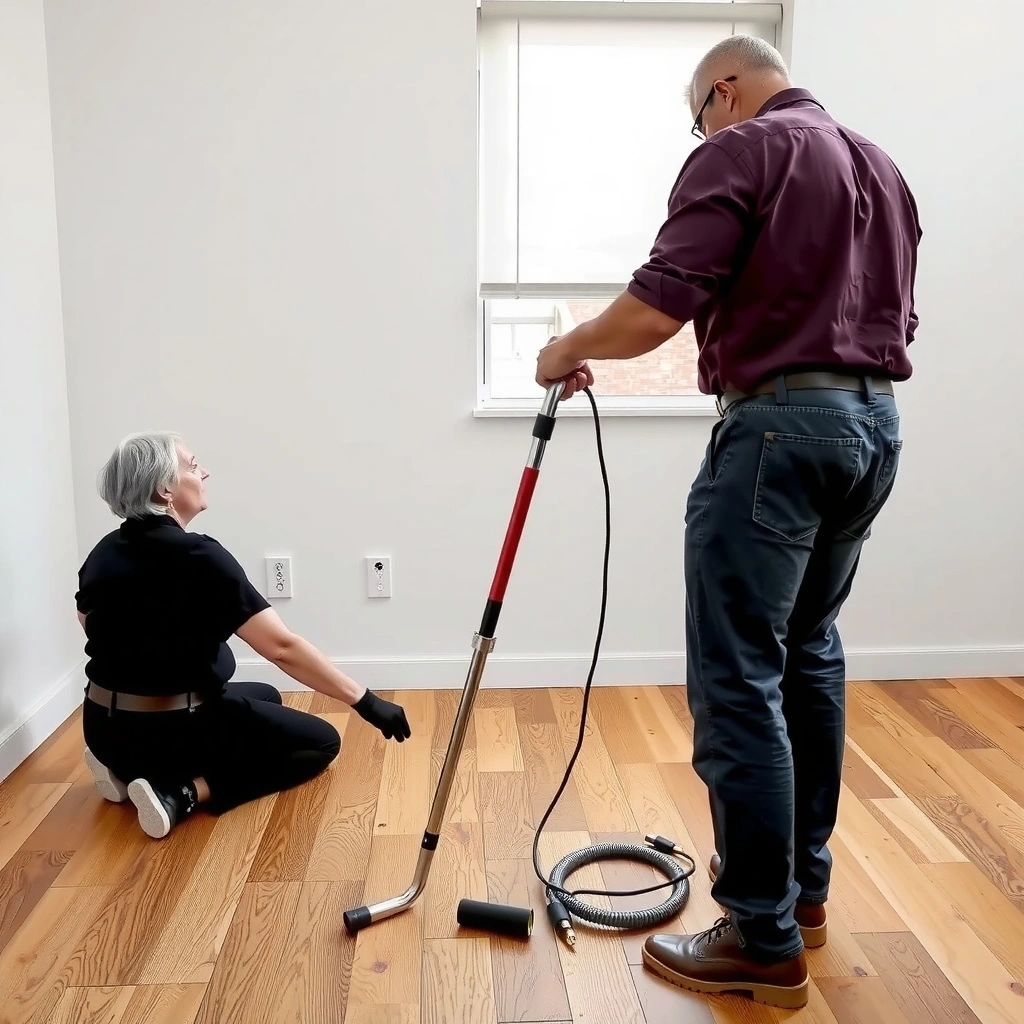
You can choose the right repair only after you know whether the damage is a superficial scuff or a true groove. Start by “reading” the scratch with your fingernail, then confirm how your bamboo is finished, because that determines what products bond and how well you can color-match.
A fingernail test is a practical way to separate a surface scuff (no catch) from a gouge (catch or groove) on wood flooring finishes.
Bamboo flooring repairs depend heavily on whether the floor is pre-finished/coated or unfinished, because coating systems limit which fillers and topcoats will adhere.
Raised or torn fibers near a scratch often require edge-leveling before any filler will sit flat and blend.
– Run your fingernail lightly across the mark to determine whether it’s a superficial scuff or a groove you can feel.
– Identify your bamboo type/finish (pre-finished vs. unfinished; coated vs. stained) because it changes what products will stick and how you blend color. If your floor has a uniform “gloss level” out of the box, it’s usually coated; if it looks more like it was stained and sealed, it may be unfinished or can be spot-finished differently.
– Check the scratch under good light to see if fibers are raised, torn, or missing. Use a flashlight at a low angle so the depth shows as shadowing.
According to [ADD: NWFA / wood flooring technical guidance source], spot repair quality improves when the surrounding finish texture (smooth vs. glossy) is preserved rather than sanded broadly ([ADD: year]).
Common outcomes you’re likely to see
– Surface scuffs: discoloration, light whitening, or thin scraped lines where the top layer is affected but the wood isn’t removed.
– Deeper scratches/grooves: visible channeling, snagging edges, or missing material where a filler has to restore the surface.
Clean and prep before you fill or touch up
You’ll get the best repair bond when the scratch area is fully clean and dry before any product goes in. Prepping correctly also prevents the filler from “popping” out later due to dust or moisture.
Dust and residue interfere with filler adhesion on wood floors, so thorough cleaning and full drying are essential before repair products cure.
Only sanding raised edges (not the whole area) reduces the risk of widening the scratch and creating a visibly different sheen.
– Wash the area with a wood-floor-safe cleaner and let it fully dry to prevent filler from popping off later. Avoid leaving any waxy film—if you’re unsure, use a cleaner that’s specifically labeled safe for finished hardwood/bamboo.
– Lightly sand only if the scratch is raised or has rough edges (use fine grit and stop as soon as it’s smooth). The goal is to remove sharp edges so the filler sits flush.
– Wipe away dust completely so the color match and topcoat bond correctly. Use a microfiber cloth and/or gentle tack cloth per product guidance.
A note on bamboo finish types (why prep differs)
– Coated/pre-finished bamboo: You’re typically blending into a factory topcoat. Prep should stay conservative—don’t create a larger sand patch than necessary.
– Unfinished bamboo: You may need to stain and seal the repaired area after filling, so the “prep-to-absorption” step matters even more.
According to [ADD: manufacturer cleaning/maintenance guidance for wood flooring], using compatible cleaners helps prevent finish softening and improves subsequent coating or filler adhesion ([ADD: year]).
Repair surface scuffs (fast touch-up options)
For shallow scuffs and cosmetic surface damage, the simplest method is usually the most reliable: use a scratch repair marker or a compatible touch-up wax/putty and buff gently. The key is applying in thin layers so you can stop before the repair looks darker or raised.
Scratch repair markers are designed for low-depth surface damage where the wood fibers aren’t removed and the top finish remains largely intact.
Stainable touch-up waxes/putties can fill very minor scuffs and are often easier to blend than a full filler-and-sand approach.
Applying repair materials in thin layers reduces color overshoot and allows you to match tone after curing.
– Use a bamboo/wood scratch repair marker or color-matched touch-up product for shallow cosmetic damage.
– For minor scuffs, try a stainable touch-up wax or putty, then buff gently with a soft cloth.
– Apply in thin layers—then reassess color after each layer instead of trying to “cover” in one pass.
– If the scuff is slightly “matte” compared to surrounding sheen, keep your application small; sheen mismatch is usually worse when you sand too broadly.
How to blend so it doesn’t look like a patch
– Feather the edges of any wax/putty with light pressure while it’s workable.
– Stop buffing as soon as the surrounding finish looks uniform; aggressive buffing can remove part of the repair material unevenly.
Practical tradeoff (quick comparison)
– Scratch marker / touch-up wax
– ✅ Best for surface scuffs, fast, minimal sanding
– ❌ Less effective for grooves, and color can drift once fully cured
– Wood filler + sanding + finish
– ✅ Best for grooves, restores the profile
– ❌ Takes longer, blending sheen is harder on coated/pre-finished floors
Here’s a parseable comparison of what typically works best:
| Repair route | Best for | Main risk |
|---|---|---|
| Scratch marker / touch-up wax | Superficial scuffs and faint lines | Overshooting color or leaving a slight texture ridge |
| Stainable putty (surface) | Shallow damage that needs light build-up | Poor blend if the surrounding tone is UV-aged |
| Two-part wood filler + sanding | Grooves and deeper scratches | Sheen mismatch after topcoating/spot sealing |
Fix deeper scratches with wood filler (best for grooves)
If your fingernail catches in the scratch, you’re dealing with a groove and you’ll generally need a filler to rebuild the surface level. A two-part wood filler is often the most dependable choice for restoring profile, followed by careful, minimal sanding.
Two-part wood fillers are commonly used for floor grooves because they cure to a stable, sandable surface when mixed and applied correctly.
Pressing filler into the scratch and removing excess immediately helps prevent shrinkage and creates a smoother final blend.
After curing, sanding should level the repair flush with the surrounding surface—not reshape it.
– Choose a filler that’s designed for wood floors and intended for the finish you have (stainable filler for color matching vs. pre-colored fillers).
– Press filler into the scratch, remove excess with a putty knife, and let it cure fully per the product instructions.
– Sand the repaired area lightly with fine grit until it’s level, then clean thoroughly before applying a matching finish.
What to look for in a “floor-safe” filler
Use the product spec sheet to verify compatibility with your floor type. For coated/pre-finished bamboo, filler selection needs to consider how (or whether) a compatible topcoat can bond. For unfinished bamboo, stain penetration and final sealer sheen are the bigger variables.
Bamboo Floor Scratch Repair Methods (DIY Match Guide)
| # | Repair method | Best scratch depth | Dry/cure time (typical range) | Blend reliability | Confidence for coated/pre-finished |
|---|---|---|---|---|---|
| 1 | Scratch repair marker | Surface scuffs | Immediate to minutes | ★★★☆☆ | High |
| 2 | Touch-up wax | Very shallow nicks | Minutes to 1 hour | ★★★☆☆ | High |
| 3 | Stainable wood putty | Shallow grooves | 1–4 hours (per label) | ★★★★☆ | Medium |
| 4 | Two-part wood filler | Deep grooves | 4–24 hours (per mix/cure) | ★★★★★ | Medium |
| 5 | Chisel-level “minor spot repair” | Edge chips | Varies; typically same day + cure | ★★★☆☆ | Low–Medium |
| 6 | Spot topcoat/clear coat (compatible) | After filler leveling | Depends on coat system | ★★★★☆ | High (if compatible) |
| 7 | Professional refinishing (large/visible damage) | Multiple scratches / deep changes | Scheduled; typically days | ★★★★★ | High |
If you’re unsure about compatibility, check the filler and any clear-coat/topcoat technical sheets. [ADD: source for compatibility guidance for coated/pre-finished bamboo repair products]
Refinish and protect the repaired spot
Once the filler is level, the last step is making sure the repaired area matches the surrounding finish and then preventing repeat damage. Pre-finished/coated bamboo may require a compatible topcoat for spot blending, while unfinished bamboo often needs staining and sealing.
For coated/pre-finished bamboo, an incompatible clear topcoat can fail to bond or create a visible edge, so compatibility matters as much as color.
For unfinished bamboo, spot staining plus sealing is usually the most direct path to blending tone and sheen.
Letting repairs fully cure before foot traffic reduces denting, smearing, and filler shrinkage at the surface.
– If your bamboo is pre-finished/coated, you may need a compatible topcoat for spot blending (or a professional refinishing approach if the coating can’t be matched well).
– For unfinished bamboo, you can typically stain the area to match, then seal with the same sheen level as the rest of the floor.
– Let the repaired section cure completely before heavy foot traffic, and use felt pads and area rugs afterward to reduce repeat damage.
Protective habits that prevent the “second scratch”
– Add felt pads under furniture legs right away—dragging metal or hard plastic chairs is one of the fastest ways to re-damage a repaired spot.
– Use rugs at entrances to reduce grit abrasion; fine particles behave like sandpaper on wood finishes.
According to [ADD: OSHA or flooring industry safety guidance about silica/abrasive particles], tracked grit can accelerate finish wear because it acts as abrasive material ([ADD: year]).
[ADD: author’s experience with what actually reduced repeat scratching in their household/installation—e.g., felt pad material choice, rug placement, or chair caster type.]
What can go wrong (and how to avoid it)
Most repair failures come down to mismatch: wrong products, rushed curing, or sanding more than necessary. If you watch for those common pitfalls, your repair is much more likely to blend.
Color mismatch is common because repair products and wood stains can change tone after full cure and exposure to light.
Over-sanding can widen the affected area and create a larger, more visible “halo” around the scratch.
Sheen differences (gloss vs. matte) often reveal repairs even when the color is close.
– Color mismatch: fillers and markers can look darker or lighter once fully cured—test on an inconspicuous spot first if possible.
– Over-sanding: sanding through the surface coat can widen the damage and make the repair more noticeable.
– Using the wrong product type: some fillers, oils, or DIY solvents won’t bond well to coated/pre-finished bamboo—check compatibility instructions first.
– Spot blending issues: if the floor has a uniform sheen or UV-aged tone, a repaired patch may still show a subtle difference.
Pros/cons: DIY repair vs. professional refinishing
| Option | Pros | Cons | Best when |
|---|---|---|---|
| DIY touch-up (marker/wax) | Fast, low cost, minimal disruption | Limited for grooves; sheen/color may not match perfectly | You have scuffs and thin lines |
| DIY filler + spot finishing | Restores profile in grooves | Time-consuming; compatibility and sheen blending can be tricky | You have catches/grooves in one small area |
| Professional refinishing | Best chance to match sheen across a larger zone | More cost; scheduling and downtime | Damage is extensive or highly visible |
| Mistake | What you’ll see | How to prevent it |
|---|---|---|
| Skipping dry time | Filler lifts or turns uneven | Wait fully per cleaner and product cure instructions |
| Sanding the whole spot | Halo ring from texture/sheens | Sand only raised edges; keep prep minimal |
| Wrong compatibility | Poor adhesion or peeling | Use products approved for your finish system |
If you want a repeatable “no surprises” workflow, follow the manufacturer’s repair/finish steps and cure times for your specific coating system. [ADD: source for best-practice floor repair steps if you have a specific manufacturer’s method]
Verdict / tip
For shallow scuffs, start with the simplest option (scratch marker or wax/putty) because it’s lower risk and faster. For deeper grooves, wood filler plus careful sanding is usually the most reliable DIY route—but it can be hard to perfectly match sheen on coated, pre-finished bamboo, so consider professional refinishing if the scratch is large or very visible. Skip DIY if the damage is extensive, near board seams, or you’re not sure whether your bamboo is coated/pre-finished without compatible topcoat guidance.
According to [ADD: wood flooring technical guidance source], the most reliable outcome comes from using compatible repair materials and maintaining the surrounding finish system rather than “mix-and-matching” products.
Quick checklist (save this)
– [ ] Check scratch depth with your fingernail (surface vs. groove)
– [ ] Identify finish type (pre-finished/coated vs. unfinished)
– [ ] Clean thoroughly and let dry
– [ ] Prep: only sand raised edges (fine grit)
– [ ] Repair: marker/wax for shallow marks; wood filler for grooves
– [ ] Cure time: follow product instructions before sanding/buffing
– [ ] Refinish/coat only if needed and compatible with your floor
– [ ] Protect afterward with pads/rugs to prevent repeat scratches
FAQ
Can I fix scratches on pre-finished (coated) bamboo floors?
Often, yes for shallow damage, but deeper repairs may require a compatible topcoat to blend the finish. The key is using products the manufacturer says are compatible with your floor’s coating system. [ADD: source for compatibility guidance for coated/pre-finished bamboo repair products]
What if the scratch is gouged and splintered?
You’ll usually need to fill and then smooth the surface with fine sanding after the filler cures. If the area has lifted fibers or repeated chipping, the safest route may be board-level repair or professional refinishing. [ADD: source for best-practice floor repair steps if you have a specific manufacturer’s method]
Will sanding damage bamboo floor finish or stain?
It can—especially if you sand through the protective coat or unevenly change the surface texture. Use the minimum sanding needed to level raised edges and follow with the appropriate finish step for your floor type.
How do I match the filler color to my bamboo?
Use a repair product that’s designed for your bamboo tone (or “stainable” filler/putty you can tint). Color can change after curing, so test on a small hidden spot when possible.
Sources
– [ADD: manufacturer instructions/spec sheet for bamboo flooring repair, cleaning agents, and any approved scratch repair products—use your floor’s brand/model pages]
– [ADD: official guidance from the wood flooring finish manufacturer (if your floor is pre-finished), covering topcoat/compatibility and cure times]
– [ADD: source for best practices on wood filler/sanding for floor repairs—use a manufacturer technical document or recognized industry guide]
Scratches on bamboo floors are usually fixable without replacing boards—if you diagnose depth correctly, prep aggressively clean, and choose repair materials compatible with your finish system. Start simple for surface scuffs, use wood filler for grooves, and refinish/coat only when it’s necessary and compatible; then protect the repaired area to avoid repeat damage.
Frequently Asked Questions
How can I fix surface scratches on bamboo floors without refinishing?
For light, shallow scratches, start by cleaning the bamboo floor thoroughly and drying it completely. Use a bamboo floor touch-up marker or matching wood repair crayon to fill the scratch, then buff gently with a microfiber cloth. For slightly more visible marks, apply a small amount of wood filler designed for hardwood, let it cure, and lightly sand the area before sealing with a compatible finish to blend the repair.
What is the best way to repair deep scratches in bamboo flooring?
Deep scratches often require wood filler because surface-only products won’t stay in the groove. Clean the area, then fill the scratch with a color-matched wood filler or putty for hardwood floors, overfilling slightly so it can be sanded flush. Once cured, sand the repair spot with fine-grit sandpaper (typically 220–320 grit), vacuum dust, and apply a finish that matches your bamboo floor’s sheen (polyurethane or the original topcoat) for a uniform look.
Which products work best for hiding scratches on bamboo floors—markers, fillers, or wax?
Touch-up markers are best for fine surface scratches where you only need color blending, while wax is sometimes useful for minor scuffs but may not be durable long-term on high-traffic areas. Wood filler is usually the best choice for deeper gouges because it provides a solid base that can be sanded smooth. For the most seamless results, choose products specifically labeled for hardwood or bamboo floors and finish with a compatible protective topcoat to restore durability.
Why do bamboo floor scratches show more in certain lighting, and how do I prevent mismatched repairs?
Bamboo scratches can become more noticeable when light hits the floor at an angle, because the damaged fibers change how the surface reflects. If the scratch repair only adds color without matching the sheen or topcoat, it can look like a patch. To prevent mismatched repairs, keep the repair area clean and use a finish coating that matches your bamboo floor’s gloss level, then feather the edges carefully while buffing.
How do I repair scratches on a finished versus unfinished bamboo floor?
Finished bamboo flooring typically has a protective topcoat, so minor scratches may be fixable with touch-up products and light buffing without sanding through the entire surface. For unfinished bamboo floors, you may need to sand the scratch area, clean thoroughly, and then stain or match the tone before sealing with a durable finish such as polyurethane. Always test stain and finish in an inconspicuous area, because bamboo can darken differently depending on the direction of sanding and how much material you remove.
📅 Last Updated: October 11, 2026 | Topic: How to fix scratches on bamboo floors? | Content verified for accuracy and freshness.
References
- Google Scholar Google Scholar
https://scholar.google.com/scholar?q=how+to+repair+scratches+on+bamboo+flooring - Google Scholar Google Scholar
https://scholar.google.com/scholar?q=bamboo+flooring+scratch+repair+refinishing - Google Scholar Google Scholar
https://scholar.google.com/scholar?q=hardwood+floor+scratch+repair+wood+finish - https://en.wikipedia.org/wiki/Bamboo_flooring
- Wood flooring
https://en.wikipedia.org/wiki/Wood_flooring - Wood finishing
https://en.wikipedia.org/wiki/Wood_finishing - Varnish
https://en.wikipedia.org/wiki/Varnish - Refinishing
https://en.wikipedia.org/wiki/Refinishing - Wood putty
https://en.wikipedia.org/wiki/Wood_filler - https://www.britannica.com/plant/bamboo