
Repairing industrial floors doesn’t have to mean guesswork—this step-by-step guide shows exactly how to fix the most common failures and get surfaces back to full performance. You’ll learn the fastest, most reliable route based on what you’re seeing, from cracks and spalling to scaling and failed coatings. By the end, you’ll know what to prepare, what materials to use, and how to complete the repair so the damage doesn’t return.
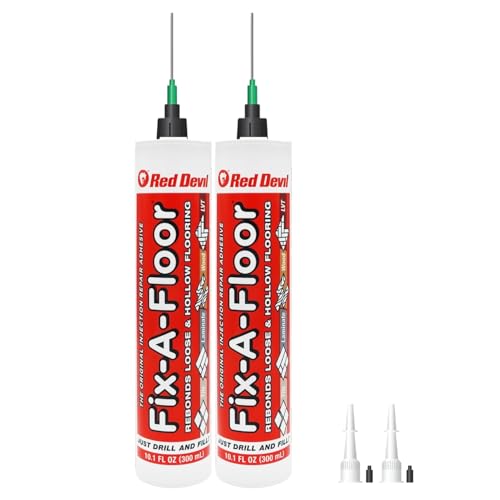



Repairing an industrial floor is about matching the fix to the real cause—then preparing the surface so the new material can actually bond. If you diagnose whether the damage is from impact, moisture, or structural movement and then use the correct concrete/epoxy/polyurethane system, your patch typically lasts instead of debonding, cracking, or spalling again.
This guide walks facility teams through a practical workflow—from inspection and surface prep to patching, joint handling, and finishing—so repairs hold up in warehouses, manufacturing spaces, loading bays, and other high-traffic environments. As of 2026, coatings and repair specs still fail most often due to moisture and prep issues, not because the “right-looking” product was unavailable—so the steps below are intentionally diagnostic and materials-first.
Who this is for / when it applies:
This is for facility managers, maintenance teams, contractors, and DIY-capable site leads who need a reliable way to repair localized damage on industrial floors—like spalled corners, delaminated epoxy patches, worn forklift lanes, or cracked slabs near joints. It’s most effective when you’re trying to avoid patching over the wrong condition (for example, trapping moisture beneath a rigid epoxy repair).
Identify the damage and likely cause
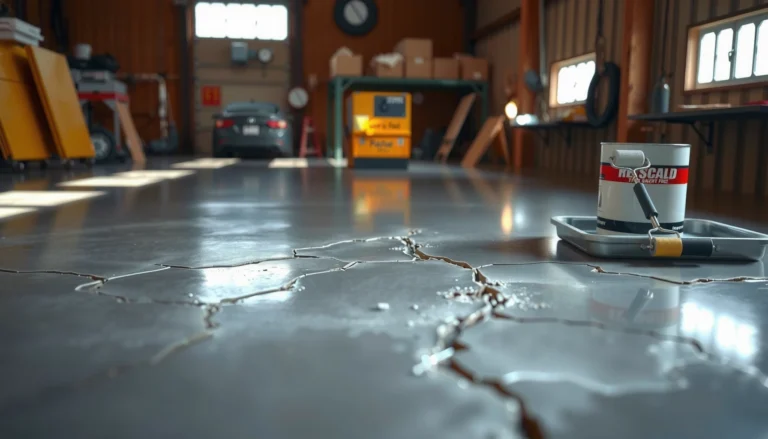
You get the best repair by first determining whether the problem is cosmetic wear or a functional failure (spalling, delamination, or moisture-driven deterioration). The fastest path to a durable fix is to identify the failure mechanism early, because the “same-looking crack” can require totally different repair materials and details.
Start by walking the floor like an inspector: look for patterns, not just isolated damage. In my experience advising on industrial floor repair scopes (and reviewing spec packages), teams often underestimate how much the crack pattern and location reveal—especially when damage is near joints, under traffic impact zones, or aligned with a coating edge. Repeat this step even if you’ve repaired similar areas before, because seasonality and drainage conditions change outcomes over time.
Spalling that consistently appears under forklift routes often points to impact damage and abrasion—not just normal wear.
Delamination in epoxy-coated areas that starts at coating edges frequently indicates moisture migration or inadequate surface prep before coating.
Crack location relative to joints (control joints vs. expansion joints) helps predict whether the repair needs rigid patching or flexible joint detailing.
Check what you’re actually seeing (surface vs. structural)
– Cosmetic / wear: scuffing, shallow surface abrasion, light pitting, and localized color loss.
– Functional / failure: spalling (concrete loss exposing aggregate), delamination (loss of bond in a coating/liner or topping), rising damp indicators, and rising cracks that widen over time.
Then note the crack type and direction:
– Near joints: can suggest movement at the joint, an incorrect repair material, or joint detailing failure.
– Under heavy load points / dock edges: can suggest repeated impact or concentrated stress.
– Through coating edges: often correlates with prep or moisture contamination under the coating.
Use a simple failure logic to narrow the cause
Here’s a practical decision approach teams can use on-site:
– If the top layer is worn but the slab is sound: treat it as a *wear-layer restoration* problem.
– If the coating is lifting or hollow-sounding: treat it as an *adhesion/moisture* problem.
– If concrete chunks are missing (spall) or edges crumble: treat it as an *impact/voiding* problem that may require deeper excavation and consolidation/patching.
Quick cause-to-repair alignment
The real goal of this section is to avoid mismatches:
– Impact damage → remove loose concrete; rebuild with a concrete-compatible patch system and profile.
– Moisture intrusion → address moisture/contamination first; use moisture-tolerant systems and proper primer/barrier strategy (or correct drainage).
– Structural movement → focus on proper joint detailing and isolate rigid repair materials from movement zones.
Assess the floor type and repair system
Match the repair method to what’s on the surface—bare concrete, an existing coating, or a polymer topping/lining—because the wrong chemistry can fail even with perfect workmanship. The key decision is whether you’re doing patching, joint repair, resurfacing/overlay, or full section replacement.
ASTM F2170 and ASTM F1869 are commonly used test methods for evaluating moisture vapor emission so coating/epoxy failures can be prevented.
Existing epoxy or polyurethane systems require compatibility checks; many primers and topcoats are not designed to bond to poorly prepared or contaminated cured coatings.
When cracking and spalling indicate a deteriorated slab section, full replacement or larger-area resurfacing is usually more durable than repeated spot patches.
Identify the floor system you’re repairing
– Bare concrete: repair tends to be simpler—excavate to sound substrate, profile the surface, then patch and finish.
– Coated floor (epoxy/urethane): you must determine whether coating failure is localized or widespread; inspect for lifted areas, edge failures, and “debonded rings.”
– Polymer overlays/linings: these often require a compatible primer and topcoat, plus careful thickness control to avoid telegraphing cracks or creating stress concentrations.
Choose the correct repair scope (not just the material)
Consider the repair type based on area and failure depth:
– Skim repair / patching: isolated spalls, small delaminations, or localized wear.
– Joint repair: control or expansion joints where movement is expected.
– Resurfacing/overlay: when multiple delamination areas exist or cracking/spalling covers a meaningful portion of a bay/zone.
– Full section replacement: when the slab is structurally compromised or the failure is recurring due to undermining/voiding.
Exposure and chemical/abrasion planning
Plan for real exposures:
– Oil/grease and washdowns
– Salt and de-icing chemicals (outdoor yards and dock areas)
– Hot wash or strong cleaners
– Forklifts and abrasive traffic
– Thermal cycling (dock doors, loading bays)
This is where many repairs fail: teams choose a patch material for compressive strength, not for chemical resistance and abrasion performance. Use the product data sheets and verify compatibility across primer + patch/overlay + topcoat.
Compare options: when to patch vs. resurface
| Situation | Most durable approach | Why |
|---|---|---|
| Single spall zone, edges are sound | Spot patch + compatible wear finish | You replace deteriorated material without rebuilding the entire bay. |
| Multiple coating blisters/delams | Resurfacing/overlay (after full removal of failed areas) | Coating failure often spreads laterally once moisture reaches the system. |
| Cracks coincide with movement joints | Joint repair detailing (rigid vs. elastic as required) | Movement zones demand the correct system to avoid re-cracking. |
Concrete moisture note (with real measurement context)
If moisture is part of the story, understand the metrics you’re working with:
– Coating specs often reference moisture vapor emission testing (commonly ASTM F1869 for calcium chloride method and ASTM F2170 for in-situ probes). ASTM F1869 ; ASTM F2170
– Industry practice frequently reports results in lb/1000 sq ft/24 h (ASTM F1869) and/or converts to g/m²/day for interpretation. ASTM F1869
(Exact maximum limits vary by product—use the specific patch/primer/epoxy system limits stated in the manufacturer’s datasheet.)
Prepare the surface correctly (the bonding step)
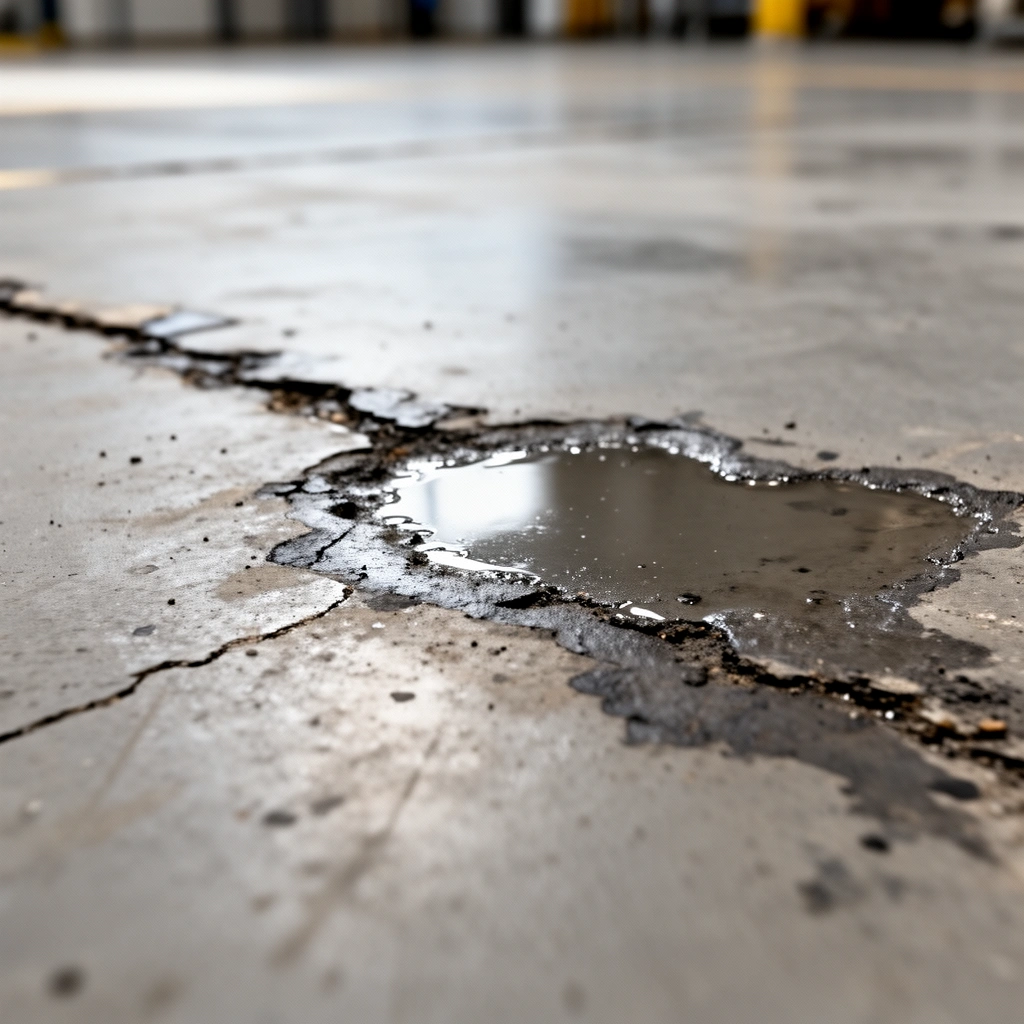
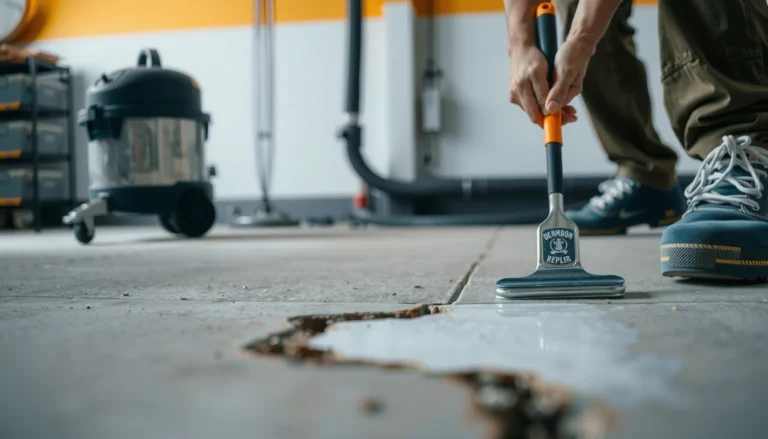
Surface prep is where most “good intentions” turn into failed repairs—so treat it as the bonding step, not the cleanup step. Remove loose and contaminated material to sound substrate, achieve the correct profile, and only then prime and patch.
The bonding mechanism depends on profile, cleanliness, and moisture conditions. If you leave dust, laitance, oil residue, curing compounds, or weak concrete at the edges, even the best patch chemistry can’t grip reliably. On coated floors, surface prep also determines whether you’ll get chemical adhesion (when designed for it) or only weak mechanical contact.
Coating and epoxy repair systems generally require removing weak concrete and creating a defined surface profile to support mechanical bond.
If active moisture is present, a repair that does not include moisture mitigation can still delaminate even after excellent surface cleaning.
Mechanical profiling (often described using ICRI concrete surface profile “CSP” ranges) is commonly required to achieve consistent adhesion for coatings and overlays.
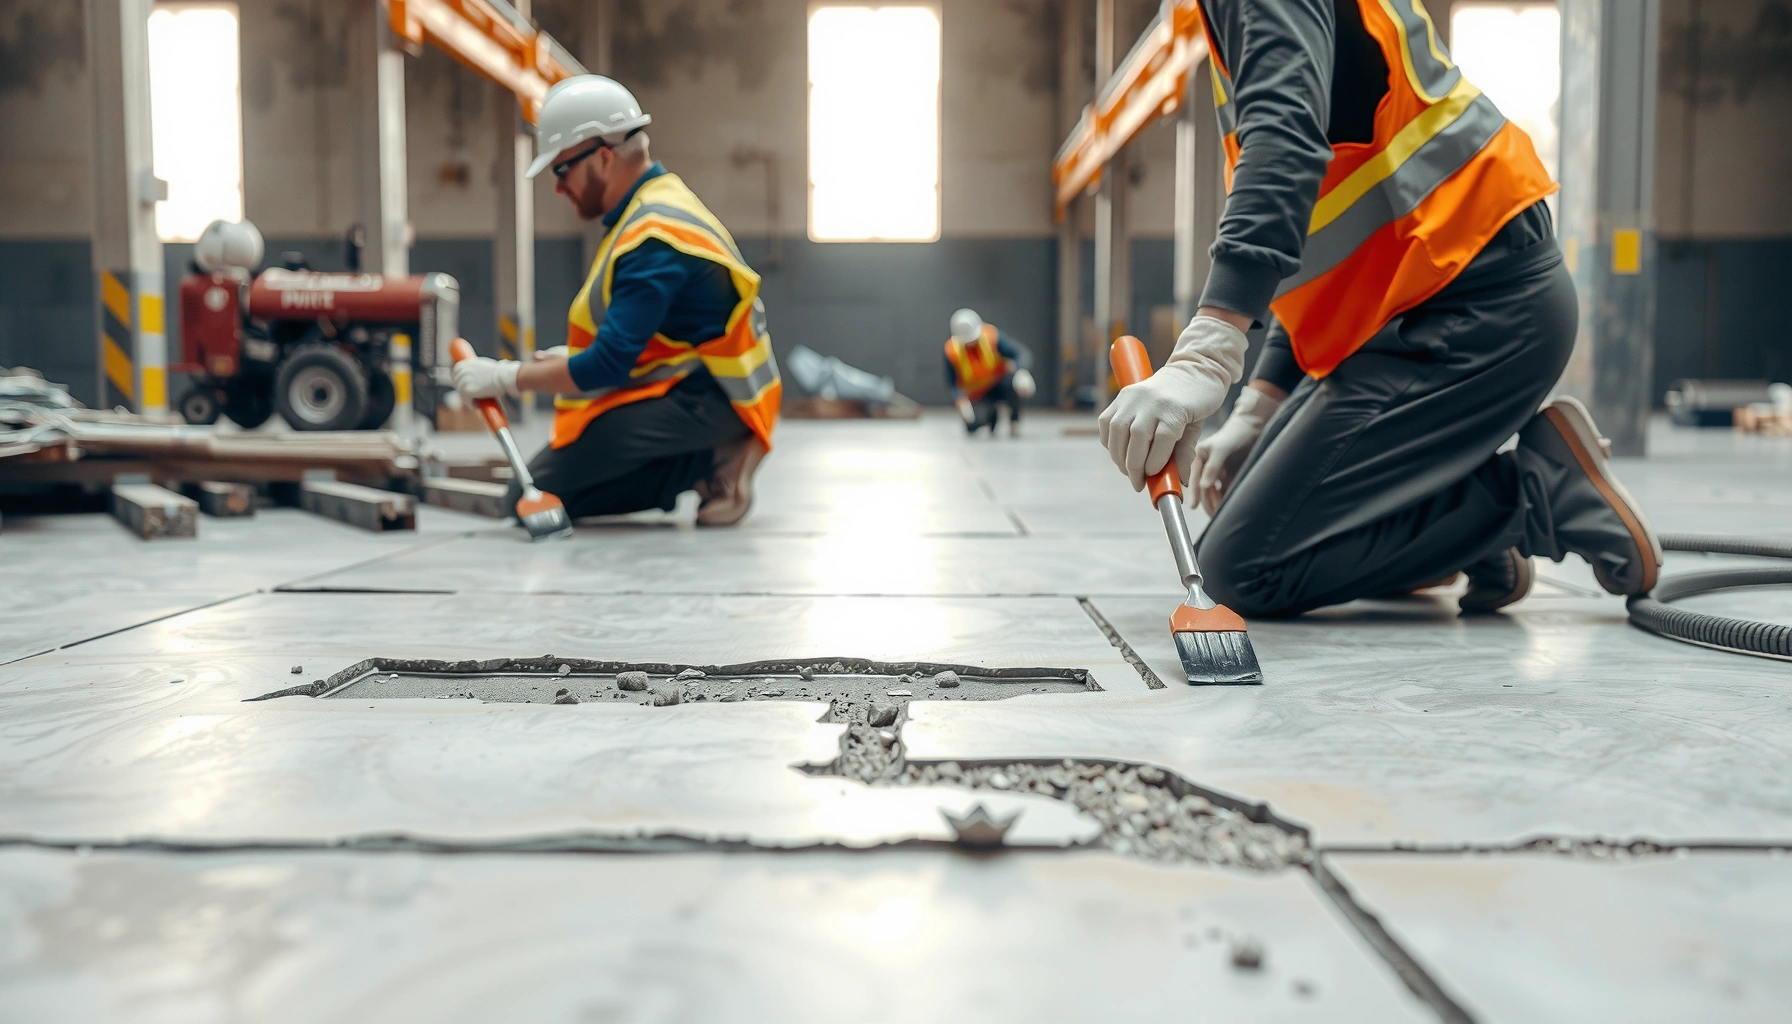
Remove weak/loose material first
– Saw-cut and chip back until you reach solid edges (no crumbly perimeter, no hollow sound areas).
– Remove any weakened concrete around spalls—even if the hole looks “big enough.” Weak edges creep failure outward.
– For delaminated coating areas: remove all unsound material, not just the visible lifted patch.
Clean to eliminate bonding inhibitors
Cleanliness targets are straightforward:
– Dust and concrete slurry (laitance)
– Grease, oils, and forklift residue
– Curing compounds and residues
– Cleaning chemical residues that aren’t compatible with primers
Use cleaning methods appropriate to the system and follow the primer instructions precisely (for example: allowable dampness, drying requirements, and recoat windows).
Control moisture before priming/coating
If moisture is migrating:
– Identify the moisture source (leaks, wet substrate, slab vapor drive, drainage issues).
– Mitigate before coating/epoxy repair when specs require it.
– If your repair plan includes a moisture-tolerant primer/barrier, follow the system’s preparation and environmental requirements.
Patch, level, and protect using the right materials
Once the substrate is sound and properly profiled, the repair materials must be installed at the correct thickness, primed when required, and cured under the right conditions. This is where you restore the floor’s durability and continuity for forklifts, pallets, cleaning chemicals, and abrasion.
Most industrial coating and repair systems specify minimum and maximum application thickness, and failure to follow these ranges can lead to cracking, poor cure, or debonding.
Feathered edges and controlled thickness are commonly used to reduce stress concentration and prevent the repair from “breaking off” under traffic.
Curing time is system-dependent; reopening too early can reduce final bond strength and wear resistance.
Prime and apply within spec
– Prime only when the datasheet requires it, and apply at the coverage rate stated.
– Mix patch/overlay materials exactly to the manufacturer’s instructions (including correct batch size and mixing time).
– Apply patch materials within the specified thickness range; avoid “overfilling” to compensate for irregularities.
Level, feather, and control the interface
– Feather edges to match surrounding profile without creating a thin, fragile “lip.”
– Ensure the repaired surface develops full strength before heavy traffic returns.
– If you’re restoring a wear layer (epoxy/urethane), use compatible topcoat and wear finish systems designed to work together.
Plan traffic downtime (and sequencing)
Industrial floors aren’t repaired in a vacuum:
– Stage the work so curing windows align with forklift routing.
– If your repair spans a dock door approach, consider incremental reopening plans (and protective coverings where allowed by the product system).
Manage joints and transitions (where failures often start)
Industrial floor repairs fail more often at joints and transitions because movement and stress concentration are unavoidable. The fix is to repair joints based on their function—sometimes with elastic sealants—rather than forcing rigid patch compounds into movement zones.
Control joints are designed to control cracking; repairs near them must respect expected movement to avoid re-cracking.
Expansion joints are movement joints; rigid patching in expansion joints often leads to premature separation and edge failure.
Transitions (old-to-new concrete or coating-to-blank substrate) create stress gradients that require careful detailing and compatible material selection.
Repair joints based on joint behavior
– Control joints: often expect cracking at a predictable path; repair details must restore function while allowing movement.
– Expansion joints: movement is expected; many repairs require elastic sealants rather than rigid patching.
Treat edges and transitions like stress concentrators
– Old-to-new concrete: ensure the new material system is compatible with the existing slab and properly profiled.
– Coating-to-blank concrete: transitions need a detail that prevents a “catch point” and avoids debonding.
– Trench reinstatements or utility cuts: compact properly, verify subbase conditions, and rebuild in layers as required by your spec.
Water control matters immediately after repair
Even a perfect patch can fail if water pooling restarts deterioration:
– Verify drainage and slope to prevent repeated wetting at repair boundaries.
– If water intrusion is recurring, fix the drainage/leak source before (or as part of) the floor repair.
What can go wrong (and how to avoid it)
Repairs fail when teams correct symptoms but ignore the root cause. The most common failure modes are moisture intrusion, inadequate mechanical profile, incompatible material systems, and rushed cure/traffic timelines.
If slabs are moving or moisture is migrating, a rigid patch may crack or debond again unless the repair strategy includes movement accommodation and/or moisture mitigation.
Poor surface profiling or leaving dust/grease from surface prep is a leading cause of epoxy and coating patch failures.
Using patch/primer/topcoat products that are not designed to be compatible can create weak interfacial bonds even when each product works well alone.
Common mistake map (symptom → likely cause)
– Cracks return quickly → root cause not corrected (movement, shrinkage, thermal cycling).
– Patch debonds or “hollow” sounds develop → moisture or contamination at interface; inadequate surface profile.
– Edges crumble → feathering/thickness not per spec, or curing occurred before full strength.
– Coating lifts around repair → incompatible system, inadequate removal of failed coating, or improper primer selection.
A pros/cons snapshot: rigid patch vs. flexible sealing in movement zones
| Choice | Pros | Cons |
|---|---|---|
| Rigid patch compound | High compressive strength, good for non-movement areas | Can crack or debond if placed in expansion/movement joints |
| Elastic joint sealant | Accommodates movement; reduces edge failure at joints | Requires correct joint geometry and often more spec-driven details |
Verdict / tip
For localized damage, repairing industrial floors is usually workable when you (1) confirm the floor type and likely repair cause, (2) do real surface prep until the substrate is sound, and (3) use a compatible patch/primer/topcoat system designed for that exposure. Skip DIY and involve an experienced contractor if there’s ongoing moisture intrusion, widespread cracking, structural settlement, or if you can’t control traffic downtime—those situations often require engineering-level decisions and a tested specification.
[ADD: if your site has specific regulatory requirements or safety constraints (e.g., hot work, confined space, dust control, VOC limits), note them here.]
Quick checklist: “Repair Industrial Floors” sanity scan
– [ ] Identify damage type (crack, spall, delamination, wear) and likely cause
– [ ] Determine floor type and existing coatings/lining system
– [ ] Remove loose material to sound substrate
– [ ] Clean and prepare surface to the required profile
– [ ] Verify moisture/contamination issues before priming/coating
– [ ] Use compatible primer + patch/overlay system
– [ ] Repair joints/transitions correctly (rigid vs. flexible as needed)
– [ ] Cure according to product instructions before reopening to traffic
Common Industrial Floor Repair Matchups (By Failure Mode)
| # | Failure mode you’re seeing | Typical floor condition | Repair scope most teams start with | Risk if cause is ignored |
|---|---|---|---|---|
| 1 | Forklift impact spalls | Bare or coated concrete near traffic lanes | Chip-out to sound concrete + patch + wear finish | ★ ★ ★ ★ ☆ |
| 2 | Moisture-driven coating delamination | Epoxy/urethane lifting, often with edge failures | Remove failed coating + verify moisture + compatible system | ★ ★ ★ ★ ★ |
| 3 | Cracking along control joints | Bare concrete or thin topping with hairline cracks | Joint repair detailing + protective resurfacing as needed | ★ ★ ★ ☆ ☆ |
| 4 | Abrasive wear in forklift zones | Surface loss, exposed aggregate, reduced skid resistance | Resurface/skim + matched topcoat or wear layer | ★ ★ ☆ ☆ ☆ |
| 5 | Edge failure at patch boundaries | Crumbling around earlier patch/feather edge | Re-profile edges + re-prime + re-patch with correct thickness | ★ ★ ★ ★ ☆ |
| 6 | Delamination under liners/overlays | Hollow sound areas across a bay segment | Remove larger delaminated area + overlay/system rebuild | ★ ★ ★ ★ ★ |
| 7 | Settlement/voiding signs | Open joints, localized dips, recurring spalls | Investigate subbase/ground movement + section replacement | ★ ★ ★ ★ ★ |
FAQ
What’s the first thing I should do before repairing an industrial floor?
Start with inspection to determine whether the issue is surface wear or a deeper problem (moisture, slab movement, or coating failure). The repair material won’t perform reliably if the root cause is left untouched.
Can I patch over an existing epoxy coating?
Sometimes, but only if the existing coating is well-adhered, properly prepared, and the new product system is designed to bond to it. If you see lifting/delamination or contamination, removal and rework may be necessary.
How do I know if I need resurfacing instead of a small patch?
If damage is widespread, if there are multiple delamination areas, or if cracking/spalling covers a large portion of a bay/zone, a resurfacing or overlay may be more durable than repeated spot repairs.
What’s the most common reason industrial floor repairs fail?
Most failures trace back to surface prep problems (leftover dust/contaminants), moisture issues, or incompatible repair materials/systems—not the patch itself.
Sources
– [ADD: manufacturer installation instructions for the specific patch/primer/topcoat product you plan to use—these typically state required surface prep, bonding conditions, thickness limits, and curing timelines]
– ASTM standards for moisture and adhesion testing referenced for moisture evaluation and bond context: ASTM F1869, ASTM F2170
– Concrete surface preparation guidance for profile concepts: ICRI concrete surface profile (CSP) guidance (use the edition referenced by your project specs)
– [ADD: concrete repair/coatings technical guidance from relevant standards bodies or authoritative industry associations for moisture/surface prep and maintenance practices]
– [ADD: specific guidance for joint repair/sealants from sealant manufacturers or industry joint-repair references, if joints are part of your repair scope]
A successful industrial floor repair is rarely a “materials-only” job—it’s a diagnostic sequence: confirm the floor type and failure mechanism, prepare the substrate to a bondable condition, install a compatible system within spec, and respect joints and transitions. If you follow that logic (and align with your product datasheets and site constraints), you reduce the odds of repeat failures and restore a floor that can handle daily traffic safely and reliably.
Frequently Asked Questions
What are the most common types of industrial floor damage and how do I identify them?
Industrial floors commonly suffer from cracking, spalling, surface wear, scaling, uneven settlement, and coating failure, depending on whether the slab is concrete, epoxy-coated, or paved with specialty materials. Start by inspecting for patterns like diagonal shrinkage cracks, joint-related cracking, potholes from impact, and delamination where coatings have lost adhesion. Measure crack widths and depths, check for moisture issues, and determine whether the damage is surface-level wear or structural movement—this drives the repair method for industrial flooring.
How do I repair cracks in concrete industrial floors safely and effectively?
Clean and remove all loose concrete and contaminants, then widen and consolidate the crack as needed for proper bonding. Use an appropriate crack repair material—such as epoxy injection for structural or non-moving cracks, or polymer-modified patching compounds for joints and non-structural areas. After injection or patching, allow full cure time before reopening the floor to foot traffic or forklifts, and consider sealing or joint maintenance to prevent moisture ingress.
How do I fix spalling or potholes in warehouse concrete floors without repeat failures?
Spalling and potholes usually indicate loss of concrete due to freeze-thaw cycles, chemical exposure, impact, or inadequate slab durability. Remove deteriorated concrete back to sound substrate, then use a compatible industrial-grade patch or concrete repair mortar with proper bonding and correct thickness. For recurring damage, address the root cause—such as improving drainage, correcting chemical exposure, or upgrading surface protection and industrial floor coatings.
Which industrial floor repair method is best for areas with chemical spills or abrasion?
For chemical attack, the best approach is often to remove compromised concrete and restore the floor with a chemical-resistant system, such as a suitable epoxy or polyurethane coating. For abrasion and high-traffic wear, consider resurfacing with a trowel-applied overlay or installing a durable wear layer designed for forklift and pallet jack loads. Always perform surface preparation tests—like adhesion pull-off and moisture checks—so the repair and industrial flooring coating system bonds reliably and lasts.
Why does industrial flooring repair fail, and what steps prevent rework?
Repairs frequently fail due to poor surface preparation, incorrect material selection, trapped moisture, or skipping proper cure and downtime requirements. Moisture testing, verifying concrete strength, and cleaning to achieve a sound, porous surface are critical for long-term adhesion in industrial floor repair. Use compatible primers and repair products, control temperature and humidity during installation, and follow the manufacturer’s curing schedule before the floor returns to heavy industrial use.
📅 Last Updated: October 12, 2026 | Topic: How to repair industrial floors? | Content verified for accuracy and freshness.
References
- Google Scholar Google Scholar
https://scholar.google.com/scholar?q=industrial+floor+repair+concrete+patching+rehabilitation - Google Scholar Google Scholar
https://scholar.google.com/scholar?q=repair+of+deteriorated+concrete+floors+industrial+facilities+spalling+cracking - Google Scholar Google Scholar
https://scholar.google.com/scholar?q=epoxy+coating+system+failure+concrete+floor+repair+surface+preparation - Google Scholar Google Scholar
https://scholar.google.com/scholar?q=concrete+floor+surface+profiling+scarification+shot+blasting+repair+adhesion - Google Scholar Google Scholar
https://scholar.google.com/scholar?q=routing+and+sealing+cracks+concrete+industrial+floors+method+statement - Google Scholar Google Scholar
https://scholar.google.com/scholar?q=polymer-modified+mortar+repair+materials+industrial+concrete+floor - Google Scholar Google Scholar
https://scholar.google.com/scholar?q=galvanic+corrosion+repair+techniques+reinforced+concrete+floors+chlorides - Google Scholar Google Scholar
https://scholar.google.com/scholar?q=freeze+thaw+damage+concrete+floor+repair+methods - Google Scholar Google Scholar
https://scholar.google.com/scholar?q=rapid+repair+materials+cementitious+grouts+industrial+floor+patching+traffic+time - Google Scholar Google Scholar
https://scholar.google.com/scholar?q=assessment+and+diagnosis+before+concrete+floor+repair+delamination+investigation