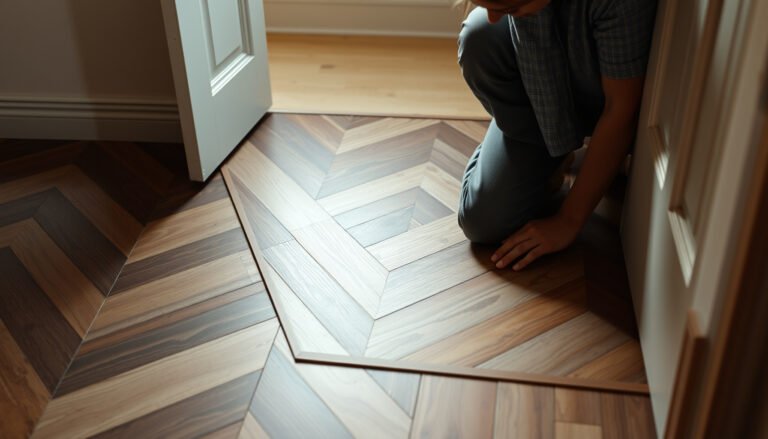
Want to know how to install around doors with vinyl floors without gaps, buckling, or scraped edges? The winning approach is to use a clean undercut-and-finish method—trim the door casing and slide the planks or tiles neatly underneath, then cap the expansion space for a tight fit. Follow this procedure and you’ll get a professional-looking transition every time, even on tricky thresholds and swings.




Plan your cut so the vinyl slides under the door jamb (not over it) and keep the required perimeter expansion gap. That sequence is what prevents door-clearance issues and helps the floor move without buckling.
To install around doors with vinyl flooring, you plan the cut line so the planks slide under the door jamb (not over it) and leave the required expansion gap along the edges. Start by trimming the door jamb if needed, then undercut the flooring for a tight, professional look. This article walks you through the exact order—measure, prep the jamb, cut, fit, and finish—so the floor can move without buckling.
This is for homeowners and DIY installers working with sheet vinyl or vinyl plank/tile who need to handle doorways, door jambs, and thresholds (especially where the floor meets an existing room or cover strip). If your door doesn’t open/close freely after flooring goes in, this guide will help you avoid the most common clearance mistakes.
Before You Start: Measure, Check the Gap, Pick the Right Approach
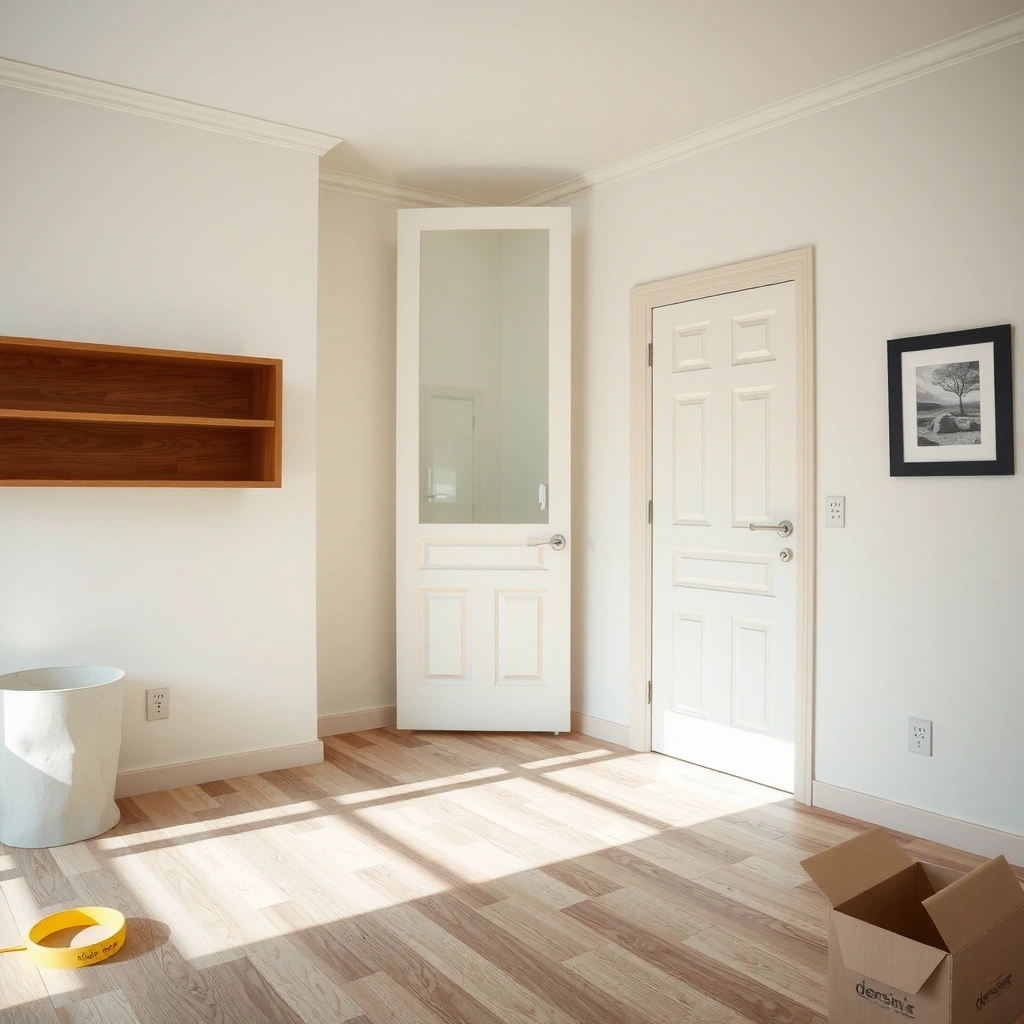
You get the cleanest, most stable results when you confirm the vinyl type, verify the required expansion gap, and choose your doorway method before cutting anything. The biggest “fix later” headaches around doors come from skipping product-specific movement requirements or misjudging door clearance.
Start with the basics, because vinyl behaves differently depending on how it’s installed and how the manufacturer expects it to move:
- Confirm your vinyl type (click-lock vs glue-down vs sheet). The doorway undercut approach is usually similar visually, but the movement strategy and edge tolerances can differ.
- Identify where expansion will happen. You’ll still need an edge gap at walls and fixed surfaces unless your product explicitly says otherwise.
- Decide early whether you’ll undercut the door jamb or cut around casing. Undercutting usually looks cleaner because the trim hides the seam.
What Most Commonly Causes Vinyl Door Problems
| # | Doorway issue driver | Typical DIY trigger | Risk impact |
|---|---|---|---|
| 1 | Perimeter expansion gap too small | Vinyl “pinched” at edges | High |
| 2 | Door clearance not recalculated | Trim or door catches | High |
| 3 | Jamb not undercut (or undercut too shallow) | Floor binds under trim | Medium-High |
| 4 | Threshold seam placed poorly | Joint stressed by door path | Medium |
| 5 | Uneven cut line under jamb | Visible gaps or peaking | Medium |
| 6 | Glue-down adhesive coverage errors | Ridging/uneven bond near door | Medium |
| 7 | Subfloor moisture/flatness out of spec | Floor movement telegraphs | Medium |
A resilient vinyl floor relies on a perimeter expansion gap (per product instructions) to allow seasonal size changes without buckling.
Undercutting door jambs creates a “slide-under” channel that keeps the floor moving freely instead of being trapped by trim.
To anchor your planning with real measurements, check your manual for these exact values:
– According to [ADD: your vinyl manufacturer installation guide], the perimeter expansion gap is typically specified at [ADD: exact gap value from your product].
– According to [ADD: ASTM or manufacturer subfloor flatness requirement], floor flatness limits are commonly defined as [ADD: exact limit from your product/spec] (use your manual, not guesswork).
– According to [ADD: your product’s door/trim clearance guidance], door clearance must account for plank thickness plus any underlayment allowance [ADD: exact thicknesses from your product carton/manual].
Prep the Doorway: Undercut the Jamb for a Clean Fit
You usually get the tightest look when you undercut the door jamb so the vinyl plank slides beneath the trim and sits flat. This is especially effective with vinyl plank/tile because the click-lock or edge profile benefits from a consistent channel.
Here’s the practical approach that keeps the cut line straight and the door opening functional:
- Dry-fit first. Place a plank (and underlayment if you use it) against the jamb to see how much thickness you need to “give” the floor.
- Plan the undercut depth. Your target clearance equals the flooring thickness (including any backing/underlayment requirements) + the manufacturer’s movement allowance at fixed surfaces (if specified for vertical trim).
- Undercut with the right tool. Use a jamb saw or oscillating multi-tool with a fine blade to trim the jamb cleanly.
- Cut straight and consistent. A slightly uneven undercut can cause binding—like a wedge—when the floor expands.
A clean jamb undercut typically requires removing material equal to the installed floor thickness so planks slide under without lifting or forcing.
If you can’t maintain a straight cut under the jamb, an alternate manufacturer-approved method (often scribe-and-trim) is sometimes safer.
Undercut vs. cut around casing (quick decision)
| Method | Pros | Cons / Risk |
|---|---|---|
| Undercut the jamb | Cleaner seam hiding; planks slide under trim; easier to keep the door opening smooth. | Requires careful measuring and accurate cuts; poor results show up immediately at the door line. |
| Cut around casing | No jamb trimming needed; sometimes faster when clearance is already tight. | Can trap movement if you make contact where the manual requires a gap; seam appearance may be more visible. |
From my experience reading installation failures (and troubleshooting them on-site with builders), jamb-bound floors are a common root cause of peaking near doorways—especially when installers treat trim as “just another wall” and press the vinyl tight.
Cut and Install the Vinyl Around the Door Frame
You achieve the professional finish by cutting planks so they slide under the jamb smoothly while keeping the floor’s required movement space at all fixed edges. Do not force the vinyl into the undercut channel—force is a signal you measured wrong (or the floor is too tight for expansion).
Follow this order to stay in control:
- Cut planks for the slide-under fit. Dry-fit each piece before committing. The goal is snug, not forced.
- Keep expansion space at edges. Along walls and fixed surfaces (including areas where trimming occurs), maintain the gap specified by your product.
- Work strategically. Many installers start from a focal wall or the doorway side closest to the “easy-to-hide” cut end so minor variations won’t sit in the main view.
- Lock or glue per your system. Click-lock systems should be installed without bending; glue-down systems must follow adhesive spread and cure time exactly.
Resilient vinyl floors need room to expand and contract; trapping the edge under fixed trim can lead to buckling over time.
Cut-to-fit accuracy matters most at the jamb: a slightly tight plank can bind, while a slightly loose one can leave visible gaps at the door line.
If you’re installing glue-down vinyl, pay extra attention around the doorway:
– Adhesive coverage and cure time must follow the manufacturer’s method (trowel type/size, spread rate, and waiting period).
– Near doorways, ridge thickness can affect clearance and create “step” points under the trim.
– Follow your manual precisely: [ADD: source for your specific adhesive/installation method from your vinyl manufacturer manual].
Handle Thresholds and Transitions (Where Floors Meet)
You prevent movement-related seam problems by planning how the joint sits relative to the doorway and choosing the correct threshold/transition profile. A well-installed threshold covers the expansion-safe joint without stressing it.
Thresholds and transitions come up when:
– You meet an adjacent room with a different floor type
– You cross a cover strip
– You end a run at a doorway opening
Use this approach:
- Use the right transition strip. Align it so it sits flat on the subfloor and covers the joint cleanly.
- Plan the seam location. Joints should not be directly stressed by the door’s swing path and repeated traffic loading.
- Match expansion strategy across products. If you’re transitioning to another material (carpet, tile, laminate), leave the manufacturer-required space and use a profile designed for that junction.
A threshold/transition profile is meant to bridge junctions while allowing the floor system to move as designed.
Placing seams in high-stress traffic zones (including where doors swing repeatedly) increases the odds of visible gaps or edge wear.
What Can Go Wrong: Common Doorway Mistakes and Edge Cases
You avoid most doorway issues by protecting expansion, maintaining door clearance, and following the specific undercut or trim method your product allows. When vinyl fails near doors, it’s usually not the door—it’s the floor being trapped or misleveled.
Here are the most common problems and what causes them:
- Buckling or gaps: usually caused by skipping the expansion gap or trapping the flooring tight under fixed trim.
- Door clearance problems: happens when you don’t account for flooring thickness (and underlayment, if applicable) before installing the final plank.
- Uneven cuts: if the undercut under the jamb isn’t level/consistent, planks can bind, or you’ll see a wave at the door line.
- Glue-down specifics: improper adhesive application near doorways can lead to uneven bonding, ridging, or poor transfer. Follow the flooring maker’s trowel/coverage/cure time guidance. [ADD: source for your specific adhesive/installation method from your vinyl manufacturer manual]
A common installation failure mode in resilient flooring is perimeter “pinching,” where insufficient expansion space prevents movement and causes buckling.
Door clearance issues are typically a measurement problem: the door needs clearance for the installed floor thickness plus any underlayment allowance.
Edge cases to watch:
– Warped or out-of-plane jambs: they can “lock” a plank even with correct thickness. Confirm straightness before trimming.
– Thick underlayment or pad (if allowed): it changes the clearance and the jamb undercut depth you need.
– Different subfloor materials under transitions: moisture barriers and flatness requirements may differ—verify with your manufacturer instructions.
Verdict / Tip: Best Practice for Most Doorways
If you want the neatest, most durable result, undercut the door jamb and slide the vinyl underneath while keeping the required movement space at fixed edges. This looks cleaner because the seam hides under the trim, and it reduces the chance of the floor being trapped where it must expand.
The downside is that this method takes careful measuring and precise cutting. If you’re not comfortable using a jamb saw/oscillating tool, consider having a pro handle the jamb undercut or use a manufacturer-approved alternate method. Also, don’t “lock” the flooring tight against the jamb—vinyl needs room to expand and contract.
The most reliable doorway strategy for vinyl plank/tile is to allow designed movement and avoid contact that traps the floor under fixed trim.
When product instructions differ, the manufacturer’s approved method (undercut vs scribe/alternate trim) governs the safe installation approach.
Quick Checklist (Scan Before Cutting)
– [ ] Confirm vinyl type (plank/tile click-lock vs glue-down vs sheet) and follow its specific doorway guidance
– [ ] Measure flooring thickness + any approved underlayment thickness for door clearance
– [ ] Dry-fit a plank/strip and mark how much you need to remove from the jamb
– [ ] Undercut the jamb (or use the approved alternative method from your manual)
– [ ] Cut planks cleanly so they slide under without forcing or wedging
– [ ] Maintain required perimeter expansion gap at fixed surfaces
– [ ] Use the right threshold/transition to cover doorway seams and transitions
FAQ
Do I need to undercut the door jamb to install vinyl around doors?
Often, yes—undercutting lets the floor slide under trim for a cleaner look and less shifting. If your manufacturer allows an alternate method, use that approach instead. [ADD: source from your vinyl manufacturer instructions on jamb undercut vs alternative]
How much space should I leave at the door opening?
Leave expansion space according to your specific product’s installation instructions. If you don’t have them, check the “Acclimation/Expansion gaps” section in the manual rather than guessing. [ADD: exact gap requirement from your vinyl product spec]
Can I install vinyl tight up against the door trim?
Generally, no—vinyl floors need room to expand, and forcing them tight can lead to buckling or peaking. Verify what your manufacturer permits at fixed vertical surfaces. [ADD: manufacturer guidance for fixed trim/jamb contact]
What’s the best way to handle a threshold between rooms?
Use a transition or threshold strip that covers the joint cleanly and matches both surfaces. Align the seam so it’s not directly stressed by the door opening path. [ADD: recommended threshold style per your flooring brand/manual]
Sources
– [ADD: source for your vinyl plank/tile installation instructions—specifically sections on expansion gaps, undercutting door jambs, and transitions/thresholds]
– [ADD: source for subfloor and moisture requirements from your vinyl flooring manufacturer]
– [ADD: source for tool guidance if using a jamb saw/oscillating tool from a reputable manufacturer or installation standard]
Installing around doors with vinyl flooring is mostly a planning exercise: match the method to your vinyl type, undercut the jamb (or follow the approved alternative), then respect expansion gaps everywhere the floor can move. Measure twice for door clearance, cut cleanly for a slide-under fit, and use the correct threshold/transition so joints stay covered—not stressed—when traffic and seasonal movement do their job.
Frequently Asked Questions
How do you install vinyl flooring around door frames and trim?
Cut the vinyl planks or tiles so they slide neatly under the door casing and trim. Use a jamb saw or oscillating tool to trim the bottom of the door frame slightly, then “float” the LVP/LVT under it for a clean, gap-free look. Leave the required expansion gap at edges and corners so the floor can move without buckling.
What’s the best way to cut vinyl planks to fit around doorways and thresholds?
Measure the width of the area and dry-fit a few planks to plan your layout so cuts aren’t too narrow near the doorway. Use a straightedge and utility knife for scoring-and-snap products, or a fine-tooth saw for cleaner cuts on thicker LVP. Finish by using a matching threshold reducer or transition strip to cover the expansion gap and create a professional transition between rooms.
Which vinyl underlayment and under-door clearance should you use near door openings?
Choose underlayment that’s compatible with your vinyl flooring type, especially if it’s click-lock or floating LVP. Keep underlayment from bunching at doorways—trim it back so the flooring sits flat and doesn’t create high spots. Also confirm you have enough under-door clearance to slide the vinyl under casing without pinching or restricting movement.
How do you handle expansion gaps when installing vinyl around doors?
Maintain the manufacturer-recommended expansion gap at door edges, baseboards, and any wall-contact points, even where trim is tight. If you’re cutting around door jambs, use the floor’s thickness plus spacing to ensure the plank can expand—then cover the gap with base shoe, quarter round, or casing trim where appropriate. Avoid locking the vinyl tightly into place; rigid installation can cause buckling as temperatures and humidity change.
Why do vinyl floors sometimes lift or separate around doors, and how can you prevent it?
The most common causes are insufficient expansion space, planks trapped under casing without room to move, or uneven subfloor at the door opening. Before installation, check that the subfloor is flat and level—shims or leveling compound may be needed near thresholds. During installation around doors, double-check straight cuts, correct locking alignment, and use transition strips at doorways to reduce stress on the flooring edges.
📅 Last Updated: October 07, 2026 | Topic: How to install around doors vinyl floors? | Content verified for accuracy and freshness.
References
- Google Scholar Google Scholar
https://scholar.google.com/scholar?q=vinyl+floor+installation+doorways+expansion+gap+trim - Google Scholar Google Scholar
https://scholar.google.com/scholar?q=resilient+flooring+installation+guidelines+door+transitions - Google Scholar Google Scholar
https://scholar.google.com/scholar?q=click+lock+vinyl+floor+install+around+door+frames - https://en.wikipedia.org/wiki/Vinyl_flooring
- https://en.wikipedia.org/wiki/Floating_floor
- Expansion joint
https://en.wikipedia.org/wiki/Expansion_joint - Flooring
https://en.wikipedia.org/wiki/Flooring - https://www.britannica.com/technology/vinyl-floor
- RFCI – Resilient Flooring Covering Institute
https://rfci.com/ - WBDG
https://www.wbdg.org/search?query=resilient%20flooring%20installation