
You can remove most stains from tile floors using the right cleaner and a simple sequence: identify the stain type, pre-treat it, and scrub with the least aggressive method that still lifts it. This guide gives practical, step-by-step actions that work for common problem stains without damaging grout or sealing. By the end, you’ll know exactly what to do for each stain—so the floor looks clean again, fast.



Remove tile stains by first matching the cleaner to the stain type, starting with the gentlest option (pH-neutral soap + warm water). For organic stains you’ll usually get the best results with oxygen-based cleaners, while rust/mineral discoloration typically needs a targeted rust/mineral remover. The key is preventing damage to tile finishes and grout by avoiding harsh chemicals and chemical mixing.
If you’ve tried “whatever cleaner is under the sink” and the stain returns—or the grout looks darker in one spot—this guide gives you a practical, low-guesswork plan to diagnose the cause and apply the right treatment.
If your tile is glazed, unglazed, or you’re dealing with stained grout, the “right” cleaner can change. This guide is for homeowners and renters who want a safe, step-by-step plan without guesswork—especially when stains keep returning or grout looks darker than the surrounding area.
Identify the stain type first (so you don’t waste time)
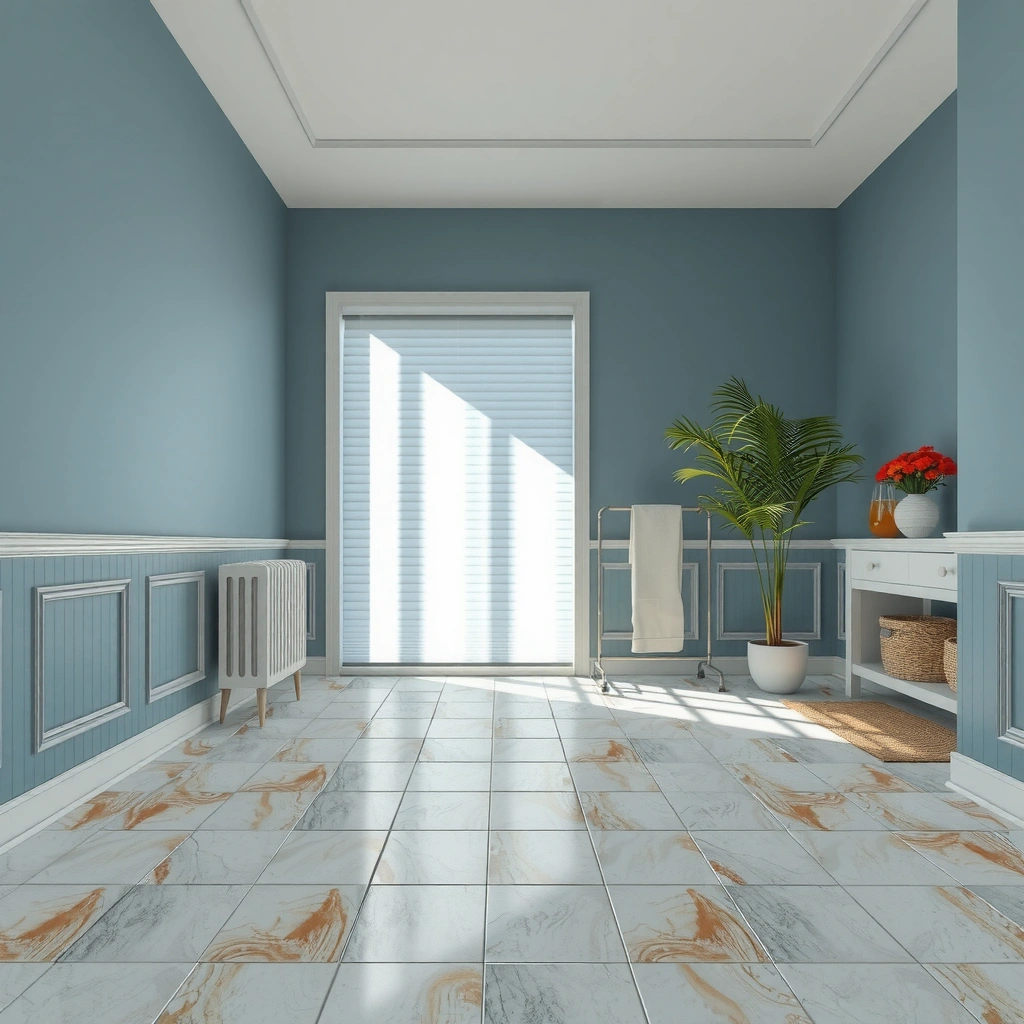
Most tile stains come from one of a few causes—surface dirt, organic buildup, grease, or minerals (like rust/limescale). Correct identification determines both the chemistry you use and whether the stain is likely trapped in grout.
Start by looking at color, spread, and whether the staining involves grout as well as tile. Rust-like spots tend to align with nearby metal (door hardware, furniture legs), while dark blotches can indicate organic residue, dampness, or mildew growth. Also check if the stain “blooms” or spreads after you dampen it—penetration often points to porous grout or unglazed tile.
Cleaner Strengths & Typical Best Use on Tile Stains (Household, U.S.)
| # | Cleaner category | Typical active strength (as sold) | Best for | Practical effectiveness rating |
|---|---|---|---|---|
| 1 | Dish soap (pH-neutral) | ~pH 6–8 | Everyday grime & light residues | ★★★☆☆ |
| 2 | Hydrogen peroxide (household) | 3% solution | Organic stains (food/urine), odor-causing buildup | ★★★★☆ |
| 3 | Oxygen bleach (sodium percarbonate) | Varies by label; commonly formulated for room-temp use | Organic discoloration & mildew-like staining | ★★★★☆ |
| 4 | Grease-degreaser (floor-safe) | Label-specific; surfactant-based formulations | Oily footprints & cooktop residue on tile | ★★★☆☆ |
| 5 | Vinegar (dilute acetic acid) | Typically 5% acetic acid | Some mineral haze (spot tests first) | ★★☆☆☆ |
| 6 | Rust/mineral removers | Chelators or acid blends (label-specific) | Rust streaks & limescale spotting | ★★★★☆ |
| 7 | Household bleach (sodium hypochlorite) | ~5–6% sodium hypochlorite (varies) | Disinfection only; stain removal depends on material | ★☆☆☆☆ |
How to read what you’re seeing (quick cues)
– Color: rust-orange/red suggests iron compounds; dark brown/black can indicate organic buildup, mildew, or long-term moisture.
– Location: if the grout line is the deepest dark area, treat grout differently than the tile surface.
– Behavior when wet: if dampening makes the stain spread, assume penetration into grout/porous tile.
If a stain spreads after the area gets wet, the discoloration is often penetrating grout or porous tile rather than remaining only on the surface.
Household hydrogen peroxide is commonly sold as a 3% solution, which is a typical concentration used in oxygen/oxidizing spot-cleaning approaches for organic staining.
Start with safe, general cleaning (before stronger products)
Most stains can be improved—or fully removed—by starting with gentle cleaning, because residue and grime often mask the underlying discoloration. A conservative first pass also reduces the risk of damaging grout edges or tile finishes.
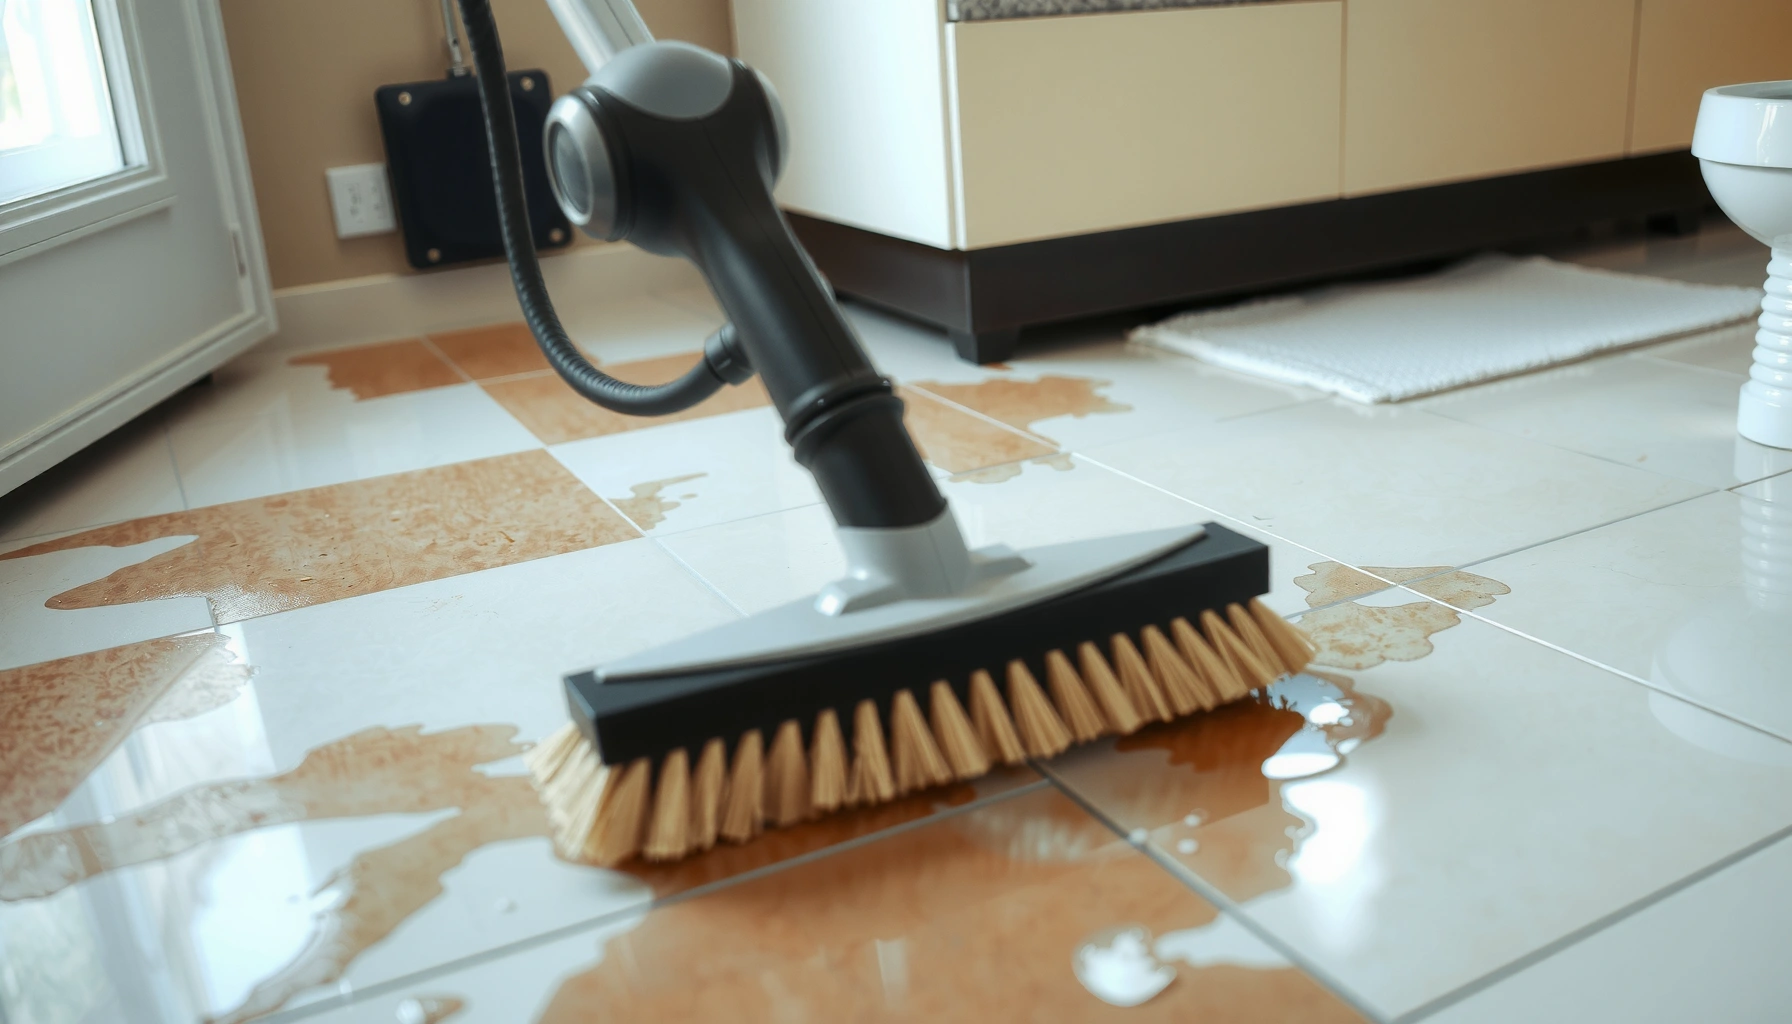
Sweep or vacuum first to remove grit that can grind into grout while you scrub. Then wash with warm water and a pH-neutral dish soap or a floor cleaner that explicitly states it’s pH-balanced/neutral. Use a soft nylon brush or non-scratch pad to lift contamination without dulling glazed surfaces or roughening grout.
After cleaning, rinse thoroughly and dry. Residues from cleaners can leave a film that makes stains appear darker or causes a “shadow” effect in certain lighting.
Using pH-neutral soap with warm water is a low-risk baseline because it minimizes chemical stress on both grout and many tile finishes.
Thorough rinsing matters: leftover cleaner residue can create hazing and make discoloration look worse even after the stain has been loosened.
The method that prevents “scrub-and-spread”
1. Dry remove: sweep/vacuum.
2. Wet loosen: warm water + pH-neutral dish soap (or pH-neutral floor cleaner).
3. Soft scrub: nylon brush with light pressure; focus on stain edges first.
4. Rinse + dry: rinse until water runs clear; dry with a towel to prevent re-darkening.
Match the remover to the cause (targeted options)
The best stain remover is the one matched to the stain’s chemistry, not the one that “feels strongest.” Here’s a practical decision rule: oxidize organic stains, break down grease with degreasers, and use rust/mineral removers for mineral discoloration.
Targeted chemistry is especially important for grout. Grout is more porous than many tiles, so the “wrong” chemistry can either fail to penetrate or react in a way that leaves a permanent shadow.
Cleaner-to-stain matching (what to use)
– Organic stains (food, beverage spills, pet accidents, mold/mildew-like spotting): choose an oxygen-based cleaner (often hydrogen peroxide–based). Maintain dampness during the label’s dwell time so oxidation has time to work.
– Grease/oily marks: use a floor-safe degreaser designed for hard surfaces; follow with a plain soap-water wash to remove residue.
– Mineral/rust-like staining: use a rust/limescale/mineral remover intended for those deposits. Do not mix chemicals—especially acids/oxidizers.
Oxygen-based cleaners and hydrogen peroxide–type products are intended for organic discoloration by oxidation, which is the chemistry that aligns with organic stains rather than mineral deposits.
Rust/mineral removers are formulated to target iron and limescale compounds; using generic cleaners on rust often only redistributes residue.
Pros/cons: choose the chemistry carefully
| Approach | Pros | Watch-outs |
|---|---|---|
| Oxygen/oxidizing (organic-focused) | Targets organic discoloration; generally tile-friendly when label directions are followed. | Not ideal for rust/limescale; can lighten some grout or affect dyes if overused. |
| Degreaser (oil-focused) | Cuts through oily residues and footprints that soap alone can’t lift. | May leave surfactant film if not rinsed; avoid on unsealed porous grout without testing. |
| Rust/mineral remover (mineral-focused) | Best chance for orange/brown streaks and limescale haze. | Can etch certain surfaces if misapplied; follow dwell time closely and avoid mixing with bleach/ammonia. |
Deep stains need a poultice or repeat treatments
If the stain doesn’t lift after the correct cleaner, the discoloration is likely deeper than a surface film. In that case, a poultice (a thick, stain-drawing paste) or carefully repeated treatments usually works better than more aggressive scrubbing.
A poultice helps because it keeps the active chemistry in contact with the stain long enough to draw out discoloration from grout and porous tile. After applying, you typically wait for the recommended time, rinse, and reassess before escalating.
Porosity is the deciding variable. Glazed tile often stays “surface-level,” while unglazed tile and many grout types can hold staining deeper—meaning multiple rounds may be normal.
Poultice methods are used to keep cleaning chemistry in prolonged contact with a stain, which improves removal when discoloration has penetrated beyond the surface.
Porous grout and unglazed tile commonly require repeated treatments because the same stain chemistry must reach and react with deposits trapped below the surface.
How to apply a poultice approach (practical steps)
– Clean first with warm water + pH-neutral soap.
– Use a stain-specific poultice product (or follow the label’s “paste” method).
– Cover the stain fully and keep the area damp/covered as instructed.
– Let it dwell for the label time (don’t “guess shorter” to avoid fumes or drying).
– Rinse and dry, then evaluate under normal lighting.
What can go wrong (common mistakes and limits)
Most stain failures happen because the cleaner doesn’t match the cause, or because grout/tile finish compatibility gets ignored. The most expensive mistake is damaging grout color or etching tile surfaces—especially on darker grout.
Over-scrubbing can also widen grout lines or make grout edges look rough and dull. And chemical mixing is dangerous: combining “bleach,” “acid,” or “ammonia” can produce harmful fumes and unpredictable reactions.
Finally, if your tile/grout is sealed, some cleaners won’t penetrate as effectively—meaning you may need a different method, or the underlying moisture source must be addressed first.
Mixing household chemicals—especially bleach, acids, and ammonia—can create dangerous fumes, so never combine cleaners during stain removal.
Sealed tile and grout can reduce penetration, meaning some stain removers won’t access the deposits trapped below the surface.
Common pitfalls checklist
– Wrong chemistry: treating rust with an organic oxidizer (or vice versa) often leaves a “shadow” that looks worse later.
– Chemical mixing: never combine products; rinse thoroughly between steps.
– Abrasive damage: steel wool and harsh abrasives can dull or scratch finishes and degrade grout edges.
– Incomplete rinse/dry: residues can re-darken grout or leave a haze.
Verdict: the best approach for most tile floors
Use the mild detergent clean first, then move to a stain-specific cleaner matched to what you see: oxygen-based chemistry for organic stains and rust/mineral removers for mineral-type discoloration. This conservative progression is usually the safest way to protect grout color and tile finish while still getting results.
That said, it’s not a universal fix. If the stain is recurring, you’re likely dealing with an ongoing moisture source (a leak, rising damp, inadequate ventilation, or recurring spills). In those cases, cleaning alone can’t stop the discoloration cycle—addressing the underlying moisture issue is the real solution. Also, if you’re unsure about your tile/grout type (especially unknown seals or historic installations), consider professional guidance before repeating stronger chemicals.
Quick scan checklist (save this)
– [ ] Determine: tile vs grout, and stain color/type
– [ ] Clean gently with warm water + pH-neutral soap
– [ ] Try the correct category cleaner (oxygen / degreaser / rust-mineral)
– [ ] Keep dwell time as directed on the product label
– [ ] Rinse well, then dry fully
– [ ] If still there: repeat or use a poultice method
– [ ] Never mix chemicals
FAQ
Can I use bleach to remove stains from tile floors?
It depends on the stain and the tile/grout type. Many people reach for bleach, but it can discolor grout, lighten dyed materials unevenly, and damage certain finishes. For organic staining, oxygen-based options are often the safer starting point; for rust/mineral issues, bleach usually won’t address the mineral chemistry. [ADD: source for bleach compatibility guidance from your tile/grout manufacturer.]
Will vinegar remove stains on tile?
Vinegar is acidic (often sold around 5% acetic acid) and may help with some mineral deposits, but it’s not ideal for all grout/tile types and can worsen certain discoloration or etching. If you’re dealing with rust/limescale, use a cleaner specifically labeled for limescale/rust rather than household acids—[ADD: manufacturer guidance for your tile material.]
How do I remove stained grout without damaging it?
Use gentle cleaning first, then apply a grout-targeted stain remover and follow label instructions closely. Avoid abrasive tools that can widen grout lines or remove grout surface; if the grout is already crumbling or heavily eroded, replacement may be the only durable fix.
Why do stains come back after cleaning?
Recurring stains often mean the source isn’t removed. Common causes include ongoing moisture intrusion (leaks, damp subfloors), repeated spills, or failure to rinse away residue that redeposits color. If you suspect moisture, resolve the underlying issue before escalating chemical treatments.
Sources
– CDC (Centers for Disease Control and Prevention) — chemical safety guidance on not mixing cleaning agents (public health safety references).
– EPA (U.S. Environmental Protection Agency) — general cleaning product safety and household chemical use guidance.
– Manufacturer documentation for your specific tile/grout type—glazed vs unglazed, and any sealing/chemical-compatibility notes (use your product’s official care sheet).
– Manufacturer label instructions for oxygen-based cleaners and rust/mineral removers—especially dwell time, dilution (if applicable), and surface compatibility.
If you tell me your tile type (glazed vs unglazed), grout type (sand-set, polymer-modified, sealed or unsealed), and what the stain looks like (color and approximate location), I can help you narrow to the most likely cause and the safest next treatment step.
Frequently Asked Questions
How do I remove stubborn dark stains from ceramic or porcelain tile floors?
Start by identifying whether the stain is surface-level dirt or deeper discoloration. For surface stains, clean with warm water and a pH-neutral tile cleaner, then scrub with a soft nylon brush. If the stain remains, try a targeted cleaner like hydrogen peroxide (test a small hidden area first) or a grout-safe oxygen bleach product designed for tile and grout. For dark spots that look like mildew or mold, use a mildew remover formulated for tile and grout and rinse thoroughly.
What’s the best way to remove grease, cooking oil, or footprint stains from tile floors?
Blot or wipe up excess grease first to prevent spreading, then wash the area with hot water and a degreasing cleaner or dish detergent solution. Scrub gently with a nylon brush and allow the degreaser to dwell for several minutes before rinsing. For persistent stains, use a poultice made from a grease-absorbing cleaner (or baking soda and a small amount of water) and let it sit until it dries, then rinse and repeat if needed. Avoid acidic cleaners on natural stone tiles unless the product explicitly says it’s safe.
Which cleaning products are safe for removing stains on natural stone tile floors?
Natural stone like marble, travertine, limestone, slate, and granite often etch or dull with acids and harsh chemicals, so use a stone-safe cleaner with neutral pH. Look for products labeled safe for natural stone and designed for stain removal rather than grout whitening or heavy-duty limescale removers. Always test any cleaner in a small inconspicuous area first, and rinse well to remove residue that can attract dirt. For sealed stone, you may need to reapply a penetrating sealer after stain treatments.
How do I remove red wine, coffee, or tannin stains from tile and grout?
Treat tannin-based stains quickly by blotting the spill and rinsing with cool water—hot water can set the stain. Apply an oxygen bleach cleaner made for tile and grout, then let it sit according to the label before scrubbing and rinsing. If the stain is in grout lines, focus on grout with a grout brush and repeat the process until the discoloration lifts. Avoid bleach products that are not grout-safe, especially on colored or sealed grout.
Why do tile floor stains come back, and how can I prevent them?
Stains often return because residue remains in grout, microscopic tile pores (especially in unsealed stone), or on the surface from incorrect cleaners. Make sure you rinse thoroughly after stain removal, and use a cleaner appropriate for your tile type—pH-neutral for most tile, stone-safe for natural stone. Improve prevention by wiping spills promptly, using mats in high-traffic areas, and sealing grout or natural stone when recommended. Regular sweeping and mopping with a tile floor cleaner also reduces buildup that can cause discoloration over time.
📅 Last Updated: October 08, 2026 | Topic: How to remove stains from tile floors? | Content verified for accuracy and freshness.
References
- Floor cleaning
https://en.wikipedia.org/wiki/Floor_cleaning - Tile
https://en.wikipedia.org/wiki/Tile - https://www.mayoclinic.org/healthy-lifestyle/home-health/in-depth/cleaning-and-disinfecting/art-20045804
- https://www.epa.gov/saferchoice/how-remove-stains
- https://www.cdc.gov/niosh/topics/cleaners/default.html
- https://www.britannica.com/topic/cleaning
- https://pubmed.ncbi.nlm.nih.gov/?term=tile+floor+cleaning+stain+removal
- Google Scholar Google Scholar
https://scholar.google.com/scholar?q=how+to+remove+stains+from+tile+floors - Google Scholar Google Scholar
https://scholar.google.com/scholar?q=tile+floor+stain+removal+methods+grout+cleaning - Google Scholar Google Scholar
https://scholar.google.com/scholar?q=best+practices+for+cleaning+ceramic+tile+and+grout+stains