
Installing LVP over tile is doable with the right prep—and when you follow the correct underlayment and leveling steps, it’s the most reliable way to update your floor without the risk of hollow spots. This guide answers exactly how to install over tile LVP floors without problems, covering what to clean, when to flatten grout lines, and how to handle transitions and expansion gaps. If your tile is solid and your subfloor is properly leveled, you can install with confidence and get a floor that stays locked together.




Yes—you can install LVP over existing tile, but you’ll need a solid, flat surface and the right prep. If you handle the two biggest failure points (loose/cracked tiles and uneven heights), over-tile LVP can lock together cleanly and stay stable for years.
This guide is for homeowners tackling a DIY LVP install over ceramic/porcelain tile in kitchens, bathrooms, and entryways—especially when you don’t want to remove the old floor first. If your tile is uneven, moving, or you’re dealing with significant moisture issues, you’ll want to address that before you start.
Check Your Tile: Stability and Flatness First
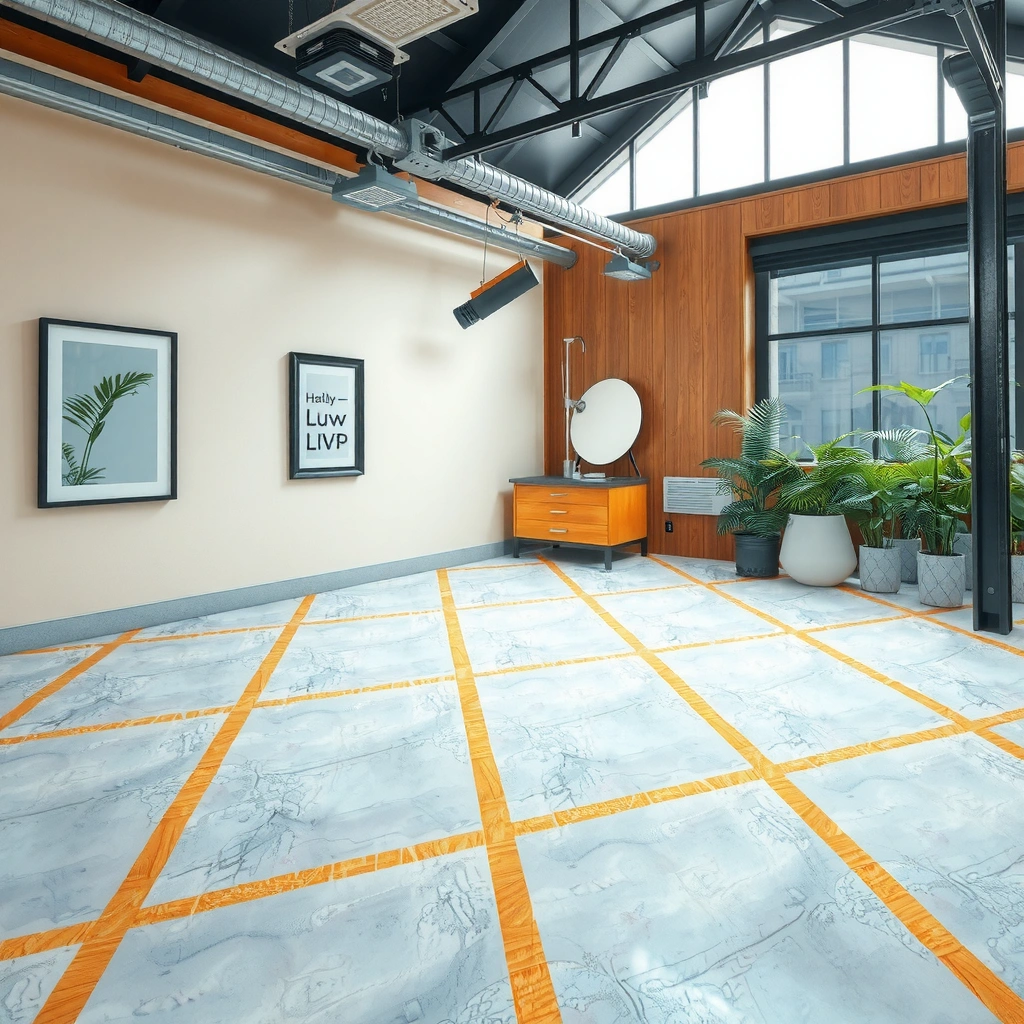
You can only install LVP over tile “without problems” if the tile is both stable (not rocking) and acceptably flat (no lippage/high spots). Start by treating the existing tile like your final subfloor—because, in practice, it becomes the subfloor your planks depend on.
If the tile moves even slightly underfoot, a floating/click-lock LVP system will move too, which commonly leads to squeaks and joint separation. In my experience, the fastest way to avoid redo work is to spend extra time early on stability checks: you’ll usually find “hidden” loose tiles at edges, around openings, and near previous cabinet/fixture bases.
According to ASTM E1155 (Standard Test Method for Determining Floor Flatness Using a Straightedge), flatness is evaluated by measuring deviations across a specified distance with a straightedge—your tile should meet the LVP manufacturer’s flatness tolerance before installation.
If ceramic or porcelain tile “rocks,” the underlying mortar bed is failing or the tile is not fully bonded—floating LVP systems cannot compensate for a moving substrate.
Many LVP click-lock instructions require that the subfloor be “flat” and “firm,” because the locking mechanism relies on consistent board-to-board engagement.
Walk-through stability test (do this before you buy materials):
– Walk the floor and press down on grout lines and tile edges—everything must feel firmly bonded. Use your heel to test for “rocking” at corners and tile faces.
– Look for cracks, hollow-sounding areas, and tiles that rock; those spots usually require repair before LVP goes down.
– Confirm the tile surface is acceptably flat; if there’s lippage/high points, your LVP can develop gaps or fail to lock properly.
Flatness and lippage reality check:
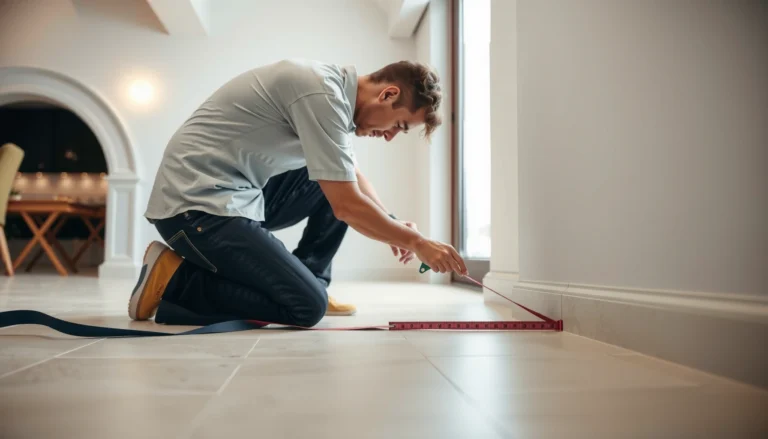
– Use a long straightedge (commonly 6 ft / 1.8 m or longer, per typical flooring practice) and measure the high spots. As a benchmark, many resilient flooring guidelines aim for roughly ≤ 3/16 in over 10 ft (≈ 4.8 mm over 3 m), but your LVP manufacturer may specify different tolerances—follow the tightest requirement you can verify. ([ADD: source for your specific LVP flatness tolerance guidance])
– High grout ridges can also “telegraph” into the click-lock joints, especially with thinner underlayments.
Prep the Surface: Clean, Level, and Protect
You can prevent most over-tile LVP problems by cleaning aggressively and correcting surface irregularities before you lay a single plank. The goal is simple: eliminate debris and prevent your underlayment/LVP system from flexing at weak points.
Over tile, prep is less about “making it pretty” and more about ensuring the planks seat correctly. LVP—particularly click-lock styles—needs consistent support so the locking tongue-and-groove design doesn’t try to span voids.
According to ASTM F710 (Standard Practice for Preparing Concrete for Resilient Floor Coverings), surface preparation includes removing materials that interfere with adhesion or proper performance; while your substrate is tile, the cleaning principle still applies.
Leveling/patch compounds used over tile should be rated for the substrate and thickness needed, and should be compatible with the temperature/humidity conditions of installation.
After sanding lippage, thorough vacuuming is critical because grit can prevent click-lock joints from fully engaging.
What to do (step-by-step)
– Clean: Remove dirt, wax, paint overspray, and grime. Use a pH-neutral cleaner where possible, and make sure the floor dries completely.
– Repair damaged tiles: Replace cracked tiles or re-set any that don’t feel solid. Don’t patch over moving areas.
– Fill grout lines/low spots: Use an appropriate floor leveling compound (or patch) rated for use over tile/grout and the thickness you need. Don’t overbuild—excess thickness can create new high ridges.
– Sand down ridges/lippage: Lightly grind or sand high spots until they’re flush. Then vacuum repeatedly (including edges and corners).
– Protect yourself from moisture-trap issues: If the area is prone to dampness (bathrooms, entryways), prep may also include verifying whether a vapor barrier is required by your LVP system.
Quick numeric targets you can work with
– Plan to re-check flatness with a straightedge after patching and sanding. Even if the surface “looks flat,” your measuring tool will catch subtle ridges.
– Many installers aim to keep residual protrusions small enough that they don’t interfere with plank locking; this is why re-measuring matters more than visual inspection alone. ([ADD: source for “max allowable lippage” used in LVP instructions you follow])
Choose the Right Underlayment for Over Tile LVP
You can install successfully over tile only if your underlayment matches your LVP type and the “over tile” scenario. Don’t treat underlayment like a universal accessory—floating/click-lock systems and glue-down systems often have different requirements.
The underlayment’s job is to provide comfort, sound reduction, and sometimes thermal/vapor management. Over tile, it can also be your buffer against minor imperfections—up to the limits of what your planks and locks are designed to tolerate.
Many LVP brands specify an approved underlayment and vapor-control method for “hard surface” installs, and using an unapproved layer can void warranty coverage.
Vapor barriers matter because tile can trap moisture; moisture management requirements are typically defined by the LVP manufacturer, not by generic flooring advice.
Click-lock LVP performance depends on the entire assembly staying dimensionally stable, so underlayment thickness and compressibility must stay within the system’s spec.
– Use underlayment that’s compatible with your specific LVP type (especially for floating/click-lock installs) and the “over tile” scenario.
– Don’t assume thickness is universal: some systems require specific underlayment thickness or vapor control.
– If your manufacturer requires a moisture barrier, include it—tile can trap moisture, and that matters for long-term performance. ([ADD: source for vapor barrier requirement mentioned in your LVP manual])
Don’t forget transitions and adjacent flooring
Even with correct underlayment, transitions can fail if the floor height changes too much. Check thresholds at doors and compare overall build-up height (tile + underlayment + LVP thickness).
Plan Layout and Install LVP Over Tile
You’ll get the cleanest results by planning the layout early and installing methodically so every click-lock joint fully engages. Over tile, skipping dry-fit and alignment steps is one of the most common ways DIY installs end up with awkward gaps near walls.
Floating LVP installations rely on proper expansion gaps around walls and fixed objects so the floor can move seasonally without buckling.
Click-lock joints must be fully seated; forcing alignment can damage the locking mechanism and create weak points.
A dry-fit helps identify when you’ll need a stagger plan to avoid narrow plank “tails” near doorways and transitions.
– Measure the room and dry-fit a few rows to plan your starting line for a clean look around doorways and transitions.
– Maintain expansion gaps around walls and fixed objects (the exact gap depends on your LVP manufacturer’s instructions). If your manual specifies a gap size, follow it exactly—commonly it’s in the range of about 1/4 in (6 mm) for many floating floors, but verify for your brand. ([ADD: gap size from your LVP manual])
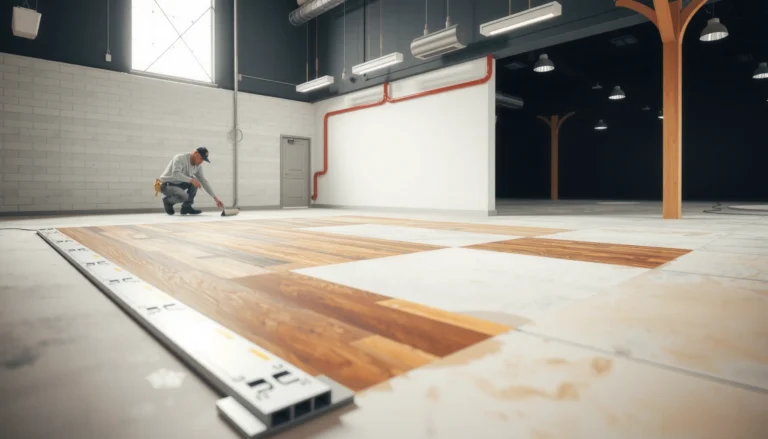
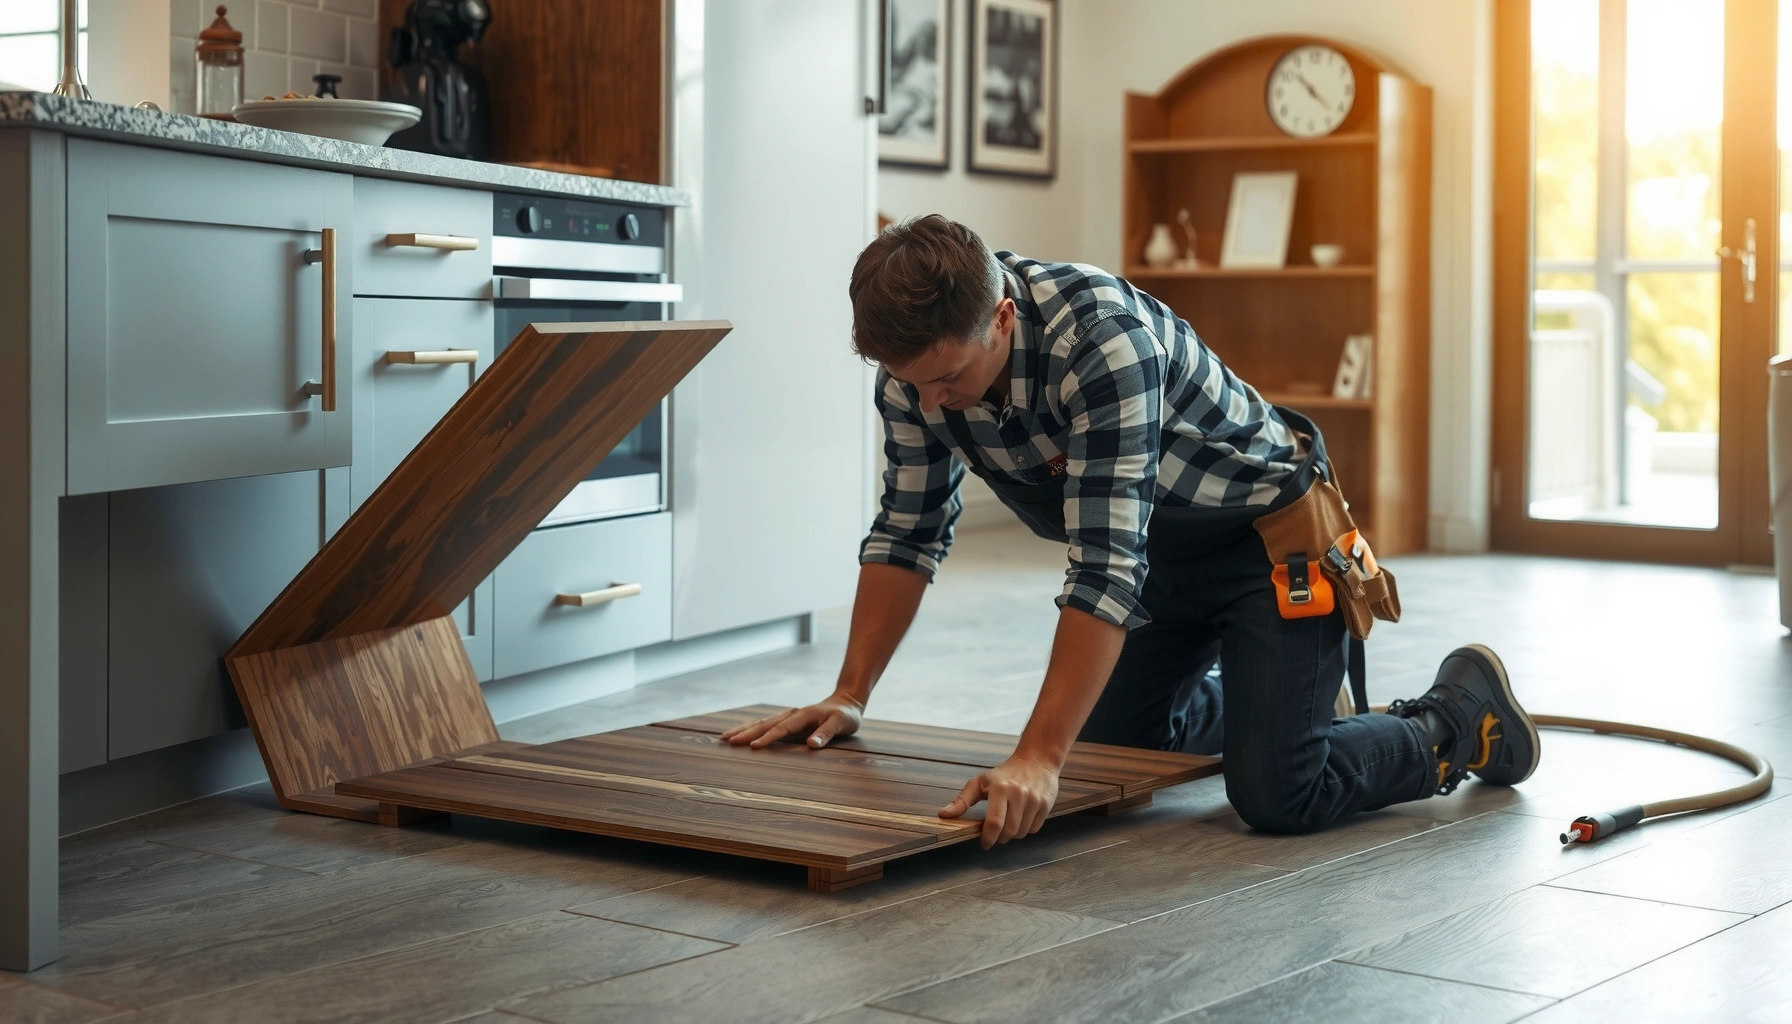
– Install planks row by row, ensuring click joints fully engage and keeping boards aligned.
– Use spacers and check alignment frequently. Misalignment early is hard to correct later—especially when the joint design creates “stacking” errors over multiple rows.
– Cut carefully around vents, cabinets that aren’t floating, and plumbing penetrations—then finish with appropriate trim/cover plates to keep expansion space functional.
What Can Go Wrong (And How to Avoid It)
Most over-tile LVP failures trace back to instability, unevenness, or warranty-mismatched materials. If you eliminate loose tile and correct flatness first, you remove the majority of avoidable risk.
Below is what typically goes wrong and how to stop it before it becomes an expensive redo.
Uneven tile can create point loading under LVP planks, which can prevent locks from staying fully engaged and can lead to separated edges.
Loose tile is a structural failure under a floating floor; if the tile moves, the floating LVP will replicate that movement.
Some LVP warranties explicitly require specified underlayment/vapor-barrier setups for over-hard-substrate installs, and deviations can affect coverage.
Common failure modes and fixes
– Uneven tile: Even small lippage can cause plank edges to separate or create a “spongy” feel. Fix with grinding/sanding high spots and patching low areas.
– Loose tile: Floating LVP will mirror movement—expect squeaks, gaps, or joint failure. Fix by re-setting or replacing loose tiles before installation.
– Skipping manufacturer requirements: Some LVP brands specify underlayment/vapor barrier rules for over hard surfaces. Ignore them and you risk warranty denial. Follow your installation manual exactly. ([ADD: relevant warranty/requirement language from your LVP manual])
– Trapped moisture: Tile can trap moisture from below slabs or from below-grade crawlspaces. Add a moisture solution only if the manual calls for it and your conditions require it. If you smell mustiness or see efflorescence, stop and investigate.
Over-tile remediation vs remove-and-replace (quick comparison)
Typical Over-Tile LVP Setup Targets and Tools (Common Industry Values)
| # | Setup target | Common value | Why it matters | Confidence |
|---|---|---|---|---|
| 1 | Subfloor flatness check | ≤ 3/16 in over 10 ft (≈4.8 mm/3 m) (confirm vs LVP spec) | Prevents lock gaps and edge separation | ★★★☆☆ |
| 2 | Expansion gap concept (floating) | Typically ~1/4 in (6 mm) (brand-specific) | Allows seasonal movement without buckling | ★★★☆☆ |
| 3 | Grout/high spot handling | Sand/grind until flush (no ridges) | Keeps click joints from bridging imperfections | ★★★★☆ |
| 4 | Moisture/vapor barrier trigger | If required by LVP spec for tile/low-perm conditions | Limits moisture trapping risks under tile | ★★★☆☆ |
| 5 | Tile stability requirement | No rocking/loose tiles after pressing/grinding | Prevents squeaks and lock failure | ★★★★☆ |
| 6 | Debris control before locking | Vacuum after sanding; wipe dust-free | Avoids joint mis-seating from grit | ★★★★☆ |
| 7 | Straightedge length practice | 6 ft (≈1.8 m) or longer per measuring method | Detects long-wavelength ridges affecting locks | ★★★☆☆ |
Note: Values above are common industry/practice benchmarks; always defer to your LVP manufacturer’s installation manual and the exact substrate requirements for over-tile installs. ([ADD: cite your LVP manual section and flatness/vapor/expansion specs])
Verdict: When This Is a Smart DIY, and When to Skip
If your tile is firmly set and reasonably flat, installing LVP over tile can be a practical DIY path that saves time. The downside is that you’re relying on the tile’s long-term stability—so if tiles are loose, moisture is active, or flatness is outside spec, you may be buying trouble.
If the substrate fails (loose or moving tile), the LVP system will usually fail too because floating floors track the movement of their support.
When moisture/vapor conditions are unknown, skipping the moisture guidance in the LVP manual increases the risk of long-term performance issues.
Over-tile installs are most reliable when prep achieves both stability and flatness targets demanded by the LVP brand.
That said, if you find widespread loose tiles, significant height differences, or moisture concerns, it’s often smarter to level properly—or remove tile—rather than “build on” a problem. Also skip over-tile when you can’t correct flatness within the acceptable tolerance your LVP system requires. ([ADD: cite your LVP flatness tolerance and approved underlayment list])
[ADD: If you want, share your LVP brand/model and whether it’s click-lock floating or glue-down, and we can tailor the underlayment and prep steps to the exact system.]
Quick Scan Checklist: Install Over Tile LVP
– [ ] Tile is solid (no rocking/loose tiles)
– [ ] No cracks or major hollow spots
– [ ] Surface is flat enough for the LVP system (verify against LVP flatness spec)
– [ ] Grout lines/low spots are filled as needed using an approved patch/leveler
– [ ] High spots/lippage sanded down to avoid lock bridging
– [ ] Underlayment and moisture barrier (if required) match the LVP instructions
– [ ] Expansion gaps planned around walls and obstacles (per manufacturer)
– [ ] Planks click/lock fully without forced alignment
FAQ
Do I have to remove tile before installing LVP?
Not always. If the tile is firmly bonded and the surface is sufficiently flat, you can often install LVP over it after the right leveling/cleanup steps and using any manufacturer-required underlayment/vapor control.
Can I install LVP over cracked or uneven tile?
Cracked or uneven tile is usually a problem. You should repair loose or damaged tiles and level high/low spots first, or the LVP may separate, feel hollow/spongy, or fail to lock properly.
What underlayment should I use for LVP over tile?
Use the underlayment required (or specifically allowed) by your LVP manufacturer for hard surfaces and—if stated—included any needed vapor barrier. [ADD: source/model-specific underlayment requirement from your LVP manual.]
Will click-lock LVP work over tile?
Often yes, provided the tile is stable/flat and the install follows the manufacturer’s requirements for underlayment and expansion gaps.
Sources
– [ADD: manufacturer installation instructions for your LVP brand/model—especially the sections covering “installation over tile,” underlayment/vapor barrier requirements, and expansion gap sizing]
– [ADD: relevant underlayment manufacturer instructions (if you’re using a specific underlayment brand) describing approved substrate types and moisture guidance]
– [ADD: flooring leveling/patch product technical data sheet for use over tile/grout and required prep steps]
– ASTM E1155 (Standard Test Method for Determining Floor Flatness Using a Straightedge)
– ASTM F710 (Standard Practice for Preparing Concrete for Resilient Floor Coverings)
Installing LVP over tile usually works when the existing tile is solid, stable, and flattened/cleaned correctly—and when you follow your LVP system’s underlayment and moisture-barrier requirements. Start by checking for loose tiles and measuring flatness, then repair/level high and low spots, and finally install with proper expansion gaps and fully engaged plank locks. If you share your LVP type (click-lock vs glue-down) and brand/model, we can tighten the steps to match the exact instructions for your flooring.
Frequently Asked Questions
What underlayment should you use when installing LVP over tile?
When installing LVP over tile, you’ll typically want an underlayment that’s compatible with floating LVP or provides moisture control if required. Many LVP products specify an underlayment already attached or approved underlay—follow the manufacturer’s instructions to avoid voiding the warranty. If your tile surface is smooth and level, a thin underlayment designed for hard floors can help with minor imperfections while reducing noise. Avoid thick foam that could worsen click-lock movement or create instability.
How do you prepare tile before installing over tile LVP flooring?
Start by thoroughly cleaning the tile to remove grout haze, grease, wax, and adhesive residue so the surface is free of contaminants. Check for loose tiles and repair them, then fill grout lines and low spots with a suitable floor leveling compound to create a flatter plane for the LVP. Also sand down any high ridges and ensure the tile is stable and solid—lippage can cause LVP to separate or flex. Finally, confirm moisture conditions and let all patching compounds fully cure before installation.
How level does the tile subfloor need to be for click-lock LVP?
Most LVP manufacturers require the subfloor to be very flat—commonly within about 3/16 inch over 6 feet (or similar tolerances). Use a straightedge or level to find dips, humps, and uneven grout areas, then address them before laying planks. If the tile has significant variation, the best solution is to flatten it with leveling compound rather than relying on underlayment alone. Proper leveling helps prevent gaps, clicking issues, and premature wear.
Which transition pieces and trim should you use at tile edges when installing LVP?
At doorways, baseboards, and floor-to-floor transitions, use transition strips or reducers rated for LVP thickness to cover expansion gaps and height differences from tile. You’ll also need matching T-molding or quarter round/rodding for edges where the flooring meets walls or existing tile surfaces. Don’t skip the required perimeter expansion gap—use spacers to maintain consistent space around the room. Correct trim selection creates a clean finish and helps protect the LVP floor from movement-related gaps.
Why can LVP over tile fail, and what’s the best way to prevent it?
The most common causes of LVP over tile problems are poor flatness, unaddressed loose tiles, and missing expansion gaps that lead to buckling. Another frequent issue is installing over glossy or contaminated tile surfaces that weren’t properly cleaned, especially for glue-down LVP. For best results, stabilize the tile, flatten grout lines and low spots, and acclimate the planks before installation according to the manufacturer’s temperature and humidity guidelines. Following these steps improves click-lock performance, reduces squeaks, and extends the lifespan of your luxury vinyl plank flooring.
📅 Last Updated: October 07, 2026 | Topic: How to install over tile LVP floors? | Content verified for accuracy and freshness.
References
- Vinyl composition tile
https://en.wikipedia.org/wiki/Luxury_vinyl_flooring - https://en.wikipedia.org/wiki/Vinyl_flooring
- Asbestos | US EPA
https://www.epa.gov/asbestos - https://www.cdc.gov/mold/default.htm
- Mold | US EPA
https://www.epa.gov/mold - Asbestos – Overview | Occupational Safety and Health Administration
https://www.osha.gov/asbestos - https://pubmed.ncbi.nlm.nih.gov/?term=luxury+vinyl+plank+installation+moisture+subfloor+preparation
- Google Scholar Google Scholar
https://scholar.google.com/scholar?q=luxury+vinyl+plank+installation+over+tile - Google Scholar Google Scholar
https://scholar.google.com/scholar?q=floating+vinyl+floor+over+ceramic+tile+subfloor+prep - Google Scholar Google Scholar
https://scholar.google.com/scholar?q=vinyl+flooring+moisture+requirements+subfloor+levelness+over+tile