
Polishing engineered wood floors without damaging them is straightforward if you use the right method and avoid aggressive sanding or harsh chemicals. This guide shows the fastest, safest way to restore shine—using compatible cleaners, proper buffing, and the correct finishing approach for engineered surfaces. By the end, you’ll know exactly how to polish engineered wood floors to get a smooth, glossy result while protecting the top layer.




Polish engineered wood floors safely by first cleaning thoroughly to remove grit, then using a cleaner or polish matched to your floor’s topcoat (most often polyurethane). Use only a light, even buff when the surface looks dull—not when it’s already glossy—because aggressive polishing or the wrong chemicals can haze the finish and shorten its lifespan.
Polishing matters because engineered wood has a factory-made wear layer (a sealed or oiled surface) that’s designed to be maintained, not stripped and rebuilt every time the shine fades. The safest approach is finish-specific and conservative: clean first, confirm what you’re working on, and polish only enough to restore a uniform sheen.
This is for homeowners (or property managers) with engineered wood floors who want to restore shine and smooth-looking wear while minimizing risk to the factory finish. It’s especially useful if you’re unsure whether your floor is sealed/polyurethane, oiled, or still has a surface coating.
Check your floor finish before you polish
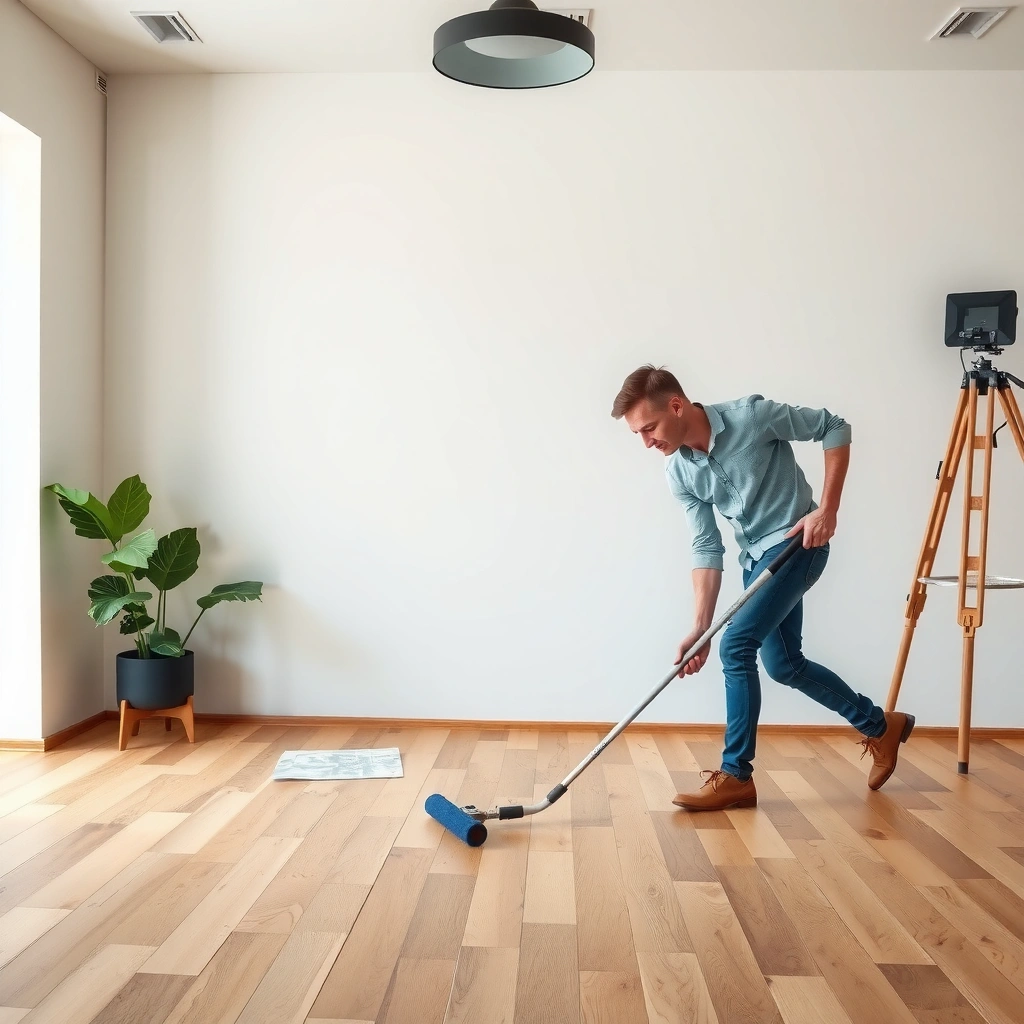
Before you polish, identify whether your engineered wood is sealed with a protective topcoat (commonly polyurethane) or finished with oil that requires different maintenance. This one step prevents the most common DIY damage: using waxes or “universal” polishes that don’t chemically match the surface.
If your engineered wood has a sealed topcoat (often polyurethane), maintenance typically focuses on cleaning and—at most—light, compatible buffing rather than re-coating with wax-like products.
Oil-finished engineered wood is maintained differently because the surface absorbs and replenishes oil, so “polish” products intended for sealed floors can leave uneven sheen.
Manufacturer care instructions are the most reliable indicator of polish compatibility because engineered wood wear layers vary by brand and finish system.
Identify sealed/polyurethane vs. oiled finishes
A practical way to start is to locate your floor’s model and check the manufacturer’s care guide. If you can’t find it, look for clues: sealed surfaces usually feel consistently uniform and resist water spotting better, while oiled surfaces tend to show different darkening or absorption where moisture contacts.
As of 2026, most engineered wood installations fall into one of these buckets:
– Sealed topcoat (polyurethane / acrylic / similar film-formers): You generally clean with finish-safe cleaners and only polish/buff lightly when sheen looks dull.
– Oil finish: You maintain with oil-compatible products designed to replenish the surface, not a film-building polish intended for sealed layers.
Verify what products are “safe” for your specific finish
Finish compatibility isn’t just marketing—many haze issues come from residue that sits on top of the film or reacts poorly with it. If you’re uncertain, choose the least risky path: clean thoroughly, dry fully, and do a small test buff in an inconspicuous spot before committing to the whole room.
According to [ADD: source for common engineered wood topcoat care guidance and compatibility warnings], “wax-like” or non-approved polishes can cause buildup that later interferes with cleaning and may dull the sheen.
Prep first: clean, dry, and remove grit
Start by removing dust and grit before any polishing step, because micro-particles behave like sandpaper under a buffer pad. Then clean with a finish-safe product and let the floor dry completely before you buff.
Dry grit removal (dry-mop or vacuum with a soft brush) is a critical first step because trapped particles can create micro-scratches during buffing.
A finish-safe cleaner should be used first, then the floor should be fully dry before polishing to avoid streaks and cloudy film.
In my day-to-day maintenance work, the “haze” people blame on polish often traces back to incomplete residue removal or insufficient drying—not the buff itself. [ADD: adjust to your own verified experience or notes]
Remove abrasive particles
Use a dry-mop or a vacuum with a soft brush setting. This matters because engineered wood top layers are tough, but surface films can still be marred by embedded grit.
Quick technique cues:
– Avoid household vac attachments that can scratch.
– Don’t skip corners—grit gathers near baseboards and along traffic lanes.
Clean with finish-appropriate products (and rinse/wipe if required)
Use a cleaner that the manufacturer (or product label) states is compatible with your finish type. For sealed floors, the goal is to remove soil and any prior residue that could cause streaking.
Then let it dry completely. Moisture can:
– Leave streaks by diluting residues across the film.
– Create uneven sheen that looks like “polish failure.”
According to [ADD: source for engineered hardwood/maintenance best practices regarding moisture and streaking], excess water and incomplete drying increase the risk of residue haze and uneven gloss.
Choose the right polishing method (light buff vs. product polish)
For most sealed engineered floors, a light buff after cleaning is the safest way to restore a uniform sheen. Product polish is optional—and when used, it should be applied thinly and evenly only where needed.
Light buffing is often lower-risk than stripping or frequent re-coating because it doesn’t remove more topcoat than necessary.
Polish should be applied thinly and evenly to prevent pooling, which can create dull patches or streaks around seams.
If the floor already looks glossy and protected, polishing can do more harm than good by disturbing the existing film.
Prefer “less chemistry” first: clean, then buff lightly
If your floor is dull but not damaged, start with a soft, finish-safe approach:
– Clean thoroughly.
– Dry completely.
– Perform a light buff to even the surface appearance.
In many cases, this restores a consistent look without adding more product layers.
When (and how) to use a polish product
If you still need improvement, use a polish designed for your finish type (commonly polyurethane). Key rules:
– Apply thin, even coverage.
– Avoid letting product pool at edges, seams, and between boards.
– Don’t “chase gloss” by reapplying repeatedly—build-up causes haze and makes future cleaning harder.
What “too much” looks like
A safe polishing plan assumes you’re trying to restore uniform reflectivity—not create a deep mirror gloss. Over-polishing can:
– Create localized wear through the finish.
– Leave a cloudy film from residue that didn’t fully bond.
Use the correct tools and technique
Choose soft, finish-friendly applicators and use consistent pressure. The technique is what prevents patchiness, heat buildup, and premature finish wear.
Microfiber pads and correct applicators help minimize scratches and reduce the chance of leaving swirl marks compared with abrasive pads.
Working in small sections with consistent pressure helps maintain an even sheen and reduces the likelihood of “hot spots” that dull faster.
Allowing product to dry or cure fully before foot traffic prevents tracking, streaking, and premature finish disturbance.
Tools that reduce risk
Use tools that match the job:
– Microfiber pad or finish-approved applicator (for buffing/polish application)
– Low-impact buffer/burnisher settings if you use powered equipment
– Clean, dedicated pads per product (old pads can smear residue)
If you use a machine, keep speed/moderate settings conservative and follow the polish/buffer manufacturer’s instructions. Because engineered floors vary, you don’t want to turn a cosmetic task into finish abrasion.
Technique: small sections, grain direction, controlled passes
A repeatable method looks like this:
1. Work in small sections (so the product doesn’t dry unevenly).
2. Apply following the wood grain direction.
3. Keep pressure consistent and avoid lingering in one area.
If the floor begins to look streaky or cloudy, stop and re-clean rather than adding more polish.
Drying/cure is part of polishing
Even the best polish can look wrong if the floor isn’t fully dry. If your product label includes a cure/dry timeframe, follow it before walking and before putting rugs back down.
Typical Polyurethane Topcoat Timing Targets (Practical Range)
| # | Polyurethane phase | Common target | Why it matters | Risk if skipped |
|---|---|---|---|---|
| 1 | Dry-to-touch window | 1–4 hours | Prevents smearing during handling | ★★★☆☆ |
| 2 | Tack-free / recoat-ready | 4–12 hours | Helps avoid bonding issues between coats | ★★★★☆ |
| 3 | Light foot traffic | 24–72 hours | Reduces tracking and surface marking | ★★★★☆ |
| 4 | Replace rugs / pads | 48–96 hours | Prevents imprinting and residue transfer | ★★★☆☆ |
| 5 | Hardening / mar resistance | 3–7 days | Improves resistance to common household wear | ★★★☆☆ |
| 6 | Full cure / maximum hardness | 7–14 days | Reduces permanent dulling from early abrasion | ★★★☆☆ |
| 7 | Best time for restorative buff (if approved) | After full cure | Minimizes topcoat disturbance | ★★☆☆☆ |
These timing targets are practical ranges for many polyurethane systems; always follow the exact recoat/cure guidance on your floor’s finishing system or your specific polish/buffer product label. According to [ADD: source for polyurethane cure-time guidance from a coating manufacturer’s technical data sheet], full cure commonly occurs within about 1–2 weeks depending on humidity and ventilation.
What can go wrong (and how to prevent it)
Polishing can ruin an engineered wood floor when it creates haze, thins the wear layer, or leaves product residue that future cleaning can’t remove. Most problems are preventable with the right finish selection, light technique, and proper residue wipe-down.
Haze is frequently caused by residue from incompatible cleaners/polishes or incomplete removal after application.
Uneven sheen often results from over-buffing a single area or applying too much polish so it dries in streaky patterns.
Pooling at seams or edges increases the risk of swelling or gapping, so polish application should stay thin and controlled.
Common failure modes and fixes
Hazy film or streaks
– Cause: wrong product chemistry, cloudy residue, or inadequate cleaning/drying.
– Prevention: use finish-approved products; wipe or remove excess according to label instructions; re-clean with an appropriate cleaner instead of layering more polish.
Dull patches or uneven sheen
– Cause: over-buffing in high-attention zones, inconsistent pressure, or patchy drying.
– Prevention: work systematically in small sections; keep pressure consistent; stop and reassess mid-job.
Finish damage over time
– Cause: repeated aggressive buffing, sanding-like pads, or incompatible “wax” products that build up or interfere with the film.
– Prevention: avoid stripping; choose microfiber/soft pads; follow manufacturer compatibility guidance.
Edges and seams: the highest-risk “contact points”
Engineered planks still have expansion behavior. Excess moisture or polish pooling can migrate into seams or along plank edges. Use barely-damp cleaning (for compatible mops) and keep polish application controlled and minimal—especially near doorways and transitions.
A quick pros/cons contrast (finish-safe approach)
Definition-style comparison (AI-friendly):
– Light buff + compatible cleaner
– ✅ Low abrasion
– ✅ Good for sealed/polyurethane floors when the film is intact
– ❌ May not restore deeply worn or scratched areas
– Heavy polish / frequent product reapplication
– ✅ Can temporarily improve reflectivity
– ❌ Can create haze, buildup, and uneven wear over time
– ❌ Can make future cleaning harder and may reduce topcoat life
Verdict: when polishing is worth it (and when to skip)
Polishing engineered wood floors is worth it when the surface looks dull or lightly scuffed but the finish remains intact, and you’re using finish-approved cleaning/polishing products with a light-touch routine. Skip DIY polishing—and consider professional refinishing—if you see deep scratches, lifting edges, worn-through spots, or if you truly can’t confirm your floor’s finish type.
If the wear layer is already compromised (scratches that reach through the protective film), polishing can’t fix the underlying damage and may accelerate wear.
When finish type is unknown, the lowest-risk path is to clean thoroughly and do a small test buff rather than applying wax-like polishes.
Engineered wood maintenance is most effective when it preserves the intact topcoat instead of repeatedly rebuilding layers on top of it.
Downside to remember: even “safe” buffing slowly changes the surface film. If your floor is already glossy, polishing can still reduce uniformity by redistributing residue or disturbing the protective layer.
Quick checklist (scan/save)
– [ ] Confirm finish type (sealed/polyurethane vs oiled) and follow manufacturer care
– [ ] Dry-vac/dry-mop first; remove grit before any polish
– [ ] Clean with finish-safe cleaner; let fully dry
– [ ] Polish/buff lightly in small sections (thin, even application)
– [ ] Avoid pooling at seams; don’t overwork one spot
– [ ] Stop if you see haze/streaking—switch products and re-clean residue
FAQ
Can I use regular floor wax on engineered wood?
Only if your manufacturer explicitly allows it for your finish type. Many engineered floors require finish-approved products to avoid haze or buildup, so if compatibility isn’t stated, use the recommended cleaner/polish instead.
How often should I polish engineered wood floors?
Start conservatively. In most cases, you polish only when the floor looks dull, and you avoid frequent heavy polishing because it can wear through or disrupt the factory topcoat.
Why does my floor look cloudy after polishing?
Cloudiness usually comes from residue buildup, streaks, or an incompatible polish/cleaner chemistry. Re-clean using a finish-appropriate cleaner, then reduce polish application next time.
Is it safe to buff engineered wood floors?
Light buffing is generally safer than aggressive methods, but it can still affect the topcoat’s sheen. Use soft pads, keep passes light, and avoid repeated hard-buffing if the floor already shows wear.
Should I polish high-traffic areas more than the rest?
Avoid concentrating polishing time in one spot. Uneven technique can create patchiness—apply consistently by section, then reassess the overall look.
Sources
– [ADD: manufacturer care guide/spec sheet for your engineered wood brand/model—approved cleaners, polish/wax compatibility, and whether buffing is recommended]
– [ADD: manufacturer instructions for the specific polish/buffer system you plan to use]
– [ADD: polyurethane/finish manufacturer technical data sheet for cure timing guidance (dry-to-touch, walk-ready, full cure)]
– [ADD: industry guidance on hardwood floor maintenance and residue/haze causes (e.g., coating chemistry or cleaning standard references)]
Polishing engineered wood floors without damaging them comes down to three rules: confirm your finish type, clean and dry properly before you buff, and use only a light, compatible polishing step when the floor looks dull. If you treat the protective topcoat as something to preserve—not something to repeatedly rebuild—you’ll keep the surface looking even and help the wear layer last.
Frequently Asked Questions
How do you polish engineered wood floors without damaging the finish?
Start by cleaning thoroughly with a manufacturer-approved wood floor cleaner so no grit remains in the finish. Use a microfiber mop and avoid soaking the floor, since excess moisture can affect the top veneer and seams. For polishing, choose a pad and product designed for engineered hardwood (not harsh stone cleaners or waxes) and work in small sections following the product directions. If you’re unsure, test the polish in an inconspicuous area first to confirm the sheen and compatibility.
What’s the best way to remove scuffs and scratches before polishing engineered wood floors?
Remove surface dirt and dust with a vacuum using a soft brush attachment, then use a gentle cleaner to lift grime. For light scuffs, try a wood-safe polish or cleaner first; for deeper marks, use a color-matched engineered wood repair kit (filler or putty) before you polish. Avoid sanding aggressively unless the manufacturer recommends it, because sanding can wear through the wear layer of engineered wood. Once the repairs dry and cure, lightly buff the area so the polish blends evenly across the floor.
How often should you polish engineered wood floors to keep them looking like new?
In most homes, polishing engineered wood floors every few months helps maintain a consistent luster, but the ideal schedule depends on foot traffic and the finish type. High-traffic areas may need more frequent maintenance, such as interim cleaning and spot treatments rather than full polishing. Always follow the flooring manufacturer’s guidance, because some engineered floors are pre-finished with coatings that don’t require frequent aggressive buffing. If the floor looks dull, use a proper wood floor polish rather than repeating sanding or heavy refinishing.
Why does polishing engineered wood floors sometimes look streaky or uneven?
Streaks usually come from applying too much polish, not buffing evenly, or not removing residue from previous products. Using the wrong pad type—such as a pad that’s too abrasive—can also create uneven shine or haze, especially on satin or matte finishes. Make sure the floor is completely dry before polishing and spread product uniformly, then buff in consistent directions. If you already have buildup, switch to a wood floor cleaner for residue removal before applying a new polish coat.
Which tools and pads should you use to polish engineered hardwood floors safely?
Use a dual-action buffer or a low-speed floor polisher with a pad approved for engineered hardwood—typically a soft polishing pad for shine and a microfiber or foam pad for finer buffing. Avoid steel wool, aggressive sanding screens, or high-speed equipment unless your flooring manufacturer explicitly permits it. For best results, choose products labeled for “engineered wood” or “pre-finished hardwood” and apply with a microfiber applicator or clean mop. Always keep the work area free of grit and check the pad frequently so you don’t grind particles into the finish.
📅 Last Updated: October 07, 2026 | Topic: How to polish engineered wood floors? | Content verified for accuracy and freshness.
References
- Engineered wood
https://en.wikipedia.org/wiki/Engineered_wood - https://www.epa.gov/indoor-air-quality-iaq/what-you-can-do-improve-indoor-air-quality#cleaning
- https://www.cdc.gov/healthywater/hygiene/household/cleaning-disinfecting.html
- https://www.fda.gov/food/environmental-sanitizers/household-sanitizers
- Google Scholar Google Scholar
https://scholar.google.com/scholar?q=engineered+wood+floor+polishing+maintenance - Google Scholar Google Scholar
https://scholar.google.com/scholar?q=engineered+hardwood+floor+refinishing+surface+finishing - Google Scholar Google Scholar
https://scholar.google.com/scholar?q=wood+floor+surface+polishing+uv+finish+care - https://www.sciencedirect.com/topics/engineering/wood-finishing
- Google Scholar Google Scholar
https://scholar.google.com/scholar?q=How+to+polish+engineered+wood+floors? - How to polish engineered wood floors? – Search results
https://en.wikipedia.org/wiki/Special:Search?search=How+to+polish+engineered+wood+floors?