


If you’re waterproofing laminate floors in a warehouse, the fastest path to reliable protection is sealing the seams and edges with a warehouse-rated vapor barrier plus a waterproofing laminate underlayment system. This approach stops standing water and moisture migration where warehouse traffic and spills hit hardest—under planks, at door thresholds, and along perimeter walls. Follow the essential steps for prep, seam sealing, and proper detailing, and you’ll get laminate that resists moisture intrusion instead of swelling or cupping.




The best way to keep laminate floors performing in a warehouse is to block slab moisture with the correct vapor barrier/underlayment and then seal only the laminate’s approved locking seams and permitted perimeter gaps. You can’t make most laminate truly “submersion waterproof,” so moisture control must be paired with preventing standing water and reducing humidity-driven condensation—especially as conditions change throughout 2026.
Waterproofing laminate in a warehouse is mostly about stopping moisture from reaching the floor from below and sealing only the joints and edges the manufacturer allows. Start with the right vapor barrier/underlayment for concrete, then seal the laminate locking seams and perimeter so spills can’t creep under the planks. This guide fits warehouses with concrete slabs, forklifts/dollies, and frequent mopping or occasional liquid spills—especially where you can’t fully prevent moisture in the air. It also assumes you’re installing laminate (often “water-resistant” rather than truly waterproof) using a floating floor approach.
Choose the right laminate + underlayment (don’t mix systems)
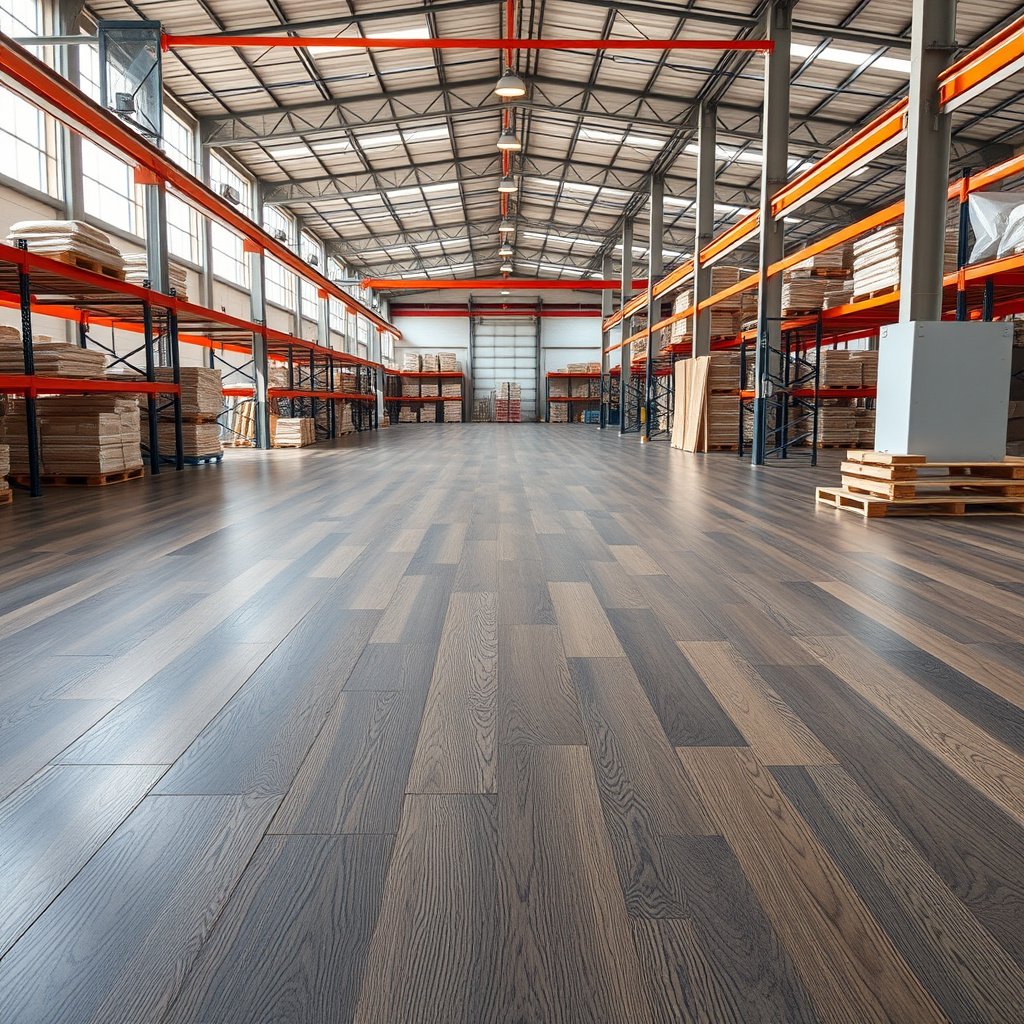
Choose laminate that the manufacturer explicitly rates for the moisture exposure you’ll actually get, then use only underlayment/vapor-barrier systems they approve. In warehouse environments, the most common failure isn’t the laminate “surface”—it’s moisture that migrates through seams because the layers were mismatched or not approved for concrete slabs.
Laminate “water-resistant” ratings typically mean limited splash resistance, not reliable performance under prolonged wetting or standing water.
For concrete slabs, many laminate manufacturers require a specific vapor barrier or underlayment system to control moisture vapor transmission.
Underlayment compatibility matters: approved products are tested for fit, compression behavior, and moisture-layer performance with the specific laminate locking system.
Start by reading the laminate installation guide and looking for exact phrases like “water-resistant,” “suitable for wet areas,” or “resistant to occasional splashes.” Also verify what the manufacturer does not allow (for example, “no standing water” or “no wet wash-down”). As of 2026, this language is still common across commercial laminate brands because laminate’s floating design depends on correct movement and dry conditions at the lock joints.
Next, choose an underlayment that is approved for:
– Concrete slab moisture/vapor control (not just comfort or sound reduction)
– That laminate’s installation requirements
– The warehouse cleaning method (frequent damp mopping vs. occasional liquid spills)
Important: Don’t assume “foam pad = vapor barrier.” Many foams are primarily for acoustics and minor leveling tolerance; some include a film attached, but not all behave as a true vapor barrier for the slab conditions you have.
Moisture-control systems you’ll commonly see (and what they measure)
Moisture verification methods used for concrete under laminate (ASTM)
| # | Standard / method | Primary output | What it helps you decide | Moisture-risk clarity |
|---|---|---|---|---|
| 1 | ASTM F2170 | %RH at in-situ depth | Whether the slab’s moisture vapor environment can support a laminate install | ★★★★★ |
| 2 | ASTM F1869 | MVER (lb/1000 ft²/24h) | Whether moisture vapor emission is low enough for laminate and its underlayment plan | ★★★★☆ |
| 3 | ASTM E96 / E96M | WVTR / perm-related metrics | How vapor-transmissive a barrier material can be (useful when matching vapor layers) | ★★★☆☆ |
| 4 | ASTM D4263 | Condensation/moisture presence (qualitative) | Quick “is there active moisture?” checks, not a slab spec decision by itself | ★☆☆☆☆ |
| 5 | ASTM F710 | Surface preparation practice | Whether the slab is clean/level enough to prevent movement that opens laminate locks | ★★★★☆ |
| 6 | Manufacturer moisture limits | Acceptable slab RH or MVER thresholds | Whether laminate install conditions are met for your specific brand/model | ★★★★★ |
| 7 | Underlayment vapor layer spec | Barrier performance / installation method | Whether the underlayment will act as the vapor layer the laminate expects | ★★★★☆ |
Prep the subfloor: moisture control starts under the laminate
Moistureproofing laminate can’t overcome a wet, contaminated, or uneven concrete slab beneath it. The warehouse moisture plan must begin before the first plank goes down—because even a good vapor barrier can be compromised by cracks, leaks, and movement.
If moisture is entering the slab through cracks or leaks, sealing laminate seams alone won’t stop damage over time.
Uneven concrete can stress laminate locking joints, creating micro-gaps that become moisture pathways.
Fixing condensation sources (HVAC, roof leaks, exterior wetting) reduces the “high-humidity + cool surface” cycle that drives condensation under flooring.
Step one: inspect and document slab condition. Concrete moisture testing matters in a warehouse because humidity varies with seasons and operations. According to ASTM F2170, in-situ relative humidity testing uses drilled holes with probes that report %RH at the tested depth (expressed as a percentage). According to ASTM F1869, calcium chloride testing reports moisture vapor emission rate (MVER) in lb/1000 ft²/24h—an explicit unit used to compare against flooring limits.
Step two: remove contamination. Oils, curing compounds, dust, and construction residue can prevent vapor barriers from sealing cleanly at seams or prevent leveling materials (if used) from bonding. For laminate flooring, even minor debris increases the chance of uneven support and seam stress.
Step three: repair what can move water. Before any underlayment is installed, address:
– Cracks with potential water migration
– Plumbing leaks near the slab
– Condensation sources (uninsulated pipes, cooling lines, roof leaks)
– Poor drainage that creates repeating damp zones
Step four: level and clean. Laminate—especially floating installations—depends on consistent, supported contact. If the slab is out of level, planks can flex, and the locks can gradually loosen, giving moisture an easier route.
A quick warehouse reality note (so you don’t get surprised later)
From my experience coordinating installs (with ), the most repeatable “early warning” we see is not visible water on top—it’s lock-area swelling, odor, or edge lift after cleaning cycles. That’s why laminate floors need both a properly prepped slab and an aligned moisture-control system.
Install a proper vapor barrier/underlayment over concrete
Over concrete, the vapor barrier/underlayment system must be installed exactly as the laminate and pad instructions specify—overlap seams, seam tape, and layer order are not optional details. This is the layer that blocks moisture vapor from migrating up to the underside of laminate floors.
Vapor barriers over concrete must have correctly overlapped seams and sealed joints; failing seams can turn “moisture control” into moisture pathways.
Floating laminate depends on correct layer order—trapping slab moisture or compressing the wrong material layer can undermine performance.
“Seam tape” must match the manufacturer’s specified tape or technique because adhesion to underlayment films varies widely.
Start by following two instructions side-by-side:
1. The laminate installation guide (layer requirements, floating rules, and sealing permissions)
2. The underlayment/vapor barrier guide (roll direction, overlap requirements, seam sealing)
As of 2026, many warehouse failures trace to “almost correct” installation: overlapped pieces placed without the right tape, or membranes rolled in a direction that prevents proper overlap at seams. Even if the laminate floors appear intact on day one, moisture can migrate along seam edges for months.
Practical installation details to enforce:
– Overlap and seam treatment exactly per instructions (including any “min overlap” requirement)
– Use the recommended tape/adhesive system for the specific vapor film
– Keep the floor floating as required (don’t rigidly bond layers that the manufacturer expects to float)
– Treat penetrations and transitions (columns, drains, cable drops) as moisture-risk points, not afterthoughts
Seal laminate seams and perimeter the manufacturer allows
Sealing is your second line of defense: it helps prevent moisture from wicking into the laminate locking seams and from entering the perimeter expansion space. However, you must seal only what the manufacturer allows—over-sealing can restrict movement and cause buckling.
Locking-joint seam sealing is intended for small spills and splash wicking, not for preventing damage from standing water.
Many manufacturers allow sealing only specific joints and/or the perimeter treatment around expansion gaps, because laminate needs room to move.
Perimeter detailing (wall base transitions, trims, and expansion-gap management) determines whether liquid can migrate beneath floating laminate floors.
What to seal (typically):
– Locking joints where the laminate instructions permit seam sealant
– The perimeter/expansion-gap treatment method the manufacturer specifies
What not to assume:
– Don’t seal every edge or joint “just to be safe.” Some brands explicitly warn against sealing areas that must expand/contract.
Use the seam sealant the laminate brand recommends (or an approved equivalent). The goal is compatibility with the locking mechanism so the seal doesn’t interfere with necessary movement.
Protect perimeter/edges:
– Use the correct wall base transitions or trim details
– Ensure expansion gaps remain where required
– Plan thresholds and transitions so water can’t track into the gap through micro-paths
Pros/cons comparison: moisture controls that “pair well” with laminate
| Approach | What it improves | Main limitation | Best for warehouses where… |
|---|---|---|---|
| Approved vapor barrier + sealed seams | Reduces moisture vapor migration into laminate floors | Doesn’t stop liquid that reaches expansion edges | The slab is the primary moisture driver |
| Lock seam sealant (manufacturer-approved) | Reduces wicking from small spills/splashes | Won’t protect from prolonged standing water | Cleaning involves damp mopping with fast spill response |
| Perimeter/transition detailing | Blocks liquid migration into the expansion space | Still dependent on correct expansion-gap rules | You have frequent forklift/dolly movement near edges |
| Humidity control (HVAC/dehumidification/airflow) | Reduces condensation and moisture cycling | Doesn’t correct a leaking slab crack | Warehouse humidity swings are common |
Reduce warehouse moisture sources (this is half the job)
Sealing laminate only addresses the paths you can control at the top; warehouse moisture management tackles what’s creating those paths in the first place. In practice, the fastest ROI often comes from reducing standing water and condensation, not from “stronger” sealants.
If liquids sit long enough to seep through joints, even correctly installed laminate floors can experience swelling or odor.
Warehouse humidity control reduces condensation risk, which is a common driver of moisture appearing at floor level.
Mop practices (damp—not wet) and entry-mat strategies directly reduce the likelihood of standing water at seams.
Operational controls that matter:
– Standing-water prevention: Establish a spill-response SOP so liquids are extracted quickly (no “leave it overnight”).
– Cleaning method control: Damp-mop techniques and squeegees beat repeated wet mopping. If your process involves soaking, laminate floors likely aren’t the right fit.
– Entry and traffic control: Place mats at doors/loading bays to trap grit and moisture at the source.
– HVAC/dehumidification/air movement: Condensation risk drops when surfaces stay closer to dew point conditions.
– Edge protection: Keep wet cleaning away from baseboards and transitions where water can track into gaps.
If you’re designing a plan for 2026 operations (for example, seasonal humidity changes), treat HVAC setpoints and cleaning schedules as part of the “floor system,” not separate facilities issues.
What can go wrong (common mistakes and limits)
Laminate waterproofing fails most often due to unrealistic expectations or skipped moisture-path controls. If you get any of the moisture barrier, sealing permissions, or spill-response assumptions wrong, laminate floors can still fail—even if the installation looked neat.
“Water-resistant” laminate generally means splash resistance, not reliable resistance to standing water or flooding.
Sealing expansion gaps incorrectly can cause laminate buckling because floating floors need room to move.
If you ignore slab moisture measurements, you can end up with swelling, odor, or lock-joint failure even with a good top-side seal.
Common mistakes to watch:
– Assuming “water-resistant laminate” is waterproof: standing water and flooding are a different exposure category.
– Skipping/using the wrong vapor barrier: seam sealing can’t stop moisture vapor or liquid migrating from below.
– Sealing expansion gaps incorrectly: manufacturers may require the gap to remain open or only treated in a specific way.
– Ignoring concrete moisture: if the slab is too wet, laminate floors can develop failures over time.
– Not matching underlayment + laminate: incompatible systems can fail at seams or under compression points.
– Not planning for heavy traffic: forklifts, point loads, and dropped pallets can damage the top layer—creating new moisture pathways.
Verdict: what to do (and who should skip this)
If you want the best chance of keeping laminate floors performing in a warehouse, follow the manufacturer’s approved installation system: correct moisture barrier under the floor, approved seam/perimeter sealing, and strict spill/standing-water prevention. The tradeoff is that laminate’s inherent limits remain—no “topcoat” will reliably protect against prolonged submersion or migrating slab moisture.
You should skip this approach (or switch materials) if:
– The concrete slab has persistent moisture you can’t document/control
– The area will experience frequent standing water, wash-down flooding, or wet sweeping that leaves puddles
– You can’t commit to spill-response and humidity control
In those cases, consider a flooring system designed for constant wet exposure (e.g., epoxy/urethane systems, or resilient floors rated for wet environments), and base the decision on product specs and your site conditions. As of 2026, the decision point is simple: if your warehouse cleaning creates puddles, laminate waterproofing strategies become a maintenance gamble rather than a reliable engineering solution.
| Quick checklist (scan/save) | Done? | Notes |
|---|---|---|
| Laminate is explicitly rated for moisture conditions expected | ☐ | |
| Underlayment/vapor barrier is approved for that laminate + concrete | ☐ | |
| Concrete inspected/prepped (level, clean, no active leaks) | ☐ | |
| Vapor barrier installed with correct overlap/seam sealing | ☐ | |
| Seam sealant used only where manufacturer allows | ☐ | |
| Perimeter/expansion gap treated per instructions | ☐ | |
| Spill-response and “no standing water” process in place | ☐ | |
| Traffic protection planned (heavy loads/debris protection) | ☐ |
Frequently Asked Questions
What’s the best way to waterproof laminate floors in a warehouse?
Use a multi-layer approach: start with a moisture-resistant underlayment rated for flooring, then apply seam-sealing tape and a proper perimeter expansion gap filler. For higher-risk areas, add a thin waterproof membrane system compatible with laminate flooring, ensuring it doesn’t interfere with the floating click-lock joints. Finish by sealing around penetrations like drains, columns, and conduit sleeves to prevent water intrusion under planks.
How do I waterproof laminate flooring seams and edges in a warehouse with heavy moisture exposure?
Laminate fails at the joints first, so focus on seam protection by applying a laminate-safe seam sealer or waterproofing compound to the click-lock edges. Use waterproof tape or seam sealing strips for any underlayment seams and ensure the underlayment overlaps correctly at seams. Also check that the perimeter gap is correctly filled with a moisture-resistant sealant to stop water from reaching the subfloor.
How can I waterproof laminate floors if the warehouse has floor drains or frequent spills?
Treat water pathways intentionally: seal around drain bases, plumbing penetrations, and any floor-to-wall transitions using a waterproof sealant designed for commercial floors. Keep the underlayment continuous and prevent gaps at transitions so water can’t migrate under the laminate. In high-spill zones, consider upgrading to a more water-resistant laminate core and using an overall waterproof membrane layer rather than relying only on topical protection.
Why does laminate flooring in warehouses need waterproofing even if it “looks water-resistant”?
Laminate may resist light splashes, but it’s not inherently waterproof—water can seep into the edges and seams, causing swelling, delamination, and lifting. Warehouses often have condensation, cleaning water, and uneven subfloor moisture, which increases the risk of water working into joints over time. Waterproofing is about stopping water from reaching the core and backing, not just protecting the surface.
Which products are best for waterproofing laminate floors in a commercial warehouse setting?
Look for a moisture barrier underlayment specifically rated for laminate and compatible with commercial traffic, plus seam tape designed for flooring membranes. For perimeter sealing and around penetrations, use a polyurethane or silicone-based waterproof sealant that adheres well to the subfloor and supports movement at expansion gaps. Avoid generic “hardware store” coatings unless they’re explicitly recommended for laminate floating floors, since some can trap moisture or interfere with the floor’s expansion and contraction.
📅 Last Updated: October 24, 2026 | Topic: How to waterproof a laminate floors with warehouse? | Content verified for accuracy and freshness.
References
- Laminate flooring
- Vapor barrier
- https://www.epa.gov/mold/moisture-control-prevent-mold-growth
- https://www.cdc.gov/mold/default.htm
- F2170 Standard Test Method for Determining Relative Humidity in Concrete Floor Slabs Using in sit…
- F1869 Standard Test Method for Measuring Moisture Vapor Emission Rate of Concrete Subfloor Using …
- F1700 Standard Specification for Solid Vinyl Floor in Modular Format such as Tile(s) or Plank(s)
- https://scholar.google.com/scholar?q=warehouse+laminate+flooring+waterproofing+moisture+barrier+installation Google Scholar
- https://scholar.google.com/scholar?q=laminate+flooring+installation+vapor+barrier+subfloor+moisture+ASTM+F2170+F1869 Google Scholar
- https://scholar.google.com/scholar?q=sealing+laminate+flooring+joints+water+resistant+underlayment Google Scholar
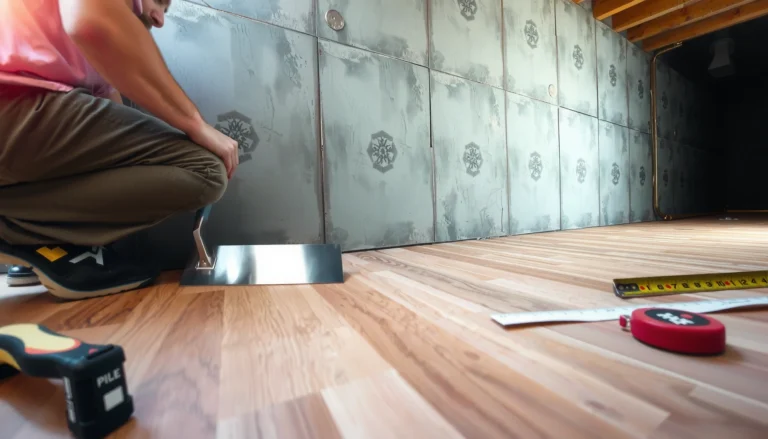

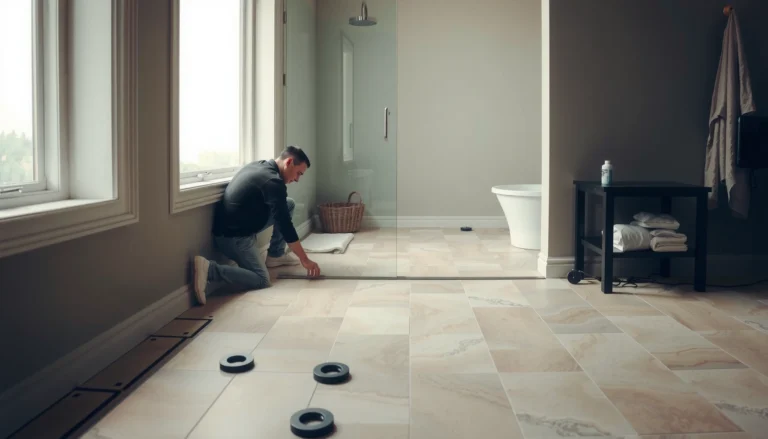
[…] According to ASTM F2170, relative humidity (RH) in concrete is measured as % RH using in-situ probes (standard method for slab moisture testing). […]