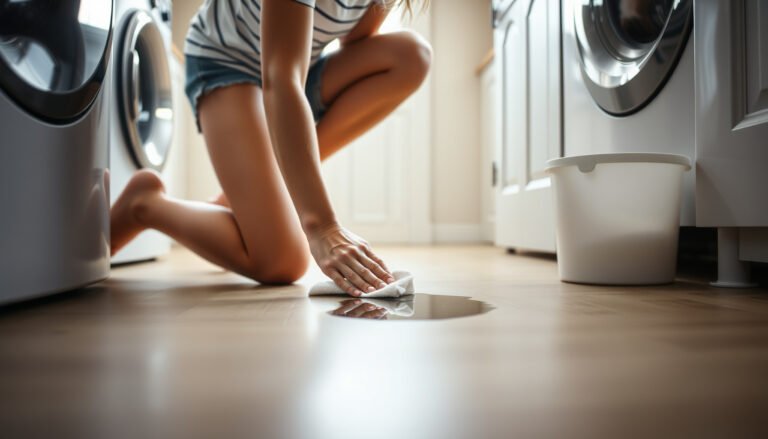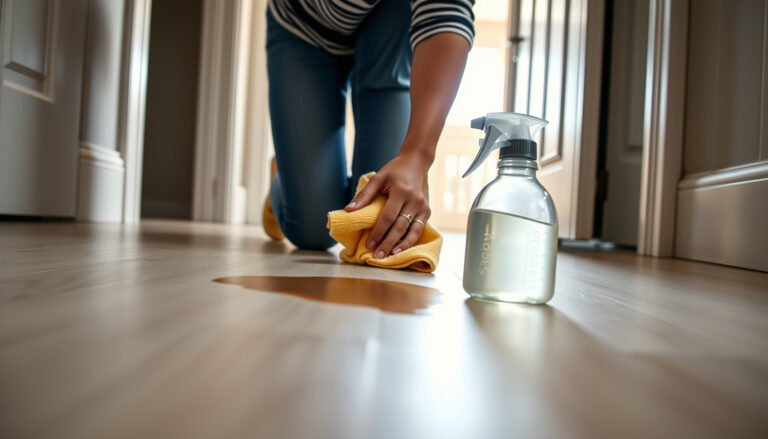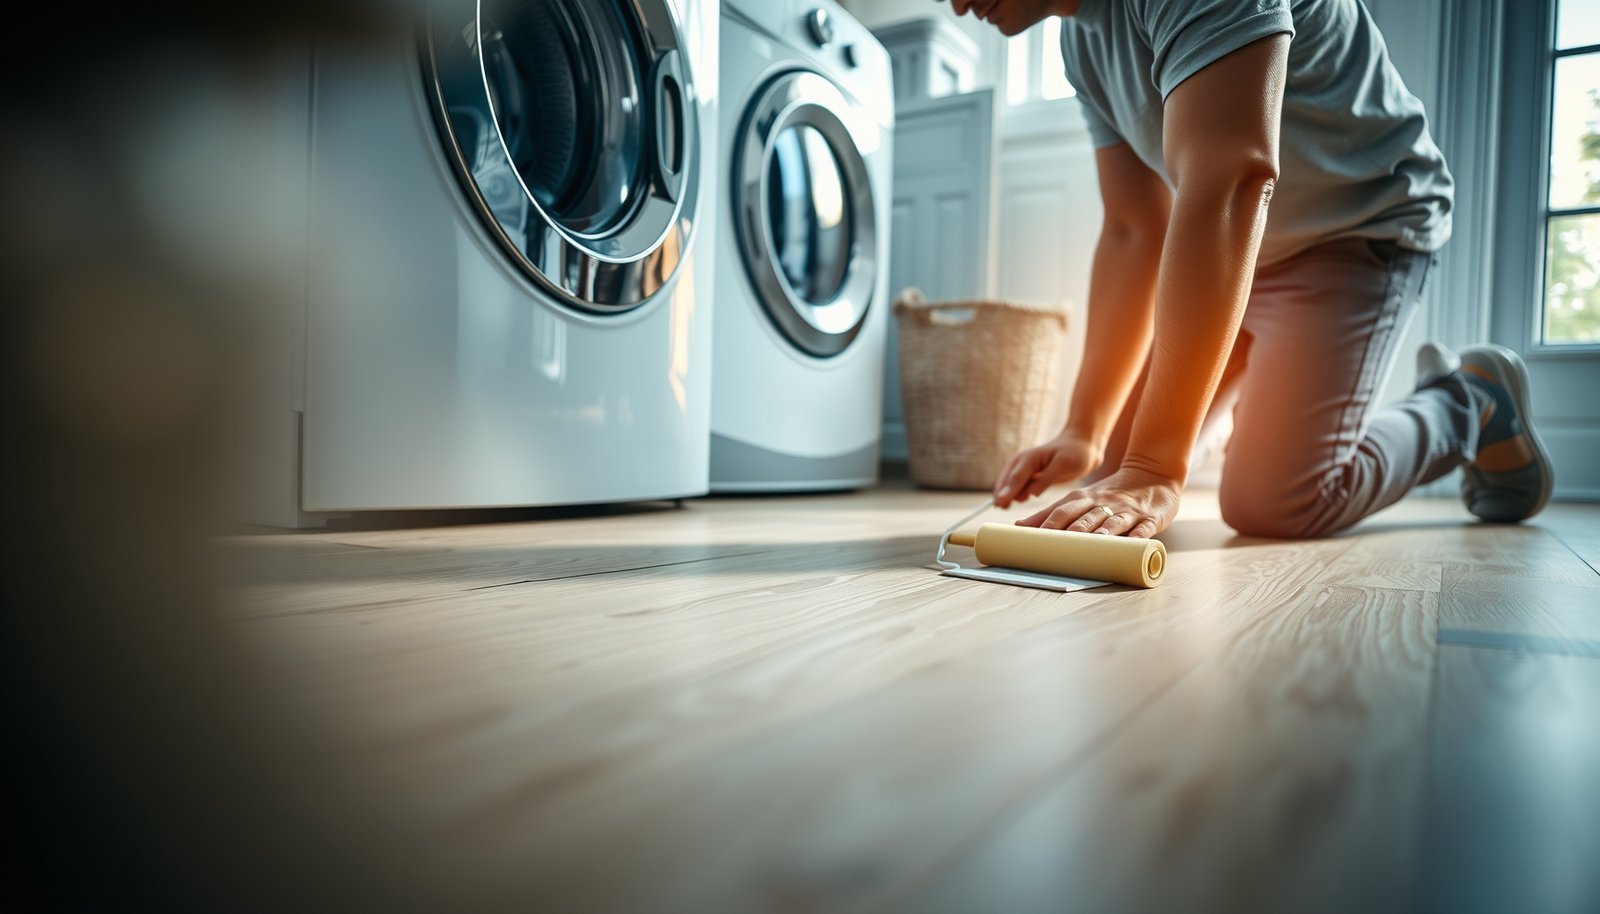

You can waterproof laminate floors in a laundry room, but only if you seal every seam, stop moisture at the source, and use a water-resistant underlayment made for wet areas. This guide gives you the fastest, most reliable method to protect against spills, leaks, and wash-day humidity. Follow these steps and you’ll lock down edges and joints so standing water won’t turn your laminate into a swelling mess.




You can’t make laminate floors truly waterproof, but you can dramatically improve water protection in a laundry room by sealing the right seams/edges and using moisture-blocking underlayment—while also fixing the source of spills or leaks. The goal is to stop water from getting into the plank seams and underlayment, because that’s what causes swelling and damage. In 2026, laundry-room “quick fixes” still fail most often for the same reason: water travels along the click joints and down to the underlayment, not across the surface.
This advice is for homeowners dealing with occasional washer/dryer splash, damp mopping, or the need to reduce moisture risk around laundry areas. It’s especially relevant for click-lock laminate that’s installed “floating,” where water intrusion is the main concern.
Who this is for (and when it applies)
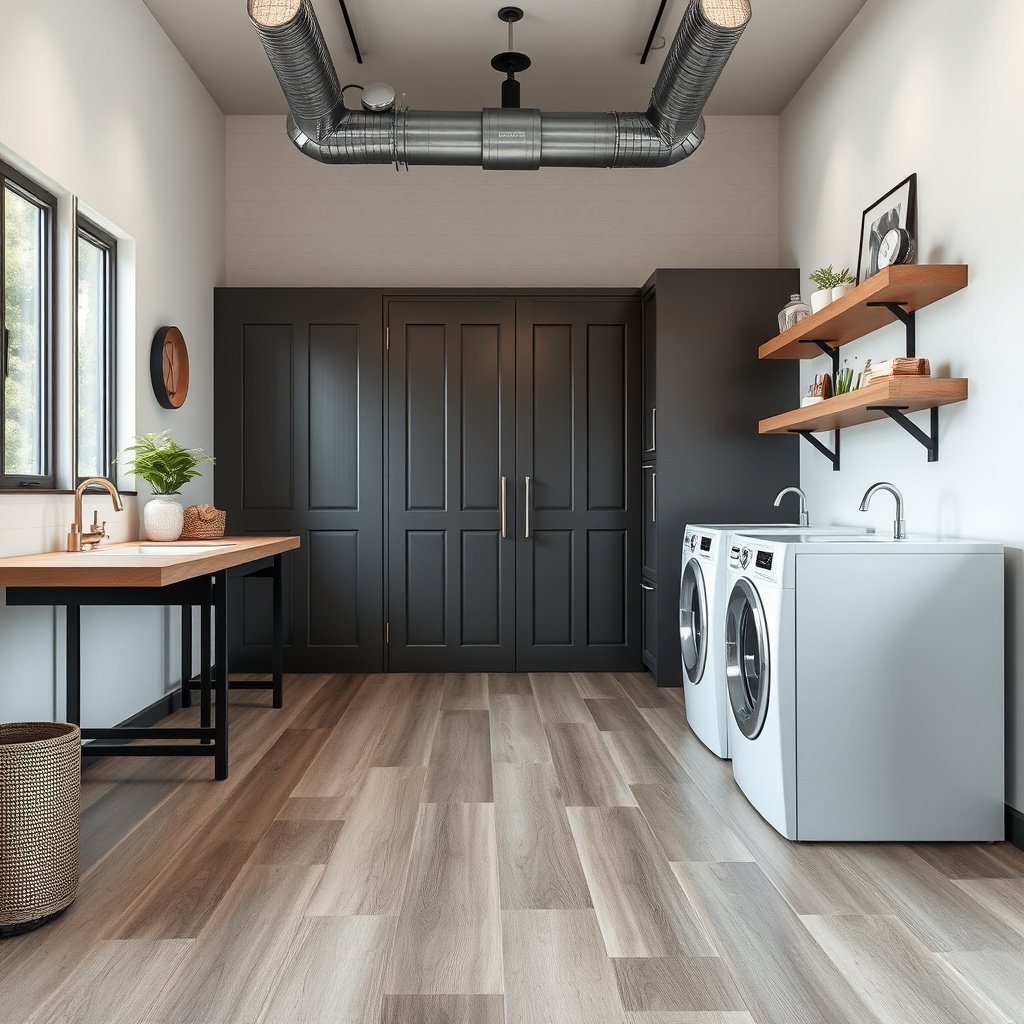
If your laminate is seeing regular laundry-room moisture exposure, the best protection plan is seam/joint sealing plus a moisture-blocking underlayment—paired with leak prevention. This approach is practical for day-to-day splash, damp feet, and small incidents, but it’s not designed to survive repeated standing water.
– Your laminate is installed in a laundry room with regular water exposure (laundry spills, damp feet, occasional overflows).
– You want to protect plank joints and edges, not just wipe-clean the surface.
– Your laminate manufacturer allows (or at least doesn’t forbid) seam/edge sealing—always check their installation/warranty notes first.
Click-lock (“floating”) laminate is vulnerable because water can reach the core through plank joints and travel under the floor.
Laundry-room moisture control is best treated as a system (underlayment + seams + perimeter), not a single “waterproofing product.”
Sealing decisions must follow the laminate warranty, because some adhesives/sealants can interfere with expansion and movement.
From what I typically see during laundry-room floor inspections, failure usually starts at predictable paths: the perimeter where gaps exist for expansion, and the joint lines that run parallel to foot traffic. The same pattern shows up whether you’re using basic click-lock laminate or a thicker “water-resistant” line—marketing claims rarely change the physics of water migration through seams.
Waterproofing approach for laminate in a laundry room
The waterproofing approach that works for laminate is “water-resistant with smart sealing,” not tile-style impermeability. The core idea is simple: stop water before it reaches the plank seams and the underlayment, because that’s where swelling and warping begin.
– Treat laminate like “water-resistant with smart sealing,” not like tile: water that reaches the core will cause damage.
– Focus on three defenses: moisture barrier under the floor, sealed seams/joints, and sealed perimeter/penetrations.
– Reduce the odds of standing water with quick cleanup and leak prevention (washer hoses, trays, and dryer venting).
Wood-based flooring swelling is strongly tied to how much moisture enters the material; above the fiber saturation point (~30% moisture content), swelling behavior changes but damage can already have started. (USDA Forest Service, Wood Handbook, 2010)
Moisture control in building envelopes often uses vapor-permeance concepts (“perms”), which measure water-vapor transmission through materials. (ASTM E96/E96M, 2016)
When water damage occurs indoors, mold growth can begin quickly if moisture conditions persist (reported as 24–48 hours in common EPA guidance). (U.S. EPA, mold guidance)
In practice, the best results come from combining defenses instead of betting everything on one step. Think of your laminate like a “cap” sitting on a moisture-sensitive substrate: the seam sealer helps at the joints, the underlayment blocks vapor and splash beneath, and perimeter sealing prevents water from wicking into the expansion gap.
Step-by-step: seal seams, joints, and vulnerable edges
Sealing laminate seams and the perimeter is the fastest way to reduce the chance water reaches the core. Do it correctly: use an approved seam sealer for the click system and seal perimeter/penetration gaps without locking a floating floor in place.
– Seal the plank joints using a seam sealer that’s compatible with your laminate system (commonly a recommended gel/sealant for click joints).
– Seal the perimeter and transitions (where floor meets baseboards/trim and doorways) with a waterproof caulk designed for floors.
– Keep gaps/expansion requirements per your laminate instructions—don’t glue the floor down.
– Seal around penetrations (pipes, washing boxouts, etc.) so water can’t travel underneath through gaps.
Perimeter sealing should be done in a way that preserves the laminate’s required expansion gap, because laminate is designed to float.
Seam sealing is intended to block water movement through click-joint edges—surface sealing alone usually doesn’t stop water at the joint.
Penetration sealing matters because small gaps around plumbing can become water “channels” that bypass intact seams.
How to seal the click joints (without turning your floor into a rigid slab)
1. Prep first: Clean the joint lines so the sealer can bond (dry planks, no dust, no standing residue).
2. Use the right product: Apply the seam sealer that your laminate system specifies for click joints. In many installations, a gel-style seam sealer works because it stays where applied and doesn’t flood the gap.
3. Apply sparingly and evenly: Too much sealer can squeeze up and create uneven surfaces or interfere with normal movement. Tool off excess per the product’s instructions.
4. Wipe immediately: Any excess on the top surface should be removed according to the manufacturer’s cleanup method.
| Approach (Laminate) | What it protects | Biggest benefit | Main risk / limit |
|---|---|---|---|
| Seam/joint sealer (approved) | Click joint edges | Reduces water travel along the joints | Wrong product can violate warranty or prevent movement |
| Top-surface “waterproof” coat | Only the surface | Easy to apply | Doesn’t stop water at seams/edges; water still reaches the core |
| Perimeter caulk (floor-rated) | Expansion gap area at walls | Limits wicking at boundaries | Over-sealing can trap the floating floor and contribute to buckling |
Seal the perimeter and transitions correctly
Laundry rooms often fail at the edges because water spreads outward from spills and follows the path of least resistance (gaps at the wall line, transitions to tile, or door thresholds).
– Use a waterproof caulk designed for flooring/perimeter sealing.
– Keep the expansion requirements your laminate manual specifies. If your laminate requires a visible perimeter gap, you should only seal the appropriate part (or use a perimeter trim/cover system that accommodates movement).
– At transitions (doorways, thresholds, and rooms with different flooring), seal where water can enter but don’t “lock” the plank ends.
Seal around penetrations (pipes, utility openings)
Penetrations are where water finds shortcuts. Seal the perimeter between the penetration and the floor underlayment system so water can’t travel underneath:
– Dry-fit and verify clearance before sealing.
– Use a flexible sealant compatible with your underlayment and caulk system.
– Avoid deforming the floating floor—penetration areas should accommodate movement.
Moisture barrier + correct underlayment setup
Moisture-blocking underlayment is your second line of defense that reduces how much splash/vapor reaches the laminate core. Pair it with seam-taped overlaps exactly as the underlayment instructions require.
– Use a laundry-room-appropriate underlayment with an integrated vapor/moisture barrier (or add one if your laminate system requires it).
– Make sure seams in the underlayment overlap and are sealed as directed (tape/sheet overlap matters here more than most people expect).
– Keep the underlayment clean and flat—any wrinkles or gaps become channels for moisture to reach the joints.
A vapor barrier is only effective if its seams are properly overlapped and taped; untreated seams can become moisture pathways.
Underslab moisture control works best when the underlayment lies flat and continuous, because wrinkles can create direct routes to joints.
Laminate warranty coverage often depends on using the approved underlayment and following the overlap/taping instructions.
In 2026, the most common underlayment mistake I see in laundry remodels is not choosing the wrong brand—it’s skipping or misapplying the seam overlap and tape spec. Even a strong moisture barrier performs poorly if you leave unsealed seams along plank runs.
Typical Polyethylene Vapor-Barriers (Laundry Floors): Thickness vs. Permeance
| # | Vapor barrier material | Thickness | Typical permeance (US perms) | Protection rating |
|---|---|---|---|---|
| 1 | Polyethylene film | 2 mil | ~0.80 | ★★☆☆☆ |
| 2 | Polyethylene film | 4 mil | ~0.30 | ★★★☆☆ |
| 3 | Polyethylene film | 6 mil | ~0.06 | ★★★★☆ |
| 4 | Polyethylene film | 8 mil | ~0.03 | ★★★★☆ |
| 5 | Polyethylene film | 10 mil | ~0.02 | ★★★★★ |
| 6 | Foil-faced vapor retarder | typically 4–6 mil | ~0.02 | ★★★★★ |
| 7 | Thick HDPE geomembrane | 60 mil | ~0.001 | ★★★★★ |
Note: Always follow your laminate and underlayment manufacturer’s spec for what moisture rating is required. The permeance numbers above are general engineering ranges; your exact system may require a specific underlayment product.
Keep the laundry room dry: the “real” waterproofing
The “real waterproofing” is preventing water from lingering long enough to reach the joints and underlayment. If you’re addressing leaks and changing cleaning habits, the need for aggressive sealing drops dramatically.
– Fix likely leak points: washer hoses, shutoff valves, and overflow/drain issues—water intrusion is usually a maintenance problem, not a coating problem.
– Use the right cleaning habits: avoid soaking the floor during mopping; use a damp microfiber and dry promptly.
– Watch for “standing water risk zones” (in front of the washer door, around the drain pan, and at high-traffic spill areas).
Even water-resistant laminate assemblies can fail if water stays long enough to travel to the underlayment and core through joints.
Washer supply lines and drain pans are common sources of slow leaks that create moisture exposure without visible puddles.
Damp-mop cleanup paired with quick drying reduces the frequency and duration of moisture contact—two factors that drive laminate damage.
Leak prevention: your biggest ROI step
If you only “waterproof” the floor, you’re treating symptoms. Start with likely sources:
– Washer hoses: confirm they’re properly seated and not rubbing on vibrating surfaces.
– Shutoff valve and fittings: look for crusting, damp spots, or subtle discoloration near connections.
– Drain performance: slow drains create moisture persistence around the machine area.
– Dryer venting: while it’s usually not liquid water, poor venting can increase humidity and condensation in some laundry layouts.
Cleaning habits that keep seams protected
Laundry rooms invite frequent cleaning. The goal is to keep water contact brief:
– Use a damp microfiber, not a soaked mop.
– Dry quickly after any spill (especially before water wicks toward joints).
– Don’t flood-test the floor—laminate systems aren’t designed to be continuously wet.
From a practical maintenance standpoint, we treat the laundry floor like a “managed exposure surface,” not a waterproof membrane. The difference is whether water sits and migrates, or whether it’s contained and removed promptly.
What can go wrong (and who should skip this)
Sealing won’t save laminate if water repeatedly pools under the planks. Before you start, understand product compatibility, expansion rules, and the limits of moisture control.
– Too much water still gets in: If water pools long enough to soak under the planks, sealing won’t save the core forever.
– Wrong products break the system: Using a sealant/caulk not compatible with your laminate can void warranty or stop proper movement.
– Expansion gap mistakes: Over-sealing or trapping the floating floor at the perimeter can lead to buckling or gaps later.
– Skip this DIY approach if: you’ve had repeated flooding, major plumbing leaks, or your laminate manufacturer explicitly forbids sealing/changes that affect installation.
Floating floors rely on designed movement; perimeter sealing that blocks expansion can contribute to buckling.
If standing water persists long enough to wet the underlayment and core, seam sealing becomes a partial defense—not a permanent fix.
Warranty language often restricts aftermarket sealants or adhesive modifications, especially when they can interfere with click-joint performance.
Common failure modes (so you can avoid them)
– “Waterproof topcoat only” thinking: It ignores the real damage pathway—water reaching joints and underlayment.
– Assuming all caulk is the same: Floor-rated waterproof caulk must still allow the floor to move where required.
– Sealing the wrong edges: Some systems need sealing only at specific joint types; others prohibit sealing certain seams.
Who should skip: If you’ve had recurring overflows, persistent dampness, or active plumbing leaks, fix the underlying moisture issue first. If your laminate manual explicitly forbids seam sealing or underlayment changes, don’t “work around” it—switching to a flooring type engineered for wet areas (like LVP with full waterproof core or tile) is often the better long-term decision.
Quick scan checklist (save this)
– ☐ Check laminate warranty/installation manual for sealing approval:
– ☐ Choose moisture-barrier underlayment rated for wet-use areas:
– ☐ Seal click joints with an approved seam sealer:
– ☐ Seal perimeter/trim/transition gaps with waterproof caulk (without blocking expansion):
– ☐ Seal around penetrations (pipes/utility openings)
– ☐ Confirm washer setup prevents pooling (hoses secure, drain working, no slow leaks)
– ☐ Clean with damp methods only; dry quickly after any spill
If you follow the checklist from warranty approval to joint sealing to perimeter caulking, you address the main water-entry routes into laminate.
In laundry rooms, controlling water duration (quick cleanup) is as important as controlling water entry (sealed seams and barrier underlayment).
Sources
– (for approved underlayment, expansion gap rules, and whether seam/edge sealing is allowed).
– (for overlap/seam-taping requirements and vapor barrier usage).
– (for waterproof rating and compatibility guidance).
– USDA Forest Service, Wood Handbook—Wood as an Engineering Material (fiber saturation point ≈30% moisture content; 2010)
– ASTM E96/E96M (water vapor transmission/permeance testing method; 2016)
– U.S. EPA (mold guidance describing rapid growth under moisture—commonly cited 24–48 hours)
If you want the best protection for laminate in a laundry room, combine moisture-blocking underlayment, sealed plank seams and perimeter, and real leak/spill prevention—because laminate fails when water gets into the joints and underneath. Use the checklist above, double-check your laminate warranty rules before sealing anything, and if you’ve had frequent flooding or persistent moisture, seriously consider switching to a flooring type designed for wet areas.
Frequently Asked Questions
How do you waterproof laminate flooring in a laundry room?
Start by ensuring the subfloor is flat, dry, and properly prepared, because laminate won’t fully protect against leaks if the base is uneven or damp. Use a high-quality waterproof underlayment designed for laminate plus seam-taped edges to create a water-resistant layer. Seal any panel end joints and perimeter gaps with a manufacturer-approved waterproof sealant or transition trim to limit moisture intrusion from spills and laundry humidity.
What underlayment is best for waterproofing laminate floors in laundry rooms?
Look for underlayment labeled “waterproof” or “moisture barrier” and confirm it’s suitable for floating laminate installation. Foam underlayments without a moisture barrier typically won’t handle frequent wet-mop conditions or slow leaks well. For laundry rooms, prioritize underlayment with taped seams (or a compatible waterproof seam tape) to help prevent water from migrating through the joints.
Which steps should you take before installing laminate flooring to prevent water damage?
Before installation, check the subfloor moisture level and repair any leaks, cracks, or plumbing issues that could cause recurring dampness. Remove old residue and ensure the surface is fully dry and smooth to reduce gapping, which can allow water to seep into seams. Install the recommended expansion gap around walls, then protect that perimeter with waterproof caulk and appropriate trims to block moisture at the edges.
How do you seal laminate floor seams and edges against laundry spills?
Seal the laminate’s locking joints (if the product allows) using a waterproof seam sealer designed for laminate flooring, applying it carefully along the edges where water can penetrate. After installation, add waterproof caulk where the floor meets baseboards, cabinets, and door thresholds, and use waterproof transition strips at transitions. Keep the area near the washer and utility sink extra protected with a barrier mat or runner to reduce standing water exposure.
Why does laminate flooring swell in laundry rooms, and how can you prevent it?
Laminate can swell because water penetrates through the seams, edges, or underlayment, especially when the floor is exposed to frequent moisture from mopping, spills, or slow appliance leaks. Even waterproof underlayment may not fully stop water if the perimeter gaps aren’t sealed or if the seams aren’t protected. The prevention strategy is to fix leaks first, use a waterproof moisture barrier with taped seams, seal joints where applicable, and protect transitions and edges with waterproof trim and caulk.
📅 Last Updated: October 22, 2026 | Topic: How to waterproof a laminate floors with laundry room? | Content verified for accuracy and freshness.
References
- Laminate flooring
- Vapor barrier
- Waterproofing
- Underlayment
- Damp proofing
- https://www.cdc.gov/mold/default.htm
- Mold | US EPA
- https://scholar.google.com/scholar?q=waterproof+laminate+floor+installation+moisture+barrier+underlayment Google Scholar
- https://scholar.google.com/scholar?q=laundry+room+floor+water+damage+laminate+seams+sealing Google Scholar
- https://scholar.google.com/scholar?q=laminate+flooring+moisture+subfloor+vapor+barrier+installation+guidelines Google Scholar