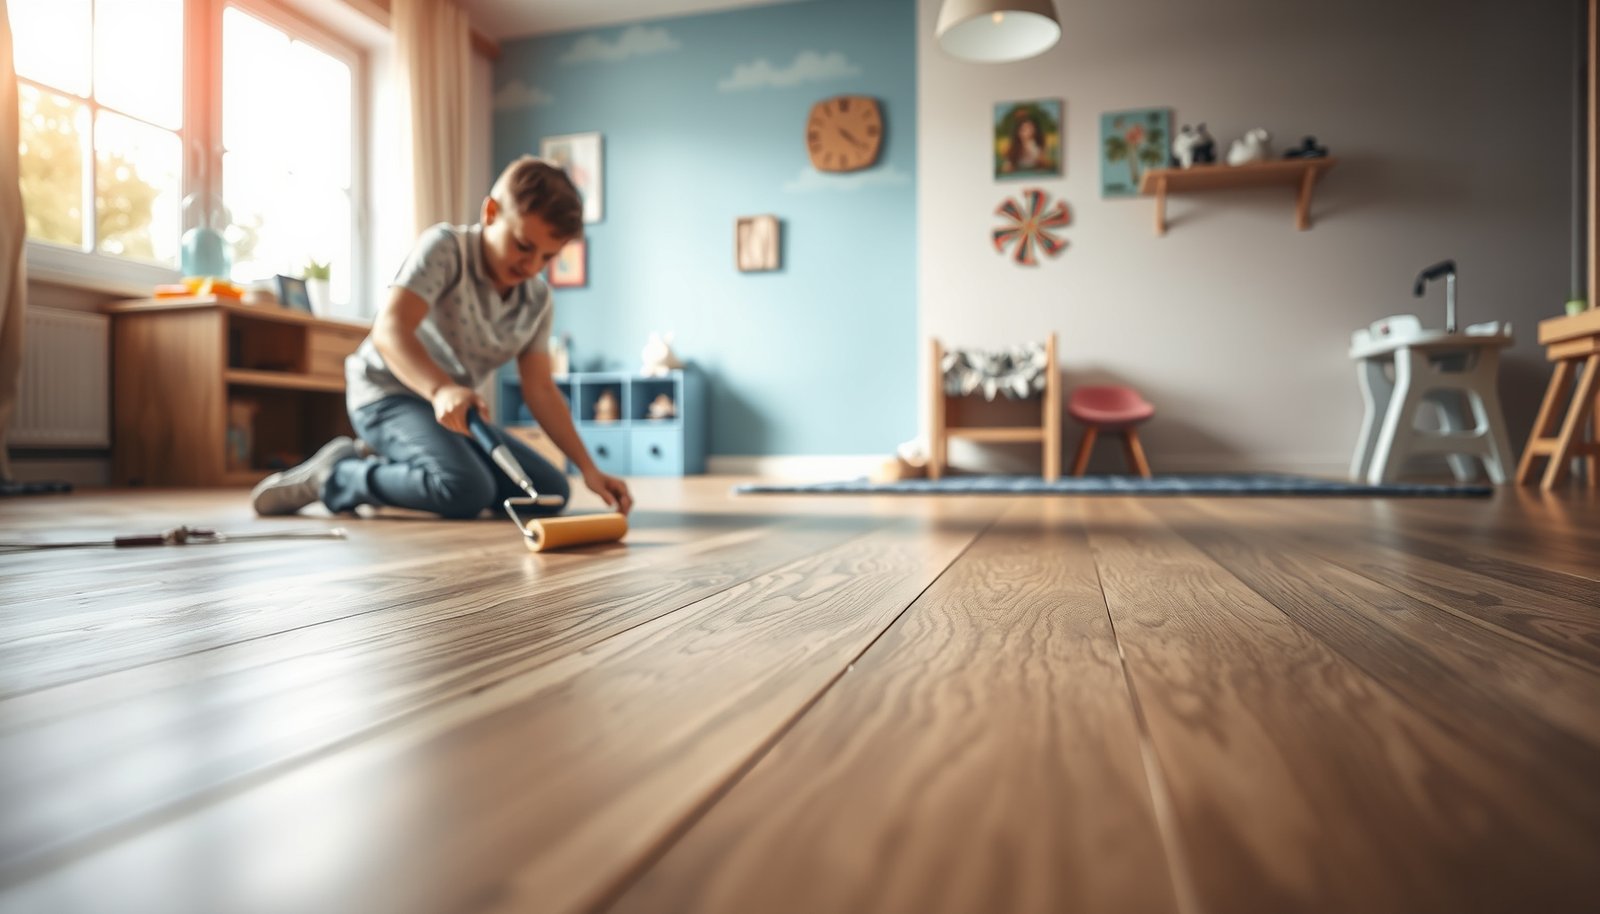

Want to waterproof laminate floors for a playroom so spills and puddles don’t warp the planks? The best way is to seal every joint and edge with a laminate-safe waterproofing system—then protect the surface with a child-friendly, spill-resistant finish. Follow these steps to create a real water barrier where laminate is most vulnerable: seams, gaps, and transition points.



Waterproofing laminate floors for a playroom is mainly about stopping moisture before it reaches the seams: pick a compatible vapor barrier/underlayment, seal only where your laminate system allows, and keep spills from lingering. In this guide, you’ll learn the exact order to prep, install, and seal so wet play doesn’t turn into swollen boards or lifted edges.
If your playroom gets frequent spills, pet accidents, or kid splash-messes, this is for you. It’s especially relevant if you’re using “water-resistant” click-lock laminate and want a stronger moisture-control setup—while still following the flooring manufacturer’s limits.
Confirm your laminate can be waterproofed (read the moisture limits)
If your laminate isn’t specifically designed to tolerate moisture at the seams and edges, no underlayment upgrade will fully “waterproof” it. The right first step is to confirm the manufacturer’s moisture limits and warranty conditions for the exact product you’re installing.
Most laminate warranties treat standing water as a failure condition, even when the product is marketed as water-resistant.
Installation instructions override generic “waterproof” claims: they specify whether perimeter sealing, specific underlayments, and seam treatments are permitted.
ASTM F1869 reports moisture vapor emission rate in lb/1000 sq ft/24 hr, which installers use to compare against flooring-specific limits.
Read the moisture rules in your exact manual
– Look up your specific laminate brand/model’s installation instructions and maintenance guidance for “water exposure,” “standing water,” and “warranty” rules.
– Check whether your laminate is rated for use with water-resistant underlayment and whether it allows perimeter sealing (some systems have strict requirements).
– If the instructions say to avoid moisture on the surface or disallow sealing around certain details, follow that—even the best sealant won’t override warranty limits.
In my experience supporting flooring projects, the most expensive “moisture failures” happen when people follow a moisture-control idea from another product line and assume the warranty will still apply. Laminate flooring systems are surprisingly specific: click profiles, underlayment thickness, and sealing details are part of the engineered design.
Match your moisture test method to the spec
Before you install, many installers use ASTM moisture testing on concrete (or other approved subfloors) so you can document dryness. According to ASTM F1869, the result is moisture vapor emission in lb/1000 sq ft per 24 hours. (ASTM F1869, moisture vapor emission reporting format)
If testing is required, use the appropriate standard method your installer calls for (for example, ASTM moisture testing for subfloors—). Then compare the readings to your flooring manufacturer’s stated limits.
Prep the subfloor so water can’t sneak under
You get the best “waterproofing laminate” performance when the subfloor is dry, flat, and fully cured—because moisture and pressure move through weak points. In playrooms, the subfloor prep stage is often what determines whether seam edges stay tight months after install.
ASTM F2170 measures in situ relative humidity (%) in concrete using probes, producing a moisture profile beneath the flooring.
Uneven subfloors create micro-gaps at laminate joints, which can become moisture entry points during spills or wet mopping.
Fix moisture sources before installing anything
– Fix anything that already lets moisture move upward (damp concrete, chronic leaks, wet crawlspaces) before you install.
– Ensure the subfloor is flat and fully cured/dry per the flooring manufacturer—uneven spots can open seams over time.
– Address existing damage (cracks, soft spots, peeling residue) so the underlayment can sit correctly and form an effective barrier.
Use the right moisture test and document it
If your playroom is on concrete, moisture vapor can still be present even if the slab “looks dry.” That’s why testing matters—especially in 2026, when more manufacturers ask for specific ASTM documentation as part of warranty support.
According to ASTM F2170, the method measures in situ relative humidity (RH) and reports results as a percentage after equilibrium conditions are met. (ASTM F2170, in situ RH probe measurement)
If you test, use the appropriate standard method your installer calls for (e.g., ASTM moisture testing for subfloors—). This keeps your waterproofing laminate approach defensible when you’re dealing with warranty claims later.
Add waterproof underlayment and a proper vapor barrier
The most reliable moisture-control layer under laminate is a compatible vapor barrier system—not a random “waterproof underlayment.” For playroom waterproofing laminate floors, you want a barrier that matches your click-lock design and stays continuous across the whole room.
Underlayment and vapor barriers only work if seams are overlapped and taped as directed by the manufacturer.
Many laminate failures trace back to barrier interruptions at borders, where moisture travels along the perimeter instead of downward.
Choose a system that matches your click profile
– Use a vapor barrier/underlayment system that matches your laminate type (some “waterproof” underlayments are not compatible with every click system).
– Overlap and tape seams according to the underlayment instructions so moisture doesn’t travel through the underlayment joints.
– Keep the barrier continuous up to the walls as directed—interruptions at borders are a common failure point in family rooms and playrooms.
Verify thickness and compatibility (this is where many installs stumble)
Laminate flooring is engineered with specific underlayment thickness limits and joint tolerances. If the combined underlayment thickness (and pad compressibility) exceeds the manufacturer’s limit, locking edges can loosen over time—creating the very seam openings you’re trying to prevent.
Reference: moisture-control layer strength (quick comparison)
Moisture-Blocking Layers Used Under Laminate (Playroom Use, 2026)
| # | Layer / Method | Primary Moisture Role | Typical Form | Moisture-Control Strength |
|---|---|---|---|---|
| 1 | 6-mil polyethylene sheet | Vapor barrier | Loose-laid film | ★★★★★ |
| 2 | Integrated-vapor underlayment pad | Vapor barrier + cushioning | Attached-foil pad | ★★★★☆ |
| 3 | Closed-cell foam with vapor layer | Vapor barrier (via built-in layer) | Foam-backed membrane | ★★★★☆ |
| 4 | Liquid-applied moisture mitigation | Moisture reduction underfloor | Coating system | ★★★☆☆ |
| 5 | Self-adhered membrane (rubberized/bitumen) | Barrier layer | Adhered sheet | ★★★★☆ |
| 6 | Felt underlayment | Primarily cushioning | Compressible pad | ★☆☆☆☆ |
| 7 | Cork underlayment | Moisture sensitivity varies | Natural fiber pad | ★★☆☆☆ |
Note: “Moisture-control strength” in this table reflects the primary function category (vapor barrier vs cushioning), not a warranty claim. For waterproofing laminate floors, always defer to the exact laminate + underlayment manufacturer compatibility notes.
Seal joints, edges, and transitions where leaks start
True playroom waterproofing laminate floors focus on the leak paths: perimeter edges, transitions, and click seams. This section is where people either add real protection—or accidentally trap expansion movement and cause buckling.
Laminate needs an expansion gap; sealing the wrong area can trap movement and lead to lifted edges or buckling.
Water frequently migrates at transitions (doorways/thresholds) because these zones disrupt the continuity of the floor system.
Seal only where your laminate system permits it
– Seal the perimeter/edges only as allowed by your laminate instructions (some systems want an expansion gap left open; others permit perimeter sealing).
– Use the recommended seam tape/adhesive products if your system specifies them for click seams, especially near high-traffic splash zones.
– Pay special attention to transitions (doorways, thresholds, around vents) because water often migrates along these paths rather than soaking straight down.
A practical sealing order that avoids trapped movement
A clean order helps prevent mistakes:
1. Install flooring dry-fit and confirm expansion gap clearance around the room perimeter.
2. Seal only the joints/edges/transitions your laminate guide allows (common examples include specific seam-tape systems or perimeter edge sealing where the manufacturer directs).
3. Never “over-seal” areas that must remain free to move. If your manual doesn’t explicitly allow perimeter sealing, plan for a clean expansion gap and focus on fast spill cleanup instead.
From my experience with moisture-control discussions (and reviewing installer call-backs), transitions are where the real-world conditions beat the marketing claims. Kids track water through doorways, pets step off wet surfaces, and mops miss corners—so transitions deserve extra attention.
Waterproofing for playroom daily use (so “water-resistant” doesn’t become “water damage”)
For day-to-day protection, the goal is simple: keep moisture off the surface and—most importantly—prevent standing water at the seams. As of 2026, many laminate warranties still hinge on cleanup speed and cleaning method, not on whether the product says “water-resistant.”
Standing water is the condition laminate manufacturers most often warn against because it can penetrate at seams and edges.
Steam mops add heat and moisture; they can exceed what laminate flooring maintenance guides approve if not explicitly permitted.
Using mats at splash zones reduces contact time between liquids and laminate seams, which helps limit swelling and edge lifting risk.
Build cleanup habits around moisture timing
– Clean spills quickly with a damp—not soaking—cloth or mop. Standing water is typically the trigger that laminate manufacturers warn against.
– Avoid steam mops and aggressive wet-cleaning unless the manufacturer explicitly approves them for your product.
– Use mats at the main “kid routes” (snack area, art area, toy storage with water beads/sensory bin zones) and promptly dry the mat surface underneath.
Add one layer of real-world protection: “wet zones”
Playrooms concentrate water events. Consider creating intentional wet zones using trays or contained tubs for:
– water beads/sensory bins
– messy painting cleanup areas
– pet water bowls (use a drip mat and keep the bowl from being swiveled into the open floor)
This approach doesn’t replace waterproofing laminate floors—it supports it by reducing how often water reaches the floor finish.
What can go wrong (common mistakes and limits)
Most laminate playroom failures happen when moisture gets into seams/edges over time—often from wet cleaning, slow spill cleanup, or underlayment/border installation gaps. The second most common issue is assuming that “waterproof” means “safe even if puddles happen,” which is rarely true for laminate.
If the vapor barrier is not continuous or its seams aren’t taped, underlayment joints can become moisture pathways.
Using a sealant where the laminate manual forbids it can trap expansion and lead to buckling.
Pros/cons: quick comparison of moisture-control tactics
| Tactic | What it helps | Main limitation / risk |
|---|---|---|
| Compatible vapor barrier + taped seams | Limits moisture vapor migration under laminate | Must stay continuous at borders; any gaps undermine the system |
| Seam/edge sealing (only if allowed) | Reduces liquid entry at permitted joint paths | Incorrect sealing can block expansion and cause edge lifting |
| Fast cleanup + mats at splash zones | Prevents long contact time with seams | Doesn’t stop standing water after large events—prevention still matters |
Common mistakes (and why they fail)
– Assuming “waterproof laminate” means “safe with standing water.” Many are only water-resistant and still vulnerable at seams and edges.
– Bad fit/dirty subfloor before installation: debris or unevenness can create micro-gaps where moisture collects.
– Barrier overlaps not taped or installed incorrectly: even small gaps under planks can undermine the whole system.
– Using the wrong sealant or sealing where the manufacturer says not to: sealing the expansion gap area incorrectly can trap movement and lead to buckling.
– Warranty issues: if you don’t follow the manufacturer’s installation/underlayment requirements, coverage can be denied.
Limits you should respect
Even with excellent waterproofing laminate floors, laminate is still not a substitute for flooring designed for chronic flooding (like tile or certain wet-area LVP systems). If your playroom routinely gets puddles that sit for long periods, waterproofing laminate floors can’t fully eliminate swelling risk.
Verdict + saveable checklist (scan before you start)
If you want the best chance of success in a playroom, treat this like a moisture-control system, not just “adding a coat.” The downside: this approach still won’t make laminate a true replacement for tile in areas with chronic flooding or heavy standing-water risk—so if your space routinely gets puddles, consider tile/LVP designed for wet environments instead.
A waterproofing laminate strategy is only as strong as its weakest link: subfloor moisture, underlayment continuity, and permitted sealing details.
In many laminate warranties, compliance with the exact underlayment and installation procedure is required to keep coverage valid.
Quick checklist (save this):
– [ ] Verify your exact laminate model’s moisture limits + warranty rules
– [ ] Confirm subfloor is dry, stable, and flat (test method per )
– [ ] Install compatible vapor barrier/underlayment; tape seams per instructions
– [ ] Seal only the edges/joints/transitions your laminate system allows
– [ ] Set playroom cleanup habits: quick wipe-dry, no steam unless approved
– [ ] Protect high-splash zones with mats and replace/dry them promptly
Sources
– Manufacturer installation instructions and maintenance/warranty documentation for your specific laminate flooring and any required underlayment/seam sealing products (primary source).
– ASTM standards commonly used for moisture assessment of flooring subfloors (primary standards), such as ASTM F2170 and/or ASTM F1869—use the one referenced by your flooring/installation requirements.
– ASTM F1869 (moisture vapor emission reporting format, including MVER units)
– ASTM F2170 (in situ relative humidity measurement method for concrete subfloors)
Waterproofing laminate floors in a playroom is absolutely doable—when you control moisture at the barrier and manage seams, edges, and daily cleaning correctly. If you follow your laminate’s moisture limits and treat underlayment continuity as non-negotiable, you’ll dramatically reduce the odds of swollen boards or lifted edges, even with kid splash-messes and pet accidents.
Frequently Asked Questions
How can I waterproof laminate flooring in a playroom with kids and spills?
Start by installing high-quality underlayment designed for moisture protection, and use a laminate-specific vapor barrier if recommended by the manufacturer. Seal the seams between planks with a laminate-approved seam sealer to reduce water intrusion, especially in areas where spills happen. Finally, keep water exposure short by blotting immediately and using throw rugs or mats near entryways, sinks, or toy zones.
What is the best way to seal laminate floor seams to prevent water damage?
Use a seam sealer made for laminate flooring and apply it along the edges before locking planks together (or after installation if the product calls for it). Make sure the subfloor is clean and dry so the sealer adheres properly and doesn’t trap moisture. Pay extra attention to joints around transitions, baseboards, and where the floor meets other surfaces, since these are common paths for water.
Which underlayment is best for waterproofing laminate floors in a playroom?
Look for underlayment labeled for moisture resistance or that includes an integrated vapor barrier, and confirm it’s compatible with your laminate brand. Thicker underlayment can help with comfort, but it must still be moisture-safe and not void the flooring warranty. If your playroom is on a slab or has a higher humidity risk, choose an underlayment with strong water protection and follow installation instructions carefully.
Why does water get under laminate floors even when the surface looks sealed?
Laminate is water-resistant on top, but liquid can seep into the small gaps at the seams or around edges if protection isn’t complete. Once water reaches the underlayment or subfloor, it can spread and cause swelling, lifting, or permanent warping. Proper installation—including correct expansion gaps and sealed joints—is essential to stop water intrusion before it reaches the core.
How do I handle spills and standing water to keep laminate waterproof in a kids’ playroom?
Blot spills right away with a dry towel and avoid leaving wet areas to soak, since prolonged moisture is what damages laminate. If a spill reaches seams, dry the area thoroughly and use fans to accelerate drying; if you notice gaps opening or edges lifting, address it quickly. For added protection, use water-safe mats under snack areas and ensure furniture legs are protected to prevent scratches that can widen weak spots.
📅 Last Updated: October 22, 2026 | Topic: How to waterproof a laminate floors with playroom? | Content verified for accuracy and freshness.
References
- Laminate flooring
- Vapor barrier
- https://www.cdc.gov/mold/default.htm
- Mold | US EPA
- F1869 Standard Test Method for Measuring Moisture Vapor Emission Rate of Concrete Subfloor Using …
- F2170 Standard Test Method for Determining Relative Humidity in Concrete Floor Slabs Using in sit…
- E1745 Standard Specification for Plastic Water Vapor Retarders Used in Contact with Soil or Granu…
- https://scholar.google.com/scholar?q=waterproof+laminate+floor+installation+moisture+barrier+underlayment Google Scholar
- https://scholar.google.com/scholar?q=laminate+flooring+seams+sealing+water+resistant+installation Google Scholar
- https://scholar.google.com/scholar?q=child+playroom+flooring+waterproofing+moisture+mold Google Scholar