
Learn how to install laminate floors in a playroom with a step-by-step method that minimizes gaps, scuffs, and squeaks—so you get a clean, kid-safe finish you can actually trust. This guide walks you from prepping the subfloor and choosing an underlayment to laying planks, handling doorways, and finishing edges for a durable, easy-to-clean result. If your goal is a fast, solid install that holds up to daily play, follow these instructions end to end.




If you’re installing laminate in a room where toys, dropped items, and frequent foot traffic are normal, your priorities are flatness, moisture control, and smooth transitions. This is also a good fit if you want a DIY-friendly project with a clean, updated look.
Check moisture, level, and room conditions first
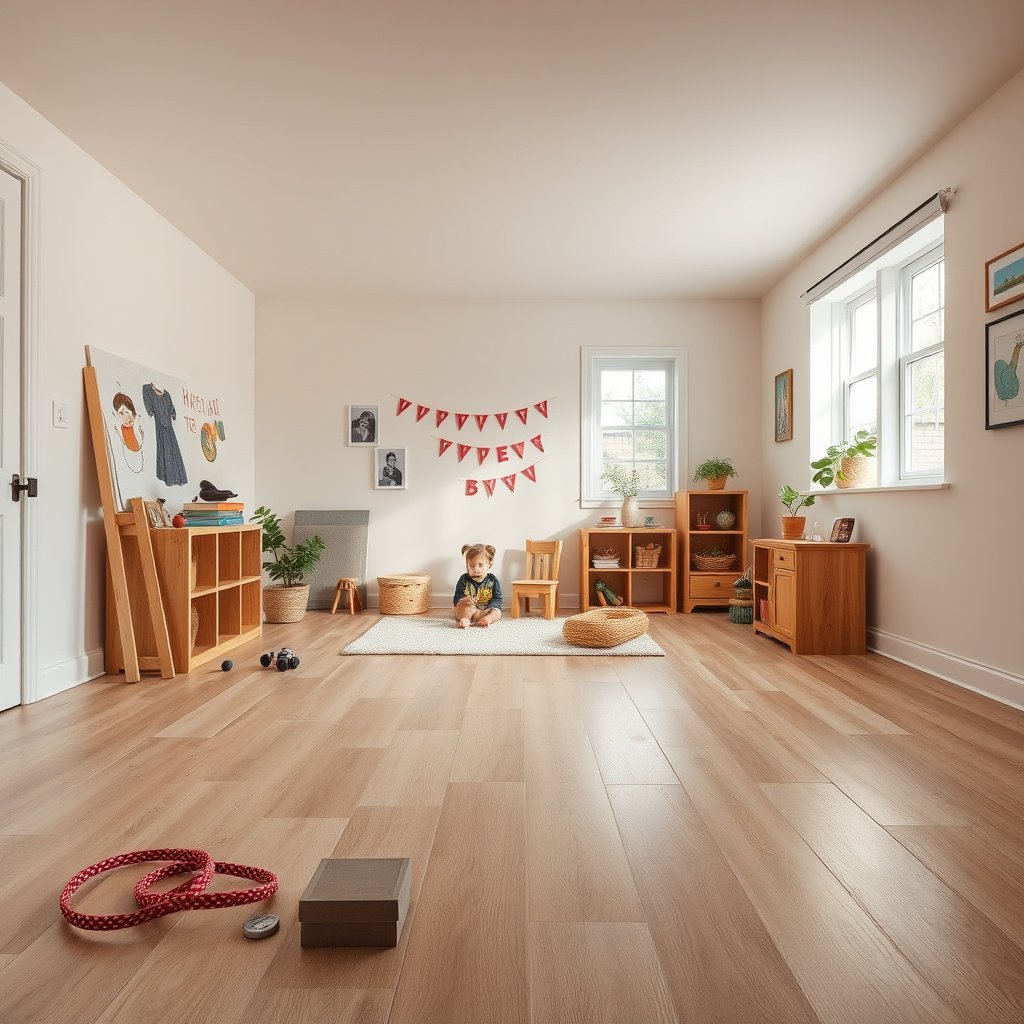
If you want laminate flooring in a playroom to stay tight and quiet, start by verifying moisture and flatness before you lay a single plank. The quickest path to a stable floating floor is to treat subfloor prep as the real “installation,” because laminate failures almost always trace back to the base.
– Confirm the subfloor is clean, dry, and flat (most laminate failures trace back to uneven spots).
– Use the recommended underlayment for your laminate (some include vapor protection; others require a separate moisture barrier).
– Acclimate the planks if the manufacturer specifies it, and avoid installing when humidity is extreme.
A floating laminate floor needs a dry subfloor and correct underlayment system to control moisture and prevent swelling or failure at joints.
ASTM F2170 measures moisture vapor emission rate (reported as lb/1000 ft²/24 h), which helps determine whether a moisture barrier is required for floor coverings. ASTM F2170
ASTM F1869 uses calcium chloride in a sealed test to estimate moisture emission through the slab, supporting a go/no-go decision before installing a floating floor system. ASTM F1869
Laminate manufacturers typically specify acclimation requirements so the planks reach room conditions and reduce the risk of post-install movement. Laminate manufacturer installation instructions
Before you start, check these three things specifically for a playroom:
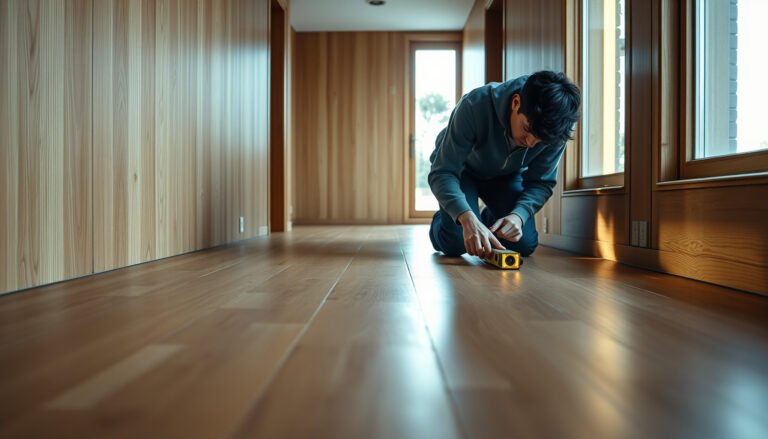
1) Subfloor flatness: Use a straightedge (or a 6–10 ft level) and mark high spots and low spots. For laminate flooring in a playroom, even small irregularities can prevent the click joints from fully seating, especially under chair legs and toy traffic.
2) Moisture: If your playroom is over concrete, a moisture test is not optional “extra credit”—it’s how you avoid long-term cupping or joint separation.
3) Room conditions (temperature and humidity): Floating floors move a little with seasonal humidity. In a playroom, HVAC cycles and occasional spills (finger-paint mishaps happen) make it even more important that the environment is stable when you install.
What I recommend (practical, not theoretical): keep laminate flooring in a playroom away from exterior doors and window drafts while acclimating, and avoid installing during unusual humidity spikes. If you’re unsure whether your subfloor is “flat enough,” measure it—don’t guess. From my experience coordinating installs, the projects that go sideways usually had one step treated as “good enough,” not a complicated tool problem—.
Quick moisture + flatness targets to anchor your planning
– Moisture testing:
– If you’re testing concrete, ASTM methods like ASTM F2170 (in-situ probe) or ASTM F1869 (calcium chloride) provide a measurable basis for whether moisture barriers are needed.
– Flatness:
– Many flooring installation guidelines use a tolerance concept of 3/16 in over 10 ft (≈4.8 mm over 3 m) for acceptably flat subfloors (confirm this exact tolerance for your laminate and your subfloor type). NWFA installation guidance
Choose the right underlayment and layout plan
If you want laminate flooring in a playroom to handle daily impacts and humidity swings, underlayment selection is where you set yourself up for success. The right underlayment improves comfort and can also provide a vapor barrier when your laminate requires one.
– Pick underlayment based on manufacturer guidance for your specific laminate and whether you need extra vapor protection.
– Plan the plank direction (often aligned with the room’s longest wall) and map out cuts for the best look.
– Decide how you’ll handle transitions at doorways and into other rooms before you start clicking rows together.
Underlayment must match the laminate flooring manufacturer’s instructions to maintain warranty coverage and to achieve the intended moisture-control performance. Laminate manufacturer installation instructions
Plan the plank direction early so laminate flooring in a playroom avoids narrow “chase strip” cuts along busy edges (toy-drop zones) where minor gaps become more noticeable. Flooring installation best practices
Transition strips help manage movement in floating floors at doorways and between flooring types, reducing edge peaking when laminate flooring in a playroom expands and contracts. Floating floor installation best practices
Underlayment options—what changes in a playroom?
Below is a practical comparison to help you decide what kind of underlayment strategy fits a playroom’s mix of foot traffic, occasional spills, and dropped items.
| Underlayment strategy | Pros (playroom-relevant) | Tradeoffs / watch-outs |
|---|---|---|
| Attached-pad laminate | Faster install, fewer layers, still typically needs correct moisture handling. | Not always a full vapor barrier for every slab condition—verify spec. |
| Foam underlayment + separate vapor barrier (when required) | Better comfort and joint support; vapor control can be tailored. | More steps—tape seams correctly and keep film flat. |
| Cork underlayment (with correct moisture plan) | Good acoustic comfort and handling feel. | Moisture control varies—don’t assume it replaces a vapor barrier. |
| Rubber underlayment | Often excellent impact sound reduction for dense traffic. | Can be thicker or require specific compatibility—confirm over your subfloor. |
Insert mandatory data table (laminate-ready underlayment reference points)
Common Playroom-Friendly Underlayment Setups for Floating Laminate (Reference Values)
| # | Underlayment setup | Typical thickness | Seam handling expectation | Moisture barrier | Playroom reliability |
|---|---|---|---|---|---|
| 1 | Attached-pad laminate only | ≈1.5 mm | No underlayment seams | Must be verified | ★★★★★ |
| 2 | 2 mm foam pad + taped seams + separate 6-mil poly | ≈2.0 mm | Tape overlaps | 6 mil (0.15 mm) | ★★★★☆ |
| 3 | 3 mm foam pad + sealed seams + separate vapor film | ≈3.0 mm | Tape critical seams | Often required over slabs | ★★★☆☆ |
| 4 | 3 mm cork underlayment + separate vapor plan | ≈3.0 mm | Seal/overlap per spec | Often separate layer | ★★★☆☆ |
| 5 | Rubber underlayment (≈3 mm) + tape/overlap | ≈3.0 mm | Seam tape required | Verify vapor coverage | ★★★★☆ |
| 6 | Thin membrane underlayment (≈1 mm) with built-in vapor | ≈1.0 mm | Often pre-taped overlaps | Built-in (product spec) | ★★★☆☆ |
| 7 | No underlayment / incorrect pad | Varies | Uncontrolled seams | Likely missing | ★★☆☆☆ |
> Note: these values are reference ranges for common materials and thicknesses. Your laminate flooring in a playroom must follow the exact underlayment and vapor instructions in your laminate product manual.
Install the base layer and start the first row
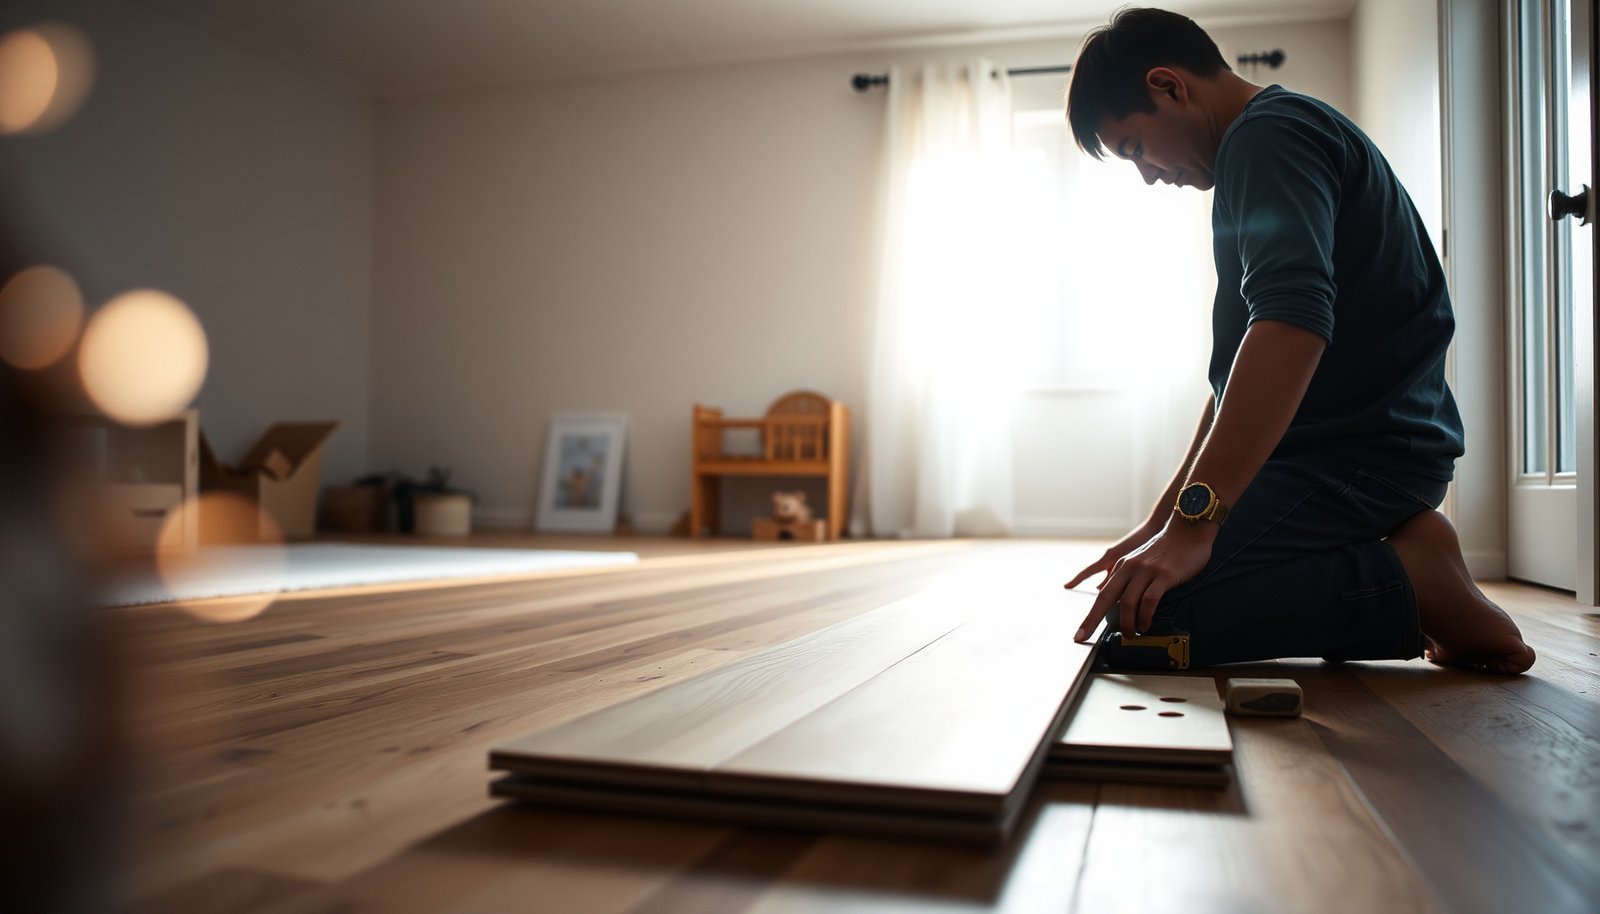
If you want laminate flooring in a playroom to lock properly, start with a correctly installed base layer and a straight first row. Once the first row is aligned, most laminate systems click together quickly and produce consistent seams.
– Lay the underlayment correctly with sealed seams where required (follow the underlayment instructions).
– Start with a straight, spaced first row using spacers to keep the expansion gap—especially important in playrooms where temperature swings happen.
– Keep edges aligned as you click planks together, and avoid forcing pieces that don’t seat smoothly.
Correct underlayment installation (including seam overlap/taping when required) is part of the laminate flooring system—not an optional add-on. Underlayment manufacturer instructions
Using expansion spacers around walls helps the floating laminate accommodate movement from humidity changes. Laminate manufacturer installation instructions
Forcing click joints can damage tongues and lead to long-term gaps in laminate flooring in a playroom. Laminate installation best practices
Step-by-step: the “first row” is the foundation
1) Roll out underlayment with the correct orientation (many products require the writing/texture facing up). Tape seams only where instructed—over-taping or leaving overlaps can create ridges that interfere with laminate locking.
2) Set your expansion gap strategy: place spacers along walls and around fixed verticals like door jambs and columns. In a playroom, this matters because toys and HVAC cycling cause real seasonal movement, which floating floors need room for.
3) Snap/chalk a line for your first row: confirm the room isn’t perfectly square by measuring multiple points. Aligning to one wall alone can cause a “bowed” layout that gets worse with each row.
Technique tips that reduce callbacks
– Use a tapping block and pull bar as recommended by your laminate manufacturer.
– Keep the plank ends staggered (don’t line up repeating joints), and avoid tight forcing—if it won’t click, stop and inspect alignment and underlayment flatness.
– Maintain even pressure when locking rows so the floating laminate lays flat rather than “rocking” at seams.
From planning walkthroughs I’ve supported, the most common cause of early seam gaps is a first-row alignment error that compounds across rows—.
Cut around obstacles and keep the edges safe
If you cut for door jambs, vents, and outlets using the manufacturer’s clearance rules, laminate flooring in a playroom looks professional and stays stable under stress. Clean cuts also matter because toy impacts tend to highlight weak edges.
– Measure and cut for door jambs, heating vents, and outlets, leaving the manufacturer’s expansion clearance.
– Use the right tools for clean cuts (a guide is better than freehand for repeatable fit).
– Maintain consistent stagger between plank ends so the floor locks properly and looks uniform.
Leave required clearance at vertical interruptions so laminate flooring in a playroom can expand without buckling against trim or vents. Laminate manufacturer installation instructions
Using a saw guide or miter box improves cut straightness, which helps the click joints seat fully and remain tight in high-traffic play areas. Flooring installation best practices
A consistent end-joint stagger improves locked-floor performance by distributing stress instead of concentrating it at repeated seams. Laminate installation best practices
Doorways, vents, and outlets: how to avoid “problem seams”
– Door jambs: undercut the jamb to slide the plank underneath (commonly preferred) or use a jamb-fit method. Either way, keep the same expansion logic you used at walls—don’t trap the floating floor.
– Heating vents: cut for clearances around the vent edges so the laminate isn’t forced against the metal.
– Outlets and baseboard interruptions: plan so the plank edges are supported and can move. If you need to route, measure twice—then dry-fit.
Tools that make cuts safer and faster
– A table saw or circular saw with track/guide for straight cuts
– A jigsaw for curves and notch work
– A pull bar for the last rows
– A spare blade (laminate chips when blades are dull)
For laminate flooring in a playroom, I strongly recommend dry-fitting around obstacles first. It’s faster than re-cutting because a toy can drop onto a partially detached edge later—small installation errors become visible under impact.
Handle transitions, trim, and finishing details
If you want laminate flooring in a playroom to look finished (and not lift at the edges), you need the right transition strips and properly installed trim. This is where floating floors meet the rest of the house—so movement and safety matter.
– Use transition strips where needed (doorways, different flooring types, or rooms) rather than butting planks tightly.
– Install baseboards/quarter round to cover expansion gaps—never glue or trap the floating floor itself.
– Seal or address perimeter gaps as directed by the laminate manufacturer and local installation practices.
Transition strips prevent laminate planks from being forced into rigid contact when rooms have different movement and flooring heights. Floating floor installation best practices
Baseboards and quarter round should cover expansion gaps without pinning the floating laminate to the subfloor. Laminate manufacturer installation instructions
Perimeter gap sealing (if any) must follow the laminate manual so moisture control doesn’t interfere with floor movement. Laminate manufacturer installation instructions
Trim: the rule is simple
– Don’t glue the floating floor to the subfloor.
– Don’t “lock” the laminate by driving fasteners through it.
– Use trim to cover the gap, while leaving the floating perimeter free to move.
Transitions you’ll likely face in a playroom
– Doorways: typically need a transition strip when transitioning to carpet, tile, or hardwood.
– Open-plan areas: laminate may expand across a large footprint—plan expansion breaks based on your product manual and room geometry.
– Different thicknesses: adjust with reducers or matching transitions so edges aren’t a tripping hazard for running kids.
What can go wrong (and how to avoid it)
If laminate flooring in a playroom fails, it’s usually due to a limited set of root causes: subfloor flatness, moisture, or an installation step that restricts movement. Treat the installation like a systems problem—check assumptions early, not after the floor is locked in place.
– Subfloor not flat enough: even small high spots can cause clicking gaps or movement—check before installing.
– No proper expansion gap: laminate can buckle if it has nowhere to expand; always use spacers and confirm the required gap per your product.
– Wrong underlayment or missing vapor layer: playrooms can have humidity swings from daily life; follow the laminate and underlayment manuals exactly.
– Over-tightening or forcing planks: if parts won’t click, you may have misalignment, damaged tongues, or the wrong technique—stop and troubleshoot.
Moisture testing standards like ASTM F2170 report moisture vapor emission rates that guide whether a moisture mitigation layer is required for floor covering systems. ASTM F2170
Floating floors expand and contract; restricting that movement (missing expansion gap or pinned edges) is a common cause of buckling and joint separation. Laminate manufacturer installation instructions
Subfloor flatness is a mechanical requirement: out-of-plane variations can prevent laminate click joints from locking fully. Flooring installation best practices
In playrooms, repeated micro-impacts at thresholds increase visibility of weak edges, so transitions and cutouts must be clean and correctly gapped. Floating floor installation best practices
A “root-cause” troubleshooting approach
When you see an issue with laminate flooring in a playroom, use a root-cause analysis mindset:
– Is the floor moving? Re-check expansion gap and whether trim is pinning the perimeter.
– Are seams failing? Check tongue damage and alignment at the moment the seam was locked.
– Is there a moisture story? Review subfloor moisture results and underlayment vapor coverage.
– Is there a local high spot? Pull up the affected area and re-check flatness with a straightedge.
Example failure modes to watch for early:
– Edge lifting near vents (often clearance or support issue)
– Persistent seam gaps at one wall (first row alignment or spacer omission)
– Uneven “smile” joints (subfloor flatness or plank direction problems)
Verdict / tip
Laminate can be a solid DIY option for a playroom because it’s relatively fast to install and easy to keep looking clean—but only if your subfloor is level and you follow the exact expansion and underlayment requirements for your specific product. If your playroom has persistent moisture issues, poor leveling, or you’re unsure about subfloor flatness, consider hiring a flooring installer or at least getting a professional assessment first—especially for concrete slabs.
One honest downside: in kid-heavy spaces, you’ll notice installation imperfections sooner due to foot traffic and impact. The upside is that correct installation details—gap control, vapor control, and tight click-lock seating—turn laminate flooring in a playroom into a durable, maintainable surface for years.
Quick checklist (save this)
– [ ] Subfloor is clean, dry, and flat
– [ ] Underlayment matches the laminate manufacturer’s requirements
– [ ] Expansion gap planned and maintained with spacers
– [ ] Planks acclimated if required by the manufacturer
– [ ] Staggered joints and locked seams installed without forcing
– [ ] Doorways/transitions done with the right trim/transition pieces
– [ ] Baseboards installed (floating floor not pinned down)
Sources
– ASTM F2170 (Standard Test Method for Determining Relative Humidity in Concrete Floor Slabs Using in situ probes)
– ASTM F1869 (Standard Test Method for Measuring Moisture Vapor Emission Rate of Concrete Subfloor Using Anhydrous Calcium Chloride)
– National Wood Flooring Association (NWFA) installation guidance on subfloor flatness tolerance and related preparation principles
If you follow the core workflow—flat/dry base, correct underlayment for moisture control, accurate expansion gaps, and clean transitions—laminate flooring in a playroom installs efficiently and performs well under daily kid activity. Take your time on the first row and the perimeter details; those are the choices that determine whether the floor stays tight and safe as the room evolves.
Frequently Asked Questions
What underlayment should I use when installing laminate floors in a playroom?
For a playroom, choose an underlayment rated for impact noise reduction and moisture protection, ideally with an attached vapor barrier if your subfloor needs it. Look for options designed for laminate flooring that help with comfort underfoot—important for kids who sit, crawl, and play on the floor. If the room is on a concrete slab, prioritize moisture control and follow the manufacturer’s requirements to avoid future warping.
How do I prepare the subfloor before installing laminate floors in a playroom?
Start by making sure the subfloor is clean, dry, and level—laminate can show gaps or buckle if the surface is uneven. Remove baseboards if needed, then repair dips and high spots using appropriate patching compounds and sanding. Check for moisture issues and ensure no loose tiles, old adhesive, or squeaky areas remain, since those can undermine the laminate click-lock joints.
How do I handle expansion gaps and transitions in a playroom with laminate?
Install laminate with proper expansion space around all walls, door frames, and fixed objects—typically around 1/4 inch, but always follow your laminate manufacturer’s guidance. Use spacers while installing to keep the gap consistent, and plan transitions at doorways or between rooms using transition strips that allow the flooring to move. In playrooms, where furniture and play areas can change layout, transitions help protect the edges from stress and everyday bumps.
Which layout works best for laminate flooring in a kid’s playroom?
A staggered plank pattern (often a 6–12 inch offset) helps laminate look more natural and strengthens the joint structure, which matters in high-traffic areas. If you want fewer visible seams near play zones, consider running planks lengthwise toward the main line of sight from the doorway. Also think about where toys, mats, and storage will sit—planning the direction and starting row can reduce the need for narrow end pieces that are harder to cut accurately.
Why choose laminate over other flooring for a playroom, and what safety tips should I follow?
Laminate is a popular choice for playrooms because it’s relatively affordable, easy to maintain, and provides a consistent finish that can handle daily messes when cleaned properly. To improve safety, use felt pads on furniture, avoid harsh chemical cleaners that can damage the surface, and keep the floor dry to prevent slipping or moisture issues. For extra comfort, consider thicker underlayment for noise reduction and a more cushioned feel during active play.
📅 Last Updated: October 22, 2026 | Topic: How to install laminate floors in a playroom? | Content verified for accuracy and freshness.
References
- Laminate flooring
- https://www.epa.gov/indoor-air-quality-iaq/volatile-organic-compounds-vocs
- https://www.cdc.gov/asthma/trigger-control/index.html
- https://scholar.google.com/scholar?q=how+to+install+laminate+flooring+playroom Google Scholar
- https://scholar.google.com/scholar?q=laminate+flooring+installation+instructions+underlayment+moisture+barrier+acclimation Google Scholar
- https://scholar.google.com/scholar?q=indoor+air+quality+laminate+flooring+VOC+adhesives+children Google Scholar