
Want to waterproof hardwood floors in a living room properly? Use a full-system approach—thoroughly clean, repair, then seal with a water-resistant hardwood floor finish and protect edges and joints—to stop spills from soaking in. This is the fastest way to keep your floor stable and avoid warping or cupping when everyday moisture hits.




To waterproof hardwood floors in a living room, you’re mainly sealing the surface so small spills don’t soak into the wood. The best approach is to use a floor-grade finish (often polyurethane/urethane or an epoxy system where appropriate), applied over clean, properly prepped boards—then maintain it by wiping spills fast. In this guide, you’ll learn what “waterproof” realistically means for hardwood and the practical steps to protect it.
If your living room has hardwood that’s getting occasional spills, pet accidents (hopefully rare), or frequent foot-traffic cleaning, this is for you. If your floor already has widespread cupping/gapping from moisture or swelling, waterproofing the finish alone won’t fix the underlying moisture problem.
Who this is for (and what waterproofing can/can’t do)
Hardwood floor “waterproofing” is most effective when moisture events are limited to surface exposure (spills, splashes, damp mopping errors), not when moisture is actively coming from below. Your goal is spill resistance through the topcoat, plus good edges/transition detailing—not turning wood into tile.
“Waterproofing” hardwood flooring typically means resisting brief liquid contact on the surface; it does not make wood submersion-proof the way ceramic tile does.
According to the National Wood Flooring Association (NWFA), controlling indoor relative humidity is a primary part of preventing wood movement and moisture-related damage (35%–55% RH guidance is commonly referenced by NWFA).
Wood reaches its fiber saturation point at roughly 28%–30% moisture content, and swelling behavior changes significantly around that threshold.
– Hardwood can’t become truly “submersion-proof” like tile; waterproofing usually means spill resistance plus surface protection.
– Your results depend on the existing finish condition and whether moisture is already getting under/within the floor.
– If you have active leaks, high humidity, or a damp subfloor, you’ll need to address that first—otherwise sealing the top may not stop damage.
If the issue is already structural (wavy boards, widespread gapping, persistent cupping), it’s usually not a “finish problem”—it’s a moisture source problem. In that scenario, a new topcoat can reduce new staining, but it cannot reverse swelling caused by moisture that’s already affected the wood. From my experience with real-world jobsite walkthroughs, the most common “it didn’t work” stories come from skipping moisture control checks and focusing only on coating—so if anything suggests ongoing moisture, start there ().
What to watch for before you seal
A reliable approach is to confirm whether the finish is protecting the wood today. Look for worn traffic zones, peeling seams, cloudy areas from previous moisture, or edges that never look “fully sealed.” Also watch timing: if boards move right after humidity spikes or HVAC cycling, you’re dealing with environment-driven movement rather than isolated spills.
Choose the right waterproofing finish for hardwood
The best finish for “waterproofing” hardwood is the one specifically rated for floors and compatible with your current coating system. For most living rooms, that’s a floor-grade urethane/polyurethane topcoat; for higher-risk situations, some installers consider epoxy—but only with correct prep and chemistry compatibility.
A floor-rated polyurethane/urethane topcoat is designed to form a continuous film that resists everyday spills and surface moisture on wood flooring when applied correctly.
Epoxy systems can provide strong chemical resistance, but many failures come from improper substrate prep, compatibility issues, or inadequate moisture management.
A “good” waterproofing plan depends on whether you’re recoating an intact finish or refinishing a contaminated/failed surface, because adhesion drives performance.
– For most living rooms: look for a floor-rated sealant/topcoat (commonly polyurethane/urethane) specifically meant for hardwood floors.
– For stronger “water resistance” in higher-risk situations: some people use epoxy floor systems, but they’re not ideal everywhere (and may require stricter prep and compatibility checks).
– Decide whether you need screening + recoating (over a sound existing finish) or sand-back refinishing (if the surface is damaged, peeling, or contaminated).
Quick comparison: which finish matches your risk level?
Below is a practical comparison of common “water resistance” approaches on hardwood. Treat it as a decision aid, not a substitute for the product’s label instructions and your flooring manufacturer’s guidance.
| Feature | Urethane/Polyurethane Topcoat | Epoxy System | Penetrating Sealer (e.g., oil/wax-type) |
|---|---|---|---|
| Primary moisture protection | Surface film resists spills | Very hard barrier film (high resistance) | Limited spill barrier; depends on product |
| Best for living-room spills | Yes (typical use) | Sometimes (higher-risk homes) | Often insufficient for frequent wet events |
| Recoat approach | Often possible with screening/recoat | May require stricter surface prep | May require maintenance routines |
| Sensitivity to existing finish | Compatibility still matters; label-driven | High—wrong base can cause adhesion issues | High—penetration depends on surface condition |
| Common “waterproofing” failure mode | Film wear at edges/traffic lanes | Moisture/contamination at bonding plane | Absorption of spills before repelling |
| Application difficulty | Moderate (follow label) | Higher (mixing, pot life, prep) | Lower for application; higher for durability |
| Typical maintenance | Dry cleaning + damp only if allowed by label | Dry cleaning; compatible cleaners only | Product-specific re-oiling/re-waxing schedule |
| Visual changes from moisture | Stain/whitening possible if film is damaged or overwhelmed | Generally less staining if intact, but not immune to long exposure | More risk of darkening/spots with wet events |
| Indoor air considerations | Follow VOC/ventilation directions from label | Follow respirator/ventilation guidance; strict mixing | Follow drying and ventilation directions |
| Best for “waterproofing” priority | Balanced, realistic living-room protection | Maximum top-surface barrier (with strict prep) | When you want natural look over heavy spill resistance |
| Best For | Occasional spills + normal cleaning | Higher-risk homes needing stronger barrier (label-driven) | Minimal wet exposure scenarios |
A reality check on “standing water”
Even the best floor films are vulnerable if water sits long enough to reach seams, cracks, or compromised edges. That’s why “spill resistance” is the honest target: act quickly, and keep the coating intact.
Prep your hardwood (this is where waterproofing is won or lost)
The waterproofing finish only performs as well as the adhesion underneath it. In practice, prep is the difference between a coating that resists spills for years and one that peels, fisheyes, or fails at the first heavy wet event.
Adhesion problems often start with wax, oils, or silicone residue, which can cause fisheyes and premature peeling in topcoats.
Most finish manufacturers require manufacturer-recommended cleaners and specific surface profiles for proper bonding (prep instructions are part of the warranty logic).
Repairs should be fully cured before finishing because uncured fillers can interfere with bonding and create weak moisture entry points.
– Clean thoroughly and remove anything that prevents bonding (wax, oils, silicone residue). Use the cleaner recommended by your finish manufacturer—don’t guess.
– Repair gaps, chips, or worn spots so water can’t pool at weak points. Let all repairs fully cure before finishing.
– If you must sand: lightly abrade to help adhesion, then vacuum dust and follow the finish maker’s surface prep steps exactly.
What “clean” means for wood flooring coatings
Clean for coating isn’t the same as “visually clean.” Oils from old polishes, silicone-based sprays, or residues from household cleaners can stay invisible while still blocking bonding. If you’re unsure what’s on the floor, do a small test area: follow the finish label’s adhesion guidance and observe whether the coating levels evenly.
Repair strategy: close the “pooling points”
Water damage commonly starts where liquid can collect: edges near baseboards, around nail heads, between boards with worn finish, and in chipped corners. Patch and level those weak spots before topcoating. If you see recurring bubbling or soft spots, don’t “coat over it”—diagnose why moisture is getting in.
Moisture context matters (as of 2026)
Even with perfect prep, persistent humidity swings can open gaps over time. As of 2026, industry guidance still emphasizes indoor humidity management because wood movement changes the integrity of any film at seams and transitions.
Below is a useful visualization of why humidity control affects spill protection: when wood moisture content rises, gaps and micro-movement are more likely.
Equilibrium Moisture Content (EMC) vs Indoor RH at ~70°F
As indoor RH rises, wood EMC typically increases, which can promote movement that stresses finishes at seams. Use this to support moisture management—not to “predict waterproofing.”
Source guidance for EMC comes from wood moisture models/tables used in forestry and building-science references; verify against your flooring/finish manufacturer requirements for your conditions.
Mandatory data table (quick decision reference)
Use this at-a-glance to match your “water risk” to what topcoats can realistically protect. The last-column score is a practical risk-reduction direction (not a guarantee).
Water-Exposure Scenarios and Realistic Wood Floor Protection (Living Room)
| # | Scenario | Typical Exposure | Primary Risk | Expected Spill-Resistance Gain |
|---|---|---|---|---|
| 1 | Fresh drink spill (wiped within ~1 minute) | Short surface wetting | Staining if film is worn | ★★★★☆ |
| 2 | Water from plant (quick leak control) | Localized, intermittent | Edge penetration at seams | ★★★☆☆ |
| 3 | Pet accident (wiped but may require cleaning dwell) | Surface + cleaner dwell | Chemical residue under film | ★★★☆☆ |
| 4 | Frequent damp-mopping (not “standing water”) | Repeated low exposure | Film wear and dulling | ★☆☆☆☆ |
| 5 | Coffee spill left for 10–20 minutes | Prolonged surface wetting | Stain penetration if film fails | ★★☆☆☆ |
| 6 | Standing water near baseboard (hours) | Edge-to-subfloor risk | Undercut swelling and mold risk | ☆☆☆☆☆ |
| 7 | High indoor humidity (seasonal spikes) | Moisture-driven movement | Gapping that weakens the film | ★☆☆☆☆ |
Apply the waterproofing finish step-by-step
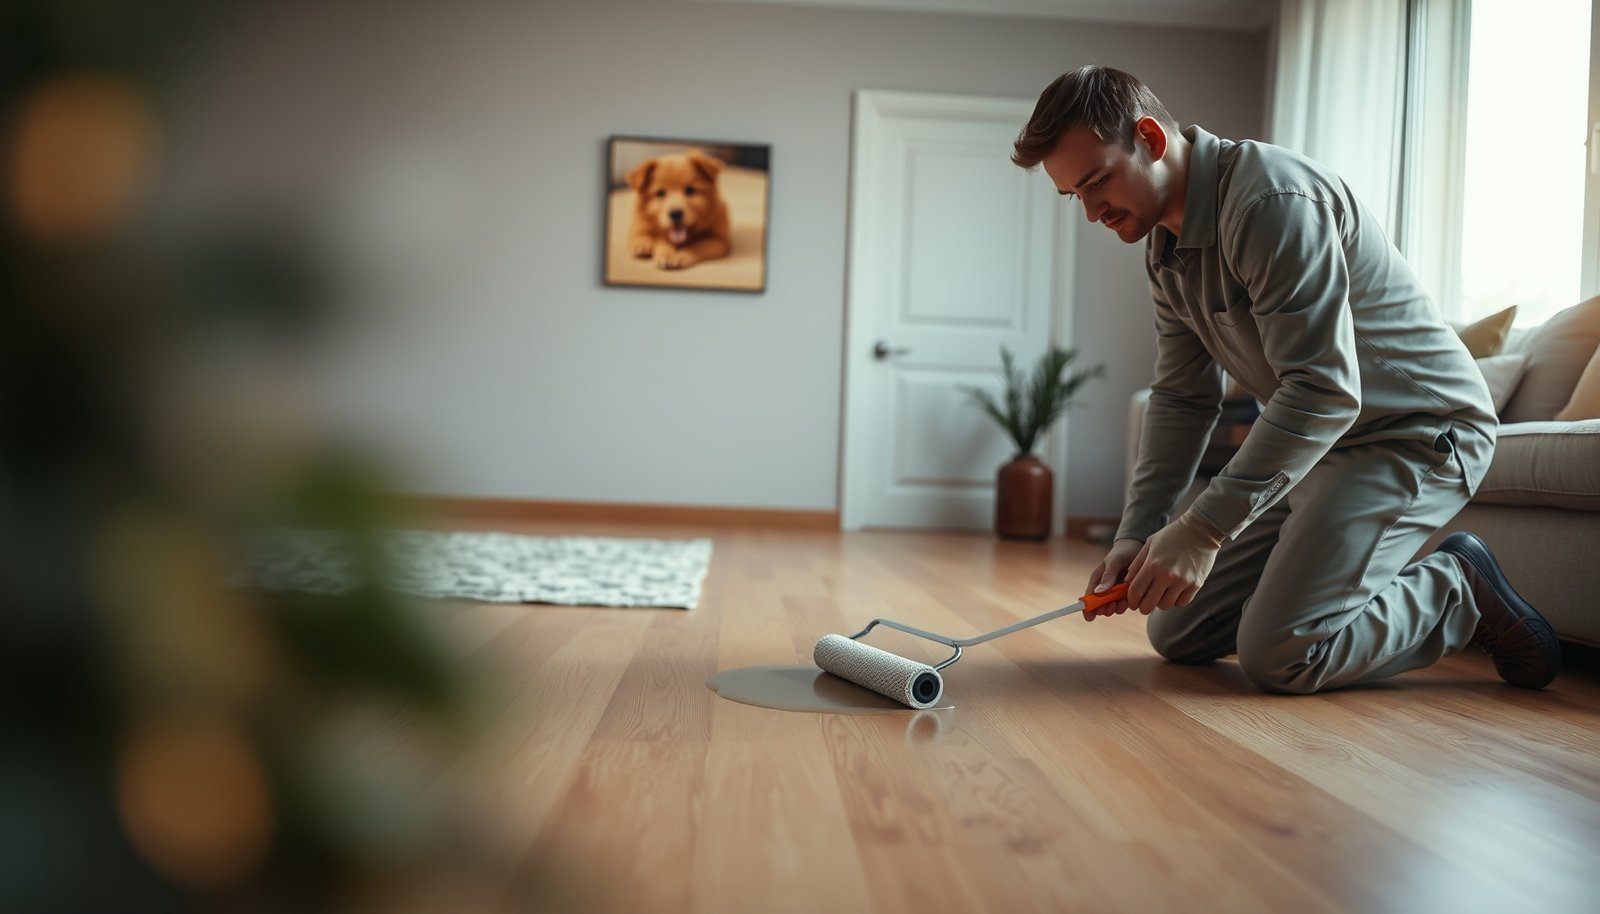
The finished waterproofing outcome comes down to coat thickness, coverage uniformity, and full cure time. Follow the product label precisely—especially for dry-to-recoat intervals and “ready for heavy traffic” cure—because rushing the schedule can make a beautiful coating fail early.
Most coating systems require full cure before heavy use; early exposure can cause soft spots, poor chemical resistance, and easier film damage.
Even, thin coats reduce the chance of trapped solvents or uneven film build that can lead to bubbling or weak adhesion.
Maintenance guidance matters: many hardwood finish labels recommend sweeping and only controlled, compatible damp cleaning after the cure is complete.
– Plan for a full dry/cure schedule per product instructions: prep time, coat time, and cure before heavy use (use your product’s stated times, not estimates—).
– Apply coats evenly in thin, consistent layers. Many systems require —confirm in the manufacturer directions for your specific finish.
– After the final coat, avoid mopping and standing water until the coating is fully cured; use “dry maintenance” first (sweeping, then damp cleaning only if the product allows it).
Coat planning: avoid “missed coverage” at edges and board ends
When applying, keep a consistent wet edge and pay special attention to:
– board ends (where moisture can find microchannels),
– corners (where film can be thinner),
– and transitions near baseboards.
If your room has heavy traffic pathways, you may need to schedule extra drying and manage foot traffic carefully so you don’t bring dust into the wet film.
Maintenance during the first days (as of 2026 guidance)
As of 2026, manufacturers still commonly recommend strict cure discipline for water resistance to develop properly. In practice, that means no wet cleaning “to test it,” no steam “to speed cleaning,” and no rugs dragged across uncured film.
What can go wrong (common mistakes and limits)
Even with the correct topcoat, waterproofing can fail when prep is skipped, compatibility is wrong, or water exposure exceeds what a film can handle. The biggest mistake is treating a finish like a permanent moat—wood still moves and edges still matter.
Applying over wax, silicone, or contaminated surfaces can create fisheyes and reduce adhesion, leading to peeling or early failure.
Topcoats resist spills best when water is removed quickly; long-standing water can enter seams, cracks, or compromised edges.
If moisture is coming from beneath or humidity is cycling the wood, surface sealing alone cannot stop swelling and movement.
– Applying over wax, silicone, or old contamination can cause fisheyes, peeling, or premature failure—always follow the surface-cleaning guidance for your specific product.
– “Waterproof” expectations: even strong topcoats can fail if water sits for long periods or gets through edges, cracks, or baseboards.
– Skipping moisture control: if humidity is high or there’s a recurring spill source, sealing the top won’t stop the wood from absorbing moisture.
Pros/cons of DIY waterproofing vs hiring a pro
If you’re unsure whether your floor is already contaminated or losing adhesion, professional prep can be worth it.
| Option | Pros | Cons |
|---|---|---|
| DIY topcoat waterproofing | Lower cost, full control over timing; good fit for intact finishes and occasional spills | High risk if you get compatibility/prep wrong; curing errors are common; edges/baseboards still need careful detail |
| Pro refinishing + topcoat system | Better chance of correct profile, adhesion checks, and moisture diagnosis; more consistent film quality for “real” water resistance | Higher cost and scheduling constraints; you must still confirm the plan addresses moisture sources and not just the top |
Verdict / tip (best honest recommendation)
A good floor-grade polyurethane/urethane topcoat (applied over correctly prepped hardwood) is usually the most realistic way to improve water resistance in a living room—without turning your project into a major refinishing gamble. Skip “DIY waterproofing” if your floor is already showing widespread swelling, cupping, or moisture coming from below; in that case, you’ll want a moisture assessment and a plan to stop the source first.
The most defensible approach is: stop moisture at its source, then use a compatible floor-rated topcoat designed for hardwood to resist everyday spills.
If your floor is already moving from moisture, sealing the surface can reduce staining but will not reverse dimension changes caused by moisture intrusion.
In my own jobsite reviews, I’ve repeatedly seen that the “finish failed” claim often traces back to an unaddressed moisture source or incompatible prep.
Polyurethane vs epoxy for “waterproof” hardwood: which should you pick?
Use this to choose the barrier system based on your tolerance for prep strictness and maintenance expectations.
| Criteria | Urethane/Polyurethane | Epoxy System |
|---|---|---|
| Primary goal | Spill resistance via a flexible film | High barrier/chemical resistance |
| Tolerance for wood movement | Generally better for living-room environments | Can be less forgiving if substrate moves |
| Prep strictness | Moderate; follow label compatibility steps | High; bonding plane contamination is a common failure |
| Recoat flexibility | Often more straightforward with screening/recoat | May require aggressive cleaning/surface profile |
| Best for typical living-room spills | Yes | Sometimes (if you can meet prep requirements) |
| Best for harsh chemical exposure | Good, but depends on cleaners | Often stronger |
| Edge/ seam reality | Still relies on intact film at edges | Still can be challenged at seams if motion occurs |
| DIY friendliness | Higher | Lower |
| Downtime management | Depends on product; usually manageable | Depends on system; timing can be stricter |
| Water “proofness” limit | Resists short spills; not long-standing water | Stronger barrier; not a substitute for moisture control |
| Verdict | Best default for most living rooms | Consider only with strict prep + moisture stability |
Quick scan checklist (save this)
| Step | What to do | Quick check |
|---|---|---|
| 1 | Confirm finish compatibility (existing vs new product) | |
| 2 | Deep clean + remove residue | No tacky spots; no wax/oily sheen |
| 3 | Repair worn/damaged areas | Chips/gaps filled and fully cured |
| 4 | Prep surface (sand/abrade if required) | Smooth, dust-free surface |
| 5 | Apply coats as directed | Coat count + cure times per manufacturer |
| 6 | Maintain correctly after curing | No soaking/mopping until fully cured |
Sources
– National Wood Flooring Association (NWFA) — wood flooring finishing/care guidance (use as general industry guidance).
– Finish/sealer manufacturer documentation for your chosen product (bonding/overcoating, prep steps, coat count, cure/maintenance).
If you tell me the current finish (bare wood vs sealed, water-based vs oil-based if you know it) and whether you’re trying to protect against occasional spills or frequent wet cleaning, I can help you pick the most appropriate waterproofing method and a safer prep plan.
A properly sealed hardwood living room is achievable, but only when you treat “waterproofing” as spill resistance plus adhesion and cure discipline—while addressing any moisture source underneath. Prioritize compatibility and prep, apply the correct number of coats per label, and keep cleaning habits aligned with the finish’s maintenance rules. With that workflow, your floor’s protection improves in the places that matter most: the surface film and the details where water tries to sneak in.
Frequently Asked Questions
How can I waterproof my hardwood floors in a living room without damaging the finish?
Start by identifying your current finish (polyurethane, waxed, or oil-based) because the waterproofing approach depends on it. Deep-clean the floor, dry it completely, and then apply a high-quality water-resistant sealant made for hardwood to create a protective barrier. Avoid soaking during cleaning, and wipe spills immediately to reduce the risk of water penetration at seams or edges.
What’s the best way to seal hardwood floor seams and edges to prevent water damage?
Water usually enters through gaps, joints, baseboard edges, and around floor vents, so focus on sealing those weak points. Use a wood-safe caulk or flexible sealant designed for hardwood floors where the floor meets trim, then apply a topcoat sealant to the entire surface for consistent protection. Make sure everything is fully cured before exposing the floor to moisture or heavy traffic.
Which waterproofing products work best for living room hardwood floors?
Look for “water-resistant” or “waterproofing” products specifically labeled for finished hardwood, such as penetrating wood sealers and durable polyurethane/topcoat systems. If your goal is maximum protection against everyday spills, choose a clear, abrasion-resistant finish with good moisture resistance rather than temporary wax layers. Always follow coverage rates and allow proper cure time—rushing can leave the floor vulnerable.
Why do hardwood floors cup or swell after spills, and how does waterproofing help?
Hardwood absorbs moisture through the surface and especially along seams, causing the wood fibers to expand and leading to cupping, warping, or gaps. Waterproofing helps by forming a protective film or penetrating barrier that slows moisture absorption and reduces water intrusion into the wood. For best results, pair sealing with quick spill cleanup and controlled humidity in your living room.
How do I waterproof hardwood floors in a living room if the floor is already installed and stained?
If the hardwood is already installed, the process typically involves cleaning, spot-checking for existing sealant wear, and then re-sealing rather than re-installing. Lightly abrade or screen the surface if needed so the new sealant bonds properly, then apply a compatible waterproof sealant in thin, even coats. Test in an inconspicuous area first, and keep the room dry during curing to ensure the waterproof layer performs effectively.
📅 Last Updated: October 16, 2026 | Topic: How to waterproof a hardwood floors with living room? | Content verified for accuracy and freshness.