
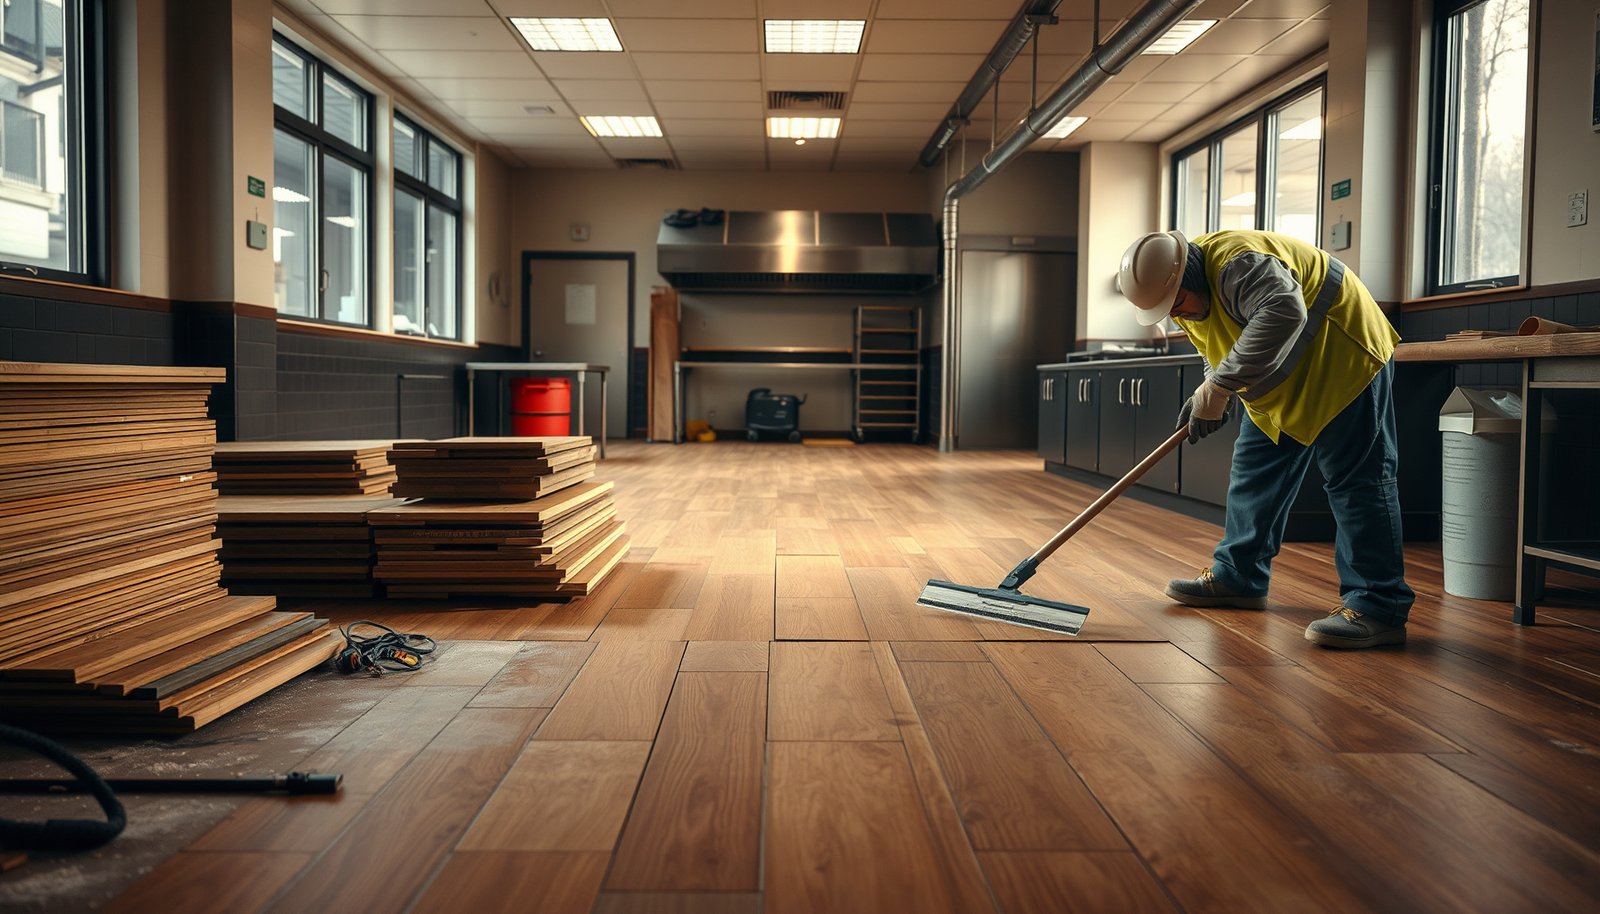

Removing hardwood floors from a restaurant is safest and most effective when you follow a step-by-step process that protects the subfloor, stops dust and damage, and keeps daily operations running. This guide lays out the exact sequence—from prep and disconnection to prying, lifting, and hauling—so you know what to do on the first board and every board after. If you want the fastest path with the fewest surprises, you’ll learn the right way to remove restaurant hardwood floors without turning the job into a costly rebuild.



Removing hardwood floors in a restaurant safely comes down to three things: protecting the subfloor, controlling dust, and planning for adhesive removal (especially if the planks were glued down). Shut down the space first, remove fixtures and trim so you can start cleanly, then use the correct method for how the boards were attached—pull up nail-down planks, or score/cut and loosen glue-down sections—so the building doesn’t get damaged and the job doesn’t turn into an airflow problem.
If you’re a contractor, facilities manager, or owner handling floor replacement (or renovating dining areas after damage), this is for you—particularly when the flooring is glued, nailed, or both. It’s also relevant when you need to keep downtime short and maintain safer conditions for staff, customers (if any access is possible), and crews.
Prep the restaurant and plan the removal path
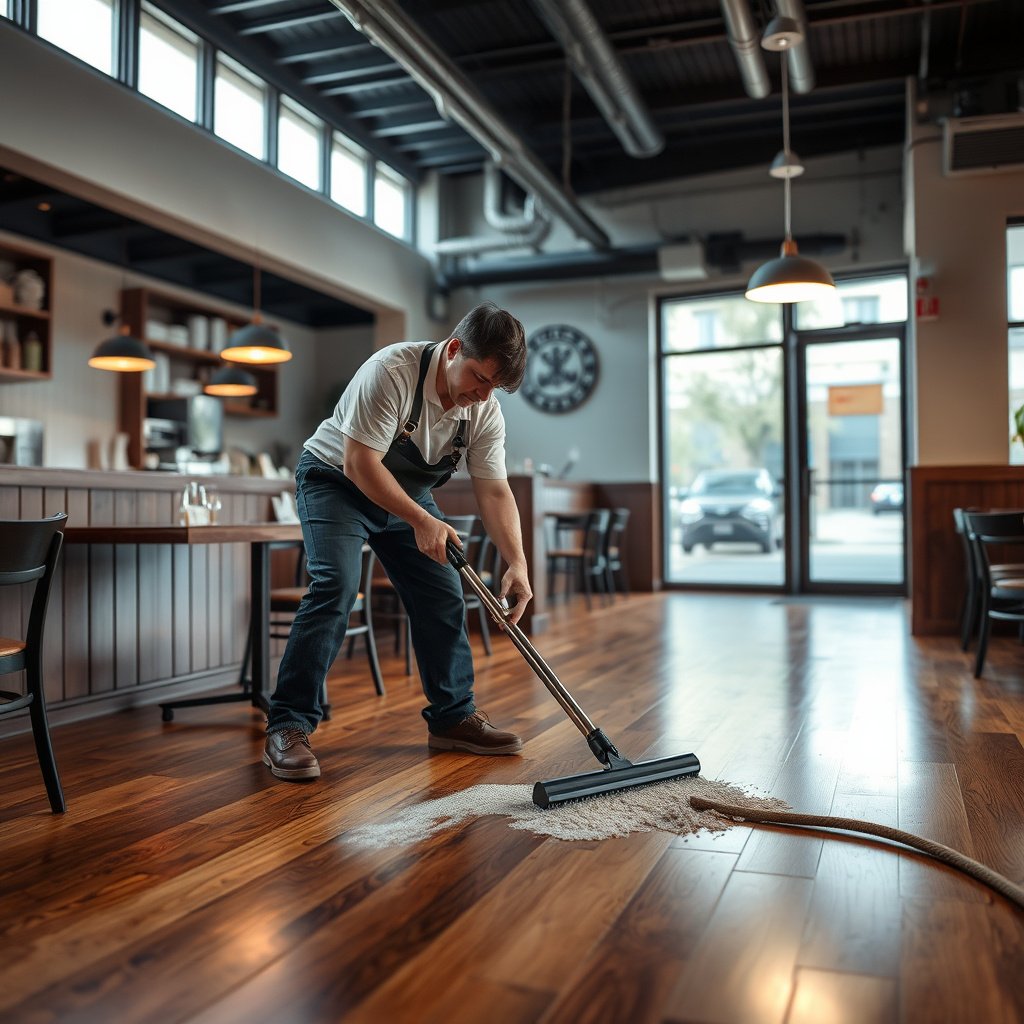
Shutting down the restaurant correctly and planning the removal path is the fastest way to prevent subfloor damage and reduce exposure to dust. In 2026, most facilities teams treat floor demo as an airflow-and-containment task first, because restaurants typically have HVAC returns, busy adjacencies, and surfaces that can’t tolerate airborne particulate.
Before tools touch hardwood, we plan the work the way we’d plan a controlled demolition zone: isolate, protect, then choose the removal technique. That sequence is especially important when the planks are glued down, because the “right” technique for nail-down flooring (levering/pulling) can rip up the subfloor when adhesives are involved.
According to OSHA, the workplace exposure limit for particulates not otherwise regulated is 15 mg/m³ (total dust) and 5 mg/m³ (respirable fraction) as an 8-hour time-weighted average (29 CFR 1910.1000, Table Z-3). OSHA (29 CFR 1910.1000, Table Z-3)
According to IARC, wood dust is classified as carcinogenic to humans (Group 1), which is one reason contractors should control dust during hardwood removal. IARC Monographs (wood dust; Group 1 classification)
From a practical standpoint, if you can’t keep dust from reaching HVAC returns, the safest “floor removal method” still becomes a building-systems risk rather than a demolition task.
Start with access control and protection (not demolition)
Start by defining the work zone:
– Shut down the area and control access (signage, escort rules for staff).
– Seal off adjacent spaces with plastic sheeting and maintain a clear path for debris removal.
– Protect walls, door frames, and nearby equipment with rigid covers or reinforced drop protection.
– Plan how you’ll move waste out (trash chutes, carts, tarps) so you don’t track dust through the restaurant.
Identify attachment type before you choose tools
The removal method depends on whether the hardwood is:
– Nail-down (often solid hardwood; fasteners secure planks to subfloor).
– Glue-down (adhesive bonds the planks to the subfloor).
– Mixed (common in restaurants where older repairs were added).
Quick field checks:
– Look for lifted edges at transitions and corners.
– Inspect under thresholds/door jambs (often the best clue for the first row installation).
– If uncertain, test in a small, inconspicuous area by attempting a gentle pry—then stop if boards resist due to adhesive.
Create a removal sequence that keeps the room manageable
A predictable sequence reduces damage and keeps crews from improvising mid-demo:
– Work from the perimeter toward the center, or isolate smaller “cells” you can finish in one shift.
– Plan break points for transitions (doorways, hallways, dining sections) so you don’t demolish more area than you can contain.
– If the room has multiple floor levels, plan transitions first so the next flooring installation won’t inherit lumps from rushed cut-throughs.
Clear trim, transitions, and fixtures before lifting boards
Removing trim and transitions first gives you clean start points and prevents wall-edge damage. It also lets you pull or cut the first row of planks without cracking the subfloor where baseboards and shoe moldings were protecting expansion gaps.
Baseboards and shoe molding cover the edges of flooring planks, so removing them first reduces the chance of gouging the subfloor or breaking plaster/drywall edges.
Transition strips are usually mechanically fastened and often hide fastener locations; removing them early helps you find the true board attachment pattern.
In most restaurant build-outs, reusing trim is cost-effective only when it’s removed intact and stored protected from warping or marring.
Remove baseboards, shoe molding, and transitions carefully
Use a trim puller or a wide putty knife plus controlled tapping—your goal is to separate molding from the wall edge without chipping. Common failure mode: prying boards up while trim is still installed, which transfers force into drywall or thin wall finishes.
Take down cabinets/fixtures or disconnect what’s necessary
If you meet obstacles like built-ins, toe-kick heaters, or fixed millwork:
– Disconnect electrical components only through your authorized facilities process.
– Remove hardware where possible and keep the “demo line” straight so crews aren’t tempted to break planks around bolts and brackets.
Label and store reusable pieces
Restaurant renovations often require accurate reinstallation:
– Label each piece by location (e.g., “west dining—north corner—base shoe”).
– Keep fasteners in labeled bags.
– Store flat and protected from moisture so trim doesn’t cup before reinstallation.
Remove nail-down hardwood without tearing up the subfloor
For nail-down hardwood, controlled board-by-board removal is usually the cleanest way to keep the subfloor flat and intact. The safest approach is to start at a cut line or existing gap, pull planks using a pry bar and floor scraper, and remove fasteners cleanly rather than “forcing” the boards free.
Nail-down hardwood is generally easiest to remove when you start at a seam or gap and lift slowly enough to avoid cratering plywood/OSB from over-leverage.
Once nails are removed or pulled free, planks usually release with less tearing of underlayment or staple residue.
If planks don’t move after the nails are located, it’s often a sign the installation is glued as well—switching techniques too late increases subfloor damage risk.
Start at an edge and establish a cut/pull line
Where possible:
– Begin at a gap, threshold edge, or an intentional cut line you can trace.
– Create separation first (small starter opening), then pry gradually.
From my experience advising on restaurant demo scopes, the biggest time-sink is crews trying to “break momentum” by prying too hard in one spot—.
Pull boards using the right leverage points
A practical sequence:
– Use a pry bar to lift one plank edge.
– Use a floor scraper to separate the plank from any tack residue or underlayment.
– Work board-by-board; avoid rocking aggressively in one location.
– Stop when you encounter underlayment/staples and remove those rather than tearing them out with the boards.
Inspect as you go
As you remove rows:
– Look for subfloor soft spots, delamination, or crushed edges.
– If you see repeated subfloor damage from nails, adjust technique (smaller lifts, different pry points) before the damage spreads.
Remove glue-down hardwood using cuts and controlled leverage
For glue-down hardwood, the safest method is to score/cut first, then loosen sections so the adhesive release doesn’t rip up the subfloor surface. The process is slower than nail-down demo, but it prevents “fast failure” where the subfloor gets destroyed in a single forceful pry.
Glue-down flooring requires different removal mechanics because the adhesive bond can pull up subfloor fibers if you lever without pre-cutting.
HEPA filtration is a key dust-control layer: according to U.S. EPA, HEPA filters capture at least 99.97% of particles 0.3 microns in diameter. U.S. EPA (HEPA filtration performance guidance)
Adhesive type determines residue removal: solvents or scraping alone may not work if the bond is epoxy-based or moisture-cured—confirm before applying chemicals.
Score and cut to prevent ripping
A controlled glue-down removal usually means:
– Score the plank tops as needed to create release lines.
– Cut into manageable sections (so you can lift with less tensile force).
– Loosen sections gradually after cutting, rather than trying to lift entire runs.
Match your scraping/solvent approach to the adhesive
Before using solvents or mechanical methods, confirm:
– Adhesive category (water-based, solvent-based, pressure-sensitive, moisture-cured, epoxy—whatever your installer/maintenance history indicates).
– Whether you need a chemical residue remover versus mechanical scarification.
If you don’t know the adhesive chemistry, don’t guess aggressively. Adhesive residues can also interfere with new flooring bond strength if not removed flat and clean.
Remove residue thoroughly for a flat reinstall
Even after planks are gone, residue is a “hidden layer” that affects:
– Flatness (high spots telegraph through new flooring).
– Adhesion/bond performance (residue can block mechanical locking or bonding).
– Moisture behavior (some adhesives trap moisture or react with new materials).
This is where facility schedules matter: residue removal is often the real work, and it’s worth budgeting time.
What can go wrong (and how to avoid it)
The fastest way to prevent problems is to treat attachment type, dust containment, and subfloor condition as the three “stop points” that can force you to change your plan. In restaurant environments—especially in 2026 where HVAC continuity is tightly managed—the wrong assumption about glue vs. nails can turn a floor demo into subfloor replacement and air-quality incidents.
Common failure modes:
– Unexpected glue or composite layers: If boards don’t lift like nail-down flooring, stop and switch approach.
– Subfloor damage during prying: Over-force can gouge plywood/OSB, adding hours of leveling.
– Dust and debris control failures: Dry demo without containment spreads fine particulate quickly.
– Moisture surprises: Uneven moisture conditions can worsen existing issues.
– Access and downtime constraints: If you can’t contain debris, phase the work or bring in dust-control measures.
Quick contrast: “What you see” vs. “what to do next”
| What the floor is doing | Likely installation condition | Safer next step | Main risk if you push on |
|---|---|---|---|
| Boards lift after locating nails and prying slowly | Predominantly nail-down | Pull board-by-board; remove fasteners cleanly | Splintering and nail tearing through underlayment |
| Boards resist movement and feel “bonded” | Predominantly glue-down or mixed | Score/cut release lines; loosen in sections | Subfloor ripping and residue that blocks new-floor bonding |
| Dust plume spikes when blades/prying start | Containment or vacuum capture gap | Add HEPA vacuum capture and improve sealing at returns | Air-quality complaints and cleanup scope creep |
| Subfloor edges look crushed after each row | Over-leveraging or nail pull technique mismatch | Reduce leverage, change pry points, and control lifting angle | Future flatness failures and extra underlayment/leveler |
Dust control that matches the risk
Wood dust isn’t just “messy”—it has health implications. Build a dust plan that includes:
– Tool capture (HEPA vacuum connection where feasible).
– Sealed work zone and controlled debris egress.
– Wet methods only when your process and subfloor conditions allow it (moisture can worsen subfloor problems).
According to OSHA’s 8-hour PEL, respirable particulate dust exposures should be controlled so concentrations remain within regulatory limits for particulates not otherwise regulated. OSHA (29 CFR 1910.1000, Table Z-3)
In a restaurant, dust control failures often happen at HVAC boundaries first, not at the cutting line—so sealing around returns and vents is a priority.
NIOSH Particulate Filter Performance Relevant to Wood-Dust Demo (0.3 µm)
| # | Filter series (NIOSH) | Minimum efficiency | Oil resistance | Best for dust control during demo |
|---|---|---|---|---|
| 1 | N95 | ≥ 95% | Not resistant to oil | ★★★☆☆ |
| 2 | N99 | ≥ 99% | Not resistant to oil | ★★★★☆ |
| 3 | N100 | ≥ 99.97% | Not resistant to oil | ★★★★★ |
| 4 | P95 | ≥ 95% | Oil-proof | ★★★☆☆ |
| 5 | P99 | ≥ 99% | Oil-proof | ★★★★☆ |
| 6 | P100 | ≥ 99.97% | Oil-proof | ★★★★★ |
| 7 | R99 | ≥ 99% | Resistant to oil | ★★★★☆ |
Verdict / tip: proceed only if you can control dust and attachment uncertainty
Proceed only when you can identify whether the hardwood is nailed, glued, or mixed—and you can contain dust effectively. If your crews can’t isolate HVAC/returns, or if subfloor condition is unknown and critical for a flat reinstall, the risk quickly outweighs the savings.
Here’s the trade-off in plain terms:
– DIY/small crews can work for localized sections if attachment type is clear and dust containment is strict.
– Bring in a flooring contractor when adhesive residue is likely extensive, when the subfloor must remain true (for a new build-out), or when waste handling and containment require experienced coordination.
Also, don’t underestimate “hidden work”: glue-down residue removal and subfloor flattening are where timelines usually expand in 2026 renovations.
If you can’t properly identify nail-down versus glue-down attachment, attempting a single removal method increases the likelihood of subfloor damage.
Wood dust is classified by IARC as carcinogenic to humans (Group 1), which is a strong incentive to treat containment and filtration as non-optional.
A dust-control plan matters as much as the pry/cut method in occupied or semi-occupied restaurant settings because fine particulate can migrate beyond the work zone.
Quick removal checklist (scan/save)
– [ ] Shut down and isolate the work area; protect walls/vents/equipment
– [ ] Determine how boards are attached (nail-down vs. glue-down vs. mixed)
– [ ] Remove trim, transitions, and any interfering fixtures
– [ ] Start at an edge/cut point; remove boards in a controlled sequence
– [ ] If glued: cut/score first, then loosen in sections; remove adhesive residue
– [ ] Inspect the subfloor as you go; stop if you see major damage
– [ ] Bag debris properly and maintain dust control throughout
Sources
– OSHA (29 CFR 1910.1000, Table Z-3) — Occupational exposure limits for particulates not otherwise regulated
– IARC Monographs — Wood dust classification as carcinogenic to humans (Group 1)
– U.S. EPA — HEPA filtration performance (99.97% efficiency at 0.3 microns)
– NIOSH — NIOSH-approved particulate filter series performance (N95/N99/N100, P95/P99/P100, R99)
– National Wood Flooring Association (NWFA) — Installation/removal considerations for nail-down vs. glue-down hardwood flooring systems
– Flooring adhesive/installation manufacturers’ technical data sheets (TDS) for adhesive removal requirements tied to adhesive chemistry
To remove hardwood floors in a restaurant safely, commit to the plan: identify attachment type, protect adjacent systems, control dust with proper capture and filtration, and only then choose pull-up versus cut/loosen techniques. When adhesive is involved—or containment and subfloor flatness are non-negotiable—using a qualified flooring contractor is often the most reliable way to avoid downtime blowouts and rework.
Frequently Asked Questions
How do you remove hardwood floors from a restaurant without damaging the subfloor?
Start by protecting the surrounding areas with heavy-duty plastic and floor coverings, then remove baseboards and inspect for fasteners like nails or staples. Use a flooring scraper and pry bar to lift boards section-by-section, keeping heat and force controlled so you don’t gouge the subfloor. If the hardwood is nailed down, pull nails carefully and sand high spots afterward to restore a smooth, clean surface for the next installation.
What’s the best way to remove glued-down hardwood flooring in a commercial space?
For glued-down hardwood, you’ll usually need a combination of heat (from a heat gun or steam method if appropriate) and controlled scraping with a floor scraper. Work in small sections to prevent damaging the subfloor and to minimize dust, and consider renting tools designed for adhesive removal to speed up the process. After removal, clean thoroughly with the right adhesive remover or floor-safe solvent, then check flatness before installing new flooring.
Why is dust control important when removing hardwood floors in a restaurant?
Restaurant environments often have HVAC systems, food storage, and customer-access areas, so uncontrolled dust can spread allergens and contaminants and create compliance issues. Use dust containment systems, HEPA-filtered vacuums, and wet methods where feasible to keep particulate levels down. Plan the work during off-hours, seal doorways, and coordinate with pest control and cleaning teams to ensure the area is fully remediated.
Which tools do you need to remove hardwood flooring safely and efficiently?
Common tools include a pry bar, flooring scraper, hammer, nail puller, utility knife, pry tools for trim, and a mallet for controlled lifting. For nailed floors, you may also need a floor nail remover; for glued floors, rent a floor scraper with replaceable blades and consider a heat gun or adhesive remover tools. Always use PPE—like respirators, eye protection, and cut-resistant gloves—and keep a HEPA vacuum on hand for debris during restaurant hardwood floor removal.
How do you remove hardwood floor nails and prepare the subfloor for the next project?
After boards are removed, locate remaining nails or staples using a metal detector or by carefully scanning with a magnet, then remove them with the proper nail puller to avoid damaging the subfloor. Scrape off any leftover adhesive residue, repair subfloor damage, and sand or level high spots so the surface meets flatness requirements for new flooring. Finally, clean with a vacuum and recommended cleaner, then inspect for moisture issues before reinstalling hardwood flooring, tile, or another commercial floor surface.
📅 Last Updated: October 17, 2026 | Topic: How to remove hardwood floors from a restaurant? | Content verified for accuracy and freshness.
References
- https://www.cdc.gov/niosh/topics/wooddust/
- https://www.osha.gov/laws-regs/regulations/standardnumber/1910/1910.1043
- 1910.134 – Respiratory protection. | Occupational Safety and Health Administration
- Silica, Crystalline – Overview | Occupational Safety and Health Administration
- Lead Renovation, Repair and Painting Program | US EPA
- Asbestos | US EPA
- https://www.cdc.gov/niosh/topics/asbestos/
- https://scholar.google.com/scholar?q=hardwood+floor+removal+restaurant+dust+control Google Scholar
- https://scholar.google.com/scholar?q=wood+dust+health+hazards+removal+wood+flooring Google Scholar
- https://scholar.google.com/scholar?q=asbestos+under+floor+removal+guidance Google Scholar


