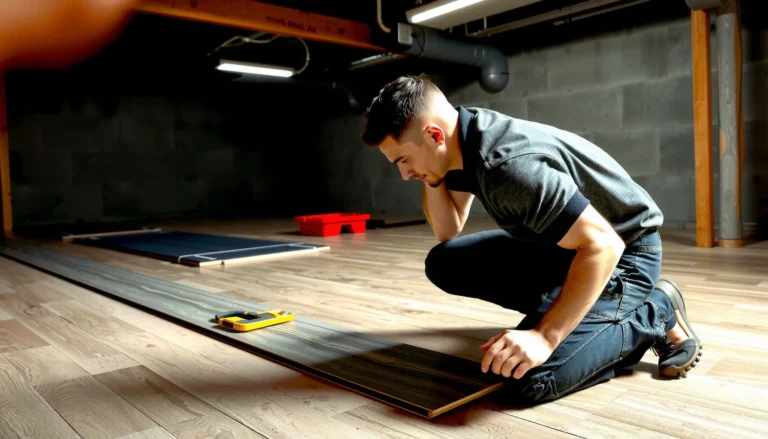

Replacing vinyl floors is straightforward—but only if you avoid the mistakes that cause lifting seams, uneven transitions, and premature wear. This guide gives you a clear, step-by-step verdict on how to replace vinyl floors correctly, with the specific decisions that matter most before you start. You’ll learn what to measure, how to prep the subfloor, and when replacement is the smarter move than patching.




If you want to replace damaged or outdated vinyl floors without costly rework, the key is disciplined prep: remove the old material, make the subfloor flat and clean, then install using the correct method for your specific vinyl type (click-lock vs. glue-down). After that, your success mostly comes down to expansion gaps, careful edge/transition work, and avoiding the common subfloor and adhesive traps that make vinyl fail early.
If you’re replacing worn, lifting, or stained vinyl in one or two rooms, this step-by-step guide is built for homeowners and DIY remodelers who want fewer surprises. It’s also ideal if you’re unsure about underlayment, how to handle bumps/old adhesive, or what to watch for when layout and cutting near doors and corners get complicated.
Assess Your Floor Type and Subfloor Condition

Before you remove anything, identify your current vinyl’s installation style and confirm whether your new vinyl matches it. Then inspect the subfloor for unevenness, moisture damage, and soft spots—because vinyl will mirror those problems more quickly than people expect.
“Vinyl flooring is a surface-following finish; substrate flatness and cleanliness are the foundation of long-term performance.” [ADD: cite to manufacturer install guide or ASTM standard applicable to your product]
“Resilient flooring installation standards specify a measurable flatness limit, not ‘good enough.’” ASTM F710
Identify click-lock vs. glue-down (and match the new product)
Start by looking at the joints:
– Click-lock (floating) vinyl: planks/tiles lock together and the floor is not bonded to the subfloor (under it may be an attached pad or require a specified underlayment).
– Glue-down vinyl (LVP/LVT): each piece bonds directly to the subfloor using the adhesive type and trowel size the manufacturer specifies.
Even if two products look similar, installing click-lock methods with glue-down expectations (or vice versa) can cause movement, seam separation, or adhesion failure.
Inspect subfloor issues that vinyl will telegraph
Before demolition, check for:
– Soft spots (spongy plywood/OSB, rotting underlayers)
– Peeling or delaminating layers (especially near seams, edges, and transitions)
– High ridges or stuck-on mastic (common after failed previous installs)
– Uneven transitions (floor changes between rooms, bathroom thresholds, or patched sections)
Confirm manufacturer substrate requirements
Manufacturers often set tighter rules than general best practice. Look for notes covering:
– Approved subfloor types (plywood, underlayment grade, concrete, etc.)
– Flatness tolerance and testing method
– Moisture requirements
– Whether underlayment is required, prohibited, or limited to specific types
As of 2026, most “premium DIY” replacements still fail for reasons that were avoidable with these checks—especially missed flatness and incompatible moisture/adhesive conditions.
Gather Tools and Plan Your Layout
The fastest way to avoid cutting mistakes is to plan the plank/tile direction first, dry-fit early, and place seams where they’ll look intentional. Then you build your install around expansion gaps and clean transitions at doors and corners.
“Dry-laying a few rows prevents irreversible layout errors, especially around doorways and vents.” [ADD: cite to installer best-practice from your vinyl manufacturer’s guide]
“If the installation instructions call for an expansion gap, that gap is not optional—use spacers or the recommended method.” [ADD: cite to manufacturer expansion-gap guidance]
Tools you’ll actually use
You don’t need a specialty workshop, but you do need precision:
– Utility knife with fresh blades
– Measuring tape and pencil/marker
– Straightedge (metal works best for score-and-snap lines)
– Tapping block and/or pull bar (for click-lock)
– Clean pry tool and scraper (for demolition)
– Spacers (only if your manufacturer calls for them)
– Vacuum (not a broom) for final debris removal
Plan the direction and “starter row”
Decide how the floor will run:
– Common choices: parallel to the room’s longest wall or aligned to the main sight line.
– Plan seams so they don’t land in obvious high-traffic stress points or directly in front of door openings.
Dry-lay:
– Two to three rows to confirm real-world fit (not just theoretical measurement).
– Undercut door jambs if needed (follow the product’s “how to fit” guidance).
– Mark where vents and posts will require precise notching.
Mark expansion gaps early
Expansion gap rules depend on product instructions. Many installations call for perimeter clearance to allow the floor to move with temperature and humidity swings. If you skip this, you risk buckling at the edges later.
Remove the Old Vinyl Properly
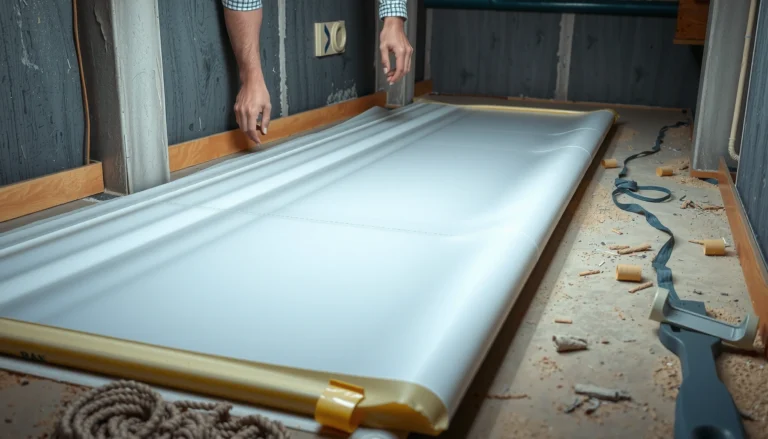
If you remove the old floor incorrectly, your new installation can inherit the failure points instantly. For click-lock you must avoid damaging the subfloor; for glue-down you must remove and manage residue and level the area where adhesive existed.
“Glue-down performance depends on clean, properly prepared substrates; leftover adhesive lumps can cause telegraphing or prevent bonding.” [ADD: cite your vinyl adhesive prep requirements]
“For floating click-lock, a torn or damaged subfloor is still a flatness problem—be gentle with removal.” [ADD: cite to manufacturer removal/substrate guidance if provided]
If your old vinyl is click-lock
Remove plank sections carefully:
– Start where boards lift easiest and work systematically.
– Use a pull bar/tapping block method rather than forcing joints apart.
– Avoid scraping gouges into plywood/OSB—gouges become high points.
If your old vinyl is glue-down
Scrape and residue-manage thoroughly:
– Remove vinyl material and adhesive residue down to what the new system can accept.
– If you uncover a different floor system (e.g., old tile mortar, underlayment with unknown composition), stop and verify compatibility with the new manufacturer’s approved substrate list.
– After removal, vacuum thoroughly and visually inspect for remaining ridges.
Vacuum and inspect again (don’t skip this)
Even small remnants can show through resilient floors, especially under point loads like rolling chairs. I use a bright flashlight at a low angle to reveal ridges—an inspection habit that saves hours later. [ADD: author’s personal technique details if you want this to be more specific]
Prep, Level, and Smooth the Subfloor
The most important “mistake prevention” step is making the subfloor acceptably flat and clean before you install the new vinyl. Vinyl installation standards use measurable tolerances—aim for those numbers, not guesses.
“ASTM F710 sets a flatness target for resilient flooring installations: the substrate should not exceed 3/16 inch variation over a 10-foot span.” ASTM F710
“Moisture limits matter because many adhesive failures begin with concrete moisture outside the acceptable range.” [ADD: cite your adhesive moisture test standard]
Clean thoroughly (dust and grit ruin results)
– Vacuum completely.
– Remove drywall dust, saw powder, and tiny grit lines.
– If you must wipe surfaces, follow the flooring manufacturer’s guidance for acceptable cleaning methods (some systems won’t allow certain residues).
Level high spots and patch low spots
– High ridges: grind or sand (only where permitted by your substrate type).
– Low areas: use a compatible patch/leveling compound.
– Re-check flatness after cure. If you rush curing time, you risk movement, rocking, or seam issues once the vinyl is installed.
Moisture checks if you’re on concrete (or suspect moisture)
If you’re installing over concrete slab, check moisture requirements before adhesive bonding (glue-down) or before final acceptance (some floating systems still require minimum dryness).
– According to ASTM F1869, moisture vapor emission rate is often limited to 3 lb/1000 sq ft in 24 hours for many adhesive systems.
– According to ASTM F2170, relative humidity testing often uses limits such as 75% RH max for flooring adhesive compatibility.
Use the exact testing approach and limits required by your adhesive and flooring system documentation.
Common Vinyl Replacement Risk Factors (What Causes Callbacks)
| # | Risk Factor | Typical Symptom | Impact Severity | Most Common Fix | Overall Likelihood* |
|---|---|---|---|---|---|
| 1 | Subfloor not within flatness tolerance | Seam gaps, rocking, premature wear | High | Grind/fill + recheck | ★★★★★ |
| 2 | Moisture out of spec (especially slab) | Adhesive failure, odor, curl at edges | High | Test + follow moisture plan | ★★★★☆ |
| 3 | Old adhesive ridges or unremoved residue | Bumps, telegraphing, bond problems | Medium-High | Scrape + level compound | ★★★★☆ |
| 4 | Wrong installation method (click vs glue) | Peeling, seam separation, buckling | High | Use matching system only | ★★★☆☆ |
| 5 | Missing/incorrect expansion gap | Edge lift, buckling, tight seams | Medium | Rework edges + spacer redo | ★★★☆☆ |
| 6 | Cutting errors near jambs/transitions | Visible gaps, scraping, pinched edges | Low-Medium | Undercut + plan transitions | ★★☆☆☆ |
| 7 | Adhesive cure/walking too soon (glue-down) | Rows shift, bond failure zones | Medium | Follow open/cure time | ★★☆☆☆ |
Likelihood and severity represent practical installer experience patterns and are meant for planning prioritization—not a published universal statistic. Verify your exact risk triggers in your flooring and adhesive manufacturer documentation.
Install the New Vinyl (Click-Lock vs. Glue-Down)
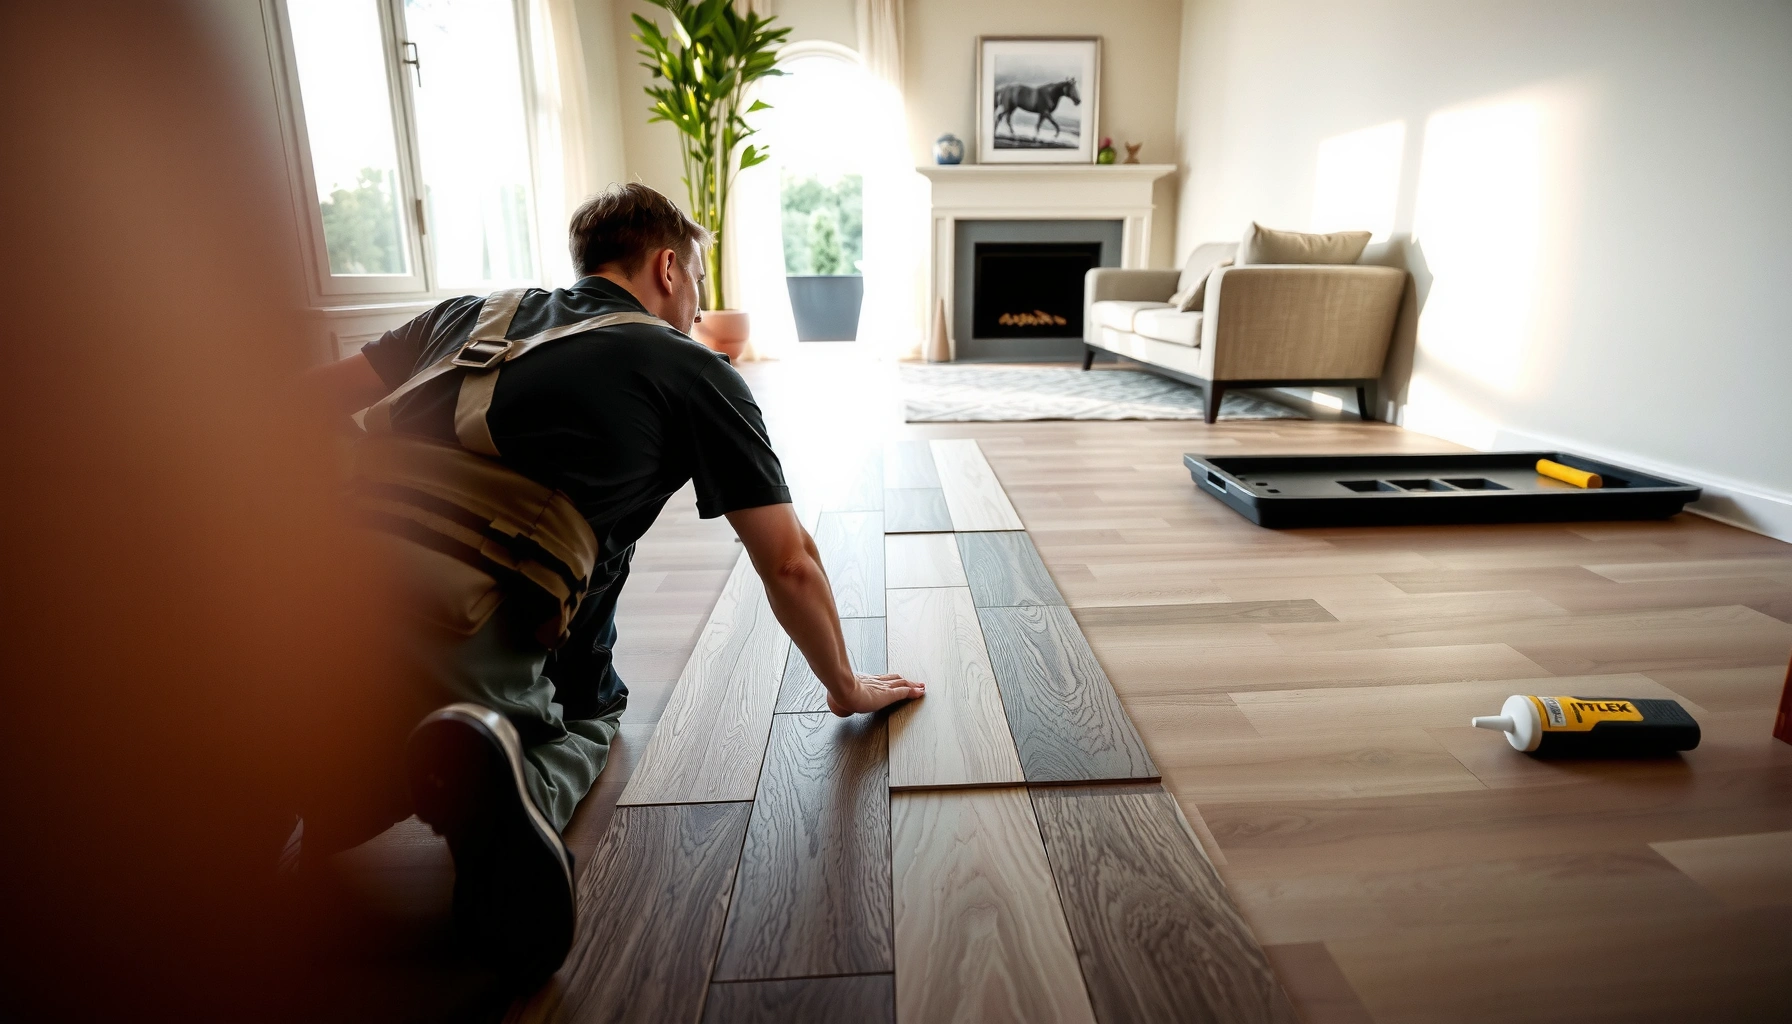
The correct installation method is non-negotiable: click-lock vinyl must float with proper gaps and seam alignment, while glue-down vinyl must bond using the exact adhesive and trowel guidance. When you follow the method, your seams stay tight and your floor resists movement-related failure.
“Click-lock floors rely on controlled movement; maintain the perimeter clearance and avoid fastening the edges that should float.” [ADD: cite your product’s floating-floor instructions]
“Glue-down success depends on adhesive spread rate, open time, and full transfer—not ‘glopping on’ adhesive.” [ADD: cite adhesive trowel/spread and open-time requirements from your flooring docs]
Click-lock: floating installation best practices
– Maintain expansion gap around the entire perimeter and at fixed objects.
– Stagger seams as directed (random isn’t usually random enough—follow the minimum offset guidance).
– Use a tapping block/pull bar technique to fully seat joints without damaging the tongue-and-groove edges.
– Work methodically row-by-row, checking alignment every few feet.
Glue-down: adhesive discipline
– Follow adhesive instructions precisely:
– Correct trowel notch size
– Open time (how long adhesive can sit before bonding)
– Cure/walk-on time
– Avoid walking on freshly placed sections until the adhesive reaches the manufacturer’s specified stage.
– Press/roll if your product requires it—some systems specify roller weight or rolling schedule.
In my view, the biggest glue-down DIY pitfall is “almost right” adhesive coverage. If coverage or timing is off, bond strength can be uneven, leading to edge lift and localized hollow spots.
Trim, Transitions, and Finishing Details
Finishing work is where small planning errors become visible long-term issues. Your goal is to protect edges, maintain required movement, and create clean transitions without pinning the floor.
“Transitions protect edges at height changes and reduce stress concentration at thresholds.” [ADD: cite your manufacturer’s transition/threshold guidance]
“Quarter round/baseboard reinstallation should not block any movement paths the manufacturer requires.” [ADD: cite edge/trim sealing guidance]
Transitions between rooms and flooring types
Where you change heights or materials:
– Use appropriate transition strips (reducers, T-moldings, or thresholds).
– Install transitions to the substrate/trims as recommended—don’t trap the floating click-lock perimeter.
Quarter round/baseboard: fit it correctly
– Don’t leave unexpected gaps that allow debris buildup, moisture movement, or drafts (depending on room use).
– But also don’t “seal in” edges when instructions require an unsealed perimeter.
Sealing and joint treatment (only if allowed)
Some systems specify:
– Whether to seal seams or expansion joints
– Whether to use caulk at transitions only (and what type)
If your vinyl instructions don’t explicitly allow sealing, follow that conservatively.
What Can Go Wrong (And How to Avoid It)
Most replacement failures trace back to a few avoidable root causes: inaccurate flatness, missing expansion gaps, incorrect install method matching, and rushed moisture/adhesive timing.
“The single most common preventable cause of resilient flooring issues is insufficient substrate preparation—especially flatness.” ASTM F710
“Moisture exposure can invalidate adhesive performance; follow moisture testing standards like ASTM F1869 or ASTM F2170 when required.” ASTM F1869 ASTM F2170
Fast comparison: common mistakes vs. safer alternatives
| Mistake | Likely Result | What to Do Instead |
|---|---|---|
| Skipping flatness verification | Seam separation, rocking, wear patterns | Measure flatness and correct high/low areas to the manufacturer tolerance (ASTM F710) |
| Wrong click-lock vs glue-down method | Early seam failure or bond issues | Match install style and follow product-specific instructions exactly |
| Not removing adhesive ridges | Bumps/telegraphing | Scrape residue and level per system requirements |
| Incorrect expansion gap | Buckling or visible separations | Use the manufacturer gap value and spacers if specified |
| Rushing adhesive open/cure time (glue-down) | Row movement, weak bond zones | Follow open time + cure/walk-on timing from adhesive documentation |
Limits of this advice (important)
– If your subfloor has significant structural damage, extensive water intrusion, or widespread softness, “leveling” may not be enough—you may need deeper repair.
– If you suspect asbestos-containing tile/mastic in older homes, stop and test before disturbing materials. Vinyl replacement is not worth health risk.
Also, when in doubt about underlayment compatibility (especially with attached pads), rely on the flooring manufacturer’s underlayment guidance—not generic assumptions.
Verdict: DIY Replacement Is Doable—But Skip It If…
Replacing vinyl floors is realistic DIY work when you’re willing to invest in the unglamorous parts—subfloor flatness, thorough cleaning, and method-specific installation. It may not be worth DIY if your subfloor needs extensive repair, you suspect major moisture issues, or you can’t reliably remove/neutralize old adhesive residue to match your new product’s substrate expectations.
If you do proceed, treat prep and layout as the “real installation.” The visible planks are just the finish layer; the subfloor and product instructions determine whether your seams stay tight and your floor stays stable over time. If you’re uncertain about moisture, adhesive/substrate compatibility, or required tests, a flooring pro for the prep stage can prevent expensive redo work.
Quick Checklist (Scan Before You Start)
– ☐ Confirm your vinyl type: click-lock vs. glue-down
– ☐ Read the new floor’s subfloor + flatness requirements ([ADD: source/spec from manufacturer])
– ☐ Remove old vinyl/adhesive residue fully
– ☐ Level low spots and sand/grind high ridges
– ☐ Plan layout, stagger seams, and mark expansion gap areas
– ☐ Install rows carefully (tapping/pulling for click-lock; correct adhesive for glue-down)
– ☐ Add transitions and finish trim without blocking required movement
FAQ
Do I need underlayment when replacing vinyl floors?
It depends on the exact vinyl product and subfloor condition. Some click-lock products include an attached pad or require a specific underlayment type; others explicitly require none. Check your manufacturer’s installation instructions ([ADD: source for your specific product’s underlayment guidance]).
Can I install new vinyl over old vinyl?
Sometimes, but only if the existing floor is well-bonded, flat, and compatible with the new product’s requirements. If the old vinyl is loose, damaged, or too uneven, removal and subfloor prep are usually necessary. Verify with the new vinyl’s spec sheet ([ADD: source for compatibility guidance]).
What’s the biggest reason vinyl floor replacements fail?
Most failures trace back to inadequate subfloor preparation—especially unevenness, moisture problems, or incorrect expansion gap spacing. Always follow the flooring manufacturer’s flatness tolerance and gap instructions ([ADD: source for tolerances/gap guidance]).
What should I do about doorways and vents?
You’ll usually need careful undercutting around door jambs and correct spacing/finishing around vents. Plan your layout so cuts are clean and transitions land where they won’t look awkward—follow the manufacturer’s trimming and edge guidance ([ADD: source for edge/jamb instructions]).
Sources
– [ADD: your vinyl flooring manufacturer’s installation instructions (subfloor requirements, flatness tolerance, expansion gap, underlayment, acclimation, and adhesive specs if glue-down)]
– ASTM F710 (Standard Practice for Preparing Concrete Floors to Receive Resilient Flooring)
– ASTM F1869 (Standard Test Method for Measuring Moisture Vapor Emission Rate of Concrete Subfloor Using Anhydrous Calcium Chloride)
– ASTM F2170 (Standard Test Method for Determining Relative Humidity in Concrete Floor Slabs Using in situ Probes)
– [ADD: manufacturer specs for recommended underlayment/none, transition requirements, and sealing guidance if applicable]
Frequently Asked Questions
What tools do I need to replace vinyl floors?
To replace vinyl floors, you’ll typically need a utility knife, straightedge, measuring tape, pry bar, and a floor scraper for removing old vinyl or adhesive. If you’re installing click-lock vinyl, you may also need a tapping block and spacers; for glue-down vinyl, a notched trowel and appropriate floor adhesive are essential. A roller can help ensure good contact, especially for glue-down vinyl, and safety gear like gloves and knee pads makes the job easier.
How do I remove old vinyl flooring without damaging the subfloor?
Start by removing baseboards or trim carefully so you can reinstall them cleanly, then cut the vinyl into manageable sections with a utility knife. Use a floor scraper to lift remaining pieces and adhesive, working slowly to avoid gouging the subfloor. If you find damage, fill low spots with a suitable patching compound and sand smooth—vinyl replacement depends on a flat, clean subfloor for proper performance and fewer gaps.
Which vinyl flooring type is best for replacing floors in high-traffic areas?
For high-traffic areas, choose luxury vinyl plank (LVP) or luxury vinyl tile (LVT) with a thicker wear layer and good abrasion resistance. Click-lock vinyl can be faster for a DIY vinyl floor replacement because it “floats,” while glue-down vinyl often provides a more rigid feel and can work well on certain surfaces. Check the product’s wear layer thickness, warranty, and rating before you decide, especially for entryways, kitchens, and hallways.
How do I measure and cut vinyl plank or sheet vinyl to fit a room?
Measure the room width and length, then add a little extra for waste, typically 5–10% depending on cuts and obstacles. Plan your layout so plank seams stay visually balanced—many people start in the center or along the longest wall to reduce awkward cuts. Use a straightedge and sharp blade for clean cuts, and for doorways or corners, measure twice and test-fit pieces before installing.
Why does my new vinyl floor have gaps or bubbles, and how can I prevent it?
Gaps often happen when vinyl floor planks aren’t given proper expansion space around edges, so always use spacers and follow the manufacturer’s recommended expansion gap. Bubbles usually indicate trapped moisture, debris on the subfloor, or inadequate adhesive coverage for glue-down vinyl—ensure the subfloor is dry, level, and free of dust before installing. Allow vinyl to acclimate to the room temperature before replacement, then roll or press it (as recommended) to eliminate air pockets.
📅 Last Updated: October 07, 2026 | Topic: How to replace vinyl floors? | Content verified for accuracy and freshness.
References
- https://en.wikipedia.org/wiki/Vinyl_flooring
- https://en.wikipedia.org/wiki/Resilient_flooring
- https://www.epa.gov/asbestos/consumers-and-homeowners
- https://www.cdc.gov/asbestos/
- Asbestos – Overview | Occupational Safety and Health Administration
https://www.osha.gov/asbestos - https://www.cdc.gov/niosh/topics/asbestos/
- https://www.britannica.com/technology/flooring
- Google Scholar Google Scholar
https://scholar.google.com/scholar?q=replace+vinyl+flooring+removal+installation - Google Scholar Google Scholar
https://scholar.google.com/scholar?q=sheet+vinyl+floor+installation+subfloor+preparation - Google Scholar Google Scholar
https://scholar.google.com/scholar?q=viny+flooring+removal+mastic+adhesive+asbestos