You can remove vinyl floors from a laundry room with a clean, damage-minimizing method—if you follow the right steps based on whether the flooring is peel-and-stick or glued-down. This guide gives you a direct, step-by-step walkthrough to get the vinyl up, handle stubborn adhesive, and prep the subfloor for what comes next. By the end, you’ll know exactly how to tackle the job efficiently without turning the removal into a mess.




Remove vinyl floors from a laundry room by first identifying whether the flooring is peel-and-stick or glue-down, then lifting it in manageable sections with the least damage to the subfloor. Most projects can remove the vinyl itself with a floor scraper and careful heat (when appropriate), then handle adhesive cleanup using methods compatible with the adhesive type. This guide is built around practical sequencing—so you reduce subfloor damage, control dust, and prep the surface correctly for your next floor in 2026.
If you’re dealing with stubborn laundry-room spills, loose planks, or an outdated surface that’s hard to sanitize, vinyl floor removal is usually the fastest path to a clean substrate—whether you’re moving to new vinyl, laminate, or tile. The right approach depends on how your existing vinyl was installed and how your subfloor is built.
Prep & safety before you start
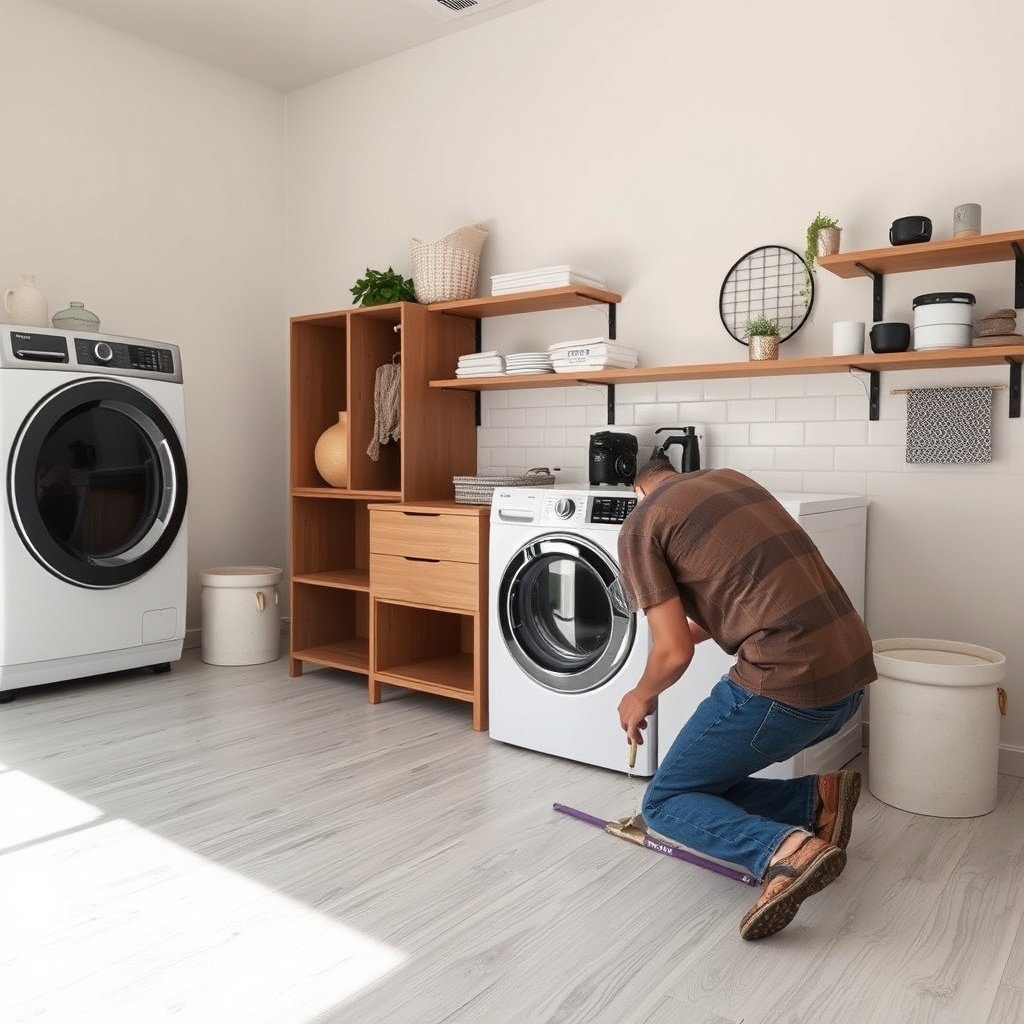
You’ll get the best results (and fewer subfloor surprises) by prepping the room for dust control, verifying material compatibility, and checking for any asbestos risk before you scrape. In other words, start with safety and identification—then the demolition steps become straightforward.
If a vinyl floor (or its adhesive) is older, you should treat the job as an asbestos risk until proven otherwise, rather than scraping immediately.
OSHA requires medical evaluation and exposure controls for workers exposed to asbestos above regulated thresholds, so dust management isn’t optional.
Prepping walls, vents, and doorways prevents re-contamination, which is critical when you’re generating fine particulate during adhesive removal.
Before you touch the floor, clear the laundry room and protect what you’re not replacing. Laundry rooms often have built-in water lines, shutoff valves, base cabinets, and HVAC returns; cover vents with plastic sheeting and seal gaps around doors/windows with painter’s tape to reduce airborne dust transfer during vinyl floor removal. If the room has a floor drain, protect it as well—scraped adhesive and debris can collect there and complicate cleanup later.
PPE and exposure controls for adhesive removal dust
Vinyl floor removal can produce dust from the subfloor surface (especially on concrete or when you’re scraping dried adhesive). Plan on at least:
– Eye protection (sealed safety glasses)
– Respiratory protection if scraping or sanding creates dust (use the right respirator for the hazard and follow the respirator program requirements)
– Cut-resistant gloves when handling blades/scrapers
– Knee protection for long scraping stretches
As of 2026, OSHA’s asbestos and respiratory protection frameworks remain in effect and are commonly cited in renovation safety guidance. For example, OSHA’s asbestos standard sets an exposure limit of 0.1 fiber/cc as an 8-hour TWA (OSHA 29 CFR 1910.1001). OSHA also includes an excursion limit of 1.0 fiber/cc averaged over 30 minutes (OSHA 29 CFR 1910.1001). If you’re not testing, your safest “default” is to control dust aggressively and avoid dry, uncontrolled scraping.
Check age and materials (asbestos screening is the turning point)
This is the point where DIY projects either stay manageable—or become a professional abatement issue. If the laundry room is older (commonly pre-1980s renovations, depending on region), and if the vinyl and its backing/adhesive may be old, treat it as potentially asbestos-containing and pause. EPA regulations for asbestos in renovation/demolition are tied to specific regulated amounts of “regulated asbestos-containing material (RACM)” (EPA NESHAP, 40 CFR Part 61, Subpart M).
Key takeaway: you don’t need to guess forever. If testing indicates asbestos, follow qualified abatement guidance instead of continuing vinyl floor removal.
Remove trim and locate the vinyl seams
You’ll remove vinyl more cleanly when you start at the right edge—usually a seam, corner, or lifting section—after carefully removing trim. Proper trim removal also reduces drywall damage, which is common when people yank vinyl upward instead of cutting and scoring.
Baseboards and quarter round should be scored along the paint line first to avoid tearing drywall during vinyl floor removal.
Vinyl flooring often releases at seams, corners, or previously lifted edges—working from those points reduces tearing into small fragments.
Cutting through the top layer before pulling helps protect the subfloor from gouges and dents.
Remove trim carefully (and score paint lines)
Take off baseboards or quarter round in a controlled way. Use a utility knife to score along the painted joint where trim meets the wall before prying—this breaks the paint seal and prevents drywall paper from ripping. Keep track of fasteners; laundry rooms often have moisture-resistant caulk that needs extra care when separating trim.
Find seams and “start points” first
The goal is to locate where the vinyl is already weakest:
– Visible seam lines between sheets/tiles
– Corners where edges have lifted over time
– Areas around appliances where expansion and contraction stress occurs
– Transitions (doorways, thresholds) where installation changed
For vinyl floor removal, your “start point” matters because it determines how the vinyl tension breaks. Pulling from a stable center area can cause the sheet or tiles to tear into smaller, harder-to-handle pieces.
Cut before you pull
Once you’ve found a likely start point, use a utility knife to cut through the vinyl surface (and the backing if present) at the edge you’re lifting. This prevents “yanking” which can gouge plywood or loosen concrete toppings—two issues that create extra prep work for your next floor.
Lift peel-and-stick vinyl flooring sections
You’ll typically remove peel-and-stick vinyl easiest by lifting slowly in controlled sections and using low heat only when the bond won’t release. If you do it in the right order, you’ll usually avoid gouging the subfloor and can concentrate your effort on adhesive cleanup afterward.
Peel-and-stick vinyl normally releases first at edges and seams; steady tension during vinyl floor removal reduces tearing.
Gentle heat can soften pressure-sensitive bonds, but it must be used cautiously to avoid damaging the subfloor surface.
Removing adhesive after the vinyl is fully off is usually faster because you’re scraping one stable substrate instead of mixing loose vinyl fragments.
Lift in manageable sections
Grab a lifted edge and pull slowly, keeping tension consistent. If you pull too aggressively, peel-and-stick vinyl can fragment into stubborn strips. In practice, work in sections sized to your comfort—common working areas are “one tile width” to “one sheet panel segment,” depending on layout.
Use gentle heat only when needed
If the vinyl resists, apply gentle heat:
– Heat gun on low (with a careful distance and short passes)
– Or a hair dryer (slower but often easier to control)
You’re aiming to soften the bond—not cook the subfloor. If the material smells strongly or you see discoloration or warping, stop and let the surface cool before continuing vinyl floor removal.
Scrape residue after the vinyl is fully removed
Once all vinyl is off, switch to residue removal. Doing adhesive cleanup before the vinyl is fully removed tends to create a messy cycle—loose fragments wrap around blades and slow you down.
Remove glue-down vinyl and leftover adhesive
Glue-down vinyl takes more effort because the adhesive bond is usually stronger and more durable. For vinyl floor removal on glue-down installations, work in small sections, keep control of your scraper angle, and use compatible adhesive-removal methods when plain scraping isn’t enough.
Glue-down vinyl typically requires more controlled mechanical scraping than peel-and-stick, because the adhesive remains firmly bonded.
Adhesive residue should be treated according to the flooring/adhesive system’s guidance, since incompatible solvents can damage primers or new flooring layers.
The safest approach is “mechanical first, chemistry second”—start with a sharp scraper and only escalate based on what’s left behind.
Work in small sections (and keep blades sharp)
Expect tougher resistance. Use a sharp floor scraper and work in narrow segments. Sharp blades reduce the force you need to apply, which reduces the chance of gouging plywood or roughening concrete—key factors for how flat and bondable your subfloor will be for the next floor.
Use controlled heat if the system allows it
Some glue-down adhesives soften under gentle heat. If the manufacturer’s installation instructions for your specific vinyl or adhesive system indicate heat is acceptable, use low, controlled heat. If you don’t have documentation, err on the side of caution. Heat can also make some residues smear rather than release, turning a clean scraping problem into a spreading problem.
Remove residue the right way for your adhesive type
This step matters more than most people expect. For residue:
– Follow manufacturer guidance for the original adhesive system if available
– If you need a cleaner/remover, choose products labeled as compatible with that adhesive type
– Avoid “random solvent guessing,” especially if you’re installing a new floor that needs a specific underlayment, primer, or bond profile
Practical goal for vinyl floor removal: scrape off what you can, then prepare the subfloor to be clean, flat, and dry for what’s going next—often leveling compound, primer, or an appropriate underlayment depending on your flooring choice.
What can go wrong (and how to avoid it)
The most common failure mode in vinyl floor removal is damaging the subfloor (gouges, dents, or unevenness) while trying to be too aggressive. The second most common issue is creating unnecessary dust, especially from sanding or dry scraping adhesive.
Aggressive scraping can gouge plywood or roughen concrete, increasing the chance your new floor will telegraph imperfections.
Dry sanding adhesive can generate respirable particulates; safer methods rely on dust controls and appropriate respiratory protection.
If asbestos is possible, stopping DIY and pursuing testing/abatement is the lowest-cost path to risk reduction.
Here’s a realistic “what goes wrong” list that aligns with how adhesive behaves during vinyl floor removal:
1) Damaging the subfloor
When people skip scoring and cut/pull hard, the scraper can bite:
– Plywood/OSB: gouges create voids that require patching and flattening
– Concrete: roughened patches can require grinding/leveling so new flooring adheres properly
Prevention:
– Use sharp blades
– Keep a shallow, controlled scraping angle
– Work slowly and switch tools rather than forcing through resistance
2) Creating unsafe dust
If you start sanding adhesive residue dry, you can aerosolize fine particulates. OSHA’s respirable exposure framework is built around controlling inhalation hazards. For example, OSHA’s exposure limit for respirable particulates “not otherwise regulated” is 5 mg/m³ as an 8-hour TWA (OSHA 29 CFR 1910.1000, Table Z-3), and total nuisance particulate is 15 mg/m³ (OSHA 29 CFR 1910.1000, Table Z-3). Even if your exact dust chemistry differs, these limits underscore why controlled methods and respiratory protection matter during vinyl floor removal.
3) Unknown old materials (asbestos risk)
Vinyl and adhesives can vary widely by installation year and region. If there’s a credible asbestos concern, proceed as a safety-first project:
– Stop DIY
– Test or get qualified evaluation
– Follow regulatory requirements for renovation/demolition when asbestos is present (EPA NESHAP, 40 CFR Part 61, Subpart M)
DIY vs pro: fast comparison
When deciding whether to tackle vinyl floor removal yourself, use a simple rule: if the risk or subfloor condition is uncertain, pay for evaluation. Below is a practical comparison you can use on laundry-room jobs.
| Factor | DIY vinyl floor removal | Hire a flooring pro / abatement help |
|---|---|---|
| Vinyl type clarity | You can identify peel-and-stick vs glue-down and the lift behavior is predictable. | You’re unsure of installation details or adhesives are unknown. |
| Subfloor condition | Subfloor is solid; scrape loads won’t create major patching. | Subfloor shows damage, swelling, or prior water issues. |
| Asbestos uncertainty | Testing isn’t needed because the materials are clearly recent/verified. | There’s credible age/material risk—testing/abatement is the safer option. |
| Dust control | You can isolate the area and control particulates with PPE and containment. | You want professional dust controls and controlled removal methods. |
| Time and predictability | You can tolerate a slower pace if adhesive removal takes longer than expected. | You need a predictable schedule and reduced risk of rework. |
Exposure limits that often drive dust-control decisions (quick reference)
These values help you understand why controlled vinyl floor removal matters when scraping can generate respirable dust.
OSHA Exposure Limits Relevant to Dust During Floor Removal (Selected)
| # | Hazard (dust/aerosol) | Limit type | Regulated value | Control priority |
|---|---|---|---|---|
| 1 | Asbestos | 8-hour TWA PEL | 0.1 fibers/cc | ★★★★★ |
| 2 | Asbestos | 30-minute excursion | 1.0 fibers/cc | ★★★★☆ |
| 3 | Asbestos | Action level (8-hour) | 0.1 fibers/cc | ★★★★★ |
| 4 | Respirable crystalline silica | 8-hour TWA PEL | 0.05 mg/m³ (50 µg/m³) | ★★★★☆ |
| 5 | Respirable crystalline silica | Action level | 0.025 mg/m³ (25 µg/m³) | ★★★☆☆ |
| 6 | Nuisance dust (total) | 8-hour TWA PEL | 15 mg/m³ | ★★☆☆☆ |
| 7 | Nuisance dust (respirable) | 8-hour TWA PEL | 5 mg/m³ | ★★☆☆☆ |
Verdict + saveable removal checklist
DIY vinyl floor removal is realistic when you can confidently identify the installation type (peel-and-stick vs glue-down) and you’re prepared for adhesive cleanup. If you have glue-down flooring with heavy adhesive, damaged subfloor, or any meaningful chance of older asbestos-containing materials, hiring a flooring pro (or arranging testing/abatement guidance) is usually the safer, more predictable choice in 2026.
From a practical standpoint, the work is rarely “hard” in the physical sense—it’s hard in the patience and precision sense. I recommend planning for longer adhesive cleanup than you expect, especially around doorways and under appliances.
Pros/cons summary (decision-ready)
– Do DIY if the vinyl lifts cleanly in sections (peel-and-stick), the subfloor is solid, and dust controls are realistic.
– Consider professional help if the vinyl is glue-down with unknown adhesive chemistry, the subfloor is compromised, or asbestos risk is credible.
| Step | Quick check |
|---|---|
| Identify type | Peel-and-stick vs glue-down (does it lift cleanly or smear?) |
| Protect the room | Tape/plastic over vents, walls, and doorways |
| Start point | Corner/seam/edge that’s already lifting |
| Lift in sections | Keep pulls steady; avoid ripping |
| Remove adhesive residue | Use manufacturer-compatible method |
| Prep for new floor | Subfloor is clean, flat, and dry |
Frequently Asked Questions
What’s the best way to remove vinyl flooring in a laundry room?
The best approach depends on whether your vinyl is loose-lay, glued-down sheet vinyl, or peel-and-stick tiles. Start by removing appliances and baseboards, then work in small sections so you don’t damage the subfloor. For glued-down vinyl, heat and a floor scraper usually help loosen the adhesive, while for loose products you can often pull up edges and roll sections for easier removal.
How do I remove glued-down vinyl flooring without damaging the subfloor?
Use a heat gun or flooring steamer to soften the adhesive and make the vinyl easier to lift with a scraper. Keep the scraper angle shallow and avoid gouging the plywood or concrete—move slowly and reheat stubborn areas. After pulling up the vinyl, remove remaining adhesive with a vinyl flooring adhesive remover that’s safe for your subfloor type, then sweep and rinse so you’re ready for new flooring.
Why is adhesive removal the hardest part of removing laundry room vinyl floors?
Laundry rooms often have heavy moisture exposure and cleaning chemicals, which can cause adhesives to bond more tightly over time. Even when the vinyl sheet or tiles come up, thin adhesive residue can remain and interfere with new flooring adhesion or leveling. Plan for extra time using proper solvents or mechanical methods (like a floor buffer with the right pad) and always follow ventilation and safety directions.
Which tools and supplies do I need to remove vinyl flooring safely?
At minimum, gather a utility knife, floor scraper, putty knives, pry bar, and a heat gun or steamer for glued areas. For adhesive residue, consider adhesive remover, mineral spirits (only when compatible), and abrasive pads or a floor buffer attachment. Wear gloves, eye protection, and a dust mask, especially if there’s a chance of older flooring containing asbestos—test if your home is older than the mid-1980s.
How can I deal with vinyl floor seams, edges, and stubborn spots in a laundry room?
Start at seams, corners, and around doorways where the vinyl is easiest to lift, then use heat to expand flexibility before scraping. For stubborn edges, score carefully along the seam line with a utility knife to separate layers and prevent tearing into the subfloor. If the vinyl stretches or won’t lift, reheat the area and work slowly; rushing often increases subfloor damage and leaves thicker adhesive behind.
📅 Last Updated: October 26, 2026 | Topic: How to remove vinyl floors from a laundry room? | Content verified for accuracy and freshness.
References
- Asbestos | US EPA
- Asbestos – Overview | Occupational Safety and Health Administration
- https://www.cdc.gov/asbestos/
- https://www.cdc.gov/niosh/topics/asbestos/
- Asbestos – HSE
- Vinyl flooring
- https://www.britannica.com/science/asbestos
- https://scholar.google.com/scholar?q=how+to+remove+vinyl+flooring+laundry+room Google Scholar
- https://scholar.google.com/scholar?q=remove+vinyl+sheet+flooring+glue+down+steps Google Scholar
- https://scholar.google.com/scholar?q=asbestos+resilient+floor+covering+removal+guidance Google Scholar