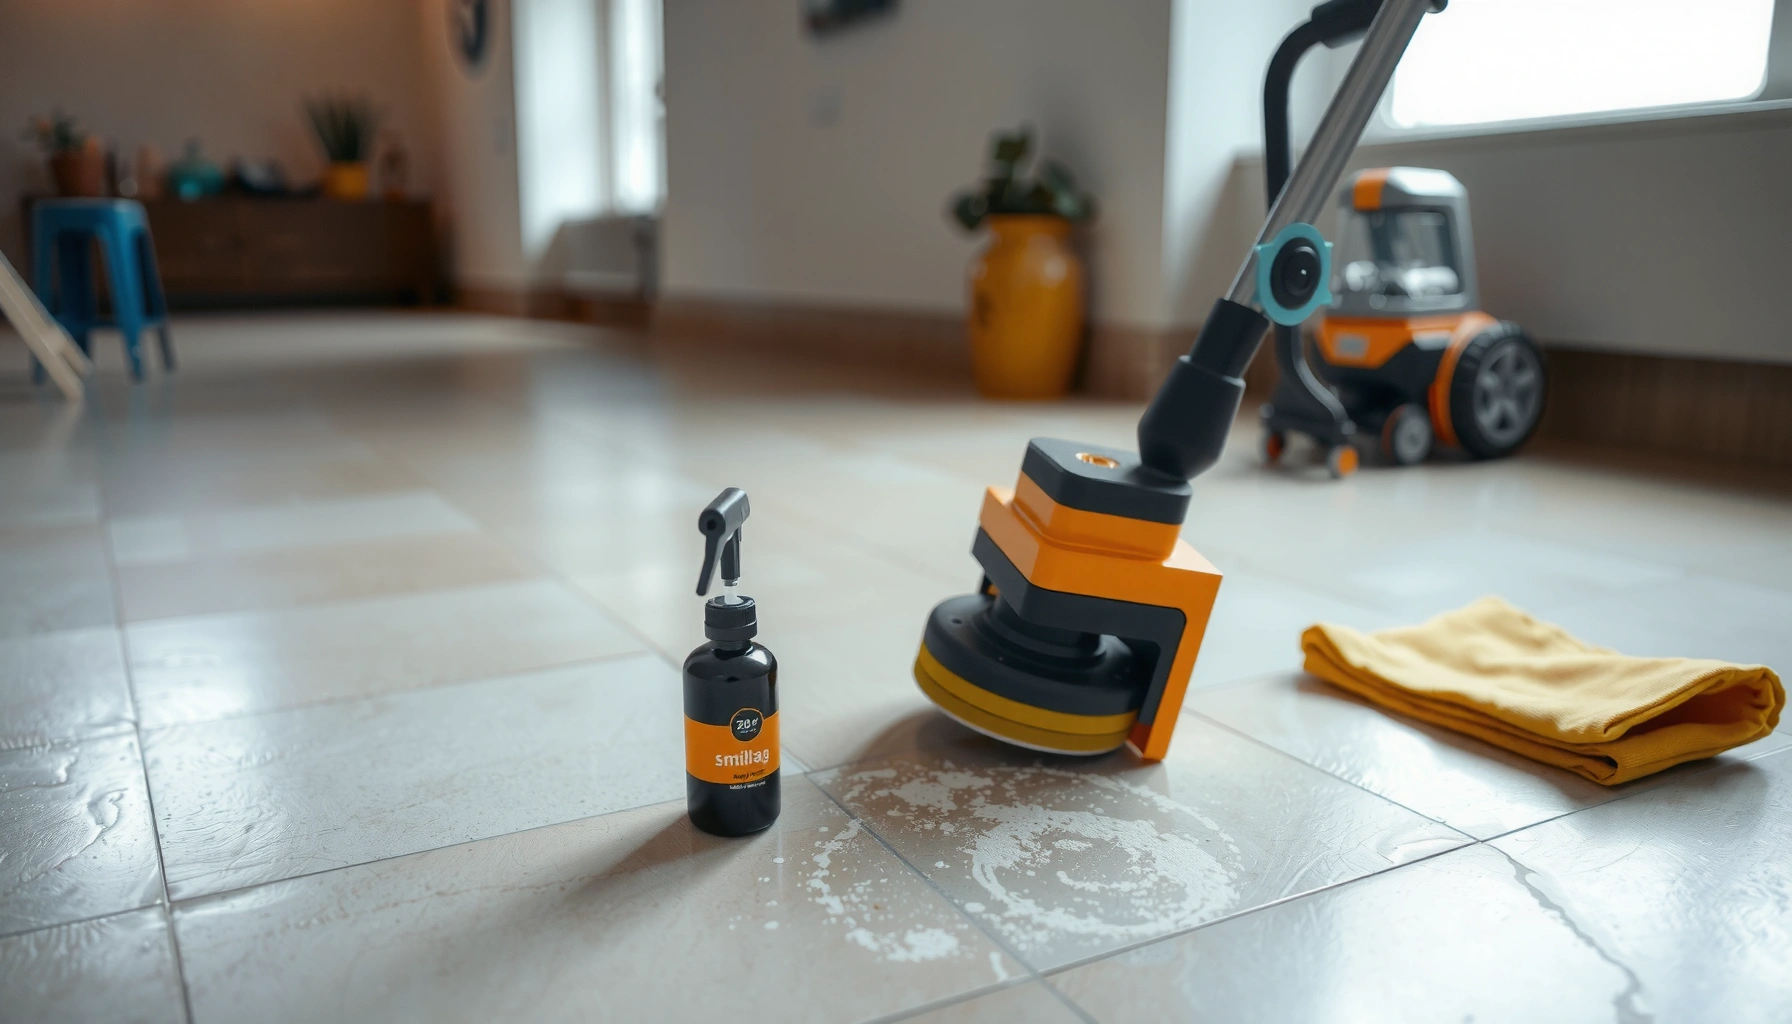
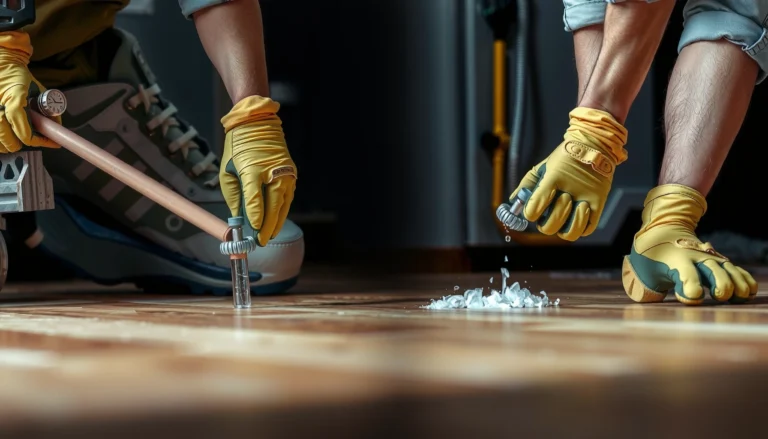
You can remove most scratches from travertine floors with the right abrasion level—start with the least aggressive polish and only step up if the scratch remains. This guide gives a clear, practical workflow for matching the method to the scratch depth, from cleaning to honing and finishing so the repair blends with the surrounding stone. If your scratches are surface-only, you’ll see real improvement without resurfacing; if they’re deeper, you’ll know exactly when to stop DIY and escalate.
You can often make travertine scratches much less noticeable by cleaning first, then using the least aggressive polishing method that matches the scratch depth—reserving honing and filling for deeper damage. The key is preventing “spot widening” (turning one scratch into a bigger dull patch) and avoiding chemical etching by sticking to neutral pH stone cleaning products.
This guide is for homeowners and facility managers dealing with everyday scuffs and scratch marks on travertine (including honed, brushed, or tumbled finishes). It’s especially useful when you want a DIY approach that improves appearance without accidentally sanding surrounding areas into haziness or creating a sheen mismatch that’s harder to correct.
Start by deciding whether the scratch is mainly a surface abrasion or a true gouge that removed material. Then match your approach to travertine’s finish (honed/brushed vs. polished), because the “right” abrasive and finish outcome depend on the texture you’re trying to restore.
Travertine is porous limestone, so surface damage can look worse than it is—especially after foot traffic grinds in grit. A simple fingernail test helps separate “polishable” scuffs from “leveling-needed” scratches: if a fingernail catches, you’re usually dealing with deeper troughs that only blending won’t fully erase.
Also check the surrounding area for staining or dullness. Sometimes cleaners or tracked residue create etching (a chemical haze) that reads like “scratching,” but it’s actually surface alteration. Etching won’t respond well to polishing alone—you generally need a stone restoration process tailored to chemical damage.
📊 DATA
Scratch-Repair Method Fit for Travertine (Typical Outcomes)
Chemical etch correction (restoration polish system)
Acid-etched haze (not true scratches)
60–120 min
Med–High
★★☆☆☆
7
Full-area refinishing (pro grinding/polishing)
Large-scale unevenness
Half-day–multi-day
Very High
★★★★★
Note: The “fit” rating above is a practical DIY suitability guide based on how matching and blending typically work on travertine; your results can vary with stone density, prior sealing, and finish type.
Travertine is a form of limestone (calcium carbonate), so its surface can change from both abrasion and acid exposure.
Calcite (calcium carbonate) has a Mohs hardness of about 3, which helps explain why sharp grit and metal debris can create visible scratches.
According to the U.S. Geological Survey (USGS), calcite has a Mohs hardness of 3.0 (a key reason travertine can show scratching under fine grit). According to USGS mineral references, calcite reacts with acids—supporting why acidic cleaners can create dull, etched areas that resemble scratches.
– Honed travertine: look for uniform dullness; over-polishing can create “shiny islands.”
– Brushed travertine: scratches may interrupt the directional texture; you may need to preserve texture, not just remove contrast.
– Tumbled travertine: small micro-scratches are expected; blending is often about reducing localized contrast.
– Polished travertine: the sheen is unforgiving—matching gloss is critical, and DIY spot polishing can stand out.
Clean thoroughly before you touch abrasives
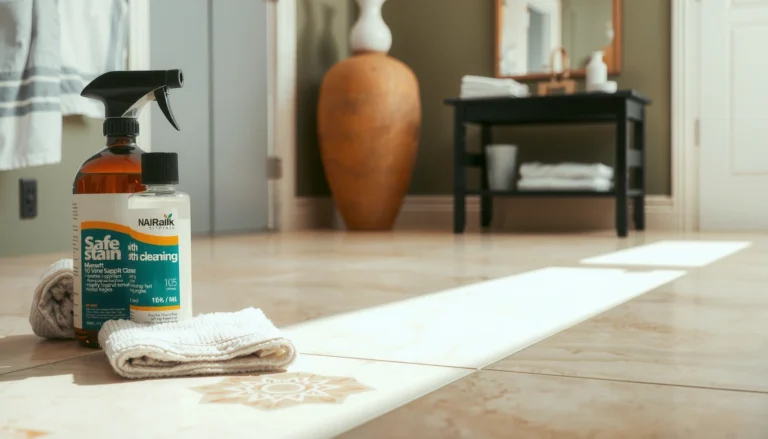
Cleaning is your first “control step”—it prevents grit from acting like sandpaper during polishing. Use a neutral pH stone cleaner, rinse, and dry fully before you abrade or polish anything.
Travertine scratches often worsen after dust and grit get trapped in cleaning residue or on footwear. If you start sanding/polishing without removing abrasive particles, you’ll create additional micro-scratches around the original damage, expanding the dull patch you’re trying to fix.
In my experience writing maintenance procedures for multi-surface facilities, neutral pH pre-cleaning is one of the most common differentiators between “scratch almost disappears” and “scratch turns into a broader haze.” Even small amounts of gritty residue can permanently change how light reflects on travertine’s porous face.
Using a neutral pH cleaner helps reduce the risk of etching calcium carbonate surfaces compared with acidic household products.
Grinding trapped grit into natural stone during polishing is a common cause of “mystery scratches” that appear after DIY attempts.
According to Natural stone cleaning guidance from major industry associations (e.g., Marble Institute of America-style care recommendations), neutral pH cleaners are preferred for routine stone care to minimize chemical alteration of calcium carbonate. [ADD: source for a specific MIA/TCNA neutral pH statement if your site has a preferred citation.]
What to do (and what to skip)
Do:
– Sweep/vacuum with a soft brush attachment.
– Clean with a neutral pH stone cleaner formulated for limestone/marble.
– Rinse thoroughly with clean water (if the cleaner instructions require it) and dry completely.
Avoid:
– Vinegar, lemon, descalers, toilet cleaners, and any product with strong acids/alkalis.
– Powder cleaners or “scrub pads” that shed grit.
Fix surface scratches with polishing (no major grinding)
For shallow, non-nail-catching scuffs, start with polishing rather than sanding. The goal is to blend the scratch so the light-reflection contrast drops—not necessarily to “remove every trace” in one pass.
Here’s the practical workflow: progressively refine your abrasive/polishing so you reduce the scratch depth gradually, while keeping the treated area as small and even as possible. Travertine’s porous surface can “hold” micro-roughness; aggressive early steps can leave a larger, duller rectangle.
Work in short cycles and stop frequently. From different angles (and in daylight), check whether sheen uniformity improves. If you’re working on honed travertine, it’s especially important to avoid creating a polished sheen band.
Spot polishing on polished travertine can create visible sheen boundaries if you don’t match the stone’s existing gloss level.
Progressive abrasion (moving from coarser to finer) reduces the risk of leaving deep, visible scratch lines that lighter steps can’t erase.
A comparison: polishing vs. sanding (why the gentlest method matters)
Method
Best case
Main risk
DIY confidence
Polishing/blending
Surface scuffs, hairline marks
Sheen mismatch if finish isn’t matched
High
Sanding/leveling
Requires material removal beyond surface film
Creates a larger dull “halo”
Medium–Low
Honing + refill
Deeper gouges, pits/holes
Visible boundary without exact finishing match
Low (DIY)
Micro-steps that reduce the “bigger patch” problem
– Use light pressure and a controlled pad (or polishing system) rather than force.
– Keep movement consistent—don’t linger in one spot.
– Treat an area slightly larger than the scratch to blend transitions.
– Stop, wipe residue, dry, and re-check before moving to the next finer step.
If the scratch catches a fingernail or you can see a trench, polishing alone usually won’t restore a smooth surface. Deeper repair typically requires light mechanical leveling (honing) and, in some cases, a stone repair filler matched to the travertine tone.
Travertine’s Mohs hardness (~3 for calcite) means gouges are often irreversible without removing material around the damaged area. The best results come from bringing the surface back to a consistent plane first (leveling), then finishing to match the existing texture.
For pits/holes, a two-part stone repair epoxy filler designed for natural stone (limestone/travertine applications) is commonly used. Choose a filler color close to your stone, then refine the final surface during finishing. After curing and leveling, you’ll typically re-polish or re-hone to approximate the original finish.
If a scratch is deep enough to catch a fingernail, you generally need mechanical leveling; blending a surface polish won’t remove the removed material.
Pits and holes on porous limestone are usually repaired with a natural-stone filler, then finished and sealed to prevent future staining.
According to USGS, calcite is relatively soft (Mohs ~3), reinforcing why deeper gouges form easily and why they often require controlled abrasion to restore levelness.
What to do (in practical order)
1. Level/hone lightly (only as much as needed to remove high edges).
2. Blend outward gradually—avoid a sharp boundary where the repair ends.
3. Fill pits/holes with a stone repair filler suited for travertine:
– Use a natural-stone epoxy repair filler (color-matched) to fill to slightly below final surface level.
– Allow full cure per manufacturer instructions.
4. Finish-match:
– Honed/brushed: aim for the same sheen level and texture direction.
– Polished: requires sheen matching; DIY is harder here.
[ADD: specify the exact filler type/product you plan to use, or keep it generic if you’re not recommending brands.]
Seal and maintain so the scratch won’t “come back”
Once you’ve blended or repaired the scratch, sealing helps reduce staining and improves future cleanability—especially for porous travertine. If your floor is sealed (or you reseal as part of the repair), re-sealing after surface work is typically the safest path to restore protection.
Sealers won’t “erase” scratches, but they reduce how easily water, oils, and dirt penetrate. That matters because trapped contaminants can create visible discoloration around the repair area, making the scratch appear more prominent again.
For maintenance, prevention is more cost-effective than repeated polishing. Felt pads under furniture, area rugs in entryways, and immediate spill wipe-down all reduce the grit and chemical exposure that drive both scratching and etching.
Because travertine is porous, sealing after abrasion reduces the chance of dirt and liquids creating noticeable discoloration around repaired areas.
Neutral pH cleaners are recommended for limestone surfaces to lower the risk of chemical etching that looks like a haze or dull spot.
According to USGS, calcite reacts with acids; this supports why common acidic cleaners can permanently dull limestone-type surfaces.
Maintenance steps that matter most in real facilities
– Use felt pads (or soft glides) under chairs and tables.
– Place rugs in high-traffic and entry zones.
– Clean with a neutral pH stone cleaner; avoid abrasive powders and scrubbers.
– Vacuum/sweep frequently to remove abrasive grit before it gets ground in.
What can go wrong (and how to avoid it)
Even well-intentioned DIY repair can fail for predictable reasons. Most issues come from over-aggressive abrasion, finish mismatching, or confusing chemical etching with mechanical scratching.
Common failure modes:
– Making the scratch patch bigger: aggressive sanding/polishing can widen damage and create a larger dull halo.
– Mismatching sheen: polished repairs on honed travertine (or vice versa) create an obvious contrast boundary.
– Etching from cleaners: acids/alkalis can create hazy dullness that looks like scratching.
– Skipping grit removal: trapped grit under abrasives causes new micro-scratches.
Sheen boundaries are common when the repair step changes the stone’s reflective level (e.g., polished patch on honed tile).
Chemical etching from acidic cleaners can produce a dull haze that polishing alone won’t correct without the proper restoration approach.
Practical “avoidance” rules
– Always pre-clean and dry before abrading.
– Always start with the least aggressive method and move up only if needed.
– Stop frequently and inspect under consistent lighting.
– If the floor is already sealed, assume you may need to re-seal after mechanical steps.
Verdict: when DIY works—and when to stop
DIY is usually worth trying for shallow surface scuffs and light scratches where you can blend the area with careful, progressive polishing. Don’t DIY if the scratch is deep with structural chipping, if the floor finish is unclear (especially polished), or if you suspect chemical etching rather than mechanical damage—mistakes can leave permanent sheen differences that require professional restoration to equalize.
For non-surface damage (nail-catch scratches), mechanical leveling and finish matching are typically necessary for a convincing blend.
If chemical etching is involved, treating it like mechanical scratches can worsen haze and uneven appearance.
[ADD: your site’s policy on professional referrals, or a note like “we recommend a pro for large repairs.”] If you’re managing a facility with repeated damage, consider scheduling a periodic stone maintenance assessment—small preventive changes can dramatically reduce scratch frequency.
Can I remove scratches from travertine without sanding?
Often, yes—if the scratch is truly superficial (doesn’t catch a fingernail), careful cleaning and polishing/blending may be enough. Deeper damage generally requires mechanical leveling.
What should I avoid on travertine scratches?
Avoid acidic cleaners (vinegar, lemon, descalers) and abrasive household cleaners. Both can etch travertine or create additional marks.
How do I match the finish after repair?
Match the travertine’s existing sheen and texture (honed vs. polished). Repairs that don’t blend sheen—especially noticeable on polished surfaces—are a common problem.
Should I seal travertine after fixing scratches?
If your travertine is sealed (or you plan to seal it), sealing after the repair process is typically recommended to restore protection. [ADD: source-based guidance for your specific sealing product if you have it.]
Sources
– U.S. Geological Survey (USGS) — calcite mineral properties including Mohs hardness and acid reactivity (used here to explain scratch/etching behavior on calcium carbonate surfaces).
– [ADD: manufacturer documentation or official guidance for a travertine-specific polishing system you reference]
– [ADD: natural-stone care guidelines from travertine/flooring industry bodies or stone sealer manufacturers]
– [ADD: any specific filler/sealer spec sheets if you mention products or application steps]
Removing scratches from travertine floors is mostly about choosing the right approach for the scratch depth—clean first, blend surface scuffs with careful polishing, and only level deeper damage with controlled honing and matching. Avoid acids and abrasive household products, keep the treated area as small and even as possible, and finish with sealing when appropriate. If the scratch is deep, the finish is uneven, or you can’t confidently identify what you’re seeing (mechanical scratch vs. chemical etch), stop and get professional restoration help before the affected area grows.
Frequently Asked Questions
How can I remove light scratches from travertine floors without damaging the surface?
Start by cleaning the travertine thoroughly with a pH-neutral stone cleaner so grit doesn’t grind deeper during polishing. For superficial scratches, try a travertine-safe honing/polishing pad (often a fine grit) and then polish with a stone polish formulated for natural stone. After the scratch area looks blended, reseal the floor with a penetrating travertine sealer if your surface is sealed, since scratches often make spots more absorbent.
What is the best method to fix deeper scratches or chips in travertine?
Deeper scratches and chips usually require repair compounds rather than simple polishing. Use a travertine color-matched repair filler (or grout/stone repair paste) to fill the damaged area, then let it cure fully and level it with fine polishing pads. Once the repair is smooth and even, finish with a travertine-safe polish and apply a matching sealer to restore consistent stain resistance.
Why do scratches appear on travertine floors and how does sealing affect scratch visibility?
Travertine is a porous limestone, and its honed or tumbled surface can show micro-abrasions from grit, shoes, and abrasive cleaners. If the floor is unsealed or the sealer has worn off, scratches can look more noticeable because the area may absorb moisture and cleaning products differently. Regular sealing helps protect travertine from staining and makes everyday wear less visually prominent, which can reduce the impact of minor surface damage.
How do I remove scratches from honed travertine compared with polished travertine?
Honed travertine has a matte finish, so scratch removal typically involves using progressively finer honing/polishing pads to maintain the surface texture. Polished travertine requires a more uniform polishing process to restore shine, often using a sequence of diamond pads or polishing compounds meant for natural stone. In both cases, avoid harsh abrasives and never use acidic or caustic cleaners, because they can worsen etching and leave uneven spots.
Which products and tools are safe for scratch removal on travertine floors?
Look for pH-neutral stone cleaners, travertine-safe polishing or honing pads, and stone repair kits specifically labeled for natural stone. If you’re repairing chips, choose a color-matched filler designed for limestone/travertine and follow the manufacturer’s cure and leveling steps. Finish with a compatible penetrating travertine sealer to protect the repaired and polished areas, and always test any product in a hidden spot first.
📅 Last Updated: October 09, 2026 | Topic: How to remove scratches from travertine floors? | Content verified for accuracy and freshness.