
Need to remove hardwood floors and want it done correctly the first time? This step-by-step guide shows you exactly how to pull up existing planks, handle nails and adhesives, and keep the subfloor as intact as possible. Follow the sequence and you’ll avoid the most common damage and cleanup headaches.



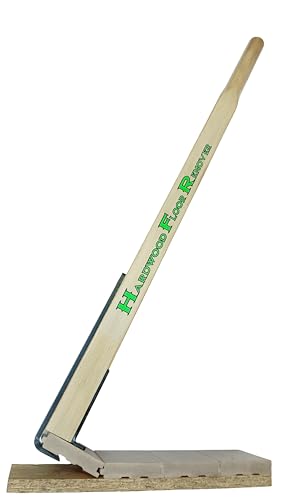
Removing hardwood floors is mostly about getting the fastening method right (nails vs. staples vs. glue) and then prying/cutting in a way that protects the subfloor and controls dust. Most DIY removals go faster when you remove trim first, loosen boards with the correct leverage, and cut through any adhesive or sealant lines before forcing boards up.
This guide is for homeowners tackling a flooring removal before refinishing, replacing damaged boards, or preparing a new subfloor system. It’s especially useful if you’re unsure whether your hardwood is nailed-down and what to do to minimize splintering and damage.
Prep the room and protect the subfloor
If you want a cleaner, safer removal, start by isolating the room and protecting everything you plan to keep—especially the subfloor edges and HVAC returns. Dust control isn’t optional: hardwood removal creates fine particles (finish, wood dust, and often old adhesive residue), and containment keeps the mess from spreading through the home.
“Use local exhaust ventilation and respiratory protection when generating wood dust during construction or maintenance activities.” [ADD: NIOSH wood dust / OSHA construction dust guidance]
“Seal openings and protect adjacent areas (doors, vents, and HVAC intakes) to limit cross-contamination of dust.” [ADD: OSHA/NIOSH guidance on controlling airborne particulates]
“Maintain subfloor integrity by avoiding aggressive prying under tongue-and-groove edges or at weak seams.” [ADD: Manufacturer guidance for engineered vs. nail-down hardwood removal]
Clear the space so you can work without stepping on boards or bending over repeatedly—this is where many homeowners rush and chip edges. Shut off HVAC and close registers, then seal doorways, supply/return vents, and any openings with plastic sheeting and painter’s tape. If you don’t have a containment setup yet, at minimum cover the path to the rest of the house to prevent “dust tracking.”
Next, remove baseboards and quarter round carefully. Use a flat pry bar and a thin putty knife to slide behind trim rather than yanking straight out; this reduces drywall edge damage and helps you keep trim reusable (especially in older homes where patching is harder). As you remove trim, keep screws and small fasteners in labeled bags—removal is easy to mess up if you later reinstall trim or plan to replace drywall.
Then locate what can “catch” during removal: transition strips, threshold bars, vent grilles, stair treads, and any built-in moldings (like window casing that visually frames the floor). Disconnect these now so you’re not prying against metal or wood attachments that turn into splintering and gouges.
Remove trim and identify how the boards are fastened
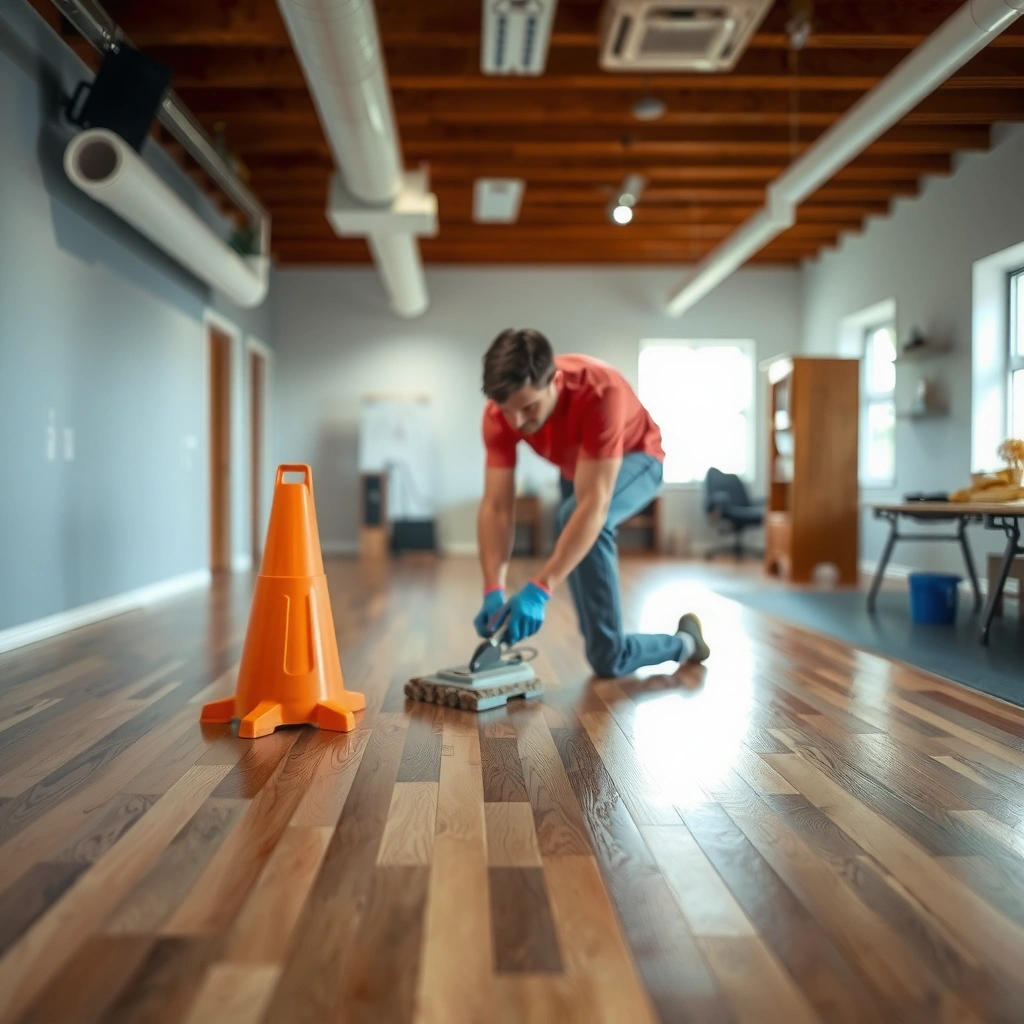
The fastest and least damaging strategy depends on knowing whether the hardwood is nailed, stapled, or glued. Identify the fastening method in a small test area first, then plan your prying direction and your cutting points accordingly.
“Nail-down and staple-down hardwood installations typically show mechanical fasteners along the groove or face, requiring targeted pry points.” [ADD: Flooring manufacturer installation/removal technical sheet]
“Glue-down and adhesive-assisted installs often require cutting/separating rather than prying to avoid tearing the subfloor surface.” [ADD: Manufacturer removal instructions for adhesive-assisted hardwood]
Check near a wall or inside a closet where you can pull up a small section without ruining the most visible area. Remove a few boards in the test strip and look for:
– Nail heads or staple punctures (mechanically fastened)
– Thick, stringy, or brittle residue indicating glue or adhesive
– Tongue-and-groove locking behavior (how easily boards lift before resisting)
If you find glue involved, don’t “bulldoze” the boards up. The wood may lift until the adhesive line resists, and then it tears—often pulling wood fibers and leaving a messy subfloor surface behind. In that case, you plan a hybrid approach: cut along bond lines, then lift in controlled increments.
Also note board direction and layout. Hardwood flooring is often installed so boards run in a consistent direction with tongue-and-groove engagement. If you pry in the wrong direction, you’re fighting the locking mechanism, which increases splintering. Before you start prying across a whole room, map the grain direction and decide where you’ll start loosening boards for the best leverage.
Loosen boards by starting at the right edge
To reduce breakage, start removing from the edge that offers the best leverage and the least locked-in engagement. Typically, that’s an exit side or an outer wall area where boards are easier to lift after trim removal.
“Use floor protection during prying (e.g., a wood block) to prevent gouging the board face and damaging the subfloor.” [ADD: Tooling best practice from a flooring contractor association or manufacturer]
“Work in small sections to reduce flexing that causes tongue-and-groove cracking.” [ADD: Manufacturer guidance for disassembly of tongue-and-groove flooring]
In practical terms, choose your exit path so you don’t trap yourself. Many removals go wrong when people start in the center and then step backward through a collapsing pile of planks—harder on your back and more likely to chip boards.
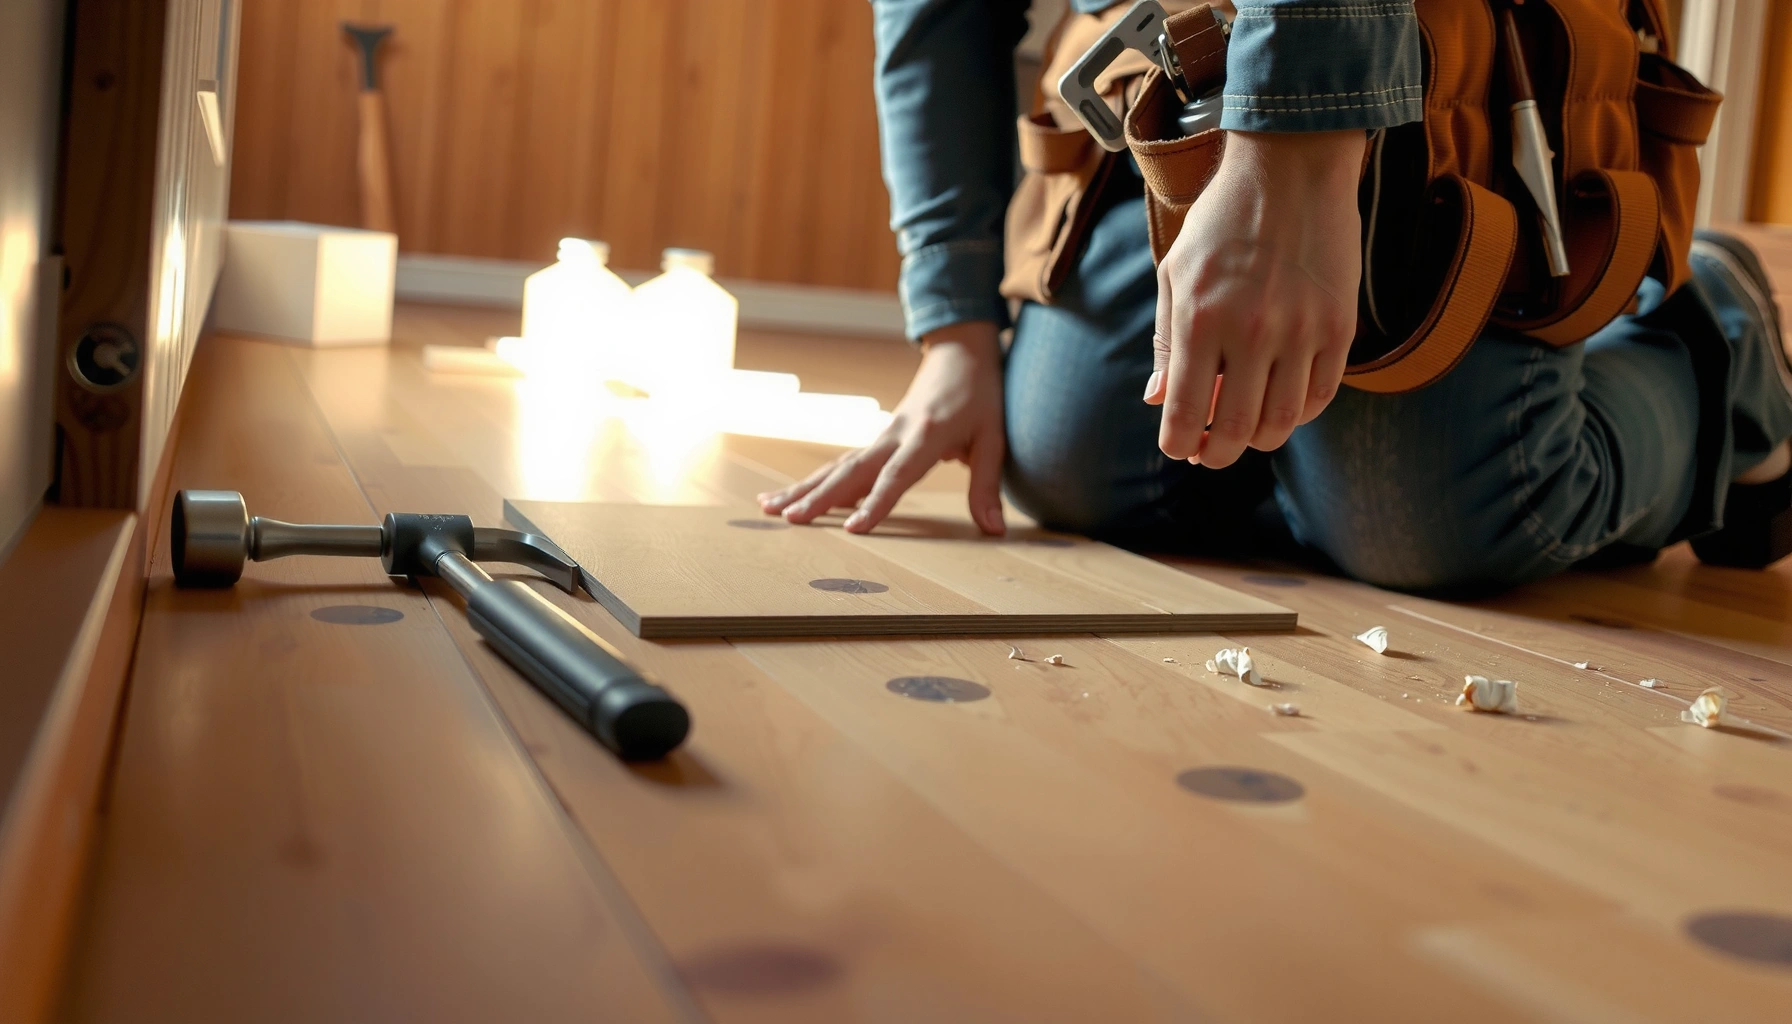
Use a pry bar plus a floor-protection buffer (like a hardwood scrap block) or a dedicated floor puller that spreads force. The buffer matters: it prevents the pry bar from acting like a chisel that digs into the tongue, face, or subfloor edge.
Remove one row at a time (or smaller sections if boards are dense or glued). Row-by-row loosening keeps the remaining flooring from flexing and cracking, and it makes it easier to spot where fasteners are located. If you hit unexpected resistance, stop and inspect—resistance is often a nail/staple line or an adhesive/underlayment bond you haven’t cut yet.
To keep subfloor protection consistent, watch your pry angle. If you force a high angle right under the locking joint, you can damage the tongue or pull out subfloor nails/screws.
Cut, separate, and pull in sections (especially near walls)
When boards won’t lift cleanly, cut the bonds first, then pull with controlled leverage. Near walls, transitions, and doorways, cutting prevents the most common failure mode: tearing the subfloor edge and snapping tongues.
“Adhesive or sealant lines must be separated with cutting tools before prying to prevent subfloor tearing.” [ADD: Manufacturer removal instructions for adhesive/sealant bonds]
“Oscillating multi-tools with proper blades can reduce force needed to separate floor edges from adhesives.” [ADD: OSHA-safe tool use guidance / manufacturer blade notes]
For stubborn sections, use:
– Utility knife for small seam cuts in sealant/underlayment areas
– Oscillating tool for larger adhesive and underlayment separations
– Cutting along edges where you suspect underlayment layers or caulk lines exist
Important detail: underlayment and residue aren’t all the same. Some floors include foam pads, tar paper, roofing felt, or glue-backed underlayment. Treat each layer separately:
– If it’s intact, remove it cleanly for reuse or disposal.
– If it’s bonded heavily, expect scraping and additional clean-up after the boards come out.
If nails or staples resist, don’t yank. Pull with controlled leverage and remove fasteners as you go. Nails and staples that remain half-seated can act like hinges that snap boards, and they can also gouge the subfloor when they finally release.
Near walls, keep an eye on the last few inches. The wall line is where trim used to cover expansion gaps, and it’s also where installers sometimes add extra fastening. Cutting and sectioning here often saves more subfloor repairs later than any “fast” pry method.
Handle nail/staple removal and cleanup correctly
The cleanup step determines how well your new floor system will perform, so remove remaining fasteners and residue carefully. Once boards are out, you want a flat, damage-free subfloor—no protruding nails, no thick glue ridges, and no loose underlayment fragments.
“Remove protruding nails/staples and scrape residue to create a smooth substrate for new flooring installation.” [ADD: Manufacturer substrate prep requirements for new hardwood/engineered floors]
“Vacuuming fine dust is safer than dry sweeping for preventing dust redistribution.” [ADD: NIOSH guidance on dust control/cleanup]
Pull remaining nails and staples with pliers or a dedicated nail puller. Then scrape residue gently—use a scraper designed for floors and work in light passes so you don’t gouge the wood subfloor surface. If you plan to re-level or install underlayment, uneven residue can telegraph through the new system.
After removal, vacuum thoroughly (shop vac with appropriate filtration for dust). Inspect the subfloor for:
– High spots or ridges from adhesive buildup
– Loose sections or damaged seams
– Underlayment remnants that won’t compress evenly
– Any moisture issues (dark staining or soft wood)
Then plan your next step before you “move on.” If the subfloor needs repair, leveling, or deep cleaning, do it now while everything is accessible. Waiting until later often adds labor and cost, because you’ll be forced to remove new materials you already installed.
Estimated Labor Time by Flooring Type (per 250 sq ft room)
| # | Scenario | Fastening Method | Typical Time | Removal Difficulty |
|---|---|---|---|---|
| 1 | Nail-down (full boards lift) | Nails in groove/face | 3–5 hrs | ★★★☆☆ |
| 2 | Staple-down (moderate breakage) | Staples in groove/face | 4–6 hrs | ★★★☆☆ |
| 3 | Nail-down + extra glue spots | Nails plus localized adhesive | 5–8 hrs | ★★★★☆ |
| 4 | Glue-assist (hard to lift) | Adhesive bonds under boards | 7–11 hrs | ★★★★★ |
| 5 | Glue-down (boards tear) | Full adhesive contact | 10–16 hrs | ★★★★★ |
| 6 | Complex transitions (thresholds/vents) | Mixed fasteners + cut points | 6–10 hrs | ★★★★☆ |
| 7 | Subfloor repairs required after removal | Fasteners removed + patch/level | +2–6 hrs | ★★★★☆ |
Note: “Typical Time” estimates vary widely by room geometry, board condition, and adhesive residue. Use these ranges to budget labor, not as a guarantee.
What can go wrong (and how to avoid it)
Most problems come from rushing the bond-separation step or prying without protecting the board and subfloor edges. If you expect hidden adhesive and you use cutting where resistance appears, you avoid most costly mistakes.
“Rushing prying increases the chance of splintering and tongue-and-groove damage, especially when the boards are locked or partially bonded.” [ADD: Manufacturer installation/disassembly guidance]
“Aggressive prying under the locking joint can deform the tongue, making later subfloor prep and new flooring installation harder.” [ADD: Flooring contractor best practices or technical manual]
“Dust control is essential; fine wood dust exposure is a known respiratory hazard.” [ADD: NIOSH/OSHA wood dust respiratory hazard guidance]
– Splintered boards: Usually caused by prying in the wrong spots, skipping trim removal, or not using a protective block. Mitigation: use a wood scrap as a buffer between the pry bar and the board, and pry in tiny increments—stop when you see consistent separation instead of forcing a “break.”
– Damage to the subfloor: Happens when you force a pry bar under tongue-and-groove edges. Mitigation: cut adhesive/caulk lines first and keep the pry point close to the fastening zone rather than under the joint.
– Glue-on hardwood surprises: If sections won’t lift cleanly, assume adhesive bonds and switch to cutting/separating rather than pulling. If boards start tearing rather than lifting, that’s your signal to slow down and cut deeper.
– Safety issues: Dust (and old finish) can irritate lungs. Use proper respiratory protection and avoid dry sweeping. Also wear eye protection—old staples and nails can pop loose unexpectedly.
Pros/cons snapshot: DIY removal vs. pro help
| Option | Pros | Cons |
|---|---|---|
| DIY removal | Lower cost, flexible pacing, good fit for small rooms or targeted board replacement. | Higher risk of splintering, time overruns with glue, and extra subfloor repair work. |
| Professional removal | Better tooling and workflow for dust, fasteners, and adhesive; more predictable subfloor outcomes. | Higher cost and scheduling constraints; still depends on installation history. |
Verdict: when DIY removal makes sense (and when to stop)
DIY removal is a solid choice if your hardwood is nailed/stapled, you can work board-by-board with controlled leverage, and you’re ready to clean, inspect, and repair the subfloor. Stop DIY (or bring in help) if you suspect heavy glue-down installation, you need to preserve boards for reuse, or you can’t afford subfloor damage.
“Substrate preparation requirements (flatness, cleanliness, and fastener removal) largely determine whether new flooring will install correctly.” [ADD: Substrate prep requirements from flooring manufacturer installation instructions]
“When working with older buildings, confirm whether materials may be hazardous before disturbing them.” [ADD: EPA guidance on asbestos awareness and professional sampling]
Also, be cautious about hazardous materials in older homes. For homes built before modern regulations and best practices, you should confirm based on your home’s age, local guidance, and any existing inspection reports—[ADD: confirm asbestos/hazardous material guidance with EPA/local authority and document findings before demolition]. If testing is recommended, treat it as a prerequisite.
If you proceed, keep your goal realistic: removing the floor without ruining the subfloor and getting the room ready for refinishing, replacement boards, or a new subfloor system.
Quick checklist (scan/save)
– [ ] Remove baseboards/trim (no drywall tear-out)
– [ ] Control dust (plastic + sealed entry points)
– [ ] Identify nails vs staples vs glue (test area first)
– [ ] Start prying from the best edge/exit
– [ ] Cut caulk/sealant/adhesive lines before forcing
– [ ] Pull remaining fasteners; scrape residue carefully
– [ ] Vacuum, inspect subfloor, repair/level as needed
FAQ
Do I need to remove baseboards before pulling hardwood?
In most cases, yes—baseboards and trim cover gaps and edges that otherwise prevent clean lifting. Removing them also helps you pry without damaging drywall.
How do I know if my hardwood is nailed down or glued?
Check a small area after removing trim—if boards lift with visible adhesive or thick residue, it’s likely glued or adhesive-assisted. If you see nail heads or staples, it’s typically mechanically fastened.
Can I reuse the hardwood after removal?
Sometimes, but it depends on installation method and how much the boards splinter during prying. Tongue-and-groove floors can break if pried incorrectly, and glued sections are often difficult to salvage cleanly.
What’s the safest way to reduce dust while removing floors?
Use room containment (plastic on doorways and openings), vacuum cleanup with a shop vac rated/appropriate for fine dust, and avoid dry sweeping. Wear eye protection and proper respiratory protection suited to dust/finish particles. [ADD: your preferred PPE checklist or product names only if you have them.]
Sources
– [ADD: Flooring manufacturer installation/removal guidance for nail-down hardwood systems (technical sheet/manual)]
– [ADD: NIOSH and/or OSHA guidance on wood dust hazards and respiratory protection during construction tasks]
– [ADD: Flooring manufacturer technical documentation describing typical fastening methods (nails vs staples vs adhesive) and removal precautions]
Removing hardwood floors is straightforward when you (1) control dust, (2) remove trim to access clean pry points, and (3) identify whether boards are nailed, stapled, or glued before you force anything. Work methodically—cut bond lines, pry with protection, pull fasteners as you go, and leave yourself a flat, clean subfloor for what comes next. If you discover glue-heavy installation or hazardous-material risk, adjust the plan early or get professional help to protect both the structure and your safety.
Frequently Asked Questions
What’s the best way to remove hardwood floors without damaging the subfloor?
The best approach depends on whether your hardwood is nailed down, stapled, or glued. For nail-down hardwood, start by removing baseboards and using a pry bar to lift boards near the edges, then work row by row to avoid tearing the plywood or underlayment. If boards are glued, you’ll typically need to cut sections with a floor scraper or oscillating tool and then scrape adhesive residue thoroughly to protect the subfloor. Wearing eye protection and using a dust-control method helps reduce damage and cleanup.
How do you remove nailed-down hardwood floor planks step-by-step?
Remove trim and shoe molding first, then locate the nails by checking board seams and pry gently with a flat bar to break the board loose without splintering. Use a hammer and chisel to free stubborn nails, and pull nails as you go using a nail puller to keep the subfloor cleaner. Work in small sections, removing planks in the direction they were installed, and keep boards labeled if you plan to reuse them. Finish by scraping nail remnants and sanding or vacuuming the surface for a smooth base for new flooring.
How do you remove glued-down hardwood flooring effectively?
Glued-down hardwood usually requires more cutting and scraping than nail-down removal. Use a heat gun or flooring adhesive remover if appropriate for your adhesive type, but often you’ll get faster results with a floor scraper and an oscillating multi-tool to cut through the top layer. After removing the planks, scrape remaining glue residue aggressively and use a HEPA vacuum to capture dust. If you plan to install new flooring, confirm the subfloor is flat and smooth after adhesive removal to prevent future problems.
Which tools are necessary for removing hardwood floors and minimizing mess?
A typical tool kit includes a pry bar, hammer, floor scraper, oscillating multi-tool (with a wood or multi-material blade), utility knife, and a nail puller or wrecking bar. For mess control, use a HEPA vacuum, dust bags, and plastic sheeting to seal off other rooms, especially if you’re removing hardwood that may have old finishes. A scoring knife helps cut caulk and seams where boards meet trim, reducing chips. Wearing a dust mask or respirator, safety glasses, and gloves is essential for safe hardwood floor removal.
Why might hardwood floor removal be harder than expected, and how can you troubleshoot it?
Hardwood removal can become difficult due to moisture damage, warped boards, hidden fasteners, or strong adhesive bonding under the planks. If boards won’t lift, check for staples or nails along the tongue-and-groove edges and adjust your prying angle to avoid gouging the subfloor. If you’re dealing with glue, repeated scraping and solvent/heat management may be needed to fully remove residue before installing new flooring. When the floor is old, assume finishes and adhesives may be unpredictable, so testing a small section first can prevent costly mistakes.
📅 Last Updated: October 07, 2026 | Topic: How to remove hardwood floors? | Content verified for accuracy and freshness.
References
- Google Scholar Google Scholar
https://scholar.google.com/scholar?q=how+to+remove+hardwood+floors - Google Scholar Google Scholar
https://scholar.google.com/scholar?q=remove+nailed+down+hardwood+flooring+best+practice - Google Scholar Google Scholar
https://scholar.google.com/scholar?q=hardwood+floor+removal+safety+lead+paint+asbestos - https://en.wikipedia.org/wiki/Wood_flooring
- https://www.epa.gov/lead/renovating-remodeling-and-painting-program
- https://www.epa.gov/lead/protect-your-family-from-lead-in-your-home
- https://www.cdc.gov/nceh/lead/prevention/default.htm
- https://www.cdc.gov/niosh/topics/asbestos/
- Asbestos – HSE
https://www.hse.gov.uk/asbestos/ - https://www.nolo.com/legal-encyclopedia/lead-paint-renovation-remodeling-35889.html