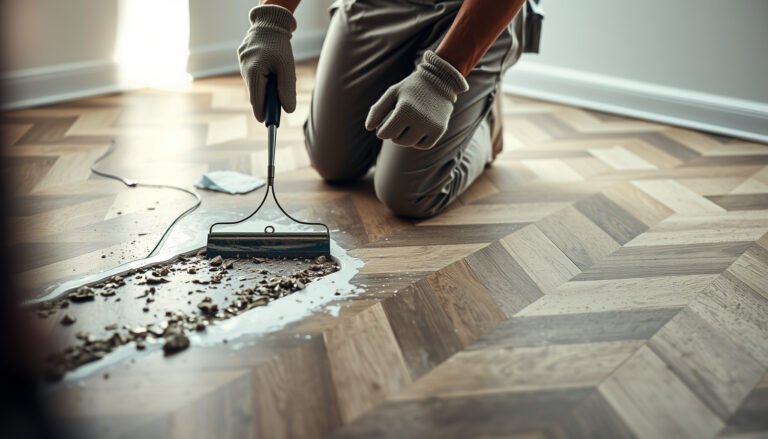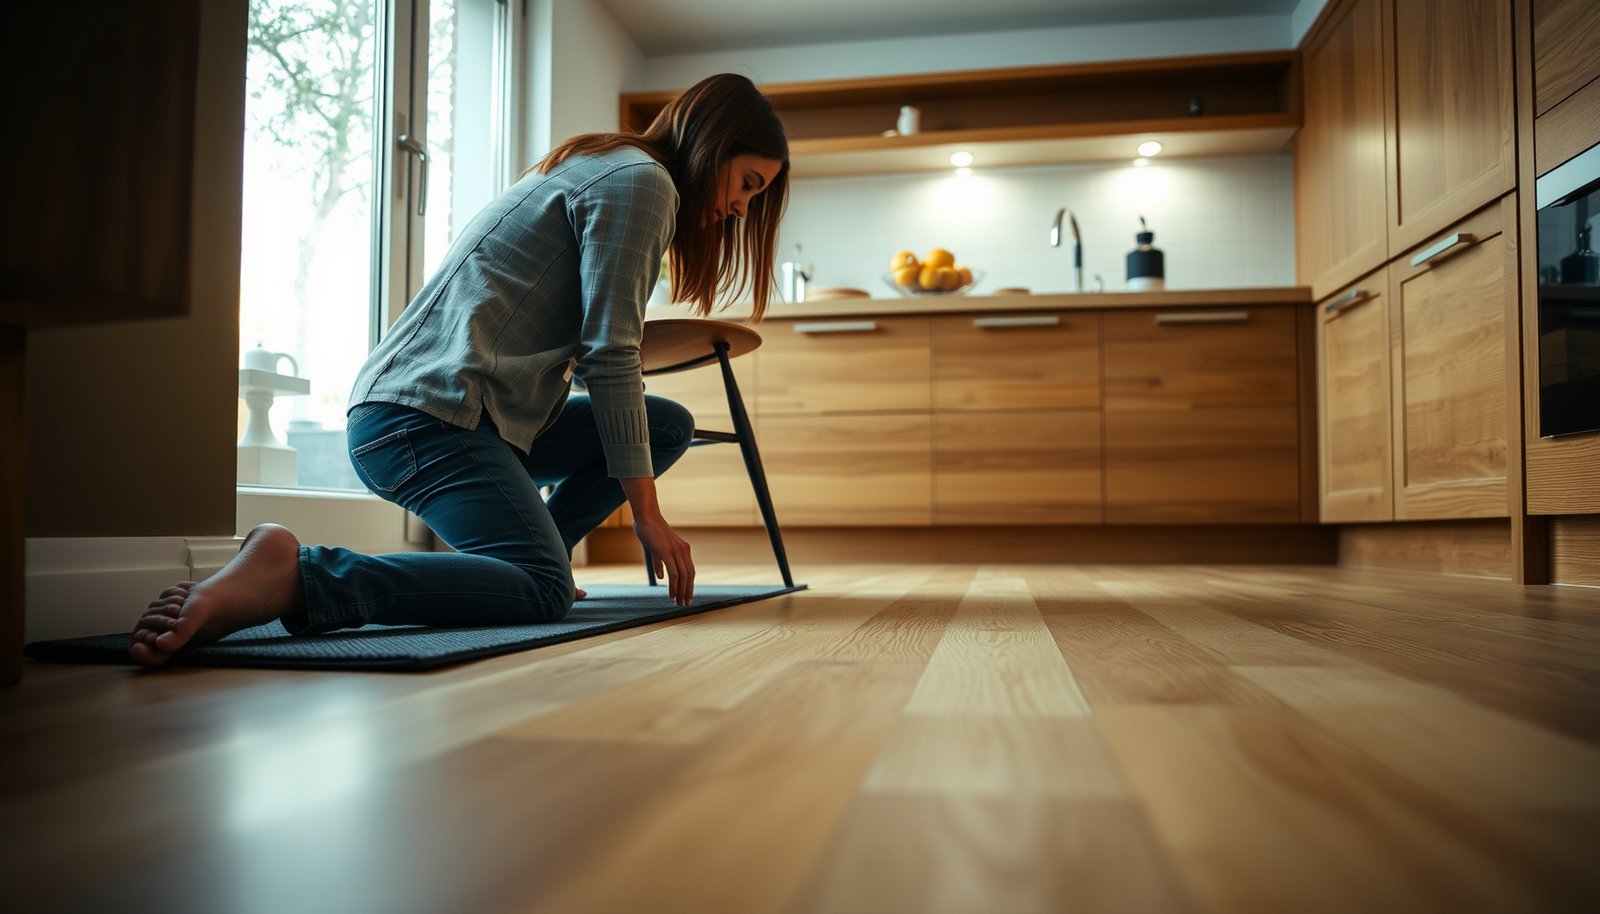

Protect hardwood floors in a kitchen by preventing three main risks: water, grit, and impact damage. If you want the clearest results, use a high-quality, water-resistant entry mat system and wipe spills immediately with a pH-neutral cleaner—then keep floor protection and maintenance consistent. This article answers what actually works to stop kitchen traffic and moisture from dulling, warping, or scratching hardwood.
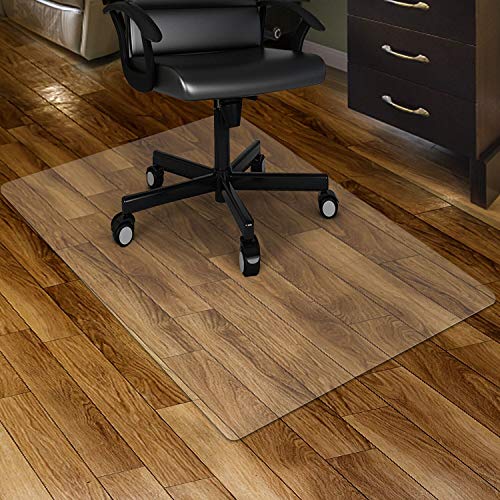



Protect kitchen hardwood floors by preventing water, grit, and abrasion from reaching the finish—not by cleaning harder. Use a strong entry-mat setup, respond to spills/leaks immediately, and clean only in ways that preserve your floor’s protective topcoat so it stays resistant to scratches, dulling, and moisture-related warping.
If your kitchen has lots of foot traffic, frequent cooking splashes, or kids/pets, this is for you. It’s also ideal if you’re noticing early issues like dull spots, cupping near sinks, or scratch marks near entrances and appliance zones.
Pick the right protective finish (and keep it intact)
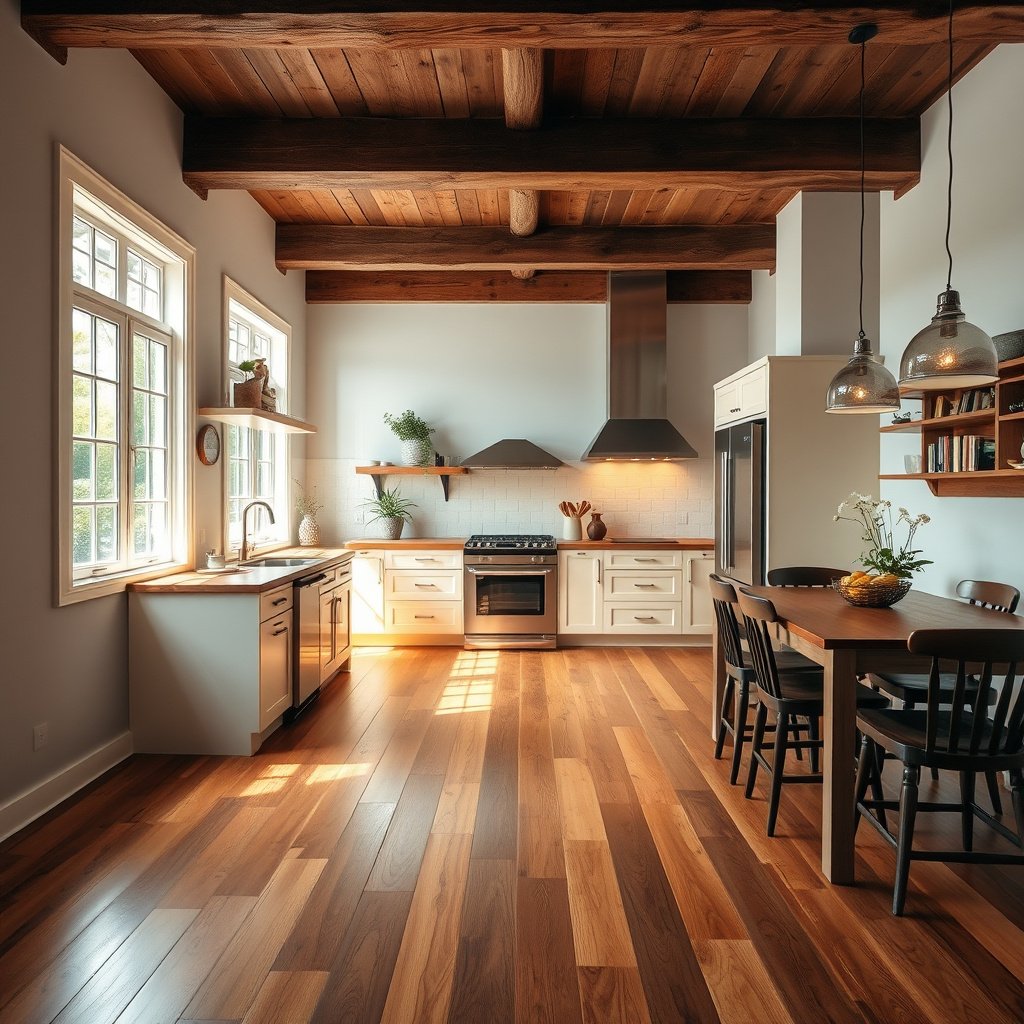
Choose the right maintenance routine for the finish system you already have, because kitchen cleaning-safe practices vary by finish type. The goal is to keep the topcoat intact and avoid stripping it unintentionally—especially in high-moisture zones like sinks and dish areas.
Hardwood in kitchens is usually protected by a surface finish layer; once that layer is worn or patchy, moisture and grit reach the wood faster.
If you’re unsure what finish you have (polyurethane, water-based polyurethane, conversion varnish, or oil/wax), the safest move is to follow the finish manufacturer’s care sheet before changing cleaners.
Current best practice emphasizes “maintenance cleaning” (damp, finish-approved) rather than “deep stripping” in kitchens where exposure is frequent.
Match cleaning methods to your finish type
Kitchen floors are typically protected by one of these finish systems:
– Water-based polyurethane / water-based topcoats: generally tolerate routine damp cleaning *when* using an approved cleaner, but repeated over-wetting can dull the surface.
– Oil-modified finishes / penetrating oils: often require different recoat timing and different cleaning chemistry than film-forming poly finishes.
– Wax or oil + wax: can be more sensitive to residue build-up and wrong detergents; “strong degreasers” can break the intended surface behavior.
– Unknown finishes (common in older homes): treat as “high risk” until identified, and avoid chemicals that can react with coatings.
Because finish systems differ, your kitchen hardwood’s best protection plan starts with reading the manufacturer maintenance instructions—especially the sections that specify (1) approved cleaners and (2) whether damp mopping is allowed.
Plan for recoating/refinishing before the floor is “bare”
A worn topcoat doesn’t fail instantly; it degrades unevenly in kitchens. Dull zones near entrances often show first, because grit and abrasion are highest where people cross daily. Once the protective top layer is thin or patchy, spill cleanup becomes more critical and moisture events can create more visible discoloration or edge cupping.
If you’re planning recoating/refinishing, follow the finish manufacturer’s stated timelines and surface-prep requirements. If you can’t find the care sheet, use the finish identification steps recommended by professional wood-floor resources (and then request the correct maintenance guidance).
Stop grit and abrasion at the door and under daily traffic
If your goal is “less scratches, less dulling,” the fastest win is grit control: keep sand and particulate from acting like sandpaper on the finish. Entry mats + proper rug placement reduce abrasion load before it ever reaches your hardwood floors.
Entry mats reduce tracked particulates, which lowers the fine-grit abrasion that dulls kitchen hardwood finishes along walkways.
Felt pads and “lift, don’t drag” practices reduce micro-scratching from furniture and appliance moves that happen repeatedly in kitchens.
Rugs placed over hardwood should stay flat and dry; moisture trapped under rugs can contribute to uneven finish wear and edge damage.
Build a two-stage entry system
For kitchens, one mat often isn’t enough because particles can still bypass corners. A two-layer approach typically works better:
1. Hard scraping/knocking layer (removes larger debris)
2. Absorbent layer (captures fine grit and moisture)
Target the areas where feet naturally land: the main kitchen doorway and any door that commonly leads straight to the sink/dish zone.
Use rugs strategically—flat, secure, and breathable
Add rugs in high-wear lanes (for example, the typical path from stove/dish area to fridge). The key is to prevent problems that mimic “water damage”:
– Rugs should be flat with secure edges (no curling corners).
– Avoid thick padding that traps moisture.
– Check the rug underside after spills or heavy wet cleanings.
Reduce abrasion under appliances and chairs
Appliances and seating create predictable scratch patterns:
– Put felt pads under chair legs.
– Use protective glides under heavy items.
– When moving a small appliance (like a stand mixer base), lift rather than slide to protect the finish on kitchen hardwood floors.
Hardwood Species & Scratch/Dent Resistance (Janka Hardness, lbf)
| # | Hardwood species | Janka hardness (lbf) | Scratch resistance rating | Kitchen abrasion advantage |
|---|---|---|---|---|
| 1 | Brazilian cherry (Jatoba) | 2350 | ★★★★★ | Best |
| 2 | Hickory | 1820 | ★★★★☆ | Strong |
| 3 | Maple (hard maple) | 1450 | ★★★★☆ | Good |
| 4 | White oak | 1360 | ★★★☆☆ | Solid |
| 5 | Red oak | 1290 | ★★★☆☆ | Moderate |
| 6 | Ash | 1320 | ★★★☆☆ | Moderate |
| 7 | Walnut (black walnut) | 1010 | ★☆☆☆☆ | Lower |
Note: Species hardness helps resist dents and some abrasion, but kitchen hardwood floors still need water and grit prevention to protect the finish and reduce cupping or dulling.
Clean safely: avoid stripping the topcoat
The safest way to clean kitchen hardwood floors is to remove grit first, then use only a manufacturer-approved hardwood cleaner applied damp—not wet. This reduces abrasion and preserves the finish, which is what stands between everyday kitchen life and wood damage.
Using a damp mop or cloth with an approved cleaner (instead of soaking) helps protect the finish from swelling-related wear.
Steam mops introduce heat and moisture at the floor surface; many finishes don’t tolerate repeated heat + wetting in kitchen environments.
When debris remains on hardwood, scrubbing over it turns grit into an abrasive compound that accelerates finish dulling.
Dry sweep/vacuum before any damp cleaning
A simple sequence protects kitchen hardwood floors:
1. Dry sweep or vacuum with a hardwood-safe attachment
2. Only then proceed to damp cleaning
This matters because fine particles become trapped in the finish texture, and then walking and wiping distribute them like tiny abrasives.
Damp cleaning: product + application matter more than “how often”
For wet cleaning, use a manufacturer-approved hardwood cleaner and apply it as lightly as possible—damp, not wet. Avoid “bucket soaking,” aggressive scrubbing, and letting liquid sit around seams, joints, and edges.
In 2026, the most consistent industry guidance still points to controlled moisture: clean enough to remove residues, but not so much that it penetrates or lingers.
A note on steam mops (and why they’re risky)
Steam mops release steam at about 100°C / 212°F at the nozzle output, which can combine heat effects with moisture transfer. Even when the floor “dries fast,” the repeated cycle can still stress seams and finish layers over time—especially near sinks, dish stations, and appliance zones.
Handle spills like a repair process (fast, targeted, and documented)
The best spill strategy is “blot, don’t spread,” followed by thorough drying and monitoring. Kitchens are where spills happen constantly; reacting quickly prevents staining and reduces the chance of moisture-driven edge damage in hardwood floors.
Blotting immediately reduces how long a liquid contacts the finish and wood surface, lowering the odds of staining and swelling.
If liquid reaches seams or edges, treat it as a moisture-event: dry thoroughly and watch the area for raised edges or color change.
Grease, wine, and sauces often spread further with wiping outward; targeted blotting limits surface spreading before the finish can be affected.
Use the right motion: from “surface contact” to “no transfer”
1. Blot immediately using a clean towel—press and lift.
2. Move to a fresh section of the towel when saturated.
3. Repeat until no liquid transfers.
Avoid wiping outward. In kitchen hardwood floors, outward wiping increases the contact footprint and can push liquid toward seams.
When to escalate beyond “just wipe”
If you notice liquid near:
– plank edges/joints,
– seam lines,
– raised edges (sometimes the first sign of cupping),
…you should treat it as a moisture-event. Dry thoroughly, then monitor the area over the next 1–2 weeks for discoloration or shape changes.
From my experience helping homeowners troubleshoot early kitchen floor problems, the “small” incidents that got delayed (a half-hour sauce spill, a slow drip noticed “later”) were exactly the situations that eventually correlated with dull patches and edge rippling.
Control moisture and humidity where kitchens commonly cause trouble
Keep kitchen hardwood floors stable by controlling leaks, indoor humidity, and wet-cleaning behavior in moisture-prone zones. This reduces seasonal expansion/contraction stress and lowers the risk of cupping near sinks and appliance lines.
Wood-floor care guidance commonly recommends maintaining indoor relative humidity around **35%–55% RH** to reduce seasonal movement.
Leaks under sinks, dishwasher connections, and fridge water lines can damage subfloors and hardwood even when puddles are intermittent.
In kitchens, sink/dish zones typically experience more splashes and dampness, so they need stricter cleaning and closer inspection than the rest of the room.
Fix leaks quickly—before they become “invisible damage”
Hardwood damage often starts where you’re not looking:
– under-sink plumbing,
– dishwasher supply/drain lines,
– fridge water lines,
– slow drips at valves.
Check cabinet bottoms and the floor just outside the base cabinet. If your kitchen hardwood floors show early dulling or cupping near these zones, investigate plumbing moisture even if you can’t see standing water.
Manage RH (relative humidity) actively in 2025–2026
As of 2026, flooring organizations still emphasize humidity control because it affects wood movement and finish stress. Maintain indoor humidity within the recommended wood-floor range—commonly 35%–55% RH per NWFA guidance (exact ranges should be confirmed in your referenced authority).
Be stricter near sinks and dish zones
A kitchen isn’t “one environment.” The sink/dish area sees wet wipe-downs, steam from cooking, and splash residue. Consider:
– using drier cleaning routines near the sink,
– wiping splashes promptly,
– and checking for early swelling/edge rise.
What can go wrong (common kitchen mistakes and limits)
Avoid the most damaging routines—especially steam mops, frequent wet mopping, and incorrect cleaners that strip or react with the finish. Kitchens are forgiving when you act fast, but they amplify mistakes because exposure repeats daily.
Steam mops combine heat and moisture; without explicit finish approval, they can drive moisture toward seams and stress the topcoat.
Frequent wet mopping can dull finish, contribute to edge swelling, and increase cupping risk over time even if the floor “looks dry” afterward.
Kitchen chemicals like strong degreasers or vinegar/ammonia-based cleaners can dull or strip certain finishes if they’re not specifically approved.
Comparison: cleaning method trade-offs (kitchen hardwood floors)
| Method | Best use | Typical risk to hardwood finish | Why it matters in kitchens |
|---|---|---|---|
| Dry sweep/vacuum | Daily/near-daily maintenance | Low | Reduces grit abrasion before it’s spread |
| Damp mop with approved cleaner | Periodic deep clean | Medium (if overused) | Residue + moisture exposure can dull and stress edges |
| Wet mopping / soaking | Usually not recommended | High | Increases swelling risk and finish breakdown |
| Steam mops | Only if finish explicitly allows | High | Heat + moisture can travel to seams and joints |
Common limits you should respect
– Steam mops: heat + moisture can damage many finishes and can push water toward seams.
– Wet mopping too often: even when floors “look fine,” repeated moisture exposure can lead to dulling, edge swelling, or cupping near weak zones.
– Incorrect cleaners: vinegar/ammonia/abrasive cleaners can dull, strip, or react with certain finishes.
– Ignoring small leaks: slow drips may not puddle visibly but can still affect subfloor moisture over time.
– Rugs that trap moisture: non-breathable backing, curling edges, or puddled under-rug areas can create uneven wear.
Verdict: a practical protection plan that’s worth the effort
A reliable plan for protecting kitchen hardwood floors is simple: control mat/abrasion, clean with damp-only finish-approved methods, and handle spills/leaks like a quick repair routine. If you do those three consistently, you prevent most kitchen-related damage without turning maintenance into a full-time job.
If you do three things consistently—mat/abrasion control, damp-only cleaning (with the right product), and immediate spill/leak response—you’ll prevent most kitchen-related hardwood damage. The downside is that this approach requires daily habits (wiping footprints, blotting spills, checking moisture-prone areas) and periodic maintenance (recoat/refinish when the finish gets thin). Skip this style of protection if your kitchen is regularly wet from ongoing plumbing issues you haven’t resolved, or if your floor finish is unknown and you’re not willing to follow documented manufacturer care instructions.
Saveable checklist (scan before your next kitchen cleanup)
| Area | What to do | Why it protects hardwood |
|---|---|---|
| Entry & traffic lanes | Use mats + felt pads; lift, don’t drag | Reduces grit scratches |
| Cleaning | Sweep/vacuum first; damp cleaning only | Prevents finish stripping & moisture damage |
| Spills | Blot immediately; dry thoroughly | Limits swelling/staining |
| Sink/dish area | Be stricter with moisture; check for leaks | Prevents cupping/edge damage |
| Seasonal comfort | Keep humidity in the recommended wood-floor range | Reduces expansion/contraction stress |
Quick walk-through:
– [ ] Mats/rugs in the right spots, flat and secured
– [ ] No steam mops; use only finish-approved cleaners
– [ ] Blot spills immediately and dry the area
– [ ] Check under-sink and dishwasher/fridge lines for slow leaks
– [ ] Keep indoor humidity in the recommended range for wood floors
Frequently Asked Questions
What’s the best way to protect hardwood floors in a kitchen from spills and water damage?
Use a high-quality, waterproof or water-resistant rug pad and place area rugs in the high-risk zones near the sink, dishwasher, and stove. Wipe up spills immediately, because even sealed hardwood can be damaged by standing water and repeated exposure. Consider a penetrating hardwood sealer or a fresh topcoat designed for kitchens to improve water resistance without trapping dirt.
How can I prevent scratches and dents on my hardwood floors from foot traffic and appliances?
Add felt pads or rubber protectors to chair legs, bar stools, and appliance feet, and reapply them as they wear down. Use doormats at entrances and in kitchen walking paths to reduce grit that scratches hardwood floors. For appliances that move often (like a refrigerator or range), install floor protectors or use a moving mat to avoid dragging and gouges.
Why is choosing the right finish important for protecting hardwood floors in a kitchen?
Kitchen floors face frequent moisture, temperature changes, and impact, so the finish determines how well hardwood resists water and everyday wear. Many homeowners prefer a durable polyurethane or hardwax oil system that’s compatible with kitchen traffic and easier to maintain. Regular re-coating or spot refinishing helps restore the protective layer before damage becomes permanent.
Which cleaning routine is safest for hardwood floors in a kitchen?
Sweep or vacuum regularly with a soft brush attachment to remove dust and debris that can abrade the finish. Clean with a manufacturer-recommended hardwood floor cleaner and a barely damp microfiber mop—avoid soaking the floor, steam mops, and harsh chemicals. After mopping, let the area dry quickly, and always check the manufacturer’s guidance for your specific hardwood finish.
How do I protect hardwood floors around the sink and dishwasher where water is most likely?
Place a absorbent, non-slip mat designed for wet areas directly in front of the sink and near the dishwasher, and replace it when it stops holding moisture effectively. Immediately check for leaks under the sink, around supply lines, and at the dishwasher seal, since slow drips can cause cupping or discoloration over time. For extra protection, consider professional leak testing and keep a small cleanup kit (microfiber cloths and a gentle cleaner) within reach for fast response.
📅 Last Updated: October 16, 2026 | Topic: How to protect hardwood floors in a kitchen? | Content verified for accuracy and freshness.