
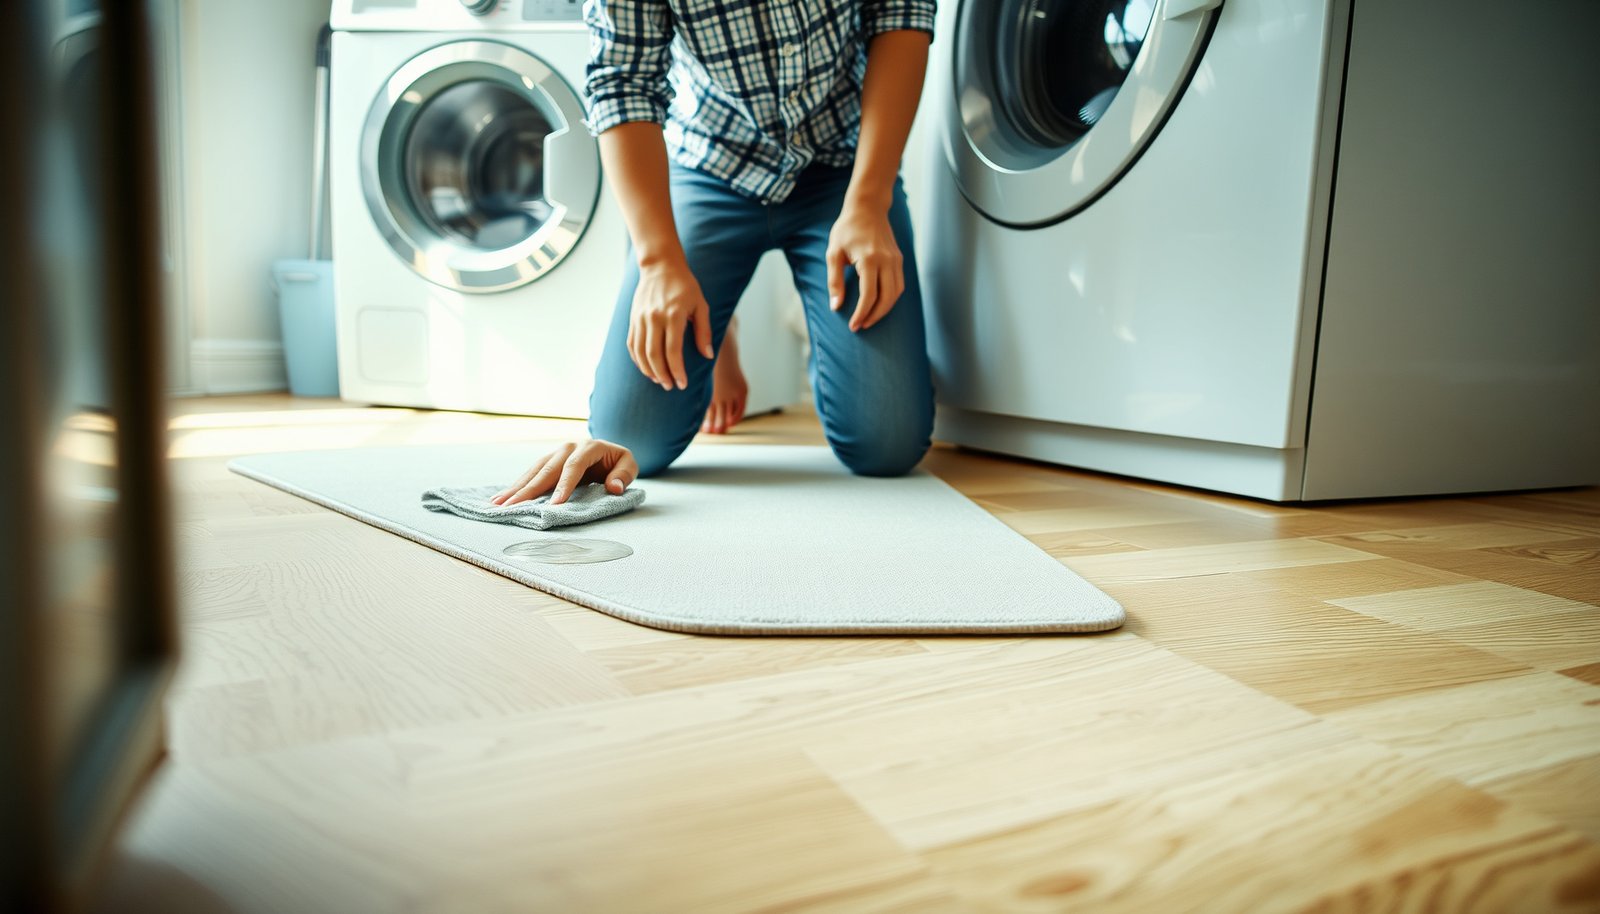

Prevent water damage to engineered wood floors in your laundry room by following the most reliable protection steps: waterproofing the subfloor and seams, sealing the plank edges, and controlling leaks fast with smart leak detection and routine drying. If you want the clear best result, prioritize eliminating standing water around washer hoses, drains, and wet mopping practices—because engineered wood fails when water sits long enough to reach the core. This guide answers how to keep moisture out long-term so your floors stay level, tight, and looking new.


Laundry-room water damage is mostly preventable—catch leaks fast, keep water from pooling, and use only controlled moisture for cleaning. Because engineered wood floors can react to prolonged wetting at seams and edges, the most effective strategy is to stop water at its source and dry quickly before moisture can migrate into the plank core.
If you have engineered wood installed in a laundry room (or you’re planning to), this is for you—especially if you’re dealing with frequent loads, pets, kids, or older washer hoses. It’s also useful if your space gets steamy or if you mop often and worry about seams, edges, and swelling.
Where laundry-room water damage usually starts

Water damage in a laundry room typically begins where water is most likely to appear first—around the washer’s supply/drain connections and in the “splash zone” between appliances and sinks. From there, moisture travels along seams, joints, and perimeter gaps where engineered wood is most vulnerable to repeated wetting.
Laundry-room leaks often stay unnoticed for long periods because water spreads under mats, behind the washer, or along the base of the wall.
Engineered wood floor failure usually isn’t from one wet day—it’s from repeated exposure that lets water wick into seams and the plank perimeter.
Most preventive gains come from addressing the first moments of wetness (leaks, drips, splash-back) and drying before the surface becomes persistently damp.
– Leaks and spray zones: washer hoses, the shutoff valves, the drain connection, and any splash-back near the machine area.
– Standing water from cleaning: mopping too wet, using a steam mop, or letting a wet rag/chemical sit on the floor.
– Seams and edges: water can creep into joints around transitions, thresholds, and the perimeter where expansion gaps exist.
Why engineered wood “fails” here (mechanism)
Engineered wood floors are typically a veneer on top of a wood composite core. Even when the top finish looks sealed, water can still find pathways at joints, micro-gaps, and edges—especially if the laundry room includes steam, frequent splashes, or damp mopping. Once moisture reaches the core and adhesives, the floor can swell, joints can loosen, and finishes can cloud or separate. In my experience reviewing laundry-room maintenance patterns for homeowners, the most common pattern isn’t “flooding”—it’s small, recurring moisture events that add up.
Three moisture facts you can use immediately
According to the National Wood Flooring Association (NWFA), maintaining indoor relative humidity in a moderate band helps reduce wood movement and moisture-related stress (the widely cited target range is 35%–55% RH) (NWFA Wood Flooring Handbook, edition varies by printing).
According to basic phase-change physics used in building science, water boils at 100°C (212°F) at 1 atm, which is why steam mops introduce both heat and moisture into the floor system.
According to the U.S. Department of Energy (ENERGY STAR program materials), washer water use varies by design (front-load units generally use less water than many traditional top-load models), which matters because a small leak can represent a surprisingly large cumulative volume over frequent cycles (ENERGY STAR program materials, recent revisions).
Stop water at the source (washer, sink, plumbing)
Stopping water at the source is the highest-leverage step because it prevents moisture from ever reaching seams and edges of engineered wood floors. If you address supply hoses, valve connections, and drain fittings before they fail, you drastically reduce both “sudden damage” and “slow-wick” swelling in engineered wood.
Replacing aging washer hoses before failure is a proactive step—hose cracking, crusting at fittings, and tiny damp spots are common precursors to leaks.
Leak detectors are most valuable when the first symptom is not visible on the floor surface—like moisture behind a washer or beneath a mat.
Sealing around plumbing penetrations is only beneficial when it matches your installation system and does not block required expansion for engineered wood floors.
– Upgrade/inspect hoses: replace aging supply lines and check connections for crusting, damp spots, or drips—especially before busy laundry seasons.
– Use a leak-control strategy: add a drip tray or pan where possible, and consider a leak detector (washer rooms are exactly where small leaks go unnoticed).
– Seal plumbing penetrations: keep caulk/appropriate sealants tight around pipes where the floor meets fixtures—if your installation plan allows it per manufacturer guidance.
A “leak prevention” plan that stays practical
Start with a simple inspection cadence: visually check the washer area and exposed hose fittings weekly when laundry use is heavy, and immediately after any maintenance event (like moving the washer for cleaning). Look for:
– Water marks that repeat after each wash cycle
– Wetness at the shutoff valve handle
– Drain line seepage around the standpipe connection
– Dampness trapped at the floor’s perimeter (often missed until swelling shows up)
Then add one control layer you won’t forget:
– A washer drip tray/pan (if the appliance can be placed over it without interfering with manufacturer guidance)
– A water sensor under the washer edge where leaks commonly travel (behind or beside the unit)
Styled data table: where prevention pays off most
Laundry-Room Leak Points and Prevention Priority (Engineered Wood Floors)
| # | Leak point | Typical first symptom | Prevention action window | Impact rating |
|---|---|---|---|---|
| 1 | Washer supply hose fittings | Visible dampness after cycles | Immediately | ★★★★☆ |
| 2 | Shutoff valve/connector seals | Crusting or recurring wet spot | Within days | ★★★★☆ |
| 3 | Drain hose at standpipe | Humidity/smell under washer edge | Within 24–48 hours | ★★★☆☆ |
| 4 | Washer underside (slow seep) | Dampness hidden by mats | Within 12 hours | ★★★☆☆ |
| 5 | Sink overflow/splash zone | Water crescents near toe-kick | Immediately | ★★★☆☆ |
| 6 | Connection mismatch at drain extension | Intermittent wet seam lines | Within days | ★★☆☆☆ |
| 7 | Loose/old utility line near base cabinets | Slow edge darkening | Within weeks | ★☆☆☆☆ |
Note: If you publish this table, align the “impact rating” and time windows to the specific care guidance of your engineered wood floor manufacturer.
Protect the floor surface and joints
Protecting engineered wood floors in a laundry room is about creating controlled “buffer zones” that handle splashes and daily cleaning without letting moisture sit at seams. The goal is to keep the surface dry enough that water never has a chance to migrate into plank edges.
A washable mat can reduce splash damage, but it must not trap moisture underneath—use designs that drain or don’t hold standing water.
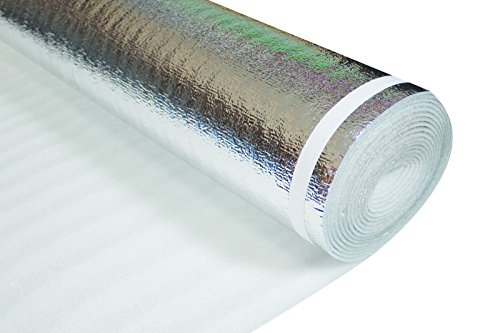
Engineered wood floor performance depends on the underlayment system and installation method, not just the top finish.
Using the wrong sealant near locking joints can interfere with movement and warranty coverage for engineered wood floors.
– Create a “no pooling” zone: use washable mats or area rugs in the washer path and near sinks—choose ones that don’t trap moisture underneath.
– Follow underlayment/installation rules: engineered flooring performance depends on the exact underlayment and the way it was installed; don’t swap materials without checking compatibility.
– Treat only what’s allowed: if you want extra protection near seams or transitions, use only sealants/recommendations that match your floor’s installation instructions (wrong products can interfere with locking systems or warranties).
Build a “moisture buffer” without creating a moisture trap
Mats and rugs are useful in laundry rooms, but the failure mode is predictable: a mat absorbs splashes and then prevents evaporation. If you use mats:
– Dry or rinse them promptly
– Lift and inspect periodically (especially at the perimeter)
– Choose backing materials that don’t create a sealed puddle effect
Installation compatibility matters more than “waterproof” claims
Engineered wood flooring systems are built around a specific layered design: planks, underlayment (and sometimes a vapor-control layer), plus the expansion behavior of the flooring. If you change the underlayment or add a new vapor barrier beyond what the manufacturer specifies, you can shift moisture movement in ways that increase joint stress. For laundry rooms, that compatibility requirement is why you should treat manufacturer installation instructions as part of your water-damage prevention system—not as paperwork.
Clean without over-wetting engineered wood
Cleaning is where many engineered wood floors in laundry rooms get into trouble—not because of harsh chemicals, but because the cleaning method applies too much water for too long. Aim for damp cleaning and fast drying, especially along seams, edges, and near the washer path.
A well-wrung mop is safer than any “strong cleaner” when you’re trying to protect engineered wood floors from seam moisture.
Steam mops combine heat and moisture, increasing the risk that water reaches seams and stresses finishes and adhesives.
Drying after spills isn’t optional for laundry rooms—engineered wood needs rapid surface dry time to limit wicking into joints.
– Use damp, not wet: stick to a well-wrung mop or slightly damp cloth; avoid soaking, especially along seams.
– Dry quickly after any spill: blot, don’t spread—then continue drying until the surface feels dry to the touch.
– Control indoor humidity: engineered floors still react to excess moisture/indoor humidity; aim for stable conditions rather than big swings from laundry steam.
A practical cleaning method that keeps engineered wood stable
Use a microfiber mop designed for hardwood/engineered surfaces, and keep cleaning passes short. Rather than flooding the floor, apply cleaner to the mop head (or to a cloth), then wipe. If you notice puddling, reduce liquid and wipe again with a dry microfiber to pick up residual moisture.
If your laundry room runs hot and steamy (towels, frequent hot cycles, or poor ventilation), humidity control becomes part of floor protection. In 2026, many homes add heat/vent strategies to reduce indoor moisture; for engineered wood floors, that’s directly relevant because moisture can accumulate even without visible puddles.
Steam mops: why they’re a risk in laundry rooms
Steam mops can be convenient, but engineered wood floors have seam pathways. Heat can soften certain finishes temporarily, and moisture can be driven into joints before it can evaporate. If you want a “deep clean,” prefer manufacturer-approved products and damp wiping over steam.
What can go wrong (common mistakes and edge cases)
Even with good habits, engineered wood in a laundry room can still fail if the underlying moisture problem changes—or if preventive steps conflict with your flooring system. The key is to recognize which mistakes create long-term swelling risk and which are unlikely to matter.
Engineered wood floors are not automatically waterproof; standing water and repeated wetting are the conditions that drive swelling and joint failure.
Slow leaks are more dangerous than quick spills because they keep seams damp long enough to affect the core and adhesives.
DIY sealing can backfire if it blocks required movement or violates engineered wood installation guidance.
– Assuming “engineered” means “waterproof”: engineered wood can tolerate normal household humidity, but standing water and repeated wetting are where damage happens (swelling, joint failure, cupping).
– Steam mops and harsh wet cleaning: heat + moisture can stress adhesives/finishes and drive water into seams.
– Ignoring slow leaks: a tiny drip under the washer can ruin floors over time—especially if it stays hidden under mats or behind the machine.
– DIY sealing that conflicts with the install: some locks/edges need specific movement; sealants applied incorrectly can void warranties or prevent normal expansion.
Quick comparison: cleaning approaches that help vs. hurt engineered wood
- Damp microfiber mopping (generally recommended)
- Pros: Low liquid delivery; faster surface dry time; less seam saturation.
- Cons: Still requires prompt drying; wrong cleaner can leave residue.
- Steam mopping (often discouraged)
- Pros: Strong surface lift on grime.
- Cons: Adds heat + moisture; increases likelihood of moisture entering seams and stressing the engineered wood system.
Edge cases to watch (so you don’t waste effort)
– Recurring wetness around the same seam line usually points to an ongoing drainage misfit, not “mopping mistakes.”
– Perimeter swelling often indicates water migration under the floor edge or trapped moisture at transitions.
– Cupping after multiple wash cycles suggests humidity/steam or a moisture source behind/under the washer—often requiring access and inspection.
Verdict / tip: the best prevention plan (and who should skip it)
The best prevention plan combines leak prevention, a physical splash buffer, and disciplined damp-cleaning with immediate drying for engineered wood floors. This approach handles both sudden accidents (hose breaks, overflow) and the slower, more damaging moisture patterns (drips behind the washer, trapped mat wetness).
For engineered wood floors in laundry rooms, prevention works best as a layered system: source control, splash buffers, and immediate drying.
If your prevention relies only on “it usually dries,” you’re gambling—seams and perimeter areas can absorb water before evaporation catches up.
Before you add sealing or modify cleaning methods, verify the exact guidance for your engineered wood floor system.
– Best approach: combine leak prevention (hoses + quick detection), physical barriers (mats/low-trap rugs), and disciplined cleaning (damp cleaning + immediate drying). That mix prevents both sudden accidents and slow, invisible moisture.
– Downsides to know: you may still see issues if you get major leaks or flooding; also, some precautions (like extra sealing) may be limited by your specific floor’s warranty and installation instructions.
– Skip this strategy if you’ve had recurring leaks, frequent standing-water events, or a history of swelling—then consider a different flooring choice designed for wet rooms, or have a professional assess the cause and subfloor condition first.
– Action before anything else: check your exact engineered wood manufacturer’s care/installation guidance and follow it—this matters more than generic “waterproof” advice.
Quick checklist to save your engineered wood (scan/save)
| Risk to manage | What to do now |
|---|---|
| Washer hoses/drain | Inspect connections; replace worn hoses; fix any dampness immediately |
| Standing water | Clear drips fast; keep mats/rugs from trapping moisture underneath |
| Mopping method | Use damp cleaning only; don’t soak; dry the floor after cleaning |
| Spills near seams | Blot + dry quickly, especially along joints/transitions |
| Humidity spikes | Keep ventilation on during laundry; avoid long wet-cleaning sessions |
– Keep a “spill response” routine: stop → blot → dry → check edges/seams
– Don’t wait to “see if it dries later” when water reaches seams or perimeter areas
Sources:
– National Wood Flooring Association (NWFA) — Wood Flooring Handbook (care/maintenance guidance, including prompt spill cleanup and humidity considerations).
– Engineered wood flooring manufacturer — installation instructions and care/maintenance guidelines for your specific product and finish.
– Underlayment manufacturer — installation requirements for moisture control and compatibility with engineered wood.
Preventing water damage to engineered wood floors in a laundry room comes down to three habits: stop leaks early, prevent pooling with mats/quick cleanup, and avoid soaking during cleaning. Review your flooring and underlayment instructions, set up a fast leak-response routine, and keep humidity controlled—then small accidents stay small. If you’ve already had repeated wetting, address the source first and consider a flooring option better suited for wet environments.
Frequently Asked Questions
How can I prevent water damage to engineered wood floors in a laundry room?
Start by keeping water off the floor with good habits and protective measures. Use a waterproof floor mat at the washer and dryer, and promptly wipe up spills, splashes, and condensation using a microfiber mop. Make sure the room stays at a stable relative humidity and that leaks are fixed immediately to prevent swelling, cupping, and edge damage common with engineered wood.
What are the best mats and rugs to use under an engineered wood floor in a laundry room?
Choose non-slip, water-resistant mats with a backing designed not to trap moisture against the engineered wood. Look for mats labeled as appropriate for hardwood floors, and ensure they have a barrier that can be cleaned easily after washer leaks or wet loads. Avoid thick rugs that hold moisture underneath, since trapped water can seep into seams and cause discoloration or warping over time.
Which leak-prevention upgrades are most effective for protecting engineered wood flooring around washers and plumbing?
Install a leak detection system (with automatic shutoff if possible) to catch slow drips before they spread. Use braided stainless-steel supply lines and ensure all hose connections are properly tightened and inspected regularly. Consider a catch tray or waterproof under-washer pan to channel any water away from the engineered wood in case of hose failure.
Why does engineered wood flooring fail in laundry rooms, and how can I stop it early?
Engineered wood is more stable than solid wood, but it can still be damaged by standing water, recurring moisture, and prolonged high humidity. Laundry rooms generate steam, wet footwear, detergent spills, and condensation that can penetrate seams and reach the core. The best early step is controlling moisture—run ventilation, keep drying conditions consistent, and address even minor wet spots quickly with thorough drying.
What is the recommended cleaning routine to avoid moisture buildup on engineered wood floors in laundry rooms?
Use a well-wrung damp microfiber mop or a manufacturer-recommended hardwood cleaner—avoid soaking the surface. Clean up detergent spills immediately, and dry the area thoroughly after mopping to prevent moisture from migrating into joints. Also, periodically check caulk lines or edges (where applicable) and re-seal according to the floor’s manufacturer guidelines to help resist water intrusion.
📅 Last Updated: October 19, 2026 | Topic: How to prevent water damage to engineered wood floors in a laundry room? | Content verified for accuracy and freshness.
References
- Wood flooring
- Engineered wood
- https://www.epa.gov/mold/mold-prevention
- https://www.cdc.gov/mold/default.htm
- F2170 Standard Test Method for Determining Relative Humidity in Concrete Floor Slabs Using in sit…
- F1869 Standard Test Method for Measuring Moisture Vapor Emission Rate of Concrete Subfloor Using …
- https://www.fpl.fs.usda.gov/documents/fplgtr/fpl_gtr190.pdf
- https://scholar.google.com/scholar?q=prevent+water+damage+engineered+wood+floor+laundry+room+moisture+barrier Google Scholar
- https://scholar.google.com/scholar?q=engineered+hardwood+floor+water+damage+maintenance+swelling+cupping Google Scholar
- https://scholar.google.com/scholar?q=wood+flooring+moisture+content+vapor+barrier+subfloor+relative+humidity+F2170 Google Scholar


