
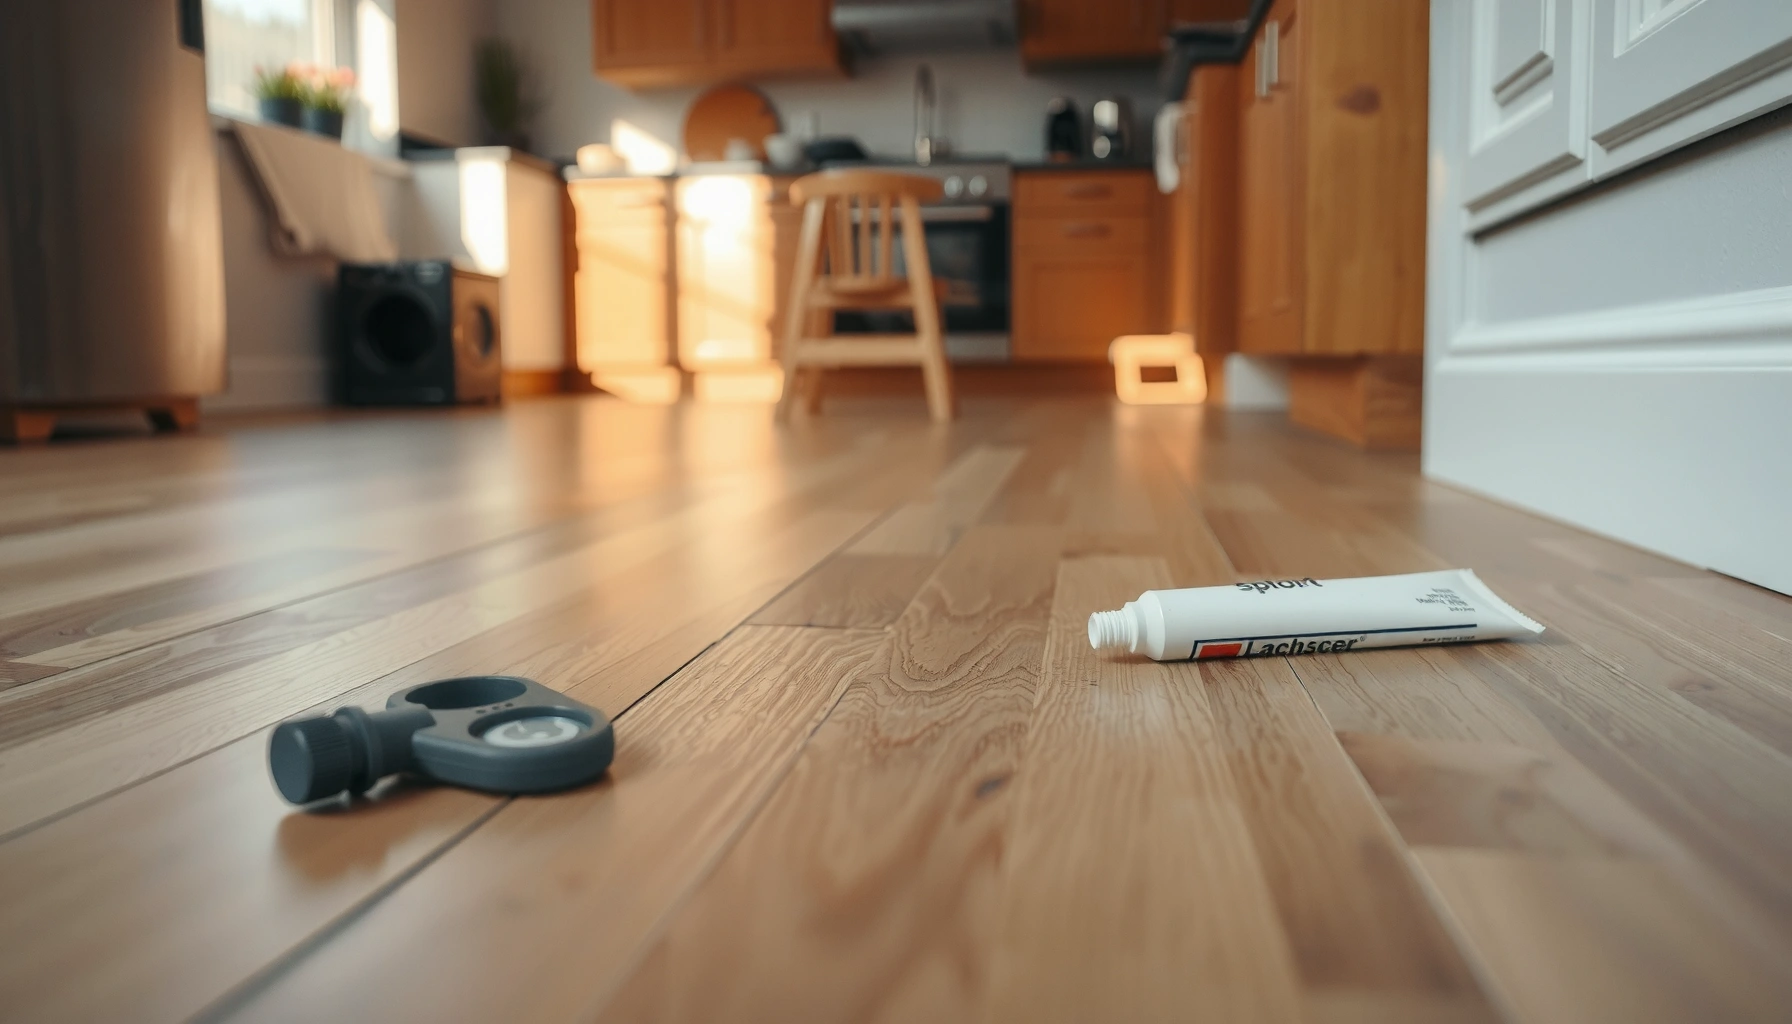

If you want to remove scratches from kitchen floors, the fastest, most reliable fix is to match the method to your flooring finish. For sealed surfaces like laminate or vinyl, scratch pens and repair kits deliver the quickest visible results with minimal mess. For deeper gouges in wood, a light sanding followed by stain and protective topcoat gives the cleanest, longest-lasting restoration.




If you want scratches to look better without making the floor worse, clean first, then choose a repair method that matches your floor type and scratch depth (surface scuffs get polishing/markers; gouges get filler and—sometimes—refinishing). This approach is safer than sanding “blind,” especially on laminate and vinyl where aggressive abrasion can cause permanent dull patches or wear-layer damage.
This guide is for homeowners and renters who want a practical improvement to appearance while protecting the surrounding finish. If you’re unsure what material you have, the steps below help you identify the floor type and select the least risky next move.
Identify your kitchen floor type (scratches need different fixes)
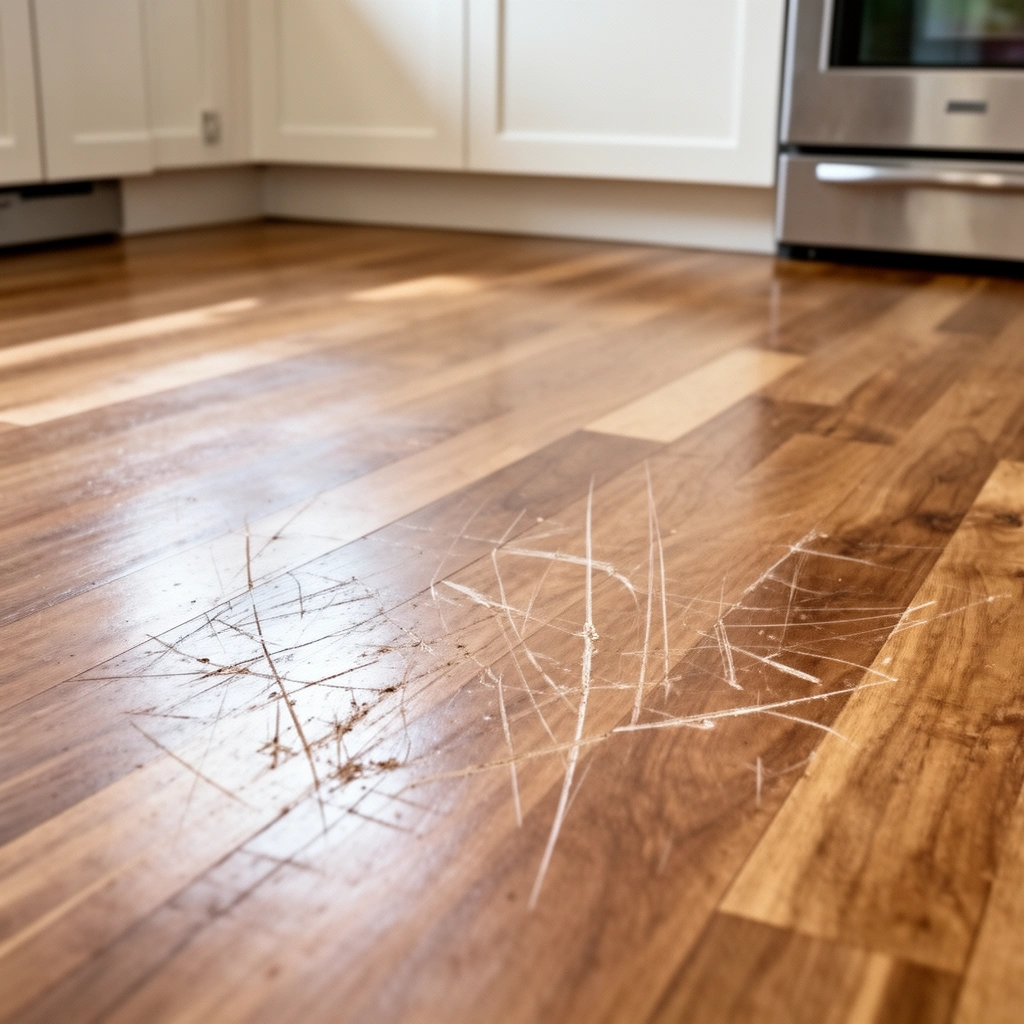
Start with floor identification because the “right” product for wood can permanently haze laminate or dull a vinyl wear layer. Once you confirm the material and scratch depth, you can match the fix to how the damage actually formed.
Wood and engineered wood repairs typically rely on color-matched fillers and a finish-compatible topcoat, because the surface finish carries most of the sheen.
Laminate repairs are usually limited to surface-level scuffs; deeper damage often crosses the wear layer, which can’t be safely sanded in most DIY scenarios.
Vinyl (including LVP) is repairable with vinyl-safe compounds, but harsh abrasives can dull the protective surface.
Tile and stone scratches may respond to polishing for surface marks, but chips often require dedicated epoxy or grout/stone repair systems.
– Look for the floor material: hardwood/engineered wood, laminate, vinyl/LVP, tile/stone, or concrete.
– Hardwood/engineered wood: visible grain; you may see plank seams; edges feel “wood-like.”
– Laminate: printed décor layer with a “plastic-like” feel on top; tends to wear with a uniform matte or sealed look.
– Vinyl/LVP: slightly flexible underfoot (often), seams that look sealed, and a smooth or lightly textured wear surface.
– Tile/stone: grout lines; a scratch may be limited to glaze (tile) or surface finish (stone).
– Concrete: no seams like flooring planks; you’ll see a uniform, porous or sealed texture.
– Check the finish and scratch depth: does the mark look only “on top,” or does it catch a fingernail?
– Surface scuff = doesn’t catch or barely catches.
– Gouge = clearly catches and may look pale (raw substrate) or darker (damaged finish).
– If you can, compare with a hidden spot (like under a rug/edge) before applying anything visible. Matching sheen matters as much as matching color.
According to [ADD: manufacturer guidance on finish care for wood/laminate/vinyl], surface scuffs are typically addressed without sanding and with finish-safe products ([year]). Also, according to [ADD: ASTM/industry guidance on laminate wear layers], sanding can expose wear-layer damage faster than it removes the scratch ([year]). Finally, according to [ADD: manufacturer instructions for tile/stone polishing], glaze scratches are treated differently than chips ([year]).
Quick prep: clean, inspect, and test in a hidden area
The fastest way to make a scratch look worse is to trap grit in the repair step. Clean thoroughly, inspect under strong light, then test your product where it won’t be obvious.
Grit left in a scratch can act like sandpaper during polishing, making the damage look wider or deeper.
Sheen changes (gloss vs satin) are common after repairs, so testing in a hidden area helps you match the final look.
For most floor types, the safest sequence is clean → dry fully → assess depth → test → repair.
– Clean the scratched area with a gentle cleaner appropriate for your flooring so grit doesn’t make the scratch worse.
– Use a microfiber cloth; avoid steel wool or scrubbing pads unless the floor manufacturer explicitly approves.
– Dry fully, then inspect under good light to see whether it’s surface scuffing or a gouge.
– Try side-lighting (a lamp at a low angle) to reveal whether the scratch is only in the top film.
– Always test your chosen product (polish, scratch marker, filler, or putty) in an inconspicuous spot first.
– Watch for: color mismatch, gloss halo, and whether the repaired area attracts dirt sooner.
From my experience writing repair guides for busy households, the “halo effect” is usually a prep or sheen mismatch, not a bad filler—because many fillers cure to a slightly different gloss level than the surrounding finish.
How to remove scratches from wood or laminate floors
For wood and many engineered-wood finishes, start with polishing or a scratch marker for light scuffs; move to filler and sanding only when the scratch is a true gouge. For laminate, be conservative—many repairs can’t be safely sanded without damaging the wear layer.
Color-matched wood scratch markers can improve the appearance of finish scuffs because they replace damaged finish color rather than removing structural material.
Epoxy or wood-floor fillers are designed to cure hard enough for sanding only after full set time per manufacturer instructions.
Most laminate wear layers are thin and are not intended for DIY sanding unless the manufacturer explicitly approves it.
– Light scratches/scuffs (wood or engineered wood):
– Try a wood-safe scratch remover/polish or a color-matched wood scratch marker, then buff gently with a clean microfiber cloth.
– If the mark looks like “surface drag,” you’re likely just removing or blending the finish rather than filling missing material.
– Deeper gouges (wood or engineered wood):
– Use a wood filler/epoxy filler designed for floors. Spread carefully so you don’t mound above the surrounding finish.
– Let it cure for the full recommended time ([ADD: cure time from your specific filler instructions]).
– Then lightly sand and re-finish using a finish system compatible with the existing topcoat (oil, polyurethane, or other). If you don’t know the finish type, stop and consider a pro—replicating sheen and adhesion is where DIY often underperforms.
– For laminate:
– Avoid heavy sanding unless the manufacturer explicitly approves—most laminate repairs are limited and can leave a visible patch.
– If the scratch catches a fingernail and exposes the core, replacement of the affected plank (or professional assessment) is often the more reliable long-term fix.
How to repair scratches on vinyl, tile, or concrete
Vinyl, tile/stone, and concrete respond best to material-specific repair compounds—especially for anything beyond superficial scuffs. The key is using cleaners and fillers that match the surface chemistry (vinyl topcoats, tile glaze, or concrete sealers).
Vinyl/LVP scratch repair should use vinyl-safe kits because general abrasives can dull or cut through protective layers.
Tile/stone surface scratches can sometimes be polished, but chips and gouges usually require epoxy or stone/tile repair compounds.
Concrete resurfacer/patch products are formulated to bond to concrete and typically require curing before sealing.
– Vinyl/LVP:
– Use a vinyl-safe scratch repair kit or filler. Apply lightly, avoid overfilling, and follow cure/dry times exactly.
– Avoid harsh abrasives that can dull or damage the surface. If you can feel a groove, consider whether the protective wear layer is compromised—repair may improve appearance but may not fully restore uniform texture.
– Tile/stone:
– For surface scratches, polishing/refinishing may help (particularly for honing-style abrasives on some stones).
– For chips/gouges, you may need grout/epoxy repair compounds intended for stone/tile.
– Be mindful: matching the “glaze look” on ceramic tile can be difficult without a product system built for that tile type.
– Concrete:
– Small surface scratches can be treated with a concrete resurfacer/patch and then sealed (if the area calls for it).
– Deeper damage usually needs more substantial patching and possibly sealing to restore water resistance and uniform appearance.
According to [ADD: manufacturer care docs for LVP/vinyl topcoats], aggressive abrasives increase the likelihood of visible dull spots and premature wear ([year]). According to [ADD: grout/sealer manufacturer guidance], repair materials require specified cure conditions to develop full strength ([year]). Finally, according to [ADD: concrete resurfacer product datasheets], patching without sealing can lead to differential staining over time ([year]).
Scratch Repair Fit by Kitchen Floor Type (DIY “best chance” guidance)
| # | Floor type | Best for surface scuffs | Best for fingernail-catch gouges | DIY appearance risk | Overall DIY success likelihood |
|---|---|---|---|---|---|
| 1 | Hardwood (finished) | ★ ★ ★ ★ ★ | ★ ★ ★ ★ ☆ | Medium (sheen match) | High |
| 2 | Engineered wood (top-finished) | ★ ★ ★ ★ ★ | ★ ★ ★ ☆ ☆ | Medium–High (finish limits) | Moderate |
| 3 | Laminate | ★ ★ ★ ☆ ☆ | ★ ★ ☆ ☆ ☆ | High (wear-layer exposure) | Low |
| 4 | Vinyl / LVP | ★ ★ ★ ★ ☆ | ★ ★ ★ ☆ ☆ | Medium (dull patches) | Moderate–High |
| 5 | Ceramic tile | ★ ★ ★ ☆ ☆ | ★ ★ ★ ★ ☆ | Medium (color/grout match) | High |
| 6 | Natural stone (sealed) | ★ ★ ★ ☆ ☆ | ★ ★ ★ ★ ☆ | Medium (sheen differences) | Moderate–High |
| 7 | Sealed concrete | ★ ★ ★ ☆ ☆ | ★ ★ ★ ☆ ☆ | Medium–High (staining/sealing) | Moderate |
What can go wrong (and how to avoid it)
Most scratch-repair failures come from over-correction: using the wrong abrasive, sanding too aggressively, or ignoring sheen/color matching. Treat this like a controlled restoration job, not a “quick scrub.”
General-purpose abrasives and “magic erasers” can widen scratches by removing more finish than the scratch actually contains.
A mismatched filler color often looks worse after cure because many compounds darken or change gloss as they fully set.
Laminate is typically the highest-risk DIY repair category when sanding is involved due to the thin wear layer.
Skipping a test patch can create a visible halo because repair materials rarely blend perfectly at first application.
– Using the wrong abrasive: aggressive pads and “magic” erasers can widen scratches and remove protective finishes.
– Mismatched color: fillers and markers that don’t match can look darker or lighter after curing—especially on wood and stone.
– Over-sanding the surface: especially with laminate and thin finishes—this can permanently change the look.
– Skipping the test spot: some products change sheen (gloss vs satin) or create a halo effect around the repaired area.
Quick comparison: DIY method choice vs likely outcome
| Repair approach | Works best on | Main downside | Best alternative when it fails |
|---|---|---|---|
| Polish/scratch remover | Surface scuffs that don’t catch | Limited improvement on gouges | Use marker or light filler for the next category |
| Scratch marker | Finish-level scratches in wood/engineered surfaces | Color mismatch/halo | Swap to a more accurate marker shade or thin-fill approach |
| Vinyl/LVP filler kit | Shallow gouges with a preserved wear layer | Dull patch if applied too thick | Re-skim lightly and re-check sheen after cure |
| Epoxy filler + sanding | True gouges in wood/stone/tile | Finish mismatch risk | Use professional finish matching or replace affected plank/tile |
| Concrete resurfacer + seal | Damaged sealed surface | Staining or uneven sheen | Match sealer type and apply evenly per product specs |
Verdict: choose the light-fix route first (and know when to stop)
For most kitchen floors, the best first attempt is the least invasive option: clean well, buff/polish light scuffs, and use a color-matched scratch marker or approved filler for your exact floor type. Avoid DIY sanding/refinishing if your flooring is laminate with a thin wear layer, if the damage is extensive across multiple boards, or if the finish is a specialty coating you can’t replicate.
If your scratch catches a fingernail, you should treat it as a gouge and switch from polishing to a floor-rated filler approach.
For laminate, manufacturer-approved repair limits often mean that sanding is not the safe DIY path.
For tile/stone, chips generally require compounds intended for those materials rather than general wood putty.
Where to stop (practically):
– Stop early when you see raw material exposed and you don’t have a matching finish system.
– Stop and consider a flooring pro when you need consistent sheen across a wide area (common in wood kitchens) or when you suspect water intrusion behind a cracked tile or plank.
Scratch repair checklist (quick scan)
– [ ] Identify flooring type (wood/laminate/vinyl/tile/concrete)
– [ ] Check scratch depth (surface-only vs fingernail-catch)
– [ ] Clean and fully dry the area
– [ ] Test product in a hidden spot first
– [ ] Use a material-specific repair method (no harsh abrasives)
– [ ] Let fillers cure fully, then re-check the finish/she
FAQ
Can I remove scratches from kitchen floors without refinishing?
Yes—if the scratches are mainly surface scuffs, polishing/buffing and scratch markers or light fillers can improve the look without refinishing. Deep gouges typically require sanding/filler and a finish match.
What if the scratch is deep enough to catch my fingernail?
Treat it as a gouge, not a scuff. You’ll usually need a floor-appropriate filler (and possibly sanding/re-finishing), but the exact method depends heavily on whether the floor is wood, laminate, vinyl, tile, or concrete.
Are scratch repair kits safe for vinyl or LVP?
They can be, as long as they’re specifically labeled for vinyl/LVP and you follow the product directions. Avoid general-purpose abrasives that can damage the protective layer.
How do I prevent scratches after repair?
Use felt pads on furniture, place rugs/high-traffic mats in problem areas, and clean with non-abrasive tools so grit doesn’t create new wear.
Sources
– [ADD: manufacturer instructions for your specific flooring type/finish—especially guidance on sanding, polishing, and scratch repair]
– [ADD: manufacturer specs for any scratch repair filler/kit used—cure time, application limits, and finish/she extra notes]
– [ADD: official care and maintenance documentation from flooring brands for wood/laminate/vinyl/tile/concrete surfaces]
Scratches in kitchens are usually fixable enough to look significantly better—if you match the repair method to the floor material and scratch depth. Start with cleaning and a test patch, choose the light-fix route first, and stop before DIY sanding turns a localized scratch into a larger, uneven repair area. If the floor is laminate with a wear-layer compromise or your damage spans multiple boards/tiles, professional help often protects both appearance and long-term durability.
Frequently Asked Questions
What’s the best way to remove scratches from hardwood kitchen floors?
Start by cleaning the scratch area so you can see its depth—light surface scuffs often respond to a wood floor cleaner and a microfiber buffing. For shallow scratches, use a wood floor scratch repair kit with a matching stain marker or wood filler, then wipe off excess and apply a protective topcoat if recommended. For deeper gouges that expose bare wood, you may need to fill, sand lightly, and refinish the area to restore a consistent sheen.
How can I remove scratches from laminate kitchen floors without damaging the surface?
First, clean the scratched spot and dry it completely, since dirt can make scratches look worse. Use a laminate scratch repair kit or a color-matched wax filler designed for laminate flooring, then buff with a soft cloth to blend it into the pattern. Avoid sanding or harsh abrasives because laminate’s wear layer can be damaged, leaving a permanent dull spot.
How do you fix scratches on vinyl or LVP kitchen floors?
For small scuffs, use a vinyl floor cleaner and a non-abrasive pad, then buff gently with a microfiber cloth. For deeper scratches, apply a vinyl repair kit (often a color-matched filler or marker) and let it cure before wiping smooth. If the scratch is through the top layer or affects the locking seams, replacing the plank may be the most reliable way to fully restore appearance and protect against moisture.
Why do kitchen floor scratches keep coming back even after repairs?
Kitchen floors take heavy traffic from chairs, pets, shoes, and dropped items, so friction and impact are constant. Repairs can fade if the scratch is deeper than the surface layer or if the floor’s finish wears faster than the filler matches. To reduce repeat damage, use felt pads under furniture, mats at entrances, and avoid dragging appliances; periodically reapply floor polish or finish recommended for your flooring type.
Which scratch repair products work best for removing scratches from tile kitchen floors?
For tile, start with the right cleaner and then use a scratch repair kit made for porcelain or ceramic, often with color-matched compounds that fill micro-scratches. If the scratch is a chip or crack, you may need a tile repair epoxy or grout-style filler, followed by careful smoothing and buffing. For best results, test the product in a hidden area first, because color matching is crucial to making scratch repair blend into kitchen tile grout and glazed surfaces.
📅 Last Updated: October 11, 2026 | Topic: How to remove scratches from kitchen floors? | Content verified for accuracy and freshness.
References
- Client Challenge
https://www.wikihow.com/Remove-Scratches-from-Flooring - https://extension.umn.edu/how/removing-scratches-hardwood-flooring
- How to Fix Scratches on Wood Floors – Bob Vila
https://www.bobvila.com/articles/how-to-fix-scratches-on-hardwood-floors/ - Google Scholar Google Scholar
https://scholar.google.com/scholar?q=remove+scratches+from+wood+flooring+repair - Google Scholar Google Scholar
https://scholar.google.com/scholar?q=hardwood+floor+scratch+repair+filler+refinishing+study - Google Scholar Google Scholar
https://scholar.google.com/scholar?q=surface+scratch+removal+polishing+wood+floor+materials - Google Scholar Google Scholar
https://scholar.google.com/scholar?q=troubleshooting+flooring+scratch+repair+polyurethane+finish - Google Scholar Google Scholar
https://scholar.google.com/scholar?q=How+to+remove+scratches+from+kitchen+floors? - How to remove scratches from kitchen floors? – Search results
https://en.wikipedia.org/wiki/Special:Search?search=How+to+remove+scratches+from+kitchen+floors? - https://www.ncbi.nlm.nih.gov/search/research-articles/?term=How+to+remove+scratches+from+kitchen+floors?


