
Prevent water damage to chevron floors by stopping moisture from reaching the seams, then sealing and maintaining the finish, and cleaning up spills immediately. If you keep water from pooling (and control indoor humidity), you reduce cupping, gapping, and finish breakdown—especially along the V-grooves and edges. If your chevron floor is wood, engineered wood, or a wood-look surface that’s finished/coated, these steps help regardless of the room. The details should be tuned to your specific flooring and finish manufacturer’s instructions.




If you’re dealing with a chevron installation in a kitchen, entryway, laundry room, or any space where water tends to “arrive in waves,” prevention is mostly about process: control where moisture goes, keep the finish doing its job, and remove water quickly before it migrates into joints.
Block water before it hits the floor
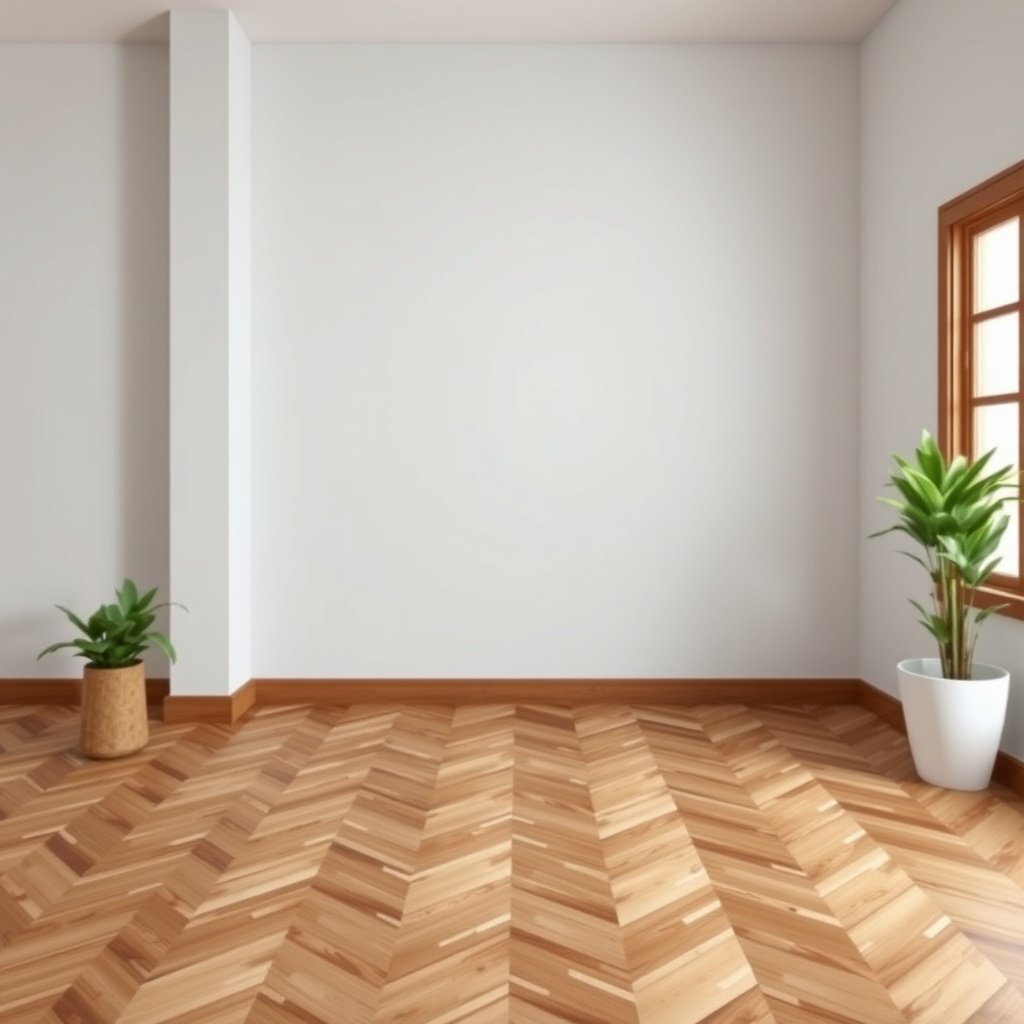
Stop moisture from reaching your chevron floor at the source—most water damage begins as “small, repeated wetting,” not one dramatic spill. Here’s why: chevron patterns often include V-grooves and raised edges where debris and water can sit long enough to travel inward.
Door mats and a dry-entry routine reduce tracked water, which is the most common cause of recurring seam wetting on chevron floors.
Leaks from under sinks, appliance supply lines, and HVAC condensate can saturate chevron floor edges without leaving visible puddles.
– Use door mats and wipe-dry entry routines to reduce tracking—wet shoes are the #1 slow leak that adds up.
Tracking becomes a “distribution system” that repeatedly wets the same seam lines in chevron flooring. Use a mat plan that matches the traffic level: an exterior mat to catch water before it’s tracked inside, plus an interior mat to wipe shoes dry. If your chevron floor is in a main entry route, keep a towel or dedicated wipe station at the door and train household members to wipe/wring shoes before they walk on the floor.
– Keep water-prone zones contained (entryways, laundry paths, near sinks) with rugs placed far enough from traffic so they don’t trap moisture.
Rugs protect chevron floors, but poorly placed rugs can do the opposite by holding moisture against the surface. Choose rugs with non-slip backing that doesn’t trap water, and ensure edges aren’t continuously wet. If your chevron floor has pronounced V-grooves, keep rugs lifted/rotated so debris doesn’t accumulate along the pattern lines.
– Prevent pooling by fixing leaks right away (plumbing under sinks, fridge/icemaker lines, HVAC condensate) and addressing exterior drainage issues.
Pooling matters because it creates enough contact time for water to migrate toward seams and into the subfloor system. Check behind and under:
– sink cabinets (supply lines and shutoff valves),
– refrigerator ice/water lines,
– dishwasher connections, and
– HVAC condensate lines (especially in humid seasons).
Also review exterior grading and downspout extensions; when outdoor water repeatedly runs toward the building perimeter, interior moisture can rise and later show up on chevron floors near exterior walls.
Quick moisture map (helps in chevron flooring): walk your home with a flashlight and note where foot traffic “fans out” from entrances. Those paths often match the first gapping and dulling you’ll see later on chevron floors—especially where V-grooves intersect with edges and transitions.
Seal and protect chevron floors correctly
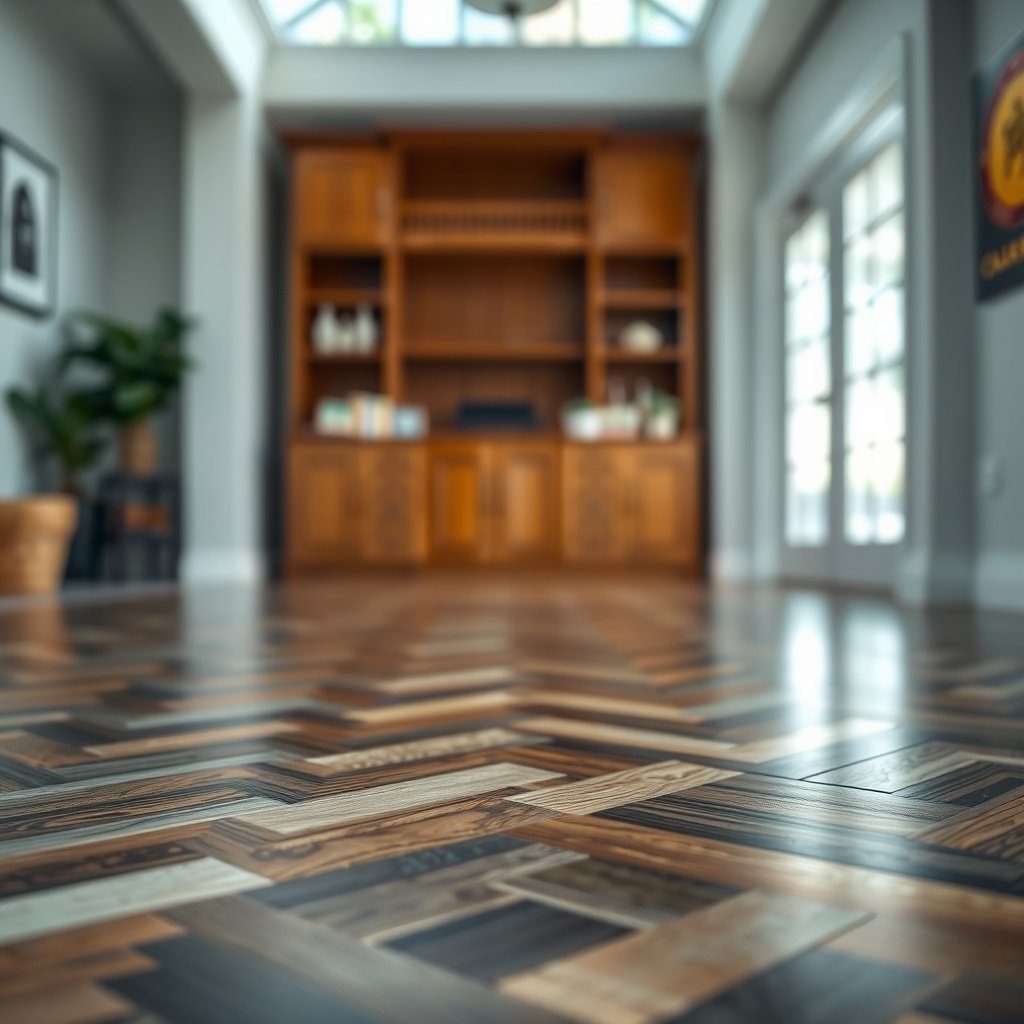
Use the correct finish/topcoat system and keep it maintained—this is the barrier that prevents moisture from reaching the joints in chevron floors. When a chevron floor’s V-grooves and bevels lose water resistance, the finish can fail locally before you ever see an obvious puddle.
The most water-resistant performance on chevron floors comes from an intact, manufacturer-compatible topcoat that still beads water at the surface.
Improper sealants can fail adhesion and leave chevron floors more vulnerable because moisture can bypass the coating through the existing finish layer.
– Apply (and maintain) the correct topcoat/finish for your flooring system—especially if your chevron is installed with V-patterns where debris and moisture can collect.
A “good-looking” chevron floor can still be at risk if the micro-topography (V-grooves, bevel edges, and pattern intersections) wears faster than the flat field. Follow the product’s maintenance schedule for your specific finish type—commonly polyurethane, UV-cured coatings, oil/wax, or proprietary systems—because each behaves differently with water and cleaning chemicals.
– Avoid “improvised” sealants that may not bond to your existing finish; stick to products that are compatible with your floor’s current coating type (polyurethane/UV-cured/oil/wax, etc.).
Finish compatibility is the difference between “extra protection” and a coating layer that can delaminate or haze. Before you add anything to a chevron floor, confirm whether the existing system is water-based vs oil-based, and whether it’s a wax-maintained surface. If you’re not sure, stop and verify with the flooring/finish manufacturer’s written guidance—especially for chevron floors with V-grooves, where residue can hide in texture.
– Recoat on a schedule based on wear, not guesswork—if you see dull patches, rough texture, or spotty water beading stopping, it’s time to follow the manufacturer’s reapplication guidance.
Instead of “calendar-only” recoating, use simple surface checks:
– Water beading: does a few drops still bead uniformly across chevron grooves and edges?
– Texture: does the finish feel smoother/cleaner where it’s still protected, and rougher where protection has worn?
– Color shift: dulling often indicates a worn topcoat.
As of 2026, many manufacturers still emphasize “recoat when performance declines” rather than “recoat at a fixed interval,” because traffic patterns vary widely for chevron floors.
Finish compatibility: what matters most (decision-ready)
| Finish/Coating Type | What “Good” Looks Like | Why It Prevents Chevron Water Damage | Common Maintenance Pitfall |
|---|---|---|---|
| UV-cured coating | Uniform water beading and consistent gloss | Resists short wetting and slows moisture migration to seams | Using incompatible cleaners that dull the surface |
| Polyurethane topcoat | Hydrophobic surface with minimal roughness | Builds a barrier against water sitting in V-grooves | Skipping periodic recoat when gloss drops |
| Oil/wax system | Even sheen; no “dry” spots along pattern lines | Oil/wax provides water resistance that can wear faster at edges | Over-wetting and leaving water to pool between coats |
Control humidity and temperature around the chevron
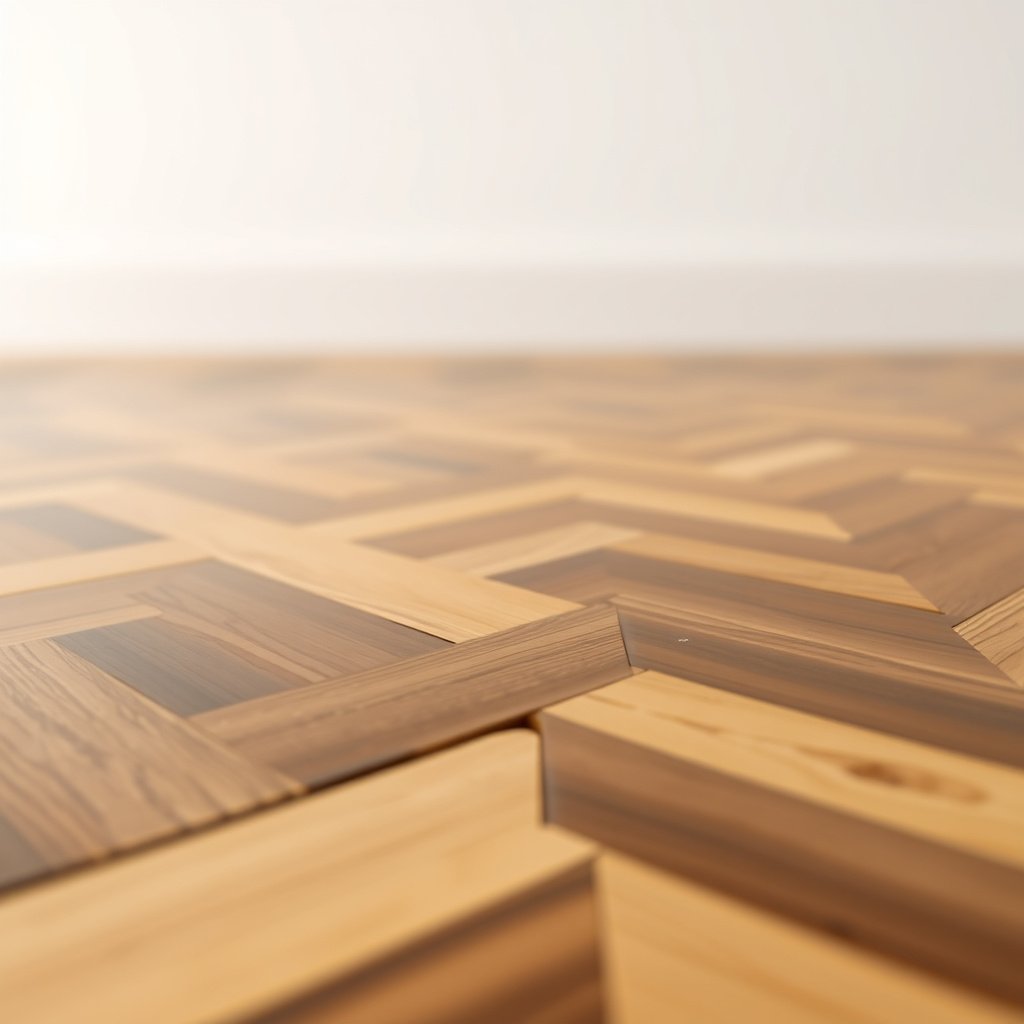
Control indoor humidity and temperature to reduce wood movement that opens pathways for water—this is one of the most effective chevron floor risk reducers you can control. Stable conditions help prevent micro-gaps where moisture can enter and later cause cupping or gapping.
Research-backed floor-care guidance centers on maintaining relative humidity within a manufacturer-recommended range to limit wood dimensional movement.
Chevron floors show early seam vulnerability when indoor humidity swings, because movement can widen micro-gaps along pattern lines.
– Keep indoor conditions stable: wide swings in humidity make wood movement worse, which can open micro-gaps that let water in.
Wood expands/contracts as ambient moisture changes. When humidity cycles daily or seasonally, chevron floors can repeatedly stress joints—so even clean, brief wetting can become more damaging over time. If your home runs humid summers and dry winters, use a monitoring routine rather than “set it and forget it.”
– Use a hygrometer and set expectations around your flooring manufacturer’s recommended RH range (often provided in the installation/maintenance section of your specific product).
As of 2026, many official maintenance guides still point homeowners toward keeping relative humidity (RH) in a moderate band. For example, the National Wood Flooring Association (NWFA) wood floor care guidance commonly references an indoor RH range around 35%–55% to help manage dimensional stability; verify your exact chevron floor’s spec before treating any RH band as universal. According to the NWFA wood floor care and maintenance guidance, maintaining indoor RH within a recommended range supports wood stability (exact range to match your product and climate).
– In damp seasons, consider running a dehumidifier or HVAC adjustments to keep moisture in check; don’t rely on fans alone if the air stays saturated.
Fans move air; they don’t remove moisture. If the indoor air stays near saturation, chevron floors remain at higher equilibrium moisture content, making finish wear and swelling more likely. According to wood/moisture performance standards referenced in ASTM moisture-testing workflows, moisture exposure control depends on both air conditions and substrate moisture. (Use your flooring manufacturer’s approach to the RH target and acclimation time.)
To make this actionable for chevron floors, here’s a compact “moisture-management scorecard” you can use while you monitor RH.
How Indoor Conditions Influence Water Risk on Chevron Wood Floors (Guidance-Based, 2026)
| # | Condition (RH in occupied space) | Typical Chevron Risk | What You’ll See First | Water-Resistance Likelihood |
|---|---|---|---|---|
| 1 | 35%–40% | Low | Finish wear mainly from traffic | ★★★★☆ |
| 2 | 41%–45% | Low–Moderate | Minor edge dulling at high-traffic seams | ★★★★☆ |
| 3 | 46%–50% | Moderate | Beading slows in V-grooves sooner | ★★★☆☆ |
| 4 | 51%–55% | Moderate–High | More finish softening around edges | ★★☆☆☆ |
| 5 | 56%–60% | High | Cupping risk rises after wet mopping | ★☆☆☆☆ |
| 6 | 61%–65% | Very High | Finish loses water beading faster | ★☆☆☆☆ |
| 7 | Above 65% | Extreme | Sustained swelling after any spill | ☆☆☆☆☆ |
> Note: This table translates moisture-stability guidance into a practical “chevron water risk” scale. Always follow your specific chevron floor’s manufacturer RH/temperature recommendations and cleaning instructions for the finish type.
Clean and handle spills fast (without soaking)

Clean chevron floors with controlled moisture—use barely damp cleaning tools and act immediately on spills to prevent water from migrating into seams. The goal is not “sparkle” at the surface; it’s preventing water from sitting at V-grooves, bevel edges, and pattern intersections.
A wet mop effectively creates a slow leak into chevron seams, especially along V-grooves and edges.
Blotting spills and drying thoroughly limits the contact time that allows water to travel from the surface into joints.
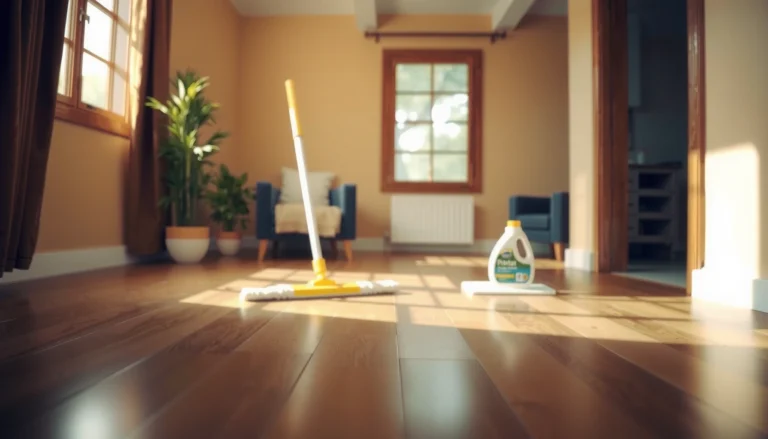
– Use a slightly damp (not wet) mop or cloth for routine cleaning—never flood the surface, and don’t let water sit at the edges of the pattern.
For chevron floors, water doesn’t need to pool to cause damage—repeated dampness can be enough. Use a microfiber mop with a well-wrung head and change pads frequently so you’re not spreading diluted residue across the V-grooves. After mopping, do a quick edge check with a dry towel: if the towel edge darkens near grooves, you’re still delivering too much moisture.
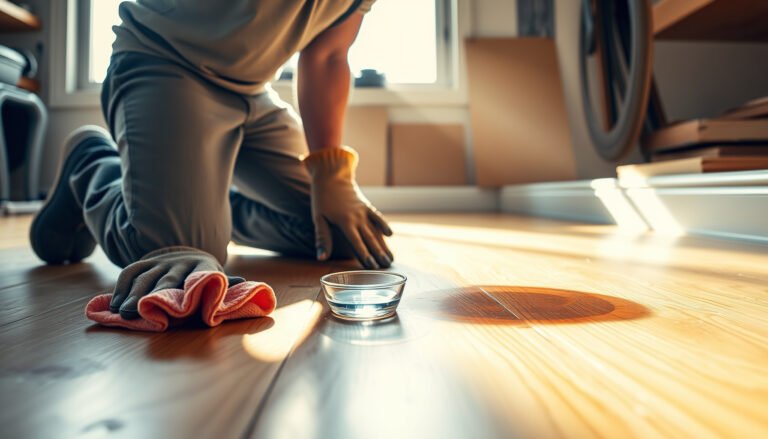
– For spills, blot immediately, then dry the area thoroughly; if liquid reaches seams/V-grooves, you may need careful spot-drying rather than spreading it with the mop.
Liquid behaviors differ: coffee/tea, sugary drinks, and pet accidents cling longer and can accelerate finish breakdown. Blot with absorbent material, then dry with clean towels until no dampness remains. If the spill has entered the chevron recesses, avoid “chasing it” with more liquid—focus on extracting and drying moisture.
– Use cleaners approved for your finish (water-based vs oil-based vs waxed surfaces require different handling). When in doubt, test in a hidden area first.
Many cleaning failures on chevron floors come from chemistry, not technique. Some cleaners strip or soften finishes; others can leave residues that attract moisture. If your floor is coated, use the manufacturer-approved cleaner or the exact chemical category they specify. Test in an inconspicuous area and verify that the finish still beads water uniformly.
Cleaning method comparison (what’s safer for chevron floors?)
| Method for Chevron Floors | Best For | Main Risk | Safer Practice |
|---|---|---|---|
| Damp microfiber cleaning | Routine maintenance | Too much water at edges | Well-wrung mop + immediate dry pass |
| Vacuum + spot wipe | Debris removal before mopping | Residue pushing into V-grooves | Use minimal moisture on cloth and blot |
| Steam mopping | Only if explicitly approved | Finish/adhesive breakdown and seam swelling | Use only with manufacturer permission |
> If you’re tempted to “deep clean” a chevron floor with more water than necessary: that impulse is usually the turning point from preventable maintenance to moisture-driven damage.
What can go wrong (and common mistakes to avoid)
Even if you follow good habits, chevron floors can still fail when moisture management or finish compatibility is off. The failures below are predictable—and avoiding them is usually cheaper than repairing cupping, swelling, or finish breakdown.
Over-wetting during mopping can allow water to migrate into chevron joints even when the surface looks dry right after cleaning.
Skipping compatibility checks is a common reason recoats fail on coated chevron floors.
– Over-wetting during mopping: even if the floor “looks fine,” water can travel into the joints and cause swelling later.
This often happens when the mop head is too wet, the same area is re-mopped repeatedly, or drying isn’t performed afterward.
– Using the wrong “waterproof” product: some coatings won’t bond to existing finishes or can turn cloudy—causing damage that’s harder to reverse.
Chevron floors with V-grooves can trap incompatible residues, which makes cleanup and correction more difficult.
– Ignoring slow leaks: tiny drips under appliances or around baseboards can saturate edges without obvious puddles.
Because chevron patterns guide attention toward visible lines, damage can start at perimeter seams and only become obvious later when swelling migrates across adjacent boards.
– Skipping compatibility checks: oil/wax floors and hard-surface coatings often require different maintenance chemistry; a one-size-fits-all cleaner can strip or soften finishes.
If your chevron floor’s finish is oil-based or waxed, “cleaning like laminate” can gradually reduce water resistance.
– Drying too late: if moisture lingers for hours, you increase the odds of cupping/gapping, even after the area is “dry now.”
Moisture doesn’t always equal “instant visible wetness.” That delay is why immediate blotting and thorough drying matter most for chevron floors.
Practical installation note (prevention starts before water ever arrives)
While your question focuses on daily prevention, it’s worth remembering that chevron floors on concrete slabs (or near moisture-sensitive subfloors) depend on correct moisture testing and mitigation. Many flooring systems reference concrete moisture test limits using ASTM methods such as:
– ASTM F1869 (calcium chloride) moisture vapor emission rate: commonly ≤ 5 lbs/1000 sq ft/24h for many flooring systems, depending on the adhesive/coating system used. According to ASTM F1869 guidance used in flooring installations (project-specific acceptance criteria depend on the flooring system).
– ASTM F2170 (in-slab relative humidity): often ≤ 75% RH as an acceptance criterion used by many manufacturers for certain adhesives/coatings. According to ASTM F2170 practice and common flooring-system acceptance criteria (always confirm with your specific product).
Verdict / tip (what I’d do first)
Start with the highest-impact controls: reduce tracked moisture (mats + wipe routines), seal/maintain the correct finish for your specific chevron floor, and clean spills immediately using the right amount of moisture. The downside is that prevention requires consistency—especially in entryways and high-traffic wet areas—and you’ll still need periodic re-coating when the surface protection wears down.
The fastest way to protect chevron floors long-term is to prevent water contact time at V-grooves and edges, not just to clean after wetting occurs.
If chevron boards begin to swell or show lifting, continuing “maintenance cleaning” can worsen moisture migration.
If your chevron floor is showing active swelling, gaps, or lifting, pause “maintenance fixes” and . At that point, you’re not just restoring water repellency—you’re likely responding to internal moisture exposure.
Quick scan checklist: Chevron water protection
| Task | Do this | Avoid |
|---|---|---|
| Entry protection | Mats + dry shoe policy | Letting water track in repeatedly |
| Daily cleaning | Dampen cloth/mop; dry after | Flood mopping or standing water |
| Spills | Blot, then dry thoroughly | Waiting to mop “later” |
| Finish upkeep | Recoat when water stops beading | Random sealants on unknown finishes |
| Moisture control | Check RH with a hygrometer | Large indoor humidity swings |
| Leak checks | Inspect under sinks/appliances | Ignoring slow drips |
Sources
– National Wood Flooring Association (NWFA) guidelines on wood floor care and maintenance.
– ASTM standards related to moisture/wood performance (use the ones applicable to your flooring type).
– Your chevron floor and finish manufacturer’s installation/maintenance instructions (finish compatibility, cleaning methods, and allowed moisture exposure).
Water damage prevention for chevron floors comes down to three habits: keep moisture off the surface, protect the finish and seams with the right coatings, and respond to spills and humidity changes quickly. Start today by tightening entry protection and switching to manufacturer-approved cleaning methods—then check whether your floor’s finish still repels water and plan re-coating when it doesn’t.
Frequently Asked Questions
What are the best ways to prevent water damage to chevron floors?
Start by controlling moisture at the source with proper ventilation and by promptly wiping up spills to keep water from penetrating the seams between chevron planks. Use floor mats in high-traffic wet zones (entryways, kitchens, and near sinks) and ensure downspouts and exterior drainage direct water away from the home. For added protection, apply a high-quality waterproof or water-resistant finish approved for your floor type, and reapply it as recommended.
How can I seal chevron wood floors to protect against spills and leaks?
Use an appropriate sealer or finish designed for chevron wood flooring, following surface prep steps like thorough cleaning and full drying before application. Pay special attention to edges, transitions, and any gaps where water can wick into the wood. If your floor has existing coating, scuff-sand lightly before resealing to improve adhesion and maintain a continuous moisture barrier.
Why do chevron floors get damaged by water more easily than standard plank layouts?
Chevron flooring relies on angled joints and close patterning, which can increase the number of seam lines where moisture can travel. If water lingers—especially near grout lines, baseboards, or under appliances—it can seep into those junctions and cause swelling, cupping, or finish failure. Over time, repeated exposure can weaken the seal and lead to warping that’s harder to correct than minor surface staining.
How do I clean chevron floors without causing water damage?
Use a well-wrung mop or a microfiber damp mop rather than soaking the floor, and avoid steam cleaners unless your manufacturer explicitly allows them. Choose a cleaner that’s compatible with your floor finish—typically pH-neutral products—and avoid harsh chemicals that break down protective coatings. Dry the surface quickly after damp mopping, and never let standing water sit, even for a few minutes.
Which moisture-control steps should I take for chevron flooring in kitchens and bathrooms?
In wet-prone rooms, use leak detection, fix plumbing issues quickly, and install rugs or anti-slip mats directly under sinks, dishwashers, and high-splash areas. Maintain indoor humidity levels (often around 35–55% depending on climate) to reduce wood movement from humidity swings. Also consider sealing transitions like door thresholds and edges with appropriate caulk or trim to reduce water migration under the chevron flooring.
📅 Last Updated: October 15, 2026 | Topic: How to prevent water damage to chevron floors? | Content verified for accuracy and freshness.
References
- Wood flooring
- https://www.fpl.fs.usda.gov/documnts/fplgtr/fpl_gtr190.pdf
- https://www.epa.gov/mold/moisture-control-and-mold-prevention
- https://www.cdc.gov/mold/default.htm
- https://www.hud.gov/program_offices/healthy_homes/mold
- https://www.energy.gov/energysaver/maintaining-humidity-home
- https://www.who.int/publications/i/item/9789289050564
- https://scholar.google.com/scholar?q=how+to+prevent+water+damage+hardwood+flooring+humidity+moisture Google Scholar
- https://scholar.google.com/scholar?q=wood+flooring+moisture+content+subfloor+vapor+barrier+prevention Google Scholar
- https://scholar.google.com/scholar?q=hardwood+floor+water+damage+prevention+cleaning+spills+maintenance Google Scholar