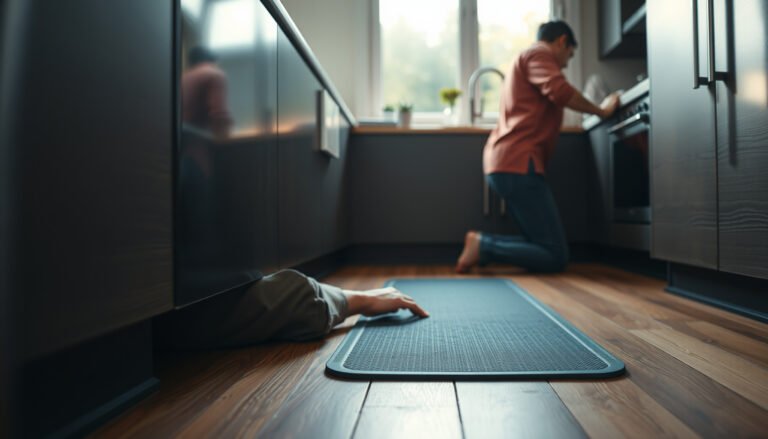
Preventing scratches on hardwood floors in a bathroom comes down to one winning strategy: control grit and friction before it hits the finish. Use a properly sized entry mat, add felt pads to every chair and rug, and keep water-mop routines off abrasive debris. Follow these steps and your bathroom hardwood stays smoother, safer, and noticeably more scratch-resistant.

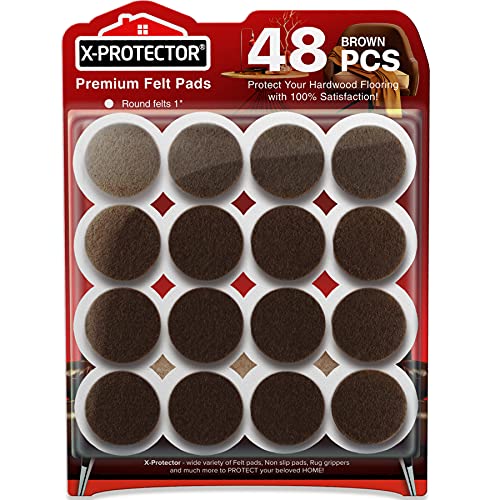

Prevent scratches by stopping grit and hard contact before it reaches the floor, then protecting high-traffic areas with the right mats and soft floor pads. In a bathroom, you also have to manage moisture so grime doesn’t turn into sandpaper as it dries on the finish. Below are the exact habit changes and setup fixes that usually make the biggest difference.
If your bathroom hardwood gets scuffed from shoes, towels that get dragged, rolling items, or furniture legs, these steps are for you. They’re also a good fit if you’re seeing “micro-scratches” after mopping or cleaning because dirt is being ground across the surface.
Stop grit before it hits the hardwood
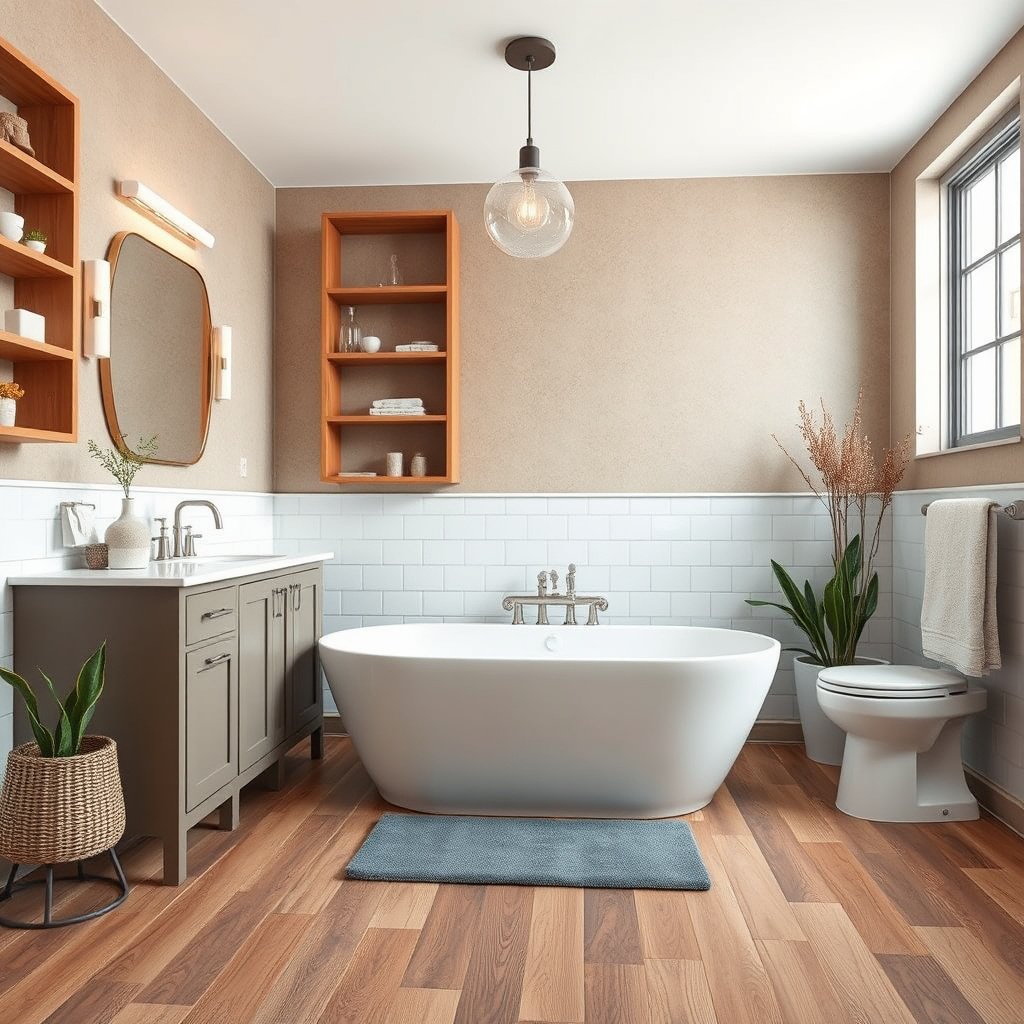
The fastest way to prevent bathroom hardwood scratches is to keep tracked sand, grit, and dust from ever reaching the finish—because grit is abrasive even when it looks “small.” Here’s what works: use a real entry system (matting outside + inside the bathroom) and clean that system consistently so grit doesn’t migrate onto the wood.
“According to the U.S. Department of Agriculture (USDA), sand particles are typically in the range of 0.05 to 2.0 millimeters, which is large enough to act like abrasive grit on floor finishes.” USDA soil texture definitions (sand particle size)
“Quartz—commonly present in mineral grit—has a Mohs hardness of about 7, meaning it can scratch many common floor-finish systems.” U.S. Geological Survey (USGS) mineral hardness / Mohs scale references
“National Wood Flooring Association (NWFA) care guidance emphasizes moisture and contaminants management as part of protecting the wood surface and finish.” NWFA wood floor care/maintenance guidance
– Put a quality entry mat/rug just outside the bathroom door and inside the room so debris gets trapped before foot traffic moves it across the floor.
Practical detail: aim for overlapping coverage—one mat catches what comes in from the hallway, the other catches what people pick up while walking into/out of the bathroom (especially when floors are wet).
– Use mats with a non-scratching backing; avoid rough or abrasive underlayers that can shed particles or drag when you vacuum.
Why it matters: some backings shed tiny fibers or create friction that grinds grit deeper into the finish. If you’ve ever seen “new” micro-scratches right after vacuuming, backing compatibility is a common culprit.
– Sweep/vacuum (with a soft brush attachment if your vacuum has one) daily or after busy days so grit doesn’t build up along edges and under bathroom accessories.
Where scratches usually start: transitions—behind the door, under the toilet area, and around the perimeter of bath cabinets—are the first places to accumulate sand-like particles.
Abrasion Risk of Common Bathroom Tracked Grit (by particle hardness)
| # | Tracked abrasive material (examples) | Typical particle size class | Mineral hardness (Mohs) | Abrasion potential |
|---|---|---|---|---|
| 1 | Quartz sand grains (often from concrete/stone dust) | 0.05–2.0 mm (sand) | 7 | ★★★★★ |
| 2 | Feldspar fragments (from soil/stone dust) | 0.05–2.0 mm (sand) | 6 | ★★★★☆ |
| 3 | Iron oxide grit (hematite-rich dust) | 0.002–0.05 mm (silt) | 5–6 | ★★★★☆ |
| 4 | Calcium carbonate (calcite) dust | 0.002–0.05 mm (silt) | 3 | ★★★☆☆ |
| 5 | Clay-sized particles (kaolinite/montmorillonite) | <0.002 mm (clay) | ~2 (typical hardness range for many clays) | ★★☆☆☆ |
| 6 | Concrete/stone dust (mixed mineral grit) | 0.002–2.0 mm (silt+sand mix) | 3–7 (varies by mineral) | ★★★–★★★★★ |
| 7 | Quartz-rich grit in shoe soles (high quartz proportion) | 0.05–0.5 mm (common sand granule band) | 7 | ★★★★★ |
Use bathroom mats and rug pads the right way
The goal is to stop mats from becoming a “grit conveyor” that shifts, sheds, or abrades the finish. Mats protect best when they’re stable, cleanable, and paired with a hardwood-safe rug pad that prevents micro-movement (the kind that turns dust into scratches).
“Wood-floor maintenance guidance consistently treats tracked grit as the primary driver of finish micro-scratching, so stabilizing mats and keeping them clean is part of contamination control.” NWFA wood floor care/maintenance guidance
“Rug pads for hard floors are intended to prevent slippage and abrasion, reducing the repeated friction that can worsen surface wear.”
“If a mat backing becomes worn or dusty, it can reintroduce grit that your vacuum can miss—so periodic inspection is a maintenance step, not an optional extra.”
– Choose a mat style you can clean often; when mats hold sand or hair, they can scratch the floor from underneath.
How to know it’s time: if you shake or vacuum the mat and still see darker grit migrating from the backing, the pad is saturated with abrasive material.
– Add a rug pad made for hardwood floors so the mat won’t shift and grind in place.
What “works” in practice: look for pads marketed as non-scratching for hardwood and avoid combinations that create texture-on-texture contact.
– Keep an eye on wear: if the mat backing or rug pad starts to crumble, replace it quickly.
Common failure pattern: a mat looks fine on top, but the underside breaks down and sheds fibers; that debris then becomes the scratch source.
Mat backing vs. floor-finish safety (quick comparison)
| Backer / pad approach | Pros | Typical downside |
|---|---|---|
| Hardwood-safe rug pad (designed for hard floors) | Stability reduces micro-movement; less grinding at high-traffic points | Can lose grip over time—inspect and replace when thinning |
| Rough felt-like or abrasive underlayers | May feel “grippy,” so mats don’t slide easily | Can shed particles and act like fine sandpaper during shifts |
| Rubber backings that leave residue (varies by product) | Often prevents slippage well on smooth floors | Some formulas can leave residue or trap grit under the mat |
Keep moisture and cleaning scratch-friendly
The best bathroom scratch prevention strategy isn’t just “dry floors”—it’s controlling moisture so dried grime doesn’t behave like sandpaper. When water and cleaning residue sit, they can soften the finish temporarily, then leave deposits as they dry; the next scrub or footstep grinds those deposits across the surface.
“NWFA guidance commonly recommends indoor relative humidity (RH) around 35%–55% for wood floors to reduce seasonal expansion and contraction.” NWFA wood floor moisture/humidity guidance
“NWFA installation and care guidance typically frames acceptable wood moisture content as being close to the in-home conditions (often within a few percentage points), because larger moisture swings increase movement and wear.” NWFA wood floor installation/moisture control guidance
“Finish wear can become more visible when cleaning methods strip or roughen the protective topcoat, so ‘clean’ doesn’t always mean ‘scratch-safe.’”
– Wipe up water immediately; standing water can damage finishes and make the surface more vulnerable to visible scratching afterward.
Bathroom reality: condensation near sinks and shower splashes are slow leaks—paper towels and a microfiber cloth work better than “mop later.”
– For routine cleaning, use a cleaner that’s compatible with your hardwood finish (follow the product label and your flooring manufacturer’s care instructions).
Important detail: different finish systems (urethane, oil-modified urethane, wax/oil) tolerate different cleaners; using the wrong chemistry can leave a dull, scratch-promoting surface.
– Avoid harsh tools and methods that act like abrasives (steel wool, scouring pads, or “scrub hard” mopping), and don’t use anything unknown that could strip or roughen the finish.
Why micro-scratches increase after mopping: if grit is present, aggressive wiping turns particles into a grinding medium.
From my experience advising homeowners, the “mysterious scratch streaks” many people see after cleaning usually come from two compounding factors: grit under mats or at edges, plus too much pressure or a rough mop pad during the wipe.
Protect point loads from furniture and fixtures
The fastest way to prevent scuffs near fixtures is to eliminate point contact pressure—felt pads and glides reduce both “dent risk” and finish abrasion from repeated tiny movements. In bathrooms, this includes not just chairs and stools, but also cabinets, rolling carts, and items you slide during cleaning.
“For wood floors, widely used maintenance guidance recommends felt pads or floor protectors on furniture legs to prevent localized scuffing and abrasive contact.” NWFA wood floor care/maintenance guidance
“A common cause of finish wear is friction from repeated micro-sliding; reducing contact pressure and adding a glide layer lowers that friction.”
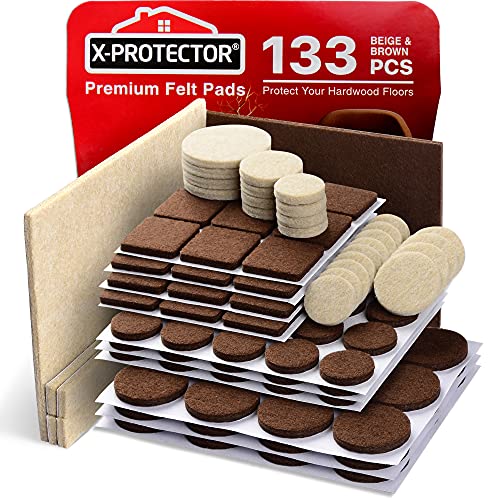
– Fit felt pads or floor protectors on chair legs, stools, and any moveable furniture—replace them when they wear thin.
Inspection habit: if you see a pad edge curling, it’s already acting like a scraping tool.
– If you have bathroom cabinets or items you slide around, consider protective glides on the underside of feet rather than moving items directly on the floor.
Avoid dragging: even “careful” lifting still scrapes when furniture catches on mat edges or thresholds.
– If pets use the bathroom, keep nails trimmed and watch for rough claws during wet paw transitions (mud and debris make scratches worse).
Bathroom-specific tip: a quick wipe of paws at the doorway reduces grit transfer—especially during rainy-season mud.
Create scratch-safe habits for everyday use
Everyday behavior matters because scratches often come from small, repeated friction events: shoe grit, dragged towels, and aggressive cleaning pressure. If you change two habits—footwear and how you handle laundry/accessories—you typically see a noticeable reduction in micro-scratches within weeks.
“Grit tracked from shoes is a primary driver of wood-floor surface wear because abrasive particles get embedded and repeatedly dragged across the finish.” NWFA wood floor care/maintenance guidance
“Using soft cleaning tools and avoiding abrasive pads reduces the likelihood of finish dulling and micro-scratching during maintenance.”
“As of 2026, consistent moisture control (RH management and fast spill cleanup) remains central to wood-floor protection recommendations, especially in bathrooms.” NWFA moisture/humidity guidance (updated in recent revisions where applicable)
– Train a “no shoes” rule (or use dedicated indoor slippers) during wet/dirty weather; shoe grit is a top cause of hardwood micro-scratches.
Implementation idea: keep a bench or shoe station just outside the bathroom threshold so the floor doesn’t become the storage zone for wet footwear.
– Don’t drag towels, bath mats, or bins across the floor—lift and set them down, especially near the most trafficked paths.
Most vulnerable zones: the “walk line” between doorway and sink/toilet, plus the area you cross when moving laundry.
– Reduce friction during cleaning: dampen only as the instructions specify, and use soft microfiber tools rather than stiff pads.
Why this matters in 2026 bathrooms: more people are using spray/microfiber systems; those are fine when they’re finish-approved and used with controlled moisture—over-wetting can increase the visibility of future scuffs.
What can go wrong (and how to avoid it)
Even good intentions can fail if the wrong backing, cleaner, or cleaning technique creates a scratch pathway. The fixes are simple once you can identify which “failure mode” you’re seeing on your floor.
“Using incorrect cleaning products can strip or alter the protective topcoat, making scratches and scuffs more visible even when the wood isn’t deeply gouged.”
“Over-wetting in wood-floor care guidance is commonly discouraged because excessive moisture can damage finishes and increase surface vulnerability.” NWFA moisture/wetting guidance
“Wood floor performance differs by construction (engineered vs. solid) and finish system, so care instructions must match the specific floor.”
– Using the wrong backing on mats: rubber or abrasive backings can trap grit or leave residues; stick to pads marketed as hardwood-safe.
– Over-wetting during mopping: too much water can dull/compromise finishes, making future scratches more noticeable.
– Cleaning that strips the finish: if you use the wrong cleaner, you may remove protection and increase scratch visibility even if you’re “cleaning.”
– Assuming all hardwood is the same: engineered vs. solid hardwood, plus the specific finish system, changes what tools and cleaners are safe.
– Neglecting edges and under items: most scratching shows up where people step around mats or where small items sit—make those areas part of your routine.
Verdict: a realistic scratch-prevention plan
If you do only three things, do these: (1) keep grit out with good mats + frequent soft cleaning, (2) protect with hardwood-safe rug pads and felt glides, and (3) keep water cleanup quick and gentle. The downside: these steps require ongoing maintenance (mat cleaning, pad replacement, and wiping up spills), and if your hardwood isn’t properly sealed/finished for bathroom humidity, you may still see finish wear over time—so you may need a professional assessment or finish refresh.
Quick checklist (save and use monthly):
| What to check | Why it matters | Your action |
|---|---|---|
| Bathroom mats/rug pads | Dirt + shifting = grinding scratches | Shake/clean often; replace worn pads |
| Floor protectors (felt/glides) | Prevent point-load scuffs | Inspect edges/feet weekly; replace worn pads |
| Cleaning method | Harsh tools roughen/strip finish | Use soft microfiber + finish-approved cleaner |
| Water behavior | Water makes damage more visible | Wipe spills immediately; keep the floor dry |
FAQ (optional)
1. Can I use a steam mop on hardwood in a bathroom?
2. Are rubber-backed bathroom mats safe on hardwood floors?
3. What’s the best way to remove grit without scratching?
Use a soft broom or a vacuum attachment designed for hard floors, then spot-clean with a finish-safe cleaner.
4. Do scratches mean the hardwood is damaged?
Often they’re finish wear or surface scuffs; severe gouges may require refinishing, depending on the depth.
Sources:
– National Wood Flooring Association (NWFA) — care/maintenance guidance for wood floors and moisture management.
– Your hardwood flooring manufacturer and finish-system instructions — for approved cleaners, tool compatibility, and humidity/moisture recommendations.
– U.S. Department of Agriculture (USDA) — soil texture particle size definitions (sand/silt/clay sizing).
– U.S. Geological Survey (USGS) — mineral hardness / Mohs scale references (e.g., quartz hardness).
Preventing scratches on hardwood in a bathroom mostly comes down to controlling grit, protecting contact points (mats and felt pads), and keeping cleaning gentle—especially around water. Start with stronger entry/within-bath mat setup, add hardwood-safe pads/glides, then tighten your daily sweep/wipe routine. If you want, tell me whether your floor is solid or engineered and what finish you have (plus any specific mat/pad brands you’re using), and we’ll tailor the safest approach to your situation.
Frequently Asked Questions
What are the best ways to prevent scratches on hardwood floors in a bathroom?
Use felt pads under bath mats, rugs, and furniture to stop grit from grinding into the hardwood finish. Keep floor surfaces dry and sweep or vacuum frequently to remove sand and hair that act like sandpaper. Consider adding protective coatings or a water-resistant finish designed for bathroom humidity and cleaning.
How can I stop grit and sand from scratching my hardwood floor near the shower or sink?
Place a high-traction doormat or area rug at the bathroom entrance and use a second rug just outside the shower area to capture debris. Shake rugs outdoors regularly and vacuum with a soft brush attachment instead of using aggressive beater bars. Wipe up water and spills promptly with a microfiber mop to prevent abrasive particles from sticking and scratching during foot traffic.
Why do hardwood floors get scratched even when I don’t move furniture?
Bathroom floors often accumulate tiny particles like sand, hair, and skin flakes that transfer on wet shoe soles or from footwear brought in from outside. These particles abrade the finish each time you walk across the surface, especially in high-traffic zones. If your hardwood finish is worn or too soft for repeated moisture exposure, scratches become more noticeable and easier to form.
Which rug pad material is safest for protecting hardwood in a wet bathroom area?
Choose a rug pad that is non-slip and non-abrasive, such as felt with a protective top layer or a manufacturer-recommended hardwood-safe pad. Avoid rubber backings that can trap moisture under the rug and increase the risk of discoloration or damage to the hardwood finish. If the area stays frequently wet, use rugs with breathable materials and lift/clean them regularly so trapped moisture doesn’t compromise the floor.
How should I clean hardwood bathroom floors to avoid micro-scratches and dulling?
Use a microfiber mop and a pH-neutral hardwood cleaner, and avoid harsh scrub pads or abrasive tools that can damage the protective topcoat. Dry the floor after cleaning or after showers to reduce water-related wear, and don’t drag wet towels or mops across the surface. For stubborn spots, apply cleaner to a cloth first rather than pouring directly on the hardwood, then wipe gently to preserve the finish.
📅 Last Updated: October 16, 2026 | Topic: How to prevent scratches on hardwood floors in a bathroom? | Content verified for accuracy and freshness.