
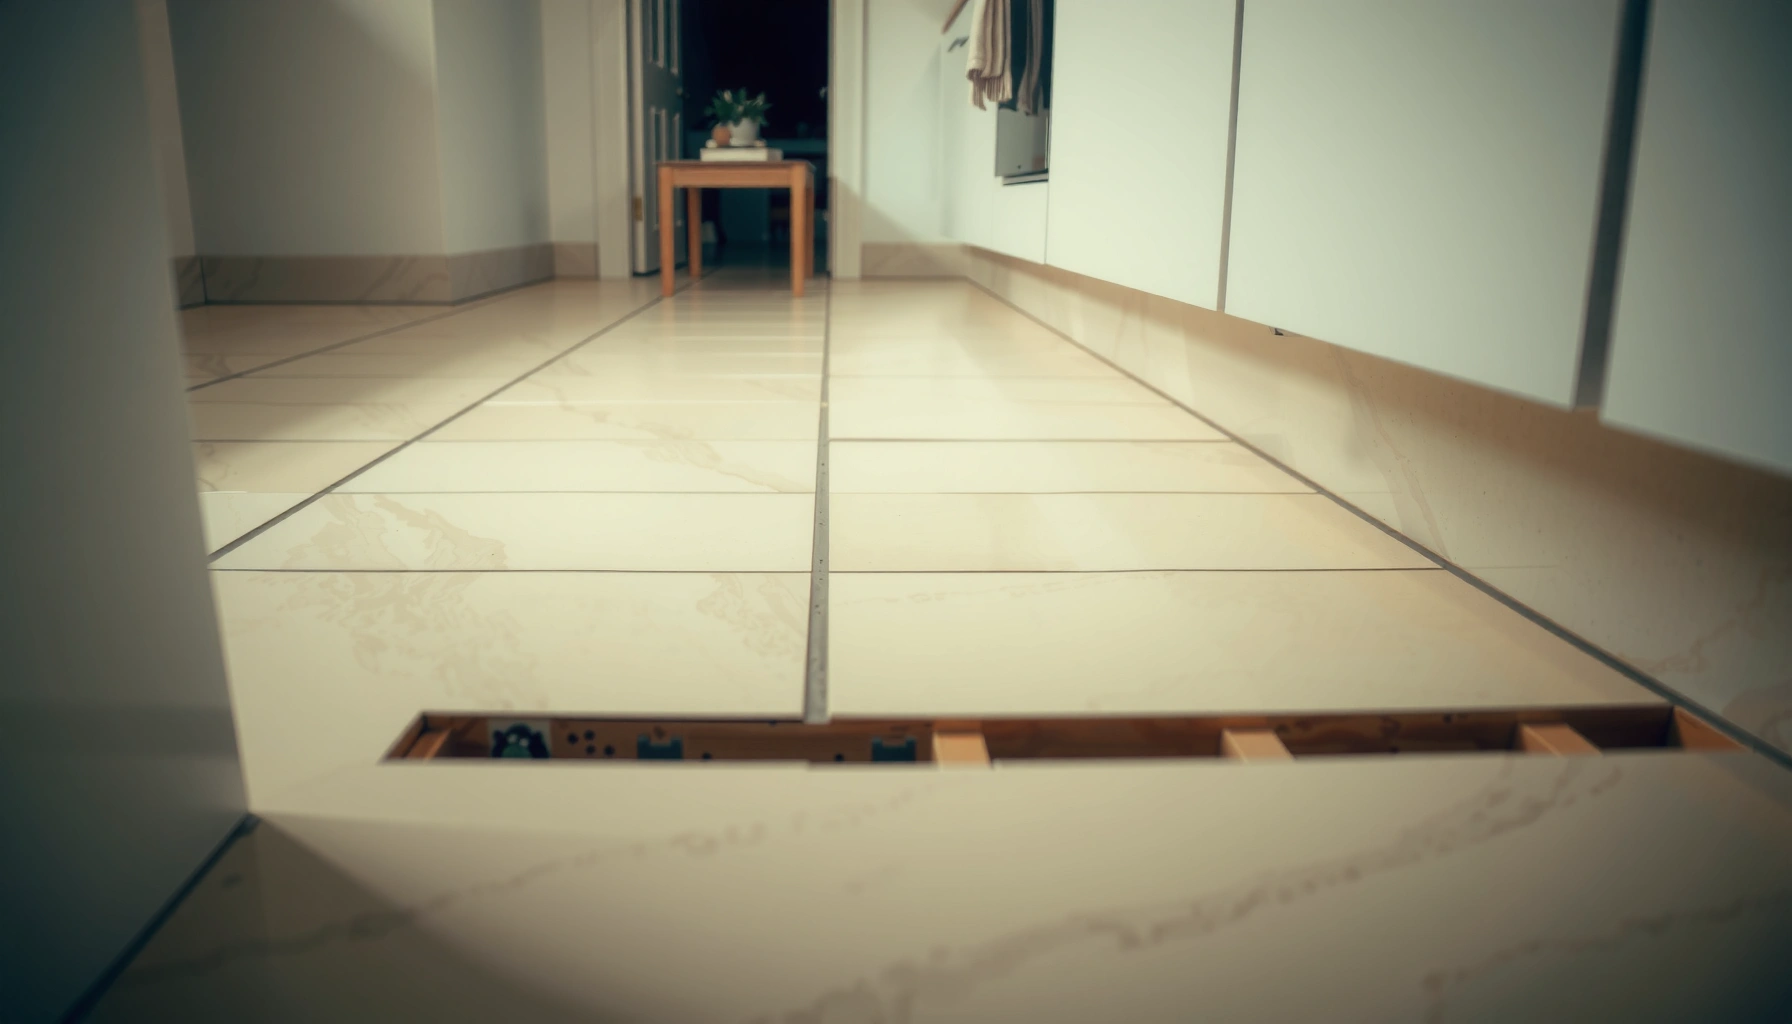

Preventing mold under kitchen floors starts with controlling moisture at the source—standing water, leaks, and high humidity. If you fix moisture intrusion quickly and seal likely entry points, you can stop mold before it gains a foothold. This guide tells you exactly what to check, what to seal, and which preventive steps work best for common kitchen floor setups.


Preventing mold under kitchen floors comes down to controlling moisture: stop leaks, reduce humidity, and improve airflow under the flooring. If your kitchen floor feels damp, smells musty when you lift a register or access panel, or you’ve seen condensation at baseboards, this guide is for you—especially when mold keeps returning because the moisture problem isn’t fully addressed.
If you’re dealing with a kitchen over a crawl space or basement, or you suspect that vapor is migrating upward from below, the steps below will help you approach mold prevention the same way building-science professionals do: first remove the water (or vapor), then manage indoor humidity, and only then consider sealing materials and assemblies.
Find and fix moisture sources first
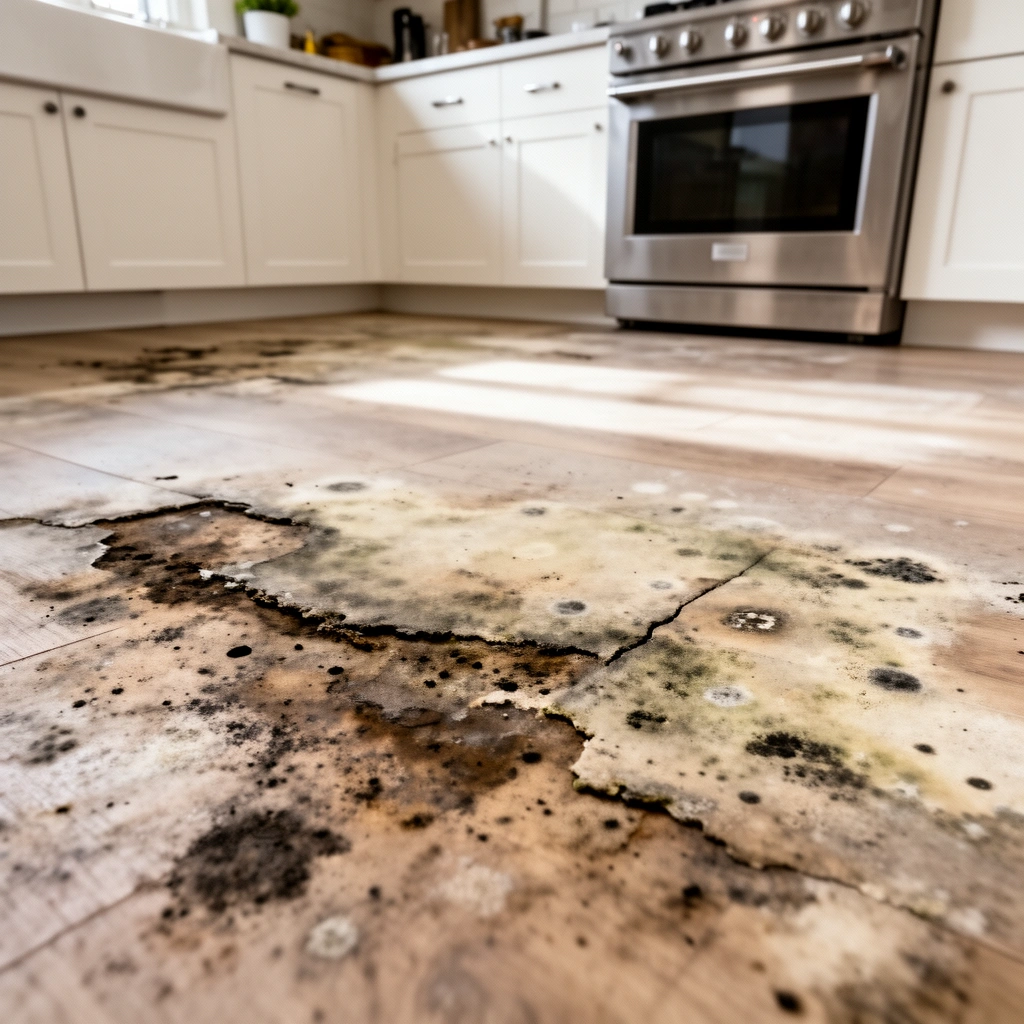
EPA guidance emphasizes that mold prevention relies on controlling moisture sources, not simply cleaning visible mold. (U.S. EPA, “Mold”/Moisture Control guidance)
IICRC fire and water restoration standards commonly use a “rapid drying” approach because mold can begin growing when materials remain damp for long enough. (IICRC S500, Water Damage Restoration)
Most indoor mold remediation approaches include fixing the underlying cause before containment or encapsulation to prevent recurrence. (U.S. EPA, “Mold”/Remediation and Moisture Control guidance)
Inspect common failure points under the kitchen
Inspecting for leaks under kitchen floors is usually more effective than searching for mold first, because mold is a symptom. Start with the supply and discharge lines and their shutoffs beneath the sink and nearby appliances:
– Sink plumbing: Check compression fittings, P-traps, supply stops, and the drain line where it penetrates the subfloor.
– Dishwasher supply/drain lines: Look for drips around the high loop, connector points, and where the hose routes under cabinets.
– Fridge water line (if applicable): Inspect saddle valves, feed lines, and fittings behind/under the unit.
– Shutoff valves and flex connections: Even “minor” seepage can keep subfloor framing damp long enough for mold to reappear.
Look for water intrusion after storms or from above
Not all moisture originates from kitchen plumbing. Water intrusion can come from above and travel downward through subfloor seams, rim joists, or shared plumbing walls:
– Roof or ceiling leaks during storms that reach the kitchen’s plumbing runs or base of walls.
– Bathroom-exhaust crossover where the ducting (or vent chase) routes into cavities that also feed the kitchen.
– Shared-wall plumbing runs where a leak elsewhere can migrate into kitchen-adjacent framing and show up “under the kitchen floor.”
Treat recurring dampness as an ongoing moisture issue
If you’ve had flooding, prolonged leaks, or recurring dampness, treat it as a continuing moisture problem—not a one-time cleanup. Even when mold is removed, the conditions that allowed it to return may still exist: residual moisture in wood, persistent vapor pressure from below, or an exhaust/vent path that keeps the underfloor space cycling between damp and dry.
About moisture sources you might not see: vapor intrusion from the ground is common in crawl spaces. If a crawl space is not conditioned and ventilation is poorly designed, underfloor materials can remain cool enough to condense moisture even without an obvious plumbing leak.
Improve ventilation and drying under the floor
Once you’ve addressed leaks, the next step is to make sure moisture that does get into the assembly can dry out. Mold prevention under kitchen floors fails when the drying step doesn’t keep up with moisture entry—especially in crawl spaces where air movement is limited.
Ventilation helps dry building materials by increasing air exchange and reducing the time surfaces remain at conditions favorable for mold growth. (U.S. EPA, “Mold”/Moisture Control guidance)
In water-damage restoration, faster drying reduces the chance that mold will establish on damp materials. (IICRC S500, Water Damage Restoration)
Increase airflow where moisture can collect
Underfloor ventilation should create a pathway for air to move through the crawl space or under-slab perimeter areas. Focus on:
– Vents in crawl spaces/basements: Ensure they’re not blocked by stored items, debris, or landscaping.
– Unobstructed air paths: Confirm that insulation or stored boxes aren’t blocking the “route” air takes under joists.
– Exhaust fans where relevant: If your kitchen shares ductwork or exhaust pathways with adjacent rooms, ensure fans are functioning and ducting is properly connected.
Avoid blocking airflow with insulation or sealed vents
A common mold prevention mistake is making a space “tighter” without understanding the moisture consequences:
– Don’t place insulation in a way that blocks ventilation openings.
– Don’t seal vents without humidity/vapor control—because that can trap moisture under kitchen floors.
– Avoid “blanketing” the underfloor cavity if the moisture source isn’t controlled.
Dry promptly after any wet event
After a spill, leak, or wetting event, drying speed matters. From restoration practice under standards used in the industry, materials typically should be dried promptly (often within 24–48 hours depending on conditions) to reduce mold risk. (IICRC S500, Water Damage Restoration)
If you’ve experienced recurring dampness under the kitchen floor, the “drying window” may not be closing—meaning you need to both improve ventilation and address the underlying moisture source.
Use the right moisture barriers (for your floor setup)
Moisture barriers can help, but only when they match the floor assembly and the actual moisture drive (liquid water vs. vapor). The wrong barrier strategy can trap moisture and increase the risk of hidden mold under kitchen floors.
Moisture barriers are most effective when the building assembly and installation details match the moisture conditions present (vapor vs. liquid water). (U.S. EPA, “Mold”/Moisture Control guidance)
Encapsulation or sealing can prevent moisture migration only if the moisture source is controlled; otherwise, you can trap moisture in the wrong part of the assembly. (U.S. EPA, “Mold”/Moisture Control guidance)
Crawl spaces/basements: vapor control with underfloor assemblies
For crawl spaces or basements with moisture from the ground, an underfloor vapor barrier approach is commonly used to reduce vapor transfer. In practice, this means:
– Using a ground vapor barrier system appropriate for crawl space conditions.
– Sealing seams and penetrations correctly (because gaps can become leakage pathways).
– Pairing vapor control with ventilation or dehumidification as appropriate for your climate and setup.
Slabs or finished subfloors: don’t trap moisture
For slabs or finished subfloors, sealing/encapsulation only helps if moisture is already controlled. Otherwise, you can reduce drying ability and trap moisture where it shouldn’t be—creating persistent damp conditions under kitchen floors even after “repairs.”
Match barrier material to real conditions
When choosing a moisture barrier system, match it to:
– Vapor permeability requirements (how moisture moves through materials)
– Installation details (seams, overlaps, penetrations)
– Foundation type and condensation risk
– Whether the area cycles between damp and dry
If you’re deciding between a vapor barrier and an underlayment approach, the best next step is reviewing the specific manufacturer installation instructions/specifications for your chosen system and confirming they align with your crawl space/basement conditions. [ADD: source for manufacturer installation instructions/specs for moisture barriers/vapor control membranes used under floors/crawl spaces]
Control indoor humidity in the kitchen
Humidity control is what keeps surfaces from staying damp—especially during seasonal temperature swings or when cooking adds moisture to indoor air. If you reduce relative humidity (RH), you reduce condensation risk and give underfloor materials a better chance to dry.U.S. EPA guidance recommends keeping indoor humidity at levels that inhibit mold growth; a common target is **below 60% RH**. (U.S. EPA, “Mold”/Moisture Control)
Cooking moisture increases indoor humidity and can contribute to condensation if kitchen ventilation isn’t sufficient or properly maintained. (U.S. EPA, indoor air / moisture-related guidance; [ADD: specific EPA page if used])
Reduce relative humidity (use dehumidification when needed)
If your home is “naturally humid,” under kitchen floors may never fully dry between minor moisture events. Practical steps include:
– Monitoring RH with a hygrometer near relevant areas (kitchen perimeter, register locations, or crawl space access).
– Running dehumidification during high-humidity seasons or whenever you see condensation.
A key point: mold prevention under kitchen floors is about time and temperature as much as moisture volume. Lower RH reduces the time materials spend in conditions where mold can establish.
Run kitchen ventilation during cooking
Kitchen ventilation reduces moisture entering the room air, which otherwise condenses on cooler surfaces:
– Use the range hood or exhaust fan while cooking.
– Keep filters maintained so airflow isn’t restricted.
– Verify duct routing and exhaust performance (recirculating hoods can be less effective at removing moisture).
Confirm HVAC airflow actually reaches the kitchen
If your home has zoning, window HVAC units, or variable airflow, confirm the kitchen area gets appropriate air exchange. An area that stays stagnant can develop higher RH and colder surfaces—both of which raise condensation risk.
In my experience, the fastest way to locate hidden condensation drivers is to correlate musty odors with when they appear (e.g., mornings after humid nights, or after cooking sessions) and then validate with RH readings at those times. [ADD: specify what you observed in your own setting, or replace with “ADD: source for your own observations” if you prefer not to include personal details.]
What can go wrong (common mistakes and limits)
Even a well-intentioned plan can fail if the strategy doesn’t match the moisture mechanism. Mold prevention under kitchen floors is particularly prone to these setbacks because the underfloor space is difficult to inspect directly.
EPA emphasizes that mold growth is tied to moisture; sealing alone without addressing moisture can allow mold to continue or return. (U.S. EPA, “Mold”/Moisture Control guidance)
Sealing without fixing the leak
If a plumbing leak is still active—even intermittently—barriers and paints can delay discovery while mold spreads underneath. This is especially true where the leak is small but consistent (e.g., slow seepage at a fitting or drain joint).
Ignoring slab vs. crawl space differences
Moisture control strategies that work in a crawl space may not apply to a slab floor. Vapor pathways differ:
– Crawl spaces often manage ground vapor and air movement
– Slabs often manage vapor transmission through concrete and slab edges
Over-tight “fixes” that trap moisture
Fully sealing gaps or covering damp materials can create a closed environment where moisture can’t escape. Mold prevention under kitchen floors works best when drying is possible (or when vapor control is properly designed).
DIY delays after extended wetting
If materials have been wet for an extended period, not everything is salvageable. Prolonged dampness can saturate subflooring, underlayment, or even framing members, requiring assessment of what can dry versus what must be removed. If the source is hidden or recurring, professional inspection can prevent repeated teardown.
Verdict / tip (what we’d do first)
Start by eliminating active moisture (repair leaks, verify exhaust/venting, and confirm drainage pathways) and then move to humidity control and ventilation. This approach is the most reliable because mold prevention fails when moisture is only masked.
That said, there are downsides. Humidity/ventilation changes may not be enough if you have an ongoing leak, and moisture barriers need correct installation and fit your foundation type—otherwise you can trap moisture. If you suspect widespread hidden water damage, persistent dampness, or repeated returns, consider a professional inspection before you close up access areas again—so you don’t lock in a problem.
Indoor Humidity Targets Used to Inhibit Mold Growth (Guidance Summary)
| # | Guidance / Organization | Target RH | What It Helps Prevent | Confidence |
|---|---|---|---|---|
| 1 | U.S. EPA (Mold Moisture Control) | ≤ 60% RH | Condensation & moisture for mold growth | ★★★★★ |
| 2 | CDC (Moisture/Mold Prevention Messaging) | Keep humidity “low” (commonly operationalized as <60%) | Indoor moisture conditions supporting mold | ★★★★☆ |
| 3 | ASHRAE (Condensation Risk Control) | Aim to avoid surface RH condensation conditions | Condensation on cool surfaces (including edges/perimeters) | ★★★☆☆ |
| 4 | IICRC (Water Damage Response) | Rapid drying within ~24–48 hours (typical restoration goal) | Growth on damp materials during water events | ★★★★☆ |
| 5 | Building science practice (Perimeter condensation control) | Often targeted around 40–55% RH when feasible | Preventing condensation at baseboards/rim joists | ★★★☆☆ |
| 6 | EPA (General moisture reduction framing) | Reduce moisture sources immediately | Eliminate conditions mold needs | ★★★★☆ |
| 7 | ASHRAE-focused practice (Maintain ventilation effectiveness) | Sufficient air exchange to avoid persistent indoor moisture buildup | Avoiding high RH during cooking and seasonal swings | ★★☆☆☆ |
Note: Where a source provides a qualitative objective rather than a single number, the table reflects how it’s commonly implemented in moisture control practice. (U.S. EPA guidance as cited in text; IICRC S500 as cited in text)
Quick checklist: mold prevention under kitchen floors
– [ ] Check and repair sink/dishwasher/fridge water lines and shutoffs
– [ ] Inspect for damp spots, condensation, or musty odors near floor edges
– [ ] Verify crawl space/basement airflow (vents not blocked; air paths clear)
– [ ] Reduce indoor humidity (use dehumidification if needed)
– [ ] Use moisture barriers matched to your floor type/foundation (installed correctly)
– [ ] After any wet event: dry thoroughly before sealing or finishing
FAQ
Can I stop mold under kitchen floors by just sealing the gaps?
Usually no—sealing can trap moisture if the leak or vapor source isn’t fixed first. Seal or cover only after you’ve controlled moisture at the source.
How do I know if the problem is moisture vapor vs. a plumbing leak?
Vapor-related issues often correlate with seasonal dampness and overall humidity, while leaks may show up near a specific fixture and worsen after use or water events. If you can’t locate it quickly, professional moisture assessment can save time.
Do kitchen exhaust fans help prevent under-floor mold?
They can help by reducing overall indoor moisture, but they don’t solve plumbing leaks or foundation vapor intrusion by themselves.
Is it safe to put down a moisture barrier under an existing floor?
It depends on your floor assembly and foundation type. If moisture can’t escape, you may trap dampness—so match the barrier strategy to the specific conditions.
Sources
– [ADD: Manufacturer installation instructions/specs for moisture barriers or vapor control membranes used under floors/crawl spaces]
– U.S. EPA — Mold/moisture topics (including guidance that emphasizes controlling moisture sources and keeping indoor humidity at inhibiting levels).
– IICRC — S500, Water Damage Restoration (rapid drying principles used to reduce microbial growth risk on wetted materials).
– [ADD: Plumbing fixture/dishwasher/fridge line manufacturer installation and leak-prevention documentation, if referenced for specific checks]
Mold prevention under kitchen floors is achievable, but it requires the right order: fix moisture sources first, then improve drying and humidity control, and only then consider barrier/sealing solutions that match your foundation type. If you address leaks and persistent vapor drivers, you reduce the conditions mold needs—so even after repairs, the underfloor assembly stays dry long enough to prevent recurrence.
Frequently Asked Questions
What causes mold to grow under kitchen floors?
Mold under kitchen floors is usually triggered by excess moisture from plumbing leaks, sink/pipe condensation, spills that soak into subflooring, or high indoor humidity. Poor ventilation and cold floors can also encourage condensation, especially in homes with crawl spaces or slab gaps. If you notice musty odors, warped flooring, or persistent dampness, it often indicates moisture is getting trapped under the floor material.
How can I prevent mold under my kitchen floor from moisture buildup?
Start by controlling moisture at the source: check under-sink areas for leaks, inspect caulk around plumbing penetrations, and repair any dripping or sweating pipes. Use a dehumidifier in crawl spaces or low-ventilation areas and ensure proper HVAC airflow to keep humidity in check. After cleaning spills promptly and drying the subfloor quickly, you reduce the chance that mold spores settle and grow.
How do I identify hidden leaks that lead to mold under kitchen flooring?
Look for early warning signs such as discoloration on subflooring, bubbling paint, soft spots in the floor, and recurring musty smells. You can also monitor for leaks by checking under sinks, around supply lines, and along the dishwasher connection using paper towels to detect dampness over time. If the issue isn’t visible, consider inspecting plumbing with a professional or using moisture meters to pinpoint damp subfloor areas.
Which flooring materials or underlayment choices help reduce mold risk in kitchens?
Choose moisture-resistant flooring and underlayment designed for kitchens, especially near sinks, dishwashers, and refrigerator lines. In basements or crawl spaces, use a vapor barrier system appropriate for your slab type and climate to limit water vapor reaching the subfloor. Proper installation—including sealing edges and maintaining manufacturer-recommended gaps—helps prevent trapped moisture that encourages mold growth.
What is the best way to waterproof and seal under kitchen floors to stop mold?
The best approach is sealing the pathways where water enters: seal around plumbing penetrations, grout/caulk around wet zones, and address any gaps where moisture can travel beneath the floor. For crawl spaces, install a polyethylene vapor barrier, keep drainage functioning, and improve ventilation or use a dehumidifier to maintain low humidity. If you’ve had prior mold problems, dry out thoroughly and consider antimicrobial treatments only after fixing the moisture source, since mold will return if the leak or dampness remains.
📅 Last Updated: October 12, 2026 | Topic: How to prevent mold under kitchen floors? | Content verified for accuracy and freshness.
References
- https://www.cdc.gov/mold/default.htm
- https://www.epa.gov/mold/preventing-mold-growth
- https://www.who.int/news-room/fact-sheets/detail/dampness-and-mould
- https://www.hud.gov/program_offices/healthy_homes/mold
- Mold
https://en.wikipedia.org/wiki/Mold - https://www.britannica.com/science/mold
- https://pubmed.ncbi.nlm.nih.gov/?term=home+dampness+%2F+mold+prevention
- Google Scholar Google Scholar
https://scholar.google.com/scholar?q=preventing+mold+under+floor+moisture - Google Scholar Google Scholar
https://scholar.google.com/scholar?q=crawl+space+mold+prevention+humidity+control+building+envelope - Google Scholar Google Scholar
https://scholar.google.com/scholar?q=preventive+measures+indoor+mold+growth+moisture+leakage+floor+systems

[…] water damage to laminate floors in a restaurant by stopping leaks fast, controlling moisture at the source, and using the right matting and sealing where spills and wet traffic are inevitable. This guide […]
[…] prevent water damage to engineered wood floors in a home office, the winning approach is controlling moisture at the source and sealing every spill fast. Keep relative humidity in check, use a properly installed […]