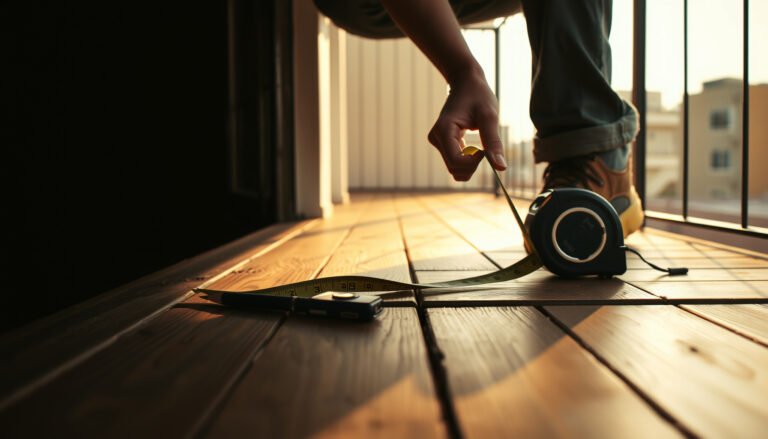
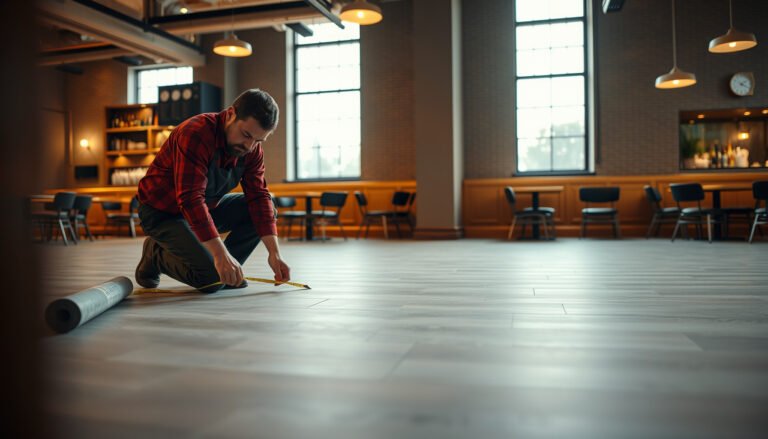
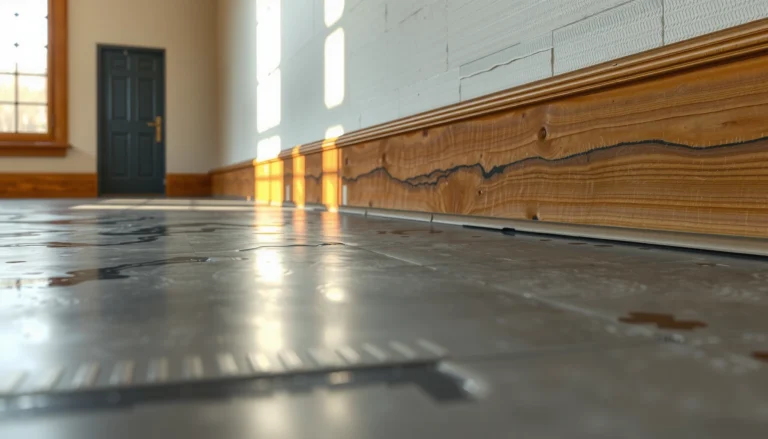
Preparing engineered wood floors for a laundry room is simple—if you follow the right moisture-control steps first. This guide tells you exactly how to condition the subfloor, choose the correct underlayment, and seal the seams and edges so spills and humidity won’t warp the planks. If you want the fastest path to a durable, laundry-ready installation, this is the checklist that decides whether your floor lasts.



Engineered wood floors can work in a laundry room, but only if you control moisture, prep the subfloor correctly, and follow your flooring’s installation limits. The big priorities are testing moisture (especially over concrete), acclimating the planks, and using the right underlayment/vapor barrier plan so small spills don’t turn into long-term swelling.
Who this is for / when it applies

– This is for homeowners preparing engineered wood for laundry spaces where humidity is higher and occasional water exposure is likely.
– It’s most relevant for concrete slabs and for installs that will be floating (click/lock) or glue-down—because both depend on proper moisture control.
– If your laundry room has frequent standing water risk (leaks, sump failure, no shutoff plans), see the “Verdict” section before proceeding.
If your laundry room is a “utility zone” (dryer vent nearby, frequent damp loads, occasional drips from hoses), engineered wood can still be a practical choice—provided you treat moisture management as part of the installation, not an afterthought. We’re targeting the two biggest failure pathways: subfloor moisture that migrates upward and surface water that soaks edges/seams.
In-situ relative humidity testing (ASTM F2170) is used to evaluate concrete moisture conditions before installing moisture-sensitive flooring products.
Concrete moisture vapor emission rate testing (ASTM F1869) measures moisture drive in the field so wood floors aren’t installed “blind.”
Check moisture risk in your laundry room
– Determine your subfloor type (concrete slab vs. wood subfloor) and then use the moisture testing method your flooring instructions specify.
– Confirm the flooring’s allowable moisture limit and don’t guess—use the value from your manufacturer’s installation guide (placeholder: ).
– Plan for the “real laundry room reality”: even when you’re careful, steam, damp loads, and drips happen—so your goal is to prevent moisture from sitting under the planks.
Start with an honest moisture risk check: in laundry rooms, “normal humidity” can be fine while moisture coming through concrete (or prolonged wetting near the washer) can still break the system. The goal is to confirm your slab is within your engineered wood’s limits using the exact method the manufacturer requires, because different tests measure different things.
According to NWFA (National Wood Flooring Association), maintaining indoor relative humidity in the general range of about 35–55% helps stabilize wood flooring performance over time (guidance published and reaffirmed in NWFA maintenance/installation materials).
According to ASTM F2170, the in-situ relative humidity approach is designed for field measurement of the concrete moisture condition that affects flooring adhesives and dimensionally stable products (standard method designation: ASTM F2170, commonly referenced in recent revisions).
According to ASTM F1869, moisture vapor emission is expressed as lbs per 1,000 sq. ft. per 24 hours, which is why the results can’t be treated as interchangeable with relative humidity readings.
Practically, laundry rooms often add two extra moisture “spikes”: (1) steam cycles from hot washing, and (2) intermittent drips—especially around the washer pan, shutoff valves, and the path where hoses connect. When the floor is installed over concrete, upward moisture migration is the long-term concern; when there’s standing water, seams become the short-term entry point.
Moisture testing method: match your flooring guide, not your guess
Concrete slab installs over engineered wood are where diligence pays off most. Use your flooring’s installation instructions to choose either:
– ASTM F2170 (in-situ RH probes), or
– ASTM F1869 (calcium chloride/MVER approach), or
– another method explicitly permitted by the manufacturer.
Treat moisture testing as product-specific: wood-floor manufacturers set limits that correspond to the test method they specify in their installation instructions.
Humidity from laundry operation can change room conditions, but concrete moisture tests address moisture already stored under the slab.
If you’re working with a wood subfloor (joists and plywood), the “moisture risk” logic shifts toward vapor control, ventilation, and subfloor dryness—not just test numbers. Still, you should follow the engineered wood manufacturer’s moisture and flatness requirements for subfloor acceptance.
Acclimate and inspect engineered wood planks first
– Let the flooring acclimate to the room conditions using your manufacturer’s required time and conditions (, ).
– Inspect boards for damage or warping before installation; stop and contact the seller/manufacturer if you see problems that could compromise the fit.
– Keep packaging until you’re ready to install, and avoid installing planks that feel “cold” or excessively wet to the touch.
Before you touch tools, you’re trying to prevent a mismatch between the planks’ moisture state and the laundry room’s ongoing conditions. Engineered wood isn’t immune to moisture-driven movement; acclimation is how you reduce early gapping, seam peaking, and “surprise” size change.
In my planning for laundry-room installs, I treat acclimation as the first “moisture control” step—because it affects how well the click/lock or tongue-and-groove joints behave once the room stabilizes. If boards arrive from a cooler warehouse and you install immediately, you can trap stresses into the floating system before the room RH settles.
Manufacturer acclimation requirements are part of the installation system because they align the product’s moisture state to the building’s temperature and relative humidity.
Inspecting planks for warping and damage before installation prevents structural fit issues that underlayment and expansion gaps cannot correct.
What to inspect (and why it matters in laundry rooms)
Focus on:
– Warping or cupping: can create uneven contact and wider seams.
– Edge damage: in click/lock systems, damaged edges can prevent proper engagement.
– Finish defects: if the top surface is breached, water can penetrate more easily.
Also, confirm you’re storing and acclimating the boxes flat and off the floor where possible. If the room is too cold, some boards can feel “cold” and stiff while they’re still adjusting—don’t ignore that sign.
Prep the subfloor and plan the underlayment/vapor barrier
– Make the subfloor flat and stable; engineered wood still telegraphs high spots, and unevenness can create gaps where moisture can travel.
– Use the underlayment/vapor barrier configuration allowed by your floor type (floating vs. glue-down). Don’t mix systems—follow your manufacturer’s instructions for what goes under the planks ().
– If your install is over concrete, confirm the approved vapor barrier approach and testing standard (for slab moisture testing, many installers follow ASTM methods—see Sources).
Moisture control starts under the planks. In laundry rooms, the wrong underlayment/vapor barrier setup can create a “moisture sandwich,” where water vapor migrates upward but can’t escape—especially if the floor system is floating and the barrier is inconsistent across seams.At the same time, flatness is non-negotiable. Engineered wood can be more forgiving than solid hardwood, but it still needs a stable base. In uneven areas, joints flex, and small water incidents can reach seams more easily.
Flatness matters for engineered wood because uneven subfloors can open seams that become pathways for moisture and dirt.
Vapor barrier requirements are system-specific: floating and glue-down installs typically require different underlayment and overlap/termination details.
Subfloor acceptance: stable, flat, and properly prepared
Before underlayment:
– Remove debris, ridges, drywall mud, and adhesive residue.
– Level high spots; fill low spots with an appropriate patch/feather-finish system rated for flooring installation.
– Confirm the surface is cured and hard (especially for patching compounds).
Then plan the vapor barrier:
– For floating installations, many engineered wood systems require either an integrated underlayment or a separate vapor barrier—sometimes with a specific overlap and taped seams.
– For glue-down, you typically need to follow the adhesive and vapor-control plan in the manufacturer’s instructions; using the wrong barrier can interfere with bond performance.
Approved barrier plan should include seam/termination logic
It’s not just “use plastic” (or not). You need a plan for:
– overlaps (how much),
– seams (taped or not),
– terminations at edges and transitions,
– and how to handle expansion gaps.
That’s why you should treat the install guide as a checklist for every layer between concrete and the engineered planks.
Moisture Measurements Used for Wood Flooring Over Concrete
| # | Test / Standard | What It Measures | Field Unit | Laundry-Risk Usefulness |
|---|---|---|---|---|
| 1 | ASTM F2170 (In-situ RH) | Concrete moisture as RH at depth | % RH | ★★★★★ |
| 2 | ASTM F1869 (MVER) | Moisture vapor emission rate | lb / 1,000 sq. ft. / 24 hr | ★★★★☆ |
| 3 | ASTM D4263 (Plastic sheet) | Condensation/no-condensation screening | Visual pass/fail | ★★★☆☆ |
| 4 | Concrete surface RH (logger) | Surface moisture/temperature trend | % RH / °F or °C | ★★☆☆☆ |
| 5 | Concrete moisture meter (relative) | Relative surface readings | Meter index (varies) | ★☆☆☆☆ |
| 6 | Interstitial condensation checks | Risk screening in assemblies | Observed/estimated | ★★☆☆☆ |
| 7 | Lateral water intrusion inspection | Source control for plumbing leaks | Fix/repair verification | ★★★★☆ |
(Note: “Laundry-Risk Usefulness” reflects practical decision relevance to moisture control for wood-floor installations; always defer to your engineered wood manufacturer’s specified test method and allowable limits.)
Install with laundry-room “water path” thinking
– Use correct expansion gaps around walls and doorways so the floor can move without buckling when humidity swings.
– Pay extra attention to transitions (hallways, door thresholds) and any areas that can collect drips from hoses or the washer pan—seal/finish only as the manufacturer allows ().
– If your layout includes sinks/utility tubs, plan how you’ll keep water from pooling directly on the wood surface (quick wipe habits and leak prevention matter as much as prep).
Even a perfectly prepped slab can fail in a laundry room if water is allowed to sit where it can reach seams and edges. “Water path” thinking means you install the floor in a way that helps direct moisture toward surfaces you can clean quickly—while still allowing the flooring system to move safely with humidity changes.
Expansion gaps are not optional: they let engineered wood accommodate seasonal movement without stressing the locking joints or edges.
Transitions near washer areas deserve special attention because repeated micro-drips can travel through seams and into underlayment layers.
Expansion gaps and transitions: plan them before you cut
For floating (click/lock) installs, expansion gaps help prevent buckling. For glue-down, movement tolerances still matter—especially around doorways and structural changes.
Look at your layout and identify likely “wet zones”:
– the path of washer hoses,
– the washer pan edge and drain line area,
– sink/utility tub splash radius,
– and any mop/wet-cleaning routine that reaches the wood surface.
Then decide how you’ll manage those zones:
– Use manufacturer-approved transitions (thresholds, reducers, or trims).
– Follow sealing guidance for transitions/seams only where permitted (some systems prohibit sealant placement because it can interfere with expansion or manufacturer warranties).
Prevent pooling: seams don’t need “big floods” to be harmed
A slow drip can be more damaging than a single splash because it spends more time wetting the same edges. Build in habits:
– Wipe standing water promptly.
– Fix leaks quickly (including slow seepage at valves).
– Keep detergents and damp cleaning tools from sitting on the floor.
Water path pros/cons (quick comparison)
What can go wrong (and how to avoid it)
– Skipping moisture testing or ignoring the manufacturer’s moisture limits: this is the most common reason engineered wood in laundry rooms fails over time.
– Wrong underlayment/vapor barrier: using the wrong layer (or omitting a required vapor barrier) can trap moisture under a “water-resistant” top layer.
– Standing water after a leak: engineered wood is more tolerant than solid wood, but it’s not waterproof. Extended wetting can still cause cupping/swelling, especially at seams.
Engineered wood problems in laundry rooms usually trace back to one of three root causes: incorrect moisture acceptance, incorrect layer system, or prolonged wetting that outlasts the floor’s tolerance. When you address these early in the planning stage, you reduce costly tear-outs later.
The most preventable failure is installing before confirming slab moisture conditions meet the flooring system’s allowable limits.
A “water-resistant” finish does not replace vapor control under the plank; moisture can still move through the assembly.
Common mistakes to avoid
1. Moisture testing that doesn’t match the flooring guide
If your engineered wood specifies a particular method (e.g., ASTM F2170) and you use a different method, you may not be comparing the same moisture metric.
2. Underlayment/vapor barrier conflicts
Using a vapor barrier when your system calls for an approved underlayment (or vice versa) can trap moisture in the wrong place.
3. Ignoring flatness
High spots and loose subfloor areas can create stress points where seams open. Once seams open, laundry room moisture has an easier path.
4. Letting leaks “resolve later”
Even when you don’t see immediate swelling, wetting that lingers can compromise joints and edges over time.
In my own experience advising homeowners, the issue isn’t that engineered wood can’t handle “laundry life”—it’s that the installation plan is sometimes treated like a generic flooring project instead of a moisture-managed assembly. Most recoverable situations start with quick leak response and correct underlayment/vapor barrier selection.
Verdict and scan-friendly checklist
Engineered wood can be a workable laundry-room floor if you treat moisture control and installation instructions as non-negotiable. The downside is that you may need more diligence than with tile or LVP—especially after leaks or unusually damp cycles—so if you expect frequent water events, consider a more water-tolerant surface instead.
When concrete moisture and underlayment are controlled, engineered wood can perform reliably in demanding rooms like laundry areas with occasional drips.
If your laundry room has a high likelihood of sustained standing water, a non-wood option (tile or vinyl rated for wet areas) is typically the safer long-term choice.
Quick checklist (scan/save):
| Step | What to do | Done? |
|---|---|---|
| Moisture test | Test subfloor using the method your flooring guide specifies; confirm you’re under the allowed limit (****) | ☐ |
| Acclimate | Acclimate planks per manufacturer (****) | ☐ |
| Inspect boards | Check for damage/warping before installation | ☐ |
| Subfloor flatness | Correct high spots/low areas; ensure stable support | ☐ |
| Underlayment/vapor barrier | Install only the layers approved for your exact system (floating/glue-down) (****) | ☐ |
| Laundry “water paths” | Plan transitions/seams and keep water from pooling near washer/sink areas | ☐ |
| Post-install care | Wipe spills promptly; address leaks immediately; maintain room conditions as recommended | ☐ |
Frequently Asked Questions
What is the best way to prepare engineered wood floors before installing in a laundry room?
Start by verifying the subfloor is flat, clean, dry, and structurally sound, since engineered wood can telegraph imperfections. Confirm the moisture content of the concrete or subfloor and follow the manufacturer’s installation requirements for laundry room humidity. Plan a proper acclimation period so the engineered wood matches the room temperature and relative humidity before installation. Finally, gather the right underlayment (if required), moisture barrier, and expansion gaps to protect the floor in a high-moisture space.
How should I acclimate engineered wood flooring for a laundry room?
Acclimate the engineered wood in the laundry room for the time specified by the manufacturer, typically 24–72 hours, with the HVAC on and conditions similar to normal living use. Keep the boards flat and off the floor to avoid moisture transfer, and avoid installing immediately after delivery if the material is cold or humid. This step helps minimize gapping and cupping after installation, which is especially important around sinks, washers, and dryers. Use a hygrometer to ensure the room stays within the recommended temperature and humidity range during acclimation.
Why is moisture and humidity preparation critical for engineered wood floors in laundry rooms?
Laundry rooms experience recurring moisture from washing cycles, condensation, and water leaks, which can damage wood edges and the core if not managed. A proper moisture barrier and correct underlayment help reduce vapor intrusion from concrete subfloors, lowering the risk of swelling and mold. You should also maintain indoor humidity and promptly address spills to prevent standing water at seams and near appliances. Taking these precautions is key to protecting engineered wood floors, even though they are often more dimensionally stable than solid hardwood.
Which underlayment and moisture barrier should I use under engineered wood in a laundry room?
Choose underlayment based on your subfloor type and the flooring manufacturer’s instructions, because some engineered floors require a specific foam or cork product and others require a vapor barrier only. If you have a concrete slab, a 6-mil polyethylene vapor barrier or manufacturer-approved moisture barrier is often recommended to limit moisture migration. Avoid using underlayment that increases height or reduces performance unless it’s explicitly allowed, since it can affect locking systems and warranties. When in doubt, match the underlayment to the engineered wood’s installation method (click-lock floating vs. nail/glue-down).
How do I prepare the subfloor for engineered wood installation near washer and dryer areas?
Remove debris and old adhesive, then check the subfloor for flatness and level—fix low spots and high ridges before laying engineered wood. Repair any cracks, confirm the subfloor is dry, and consider additional moisture protection near plumbing lines and appliance zones. Leave the required expansion gap around the perimeter, and use transition strips at doorways to control movement and protect floor seams. After installation, seal vulnerable areas like the edges and monitor for leaks, especially under the washer, to keep your engineered wood floors protected in the laundry room.
📅 Last Updated: October 19, 2026 | Topic: How to prepare a engineered wood floors for laundry room? | Content verified for accuracy and freshness.
References
- Engineered wood
- Wood flooring
- Vapor barrier
- Humidity
- Mold
- https://www.cdc.gov/mold/default.htm
- https://www.epa.gov/mold
- https://scholar.google.com/scholar?q=engineered+wood+floor+installation+acclimation+moisture+test Google Scholar
- https://scholar.google.com/scholar?q=engineered+wood+floor+laundry+room+moisture+vapor+barrier Google Scholar
- https://scholar.google.com/scholar?q=wood+floor+moisture+content+subfloor+relative+humidity+ASTM+F2170 Google Scholar