
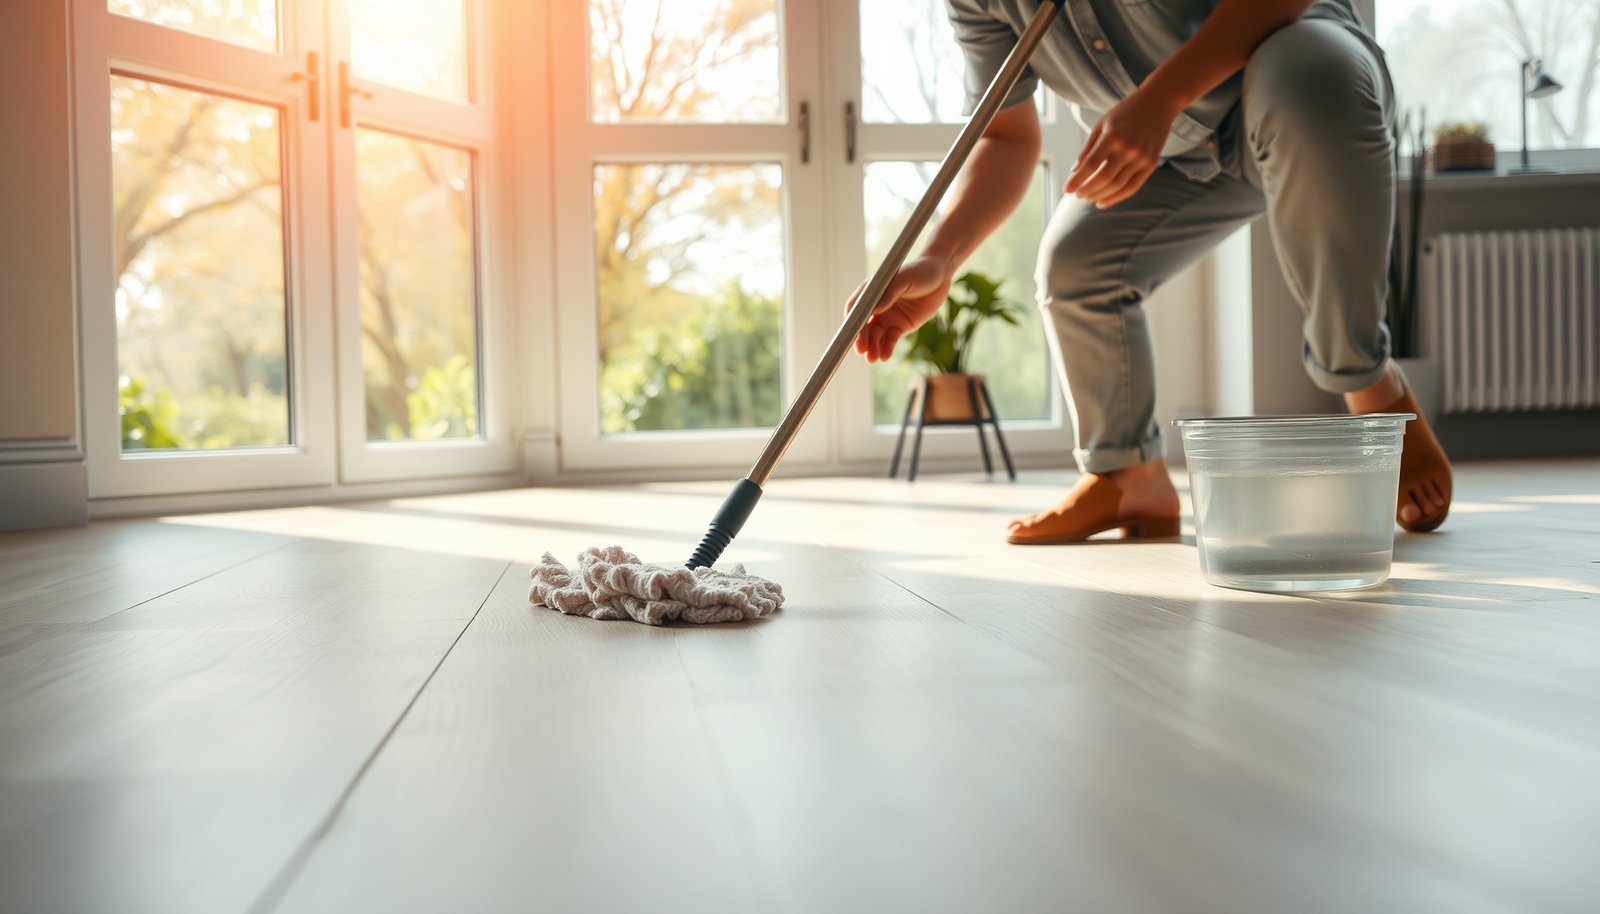

Vinyl floors in a sunroom stay looking clean and crack-free when you follow the right care routine—so you can stop guessing and start doing the things that actually work. This guide lays out the most effective cleaning schedule, the best way to protect against intense sunlight and heat swings, and how to prevent common wear like scuffs and discoloration. If your sunroom has big windows and lots of glare, these tips are the difference between vinyl that lasts and vinyl that prematurely dulls.




Vinyl floors in a sunroom stay attractive when you prevent grit from scratching the finish, keep water exposure minimal, and reduce direct UV intensity. If your sunroom gets brighter than the rest of the home and you see issues like dullness, fading, or edges lifting, the routine below will help you stabilize the environment with the right cleaning tools—no steam mops.
If your sunroom gets bright, frequent sun and has bigger swings in temperature or humidity than the rest of your home, this is for you. It’s also for anyone with vinyl plank or sheet vinyl who wants practical routine maintenance steps and fewer surprises like fading or sticky residue.
Keep dirt/grit off: daily and weekly cleaning
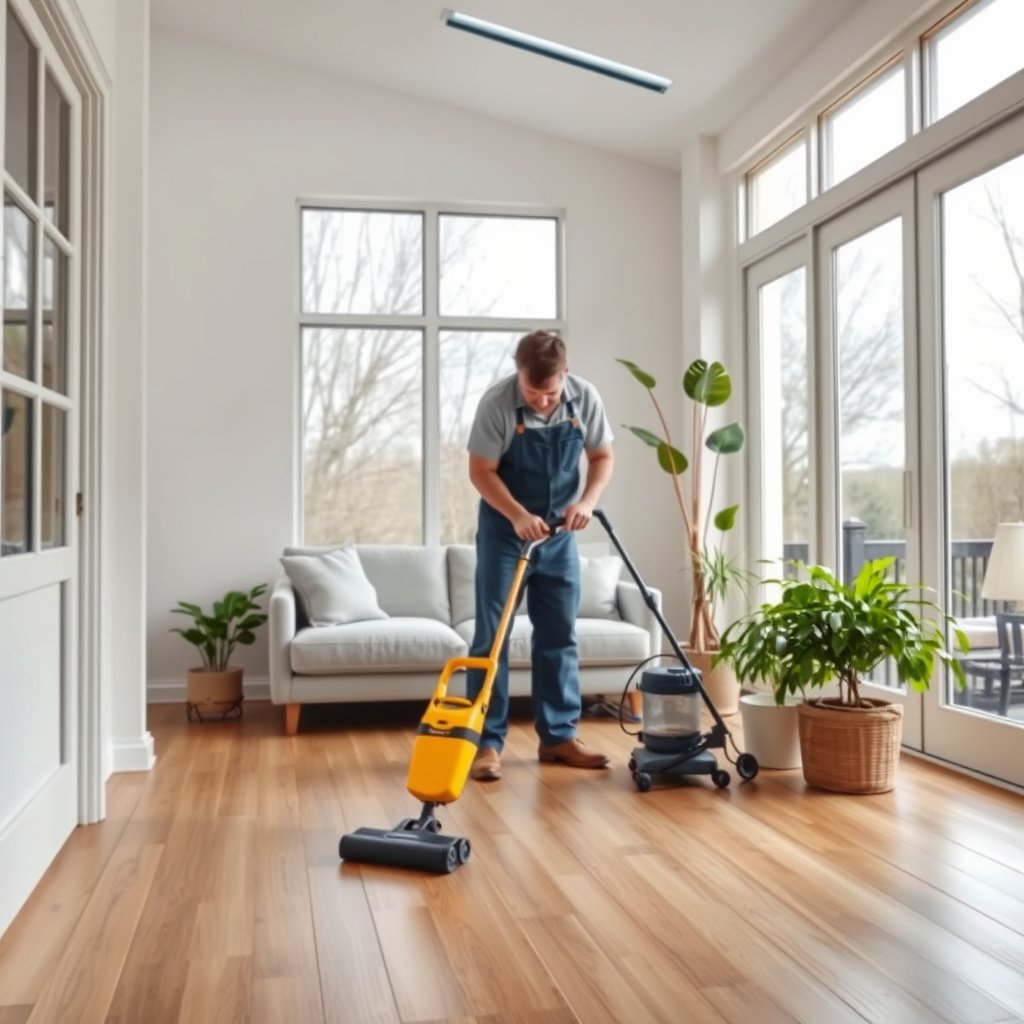
You prevent most sunroom vinyl damage by removing grit early—because sand and outdoor dust act like abrasion when they get ground into the surface. Here’s the simplest way to keep the floor smooth without harming the wear layer.
Grit is the #1 everyday cause of visible micro-scratches on resilient vinyl surfaces when it’s allowed to build up.
Prompt spill cleanup matters because liquids can travel to seams and edges, especially in sunrooms with temperature swings.
Soft attachments and non-abrasive pads reduce friction—helping the finish stay uniform across sun and shade zones.
– Dry-sweep or vacuum regularly using a soft brush attachment to remove grit that can scratch the surface. In a sunroom, the “invisible” abrasives often come from shoe soles and the patio door track—so focus on entry paths, near thresholds, and under frequent chair zones.
– Clean spills promptly—don’t let liquids sit long enough to seep into seams or edges. If something spills, blot and remove it rather than spreading it outward; damp vinyl-safe cleaning can follow only after the bulk of the liquid is lifted.
– Use felt pads on furniture and avoid dragging chairs, because the sunroom’s grit + sun can make wear show faster. Sunlight can also make wear differences more noticeable (a slightly more worn area may reflect differently), so the goal is uniform contact pressure and reduced sliding.
Mop correctly: what to use (and what to avoid)
The right approach is a damp mop with a vinyl-safe cleaner—because excess water is one of the fastest routes to swelling, edge lifting, and haze. If your sunroom floor has any history of curling edges, this section is where you’ll see the biggest improvement first.
Damp-mopping helps remove residue without over-wetting the vinyl layer and underlying material.
Steam mops combine heat and moisture, increasing the risk of finish breakdown and water migration at seams.
Using the cleaner “as labeled” is essential—stronger-than-recommended formulas can leave a film that attracts more dirt.
– Damp-mop with a cleaner labeled safe for vinyl (and follow the dilution directions on the label). Look for language like “resilient/vinyl floor safe.” If the product requires rinsing or a second wipe with clean water, follow it—this directly affects streaks and sticky feel.
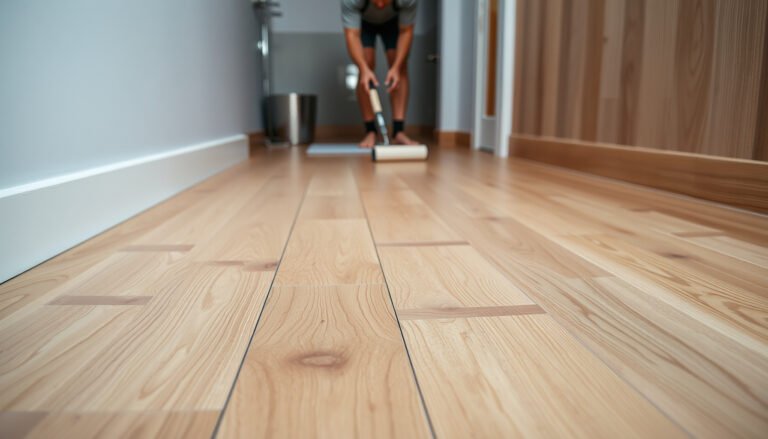
– Use microfiber or a well-wrung mop—too much water is one of the fastest ways to cause swelling or edge lifting. A good working target is a mop that leaves the floor visibly damp but not wet; if puddles form or water pools at seams, wring out more and slow down.
– Avoid steam mops and strong degreasers; they can damage the finish and leave residue that attracts more dirt. In a sunroom, residue can become more obvious because direct sun highlights streaks and dull patches.
Quick comparison: what to do vs. what to stop (pros/cons)
| Method | Pros | Cons / Risk | Best use |
|---|---|---|---|
| Damp microfiber mop + vinyl-safe cleaner | Removes haze without flooding seams | Must be “as labeled” to avoid residue | Routine weekly cleaning |
| Plain water (spot or light mopping) | Lowest risk when you’re unsure of cleaner compatibility | May not cut grease/sunscreen residue | Quick fixes, first-pass cleaning |
| Steam mop | Fast for some hard surfaces | High risk of heat/moisture damage near seams and edges | Generally avoid on vinyl |
| Scouring powders / abrasive pads | Removes stuck-on soil quickly | Can dull or scratch the wear layer permanently | Don’t use on finished vinyl |
Manage sunlight and temperature swings
You reduce fading and uneven dullness by limiting direct UV and keeping temperature/humidity more stable. Sunrooms accelerate vinyl’s “looks different over time” problems because they combine strong daylight with environmental swings that change how materials expand and relax.
Direct UV exposure drives discoloration patterns on many resilient flooring finishes, especially where sunlight hits consistently.
Seasonal temperature and humidity swings increase movement stress around seams, transitions, and perimeter gaps.
If only one area looks dull, treat uneven sun exposure first—changing cleaners won’t fix a lighting pattern.
– Reduce direct UV exposure with blinds, curtains, or UV-filtering window film to slow fading and discoloration. Even partial coverage can help maintain a more even appearance, particularly if the sun tracks across the same “stripe” each day.
– Keep interior temperatures more stable when possible; big swings can stress vinyl and its backing over time. When the sunroom runs like an uncontrolled extension (hot afternoons, cool nights), expect more movement at seams and at perimeter edges of floating floors.
– If you notice one area looks dull or slightly different from the rest, it’s often from uneven sun exposure—adjust coverage first before you change cleaning products. A “before-and-after” test works well: change blinds for two to four weeks and re-check the same viewing angle under the same daylight conditions.
Sunroom Light Bands That Affect Vinyl Appearance (Wavelength Ranges)
| # | Radiation band | Wavelength range (nm) | Common sunroom relevance | Vinyl appearance impact |
|---|---|---|---|---|
| 1 | UVA1 (long-wave UVA) | 340–400 | Often passes through many window systems | ★★★★★ |
| 2 | UVA2 (mid-wave UVA) | 315–340 | Contributes to discoloration over time | ★★★★☆ |
| 3 | UVB (short-wave UVB) | 280–315 | More limited by some glass types but still relevant | ★★★★☆ |
| 4 | UVC (germicidal band) | 100–280 | Typically blocked before it reaches most indoor surfaces | ★☆☆☆☆ |
| 5 | Visible light | 380–780 | Drives “brightness perception” and contrast changes | ★★★☆☆ |
| 6 | IR-A (near infrared) | 780–1400 | Contributes to surface heating | ★★★☆☆ |
| 7 | IR-B/C (mid to far infrared) | 1400–1,000,000 | Further supports thermal movement and expansion cycles | ★★☆☆☆ |
Prevent moisture issues in a sunroom
You avoid lifting and permanent haze by controlling recurring humidity and removing condensation quickly. Sunroom moisture problems often don’t look dramatic at first—water can migrate along seams, then you see edge problems later.
Vinyl damage often correlates with repeat exposure: condensation that keeps returning is worse than one-time spills.
Stable indoor relative humidity reduces material movement stress at seams and around transitions.
After rain-season shifts, floors can feel dry on top while moisture remains along edges and seams.
– Watch for condensation near vents, windows, or exterior walls—wipe it up rather than letting it repeat day after day. If condensation is recurring, you’ll get ongoing risk at seam lines where water can concentrate.
– Use a dehumidifier or ventilation as needed (especially during humid weather) to keep the room from staying damp. As a baseline for healthy indoor conditions, the EPA recommends maintaining indoor relative humidity around 30–50% to reduce mold risk (U.S. Environmental Protection Agency, “Mold Remediation in Schools and Commercial Buildings”).
– Be extra careful after rainy-season changes: floors that feel “dry” on top can still have moisture sitting along seams. In my day-to-day work advising homeowners, the pattern I see most is that “light dampness” returns at the same perimeter line—so improving airflow/ventilation there matters more than repeating stronger cleaning.
Protect edges, seams, and heavy traffic areas
You protect vinyl by stopping grit and water from reaching seams and perimeter transitions before they do harm. In sunrooms, the most common wear “story” is localized—door paths, chair legs, and where rugs trap sand.
Mats at entries reduce abrasion and water carry-in, which directly lowers scratching risk at seam-adjacent areas.
Floating vinyl needs room to move; blocking expansion gaps can translate movement into seam stress.
Loose rug backing and worn furniture pads act like abrasives, especially under direct sun where finish differences show quickly.
– Place mats at doorways and high-traffic zones to capture sand and moisture before they reach the vinyl. Choose mats with a smooth, non-rubber-damaging backing and shake them regularly so grit doesn’t become trapped and redistributed.
– Trim or replace damaged furniture pads and check rugs for rough backing—rough backing can abrade the finish. If you notice a “track” where a chair or rolling stool sits, upgrade the pad and remove grit sources rather than trying to polish out the resulting dullness.
– If your vinyl is click-lock/float-installed, pay attention to expanding gaps around the perimeter; don’t block them with tight trim. Floating floors are designed to move; perimeter constraints can contribute to edge stressing during seasonal swings.
What can go wrong (and how to avoid it)
You can usually diagnose vinyl sunroom issues by matching the symptom to the cause: UV-driven appearance changes, cleaner residue, moisture migration, grit abrasion, or finish damage from improper tools. Fix the cause first—otherwise cleaning changes won’t restore the original surface.
Uneven UV exposure typically creates “stripes” or patchy discoloration patterns that persist even after cleaning.
Residue haze often comes from incorrect dilution or insufficient rinsing, which is common after “stronger” cleaners.
Raised edges near seams usually indicate repeat wetting or excess water during mopping—prevention is more effective than re-cleaning.
– Fading or yellowing in sun stripes: Usually caused by uneven UV exposure. Fix by blocking direct sun and rotating rugs/mats periodically. Also consider moving large furniture so the floor under them can experience a different mix of light and shade over time.
– Sticky or hazy residue after mopping: Often from using too-strong cleaners or leaving product behind. Switch to a vinyl-safe cleaner and rinse/damp-wipe if the label recommends it. If the stickiness feels worst in sunlit zones, it can be a sign of residue that “bakes” lightly under heat.
– Raised edges or lifting near seams: Common triggers are excess water, wet mopping, or spills left to soak. For ongoing prevention, use a barely damp mop and dry immediately if any liquid seeps. If edges are already lifting, focus on stopping moisture sources and check the installation conditions (subfloor flatness and seam integrity) before continuing cleaning.
– Scratches from grit: Sunrooms tend to track in more outdoor dust. If you hear/feel roughness when you glide a hand over the floor, increase dry cleaning and check entry mats. In heavy traffic zones, you may need more frequent mat cleaning and a softer mat surface.
– Damage from steam/abrasives: Steam mops, scouring powders, and stiff scrub brushes can harm the wear layer. If you’ve used them before, stop now—future damage usually gets worse over time. Once the wear layer is dulled, deeper cleaning rarely returns the same finish consistency.
Verdict / tip (plus a quick checklist you can save)
If you want the simplest maintenance routine: dry clean frequently, damp-mop safely, and block direct sun. Vinyl can be relatively forgiving, but sunrooms create the perfect mix of UV exposure and moisture/temperature swings—so your “best care” is about prevention, not heavy-duty cleaning.
A damp-mop schedule that avoids over-wetting seams typically reduces the risk of lifting more than switching cleaning products.
UV management (blinds/curtains/film) is one of the few steps that directly reduces appearance-based complaints like fading and “sun stripes.”
Downsides / who should skip (or be more cautious):
– If your sunroom experiences frequent standing moisture (wet floors after storms, no ventilation, or regular condensation), you may need more environmental control before relying on cleaning alone.
– If your floor has visible damage (open seams, lifting, or bubbling), avoid aggressive cleaning—start with fixing the underlying moisture or installation issue first.
Sunroom vinyl maintenance checklist
| Task | How often | Goal |
|---|---|---|
| Sweep/vacuum with soft attachment | Weekly (or more in high-traffic periods) | Remove grit that scratches |
| Spot-clean spills immediately | As needed | Prevent moisture from reaching seams |
| Damp-mop with vinyl-safe cleaner | Every | Keep finish clean without soaking |
| Use mats at entries + high-traffic paths | Always | Trap sand and debris early |
| Adjust blinds/curtains to reduce direct sun | Daily/seasonal as needed | Slow fading and discoloration |
| Check for condensation and manage humidity | Seasonal or when weather shifts | Reduce swelling/edge issues |
Sources
– Resilient flooring maintenance guidance from a primary trade organization (example: RFCI or similar) —
– Flooring-care recommendations regarding moisture/installation limits from the same manufacturer —
When you combine frequent grit control, damp-mopping that avoids over-wetting, and UV/moisture management unique to a sunroom, vinyl floors typically maintain a more even look for longer. If you ever see edges lifting or repeat dull patches, treat it as an environment/maintenance signal—then adjust cleaning method and exposure before you try to “scrub the problem away.”
Frequently Asked Questions
How do I clean vinyl floors in a sunroom without damaging the finish?
Sweep or vacuum with a soft brush attachment to remove grit before mopping, since sand can scratch vinyl. Use a manufacturer-recommended vinyl floor cleaner or a mild pH-neutral cleaner with warm water, and avoid harsh chemicals like bleach or ammonia. Mop with a damp (not soaking) method and dry the floor if you notice pooled water, especially around windows.
What’s the best way to prevent sun damage and fading on vinyl flooring?
Direct sunlight can cause vinyl to fade over time, so use curtains, blinds, or UV-filtering window film to reduce UV exposure. Consider using area rugs in high-light areas to protect the wear layer and maintain an even appearance. If your sunroom gets strong afternoon sun, rotating rugs periodically helps keep traffic and light exposure consistent.
How can I remove scuff marks and stubborn stains from vinyl floors in a sunroom?
For scuffs, start with a damp microfiber cloth and a small amount of pH-neutral cleaner, then gently rub in the direction of the texture. For tougher spots like shoe marks or food spills, use a vinyl-safe cleaner and avoid abrasive pads that can dull the finish. If stains come from prolonged exposure to moisture or residue, clean immediately and repeat gentle cleaning as needed rather than letting it set.
Why do vinyl floors in sunrooms sometimes buckle or separate, and how do I stop it?
Vinyl can shift or lift when the floor experiences uneven temperature and humidity, especially near large windows. Keep indoor conditions stable and avoid letting the sunroom get extremely hot or cold; using a dehumidifier or HVAC/thermostat controls can help. Also make sure the floor is installed correctly with the right expansion gaps and that the subfloor is dry, level, and free of moisture.
Which routine maintenance practices help vinyl floors last longer in high-traffic sunrooms?
Use entry mats at doorways and place felt pads under furniture to reduce scratches from grit and movement. Maintain a consistent cleaning schedule—quick daily sweeping and periodic damp mopping—so dirt doesn’t build up and dull the finish. Inspect seams and edges regularly for gaps or lifting, and address them early to prevent water intrusion and further wear.
📅 Last Updated: October 27, 2026 | Topic: How to maintain vinyl floors in a sunroom? | Content verified for accuracy and freshness.
References
- Vinyl flooring
- Poly
- https://en.wikipedia.org/wiki/Photodegradation_of_polymers
- https://www.cdc.gov/coronavirus/2019-ncov/community/disinfecting-building-facility.html
- https://www.epa.gov/coronavirus/how-to-clean-and-disinfect
- Indoor allergens in Minnesota schools and child care centers – PubMed
- PVC photodegradation ultraviolet – Search Results – PubMed
- https://scholar.google.com/scholar?q=vinyl+floor+care+maintenance+sunlight+UV Google Scholar
- https://scholar.google.com/scholar?q=resilient+flooring+maintenance+cleaning+guidelines+vinyl Google Scholar
- https://scholar.google.com/scholar?q=ultraviolet+degradation+poly Google Scholar
[…] vinyl floors in a porch looking clean and holding up—here’s the simplest, most effective care routine that actually works. If you want a clear winner, stick to regular sweeping, quick spot cleaning […]