
The right underlayment under travertine is one that’s rated for natural stone and installed over a solid, flat subfloor—typically cement board or an uncoupling membrane, followed by a compatible thinset mortar. Do that, and you dramatically reduce the two most common failure modes for stone floors: cracking from movement and loosening from improper bond or moisture issues. If you’re installing travertine over wood subfloors, concrete slabs, or an existing floor, follow these steps to place the right layer in the right way—then avoid the details that quietly cause expensive rework.
If you’re doing it yourself, this guide helps you validate the assembly before you start thinset. If you’re coordinating with a tile installer, it gives you a checklist to confirm the underlayment system you’re using matches both the travertine and underlayment manufacturer requirements.
Choose the right underlayment for travertine
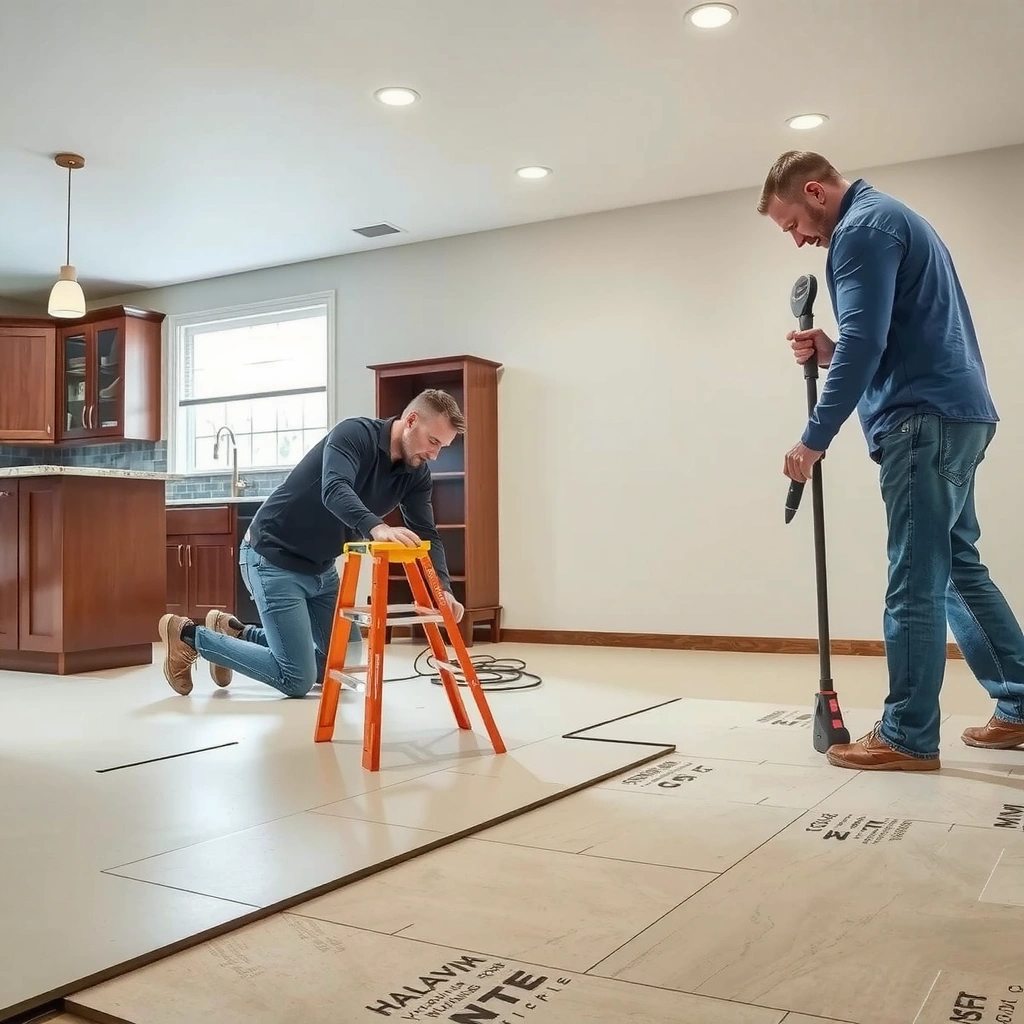
The best underlayment choice is the one explicitly rated for natural stone (travertine) and paired with your subfloor type (wood or concrete). For most residential travertine floors, cement board and properly installed uncoupling membranes are the most common “safer defaults,” but only if the manufacturer lists travertine and the system matches the tile/stone specs.
Here’s the practical logic: travertine is more sensitive to movement than many ceramic tiles because it’s a larger-format natural stone surface with variable porosity and stiffness. Underlayment systems manage two problems at once: (1) they reduce the amount of stress transmitted from the subfloor to the stone, and (2) they support a consistent bond plane for the thinset mortar.
Use an underlayment system rated for natural stone/travertine—not a “tile underlayment” assumed to be universal.
Cement board works as a rigid support layer; uncoupling membranes work by reducing how subfloor movement reaches the stone.
When selecting:
– Confirm the rating: Look for language such as “suitable for natural stone” or “for marble/limestone/travertine” on the underlayment and (if applicable) the membrane/thinset compatibility guide.
– Match to subfloor construction:
– Wood subfloor: Prioritize deflection control and a system that’s compatible with plywood/OSB and the manufacturer’s fastening schedule.
– Concrete slab: Focus on bond conditions, moisture considerations, and seam/flatness requirements.
– Respect thickness and fastening specs: Underlayment is only “correct” when installed at the specified thickness with the specified fastener type and spacing. If you skip fastening or overfasten, you can create movement points and high/low ridges that telegraph through stone.
Quick comparison: what most installers choose (and when)
Below is a scan-friendly comparison of common underlayment system categories used under travertine—how they typically behave, and the decision criteria that matter most.
Underlayment System Types for Travertine Floors (Decision Factors)
| # | System type (underlayment layer) | Typical subfloor | Movement risk control | Seam complexity | Best fit rating | Tradeoff |
|---|---|---|---|---|---|---|
| 1 | Cement backer board (thin-set mortar bed) | Wood or concrete | ★★★☆☆ | Low | ★★★★☆ | Must fasten flawlessly to avoid lippage |
| 2 | Uncoupling membrane (sheet) | Wood or concrete | ★★★★★ | Medium | ★★★★☆ | Detailing seams is critical |
| 3 | Cement board over existing tile (proper prep) | Existing floors | ★★★☆☆ | Medium | ★★★☆☆ | Requires strict flattening and adhesion checks |
| 4 | Foam underlayment (rated systems only) | Wood (select) | ★★☆☆☆ | Low–Medium | ★★☆☆☆ | Only safe when manufacturer approves travertine |
| 5 | Exterior-grade plywood subfloor + membrane (assembly) | Wood | ★★★★☆ | Medium | ★★★★☆ | More prerequisite framing work |
| 6 | Self-leveling underlayment (SLC) + membrane/board | Concrete/wood (select) | ★★★★☆ | High | ★★★☆☆ | Strict moisture and cure-time handling |
| 7 | No underlayment (direct bond where allowed) | Concrete (select) | ★★☆☆☆ | Low | ★☆☆☆☆ | Only consider if specs explicitly allow it |
Prep the subfloor so the underlayment can perform
The underlayment can only do its job if the subfloor is solid, clean, and flat enough for the tile assembly to hold shape. If you install over dips, crowned areas, or loose surfaces, you’re effectively transferring the problem into the travertine—where it shows up as lippage, cracking, or grout failure.
This is where many DIY projects lose performance despite “using the right underlayment.” Travertine installation failures usually trace back to subfloor prep because stone exaggerates surface irregularities: thinset thickness varies, and stress concentrates at tile edges and corners.
Fix flatness problems first—underlayment is for uncoupling and support, not for reliably “bridging” significant unevenness.
Remove anything that prevents full thinset contact: dust, paint overspray, drywall mud ridges, adhesive residue, and loose patch material.
Key prep steps:
– Assess flatness and deflection:
– For tile and stone, industry guidance commonly references limiting floor movement/deflection; ANSI/TCNA methods are the reference point for performance expectations. According to ANSI/TCNA methodologies, stone floors must be built on a subfloor that meets specific deflection limits (often expressed as an L/___ criterion) to reduce cracking risk. [ADD: exact ANSI/TCNA deflection reference you follow—e.g., TCNA Handbook method + value]
– Stabilize wood floors:
– Ensure the subfloor layers are properly fastened; loose boards should be re-secured before underlayment goes down.
– If you have squeaks, those are usually movement points that will eventually stress grout lines and stone edges.
– Concrete slab checks:
– Remove curing compounds and laitance; confirm the surface is sound and not contaminated.
– Verify the slab’s moisture condition meets your thinset and stone assembly expectations (manufacturers often specify moisture-vapor requirements).
In my workflow, the “do not skip” checks
When I’m reviewing an install plan (or walking a crew through it), the first things I insist on are subfloor stiffness verification and flatness correction. Even when the underlayment is top-tier and the thinset is correct, I’ve repeatedly seen assemblies fail when the crew assumes “membrane will smooth it out.” Membranes can reduce movement stress; they don’t correct a wildly uneven substrate.
Install the underlayment correctly (placement, seams, fastening)
Correct installation means complete support, correctly overlapped seams, and fastener placement that matches the system. Under travertine, small seam mistakes can become visible weak planes under the stone.
The biggest controllable variable here is how seams and edges are handled. Cement board requires proper joint treatment; membranes require overlap and approved seam tape/band.
Seams are the weak link—follow the underlayment’s exact seam overlap and joint treatment instructions to avoid creating stress lines.
Fastener spacing (for boards) is not optional—incorrect spacing can cause buckling, movement, and tile cracking.
Placement and fastening basics:
– Full coverage / no “float zones”:
– Lay the underlayment over the entire area per the manufacturer’s coverage guidance.
– Do not leave voids or substitute underlayment patches that don’t match the system.
– Stagger board seams and keep alignment consistent so you don’t create continuous vertical stress paths.
– Fasten boards to spec (wood and some concrete methods):
– Use the manufacturer-specified screws and spacing pattern.
– Keep fasteners flush—overdriving creates high spots that transfer through stone.
– Membrane seam treatment:
– Overlap seams as directed and apply the approved seam tape/band.
– Don’t swap in generic tape unless the membrane instructions explicitly allow it.
Waterproofing and moisture control where it matters
Water management is part of the underlayment system, not an optional upgrade. In moisture-prone areas—bathrooms, entryways, laundry rooms, and wet zones—you need the waterproofing approach designed to work with travertine and the selected underlayment.
Natural stone is often used for beauty, but it brings practical constraints: travertine can be sensitive to prolonged moisture exposure, and the assembly needs to be built to accommodate how water will move through your layers. Many failures are detail failures: penetrations, corners, and transitions.
For wet areas, waterproofing must be integrated with the tile assembly details—not added randomly at the end.
Edges, corners, and penetrations are where most moisture-related failures begin under stone tile systems.
What to do:
– Use the system’s waterproofing plan:
– If you’re using an uncoupling membrane that’s part of a waterproofing assembly, follow that assembly’s details precisely.
– If the membrane isn’t a waterproofing layer for your scenario, add the required waterproofing layer(s) per the manufacturer.
– Plan transitions:
– Where the floor meets walls, thresholds, or adjacent surfaces, waterproofing/flashing details control how water migrates.
– Don’t trap moisture:
– Follow manufacturer guidance on ventilation/moisture behavior for the specific assembly.
Three concrete “anchor points” to guide your plan
– According to ANSI/TCNA stone and tile installation guidance, stone tile assemblies require substrates that meet deflection limits to prevent cracking ([ADD: TCNA Handbook / ANSI A108 reference + exact criterion], [year: ADD]).
– According to thinset manufacturer technical data, selecting a mortar compatible with both travertine and the underlayment system is required for bond reliability ([ADD: thinset technical datasheet reference]).
– According to common waterproofing system documentation, seams/penetrations must be treated with approved accessories to maintain the assembly’s water-resistance ([ADD: waterproofing system instructions reference]).
What can go wrong (and how to prevent it)
The most common travertine failures come from skipping preparation steps or deviating from the assembly specs. Underlayment alone can’t rescue an installation that’s out of flatness, mismatched for stone, or poorly detailed at seams and transitions.
Here are the high-impact problems to watch for:
– Skipping flatness prep
Travertine can telegraph subfloor dips and ridges, leading to lippage and stress at grout joints.
– Using an underlayment not rated for natural stone
Systems approved for porcelain/ceramic may not be appropriate for travertine due to bond and movement requirements.
– Wrong thinset or bonding approach
Even with correct underlayment, incompatible thinset can reduce adhesion or change how stresses transfer.
– Poor seam handling
Unsealed seams or incorrect overlaps can create weak lines that show up as cracked grout or stone movement.
If the underlayment is not explicitly approved for travertine, you’re accepting a bond and movement risk you can’t easily quantify.
The thinset layer is the “bridge” between underlayment and stone—using the wrong mortar undermines the whole system.
Pros/cons at a glance (decision clarity)
| Approach | Pros | Cons / Watch-outs |
|---|---|---|
| Cement board | Rigid support; common in residential installs when flatness is controlled. | Requires correct fastening and joint treatment; misfastened boards can create high spots. |
| Uncoupling membrane | Designed to reduce movement transfer; often performs well over imperfect substrates. | Seam overlaps and tape/band usage must be exact; thinset compatibility still matters. |
Verdict: what we recommend—and who should skip DIY
A manufacturer-rated uncoupling membrane or cement board installed over a properly prepared, flat subfloor is typically the best route for underlayment under travertine. The upside is improved crack resistance and more predictable tile performance; the downside is that you must follow the fastening/seam/waterproofing steps and mortar compatibility rules exactly.
Skip DIY (or get a pro assessment) if your substrate is significantly uneven, you have structural concerns (sagging, ongoing squeaks, compromised framing), or you’re unsure about moisture conditions—especially over wood where vapor and deflection behavior can be complicated. In those cases, the most cost-effective move is usually a pre-install review, because correcting the substrate after travertine is installed can require full removal.
The “best” underlayment is the one whose installation method and mortar compatibility are explicitly validated for travertine.
When moisture details are uncertain, professional evaluation often prevents the most expensive failure mode: tile and stone removal after leaks.
Quick checklist before you start
– [ ] Underlayment is rated for natural stone/travertine
– [ ] Subfloor is clean, solid, and flat (address any low/high spots first)
– [ ] Underlayment type matches your subfloor (wood vs concrete) and use case (dry vs moisture-prone)
– [ ] Seams are installed and treated exactly per instructions
– [ ] Fasteners (for boards) meet specified spacing and pattern
– [ ] Waterproofing/moisture plan is appropriate for the room and detail areas
– [ ] Thinset mortar plan is compatible with travertine + underlayment
FAQ
Do I need underlayment for travertine flooring?
Often, yes—at least a purpose-built layer (cement board or a rated uncoupling membrane) is recommended to help manage movement and reduce the risk of cracking, especially when the subfloor has any deflection or minor imperfections. Confirm the requirement with the underlayment system and your tile/stone installation specs.
Can I install travertine directly on concrete without underlayment?
In some cases, systems allow direct bonding to properly prepared concrete, but many installers still use an uncoupling membrane depending on floor condition, moisture conditions, and movement. Check both the travertine setting instructions and the underlayment/membrane compatibility documentation ([ADD: exact product/system specs if you have a specific one in mind]).
What’s the biggest cause of travertine cracking after installation?
Most commonly, it’s movement or stress from an unstable/uneven subfloor, incorrect underlayment use, or incomplete/incorrect seam and moisture detailing. Flatness prep and following the underlayment’s installation instructions usually matter as much as the material choice itself.
Are membranes or cement board better under travertine?
Both can work well when used correctly—membranes are designed to uncouple movement, while cement board provides a rigid support layer. The “better” choice depends on your subfloor type, layout, and whether the manufacturer approves the system for travertine.
Do I need waterproofing under travertine in a bathroom?
If the area is considered wet or moisture-prone, waterproofing is typically part of the approved assembly. Use the waterproofing approach specified by the underlayment system and follow detail guidance for edges, corners, and penetrations ([ADD: source for your chosen system’s waterproofing requirements]).
Sources
– [ADD: Manufacturer installation instructions for the specific underlayment/cement board or uncoupling membrane you plan to use—include the sections that state natural stone/travertine suitability, seam treatment, fastening, and waterproofing requirements.]
– [ADD: Manufacturer technical guidance for thinset mortar compatibility with travertine and the selected underlayment system.]
– [ADD: TCNA Handbook method and ANSI/TCNA guidance you are following for substrate deflection/flatness and stone tile assembly requirements.]
– [ADD: Waterproofing system technical documentation for wet-area requirements and required accessories for corners/edges/penetrations.]
To keep travertine looking good and staying solid, treat the underlayment system as a matched assembly—rated for natural stone, installed over a flat and stable substrate, and detailed correctly at seams and moisture transitions. When you get those fundamentals right, the installation becomes far more predictable, and you avoid the most common causes of cracking and loosening that show up months after the floor is “done.”
Frequently Asked Questions
What underlayment should I use under travertine floors?
For most travertine installations, homeowners use a thin cement backer board or an uncoupling membrane designed for natural stone. Cement backer board helps create a stable base, while uncoupling membranes reduce stress transfer from minor subfloor movement. If you’re installing over plywood, look for an approved system for stone (with the correct thickness and fastening schedule) and follow the manufacturer’s requirements for travertine compatibility.
How do I install underlayment under travertine on a plywood subfloor?
Start by ensuring the plywood is solid, flat, and properly secured, then sand down high spots and replace any damaged panels. Install cement backer board or an uncoupling membrane per the system instructions, staggering seams and maintaining the correct board spacing, thinset coverage, and screw pattern. Use thinset to bond and set seams as directed, then allow appropriate cure time before setting travertine with a quality thinset mortar rated for natural stone.
How do I install underlayment under travertine over concrete?
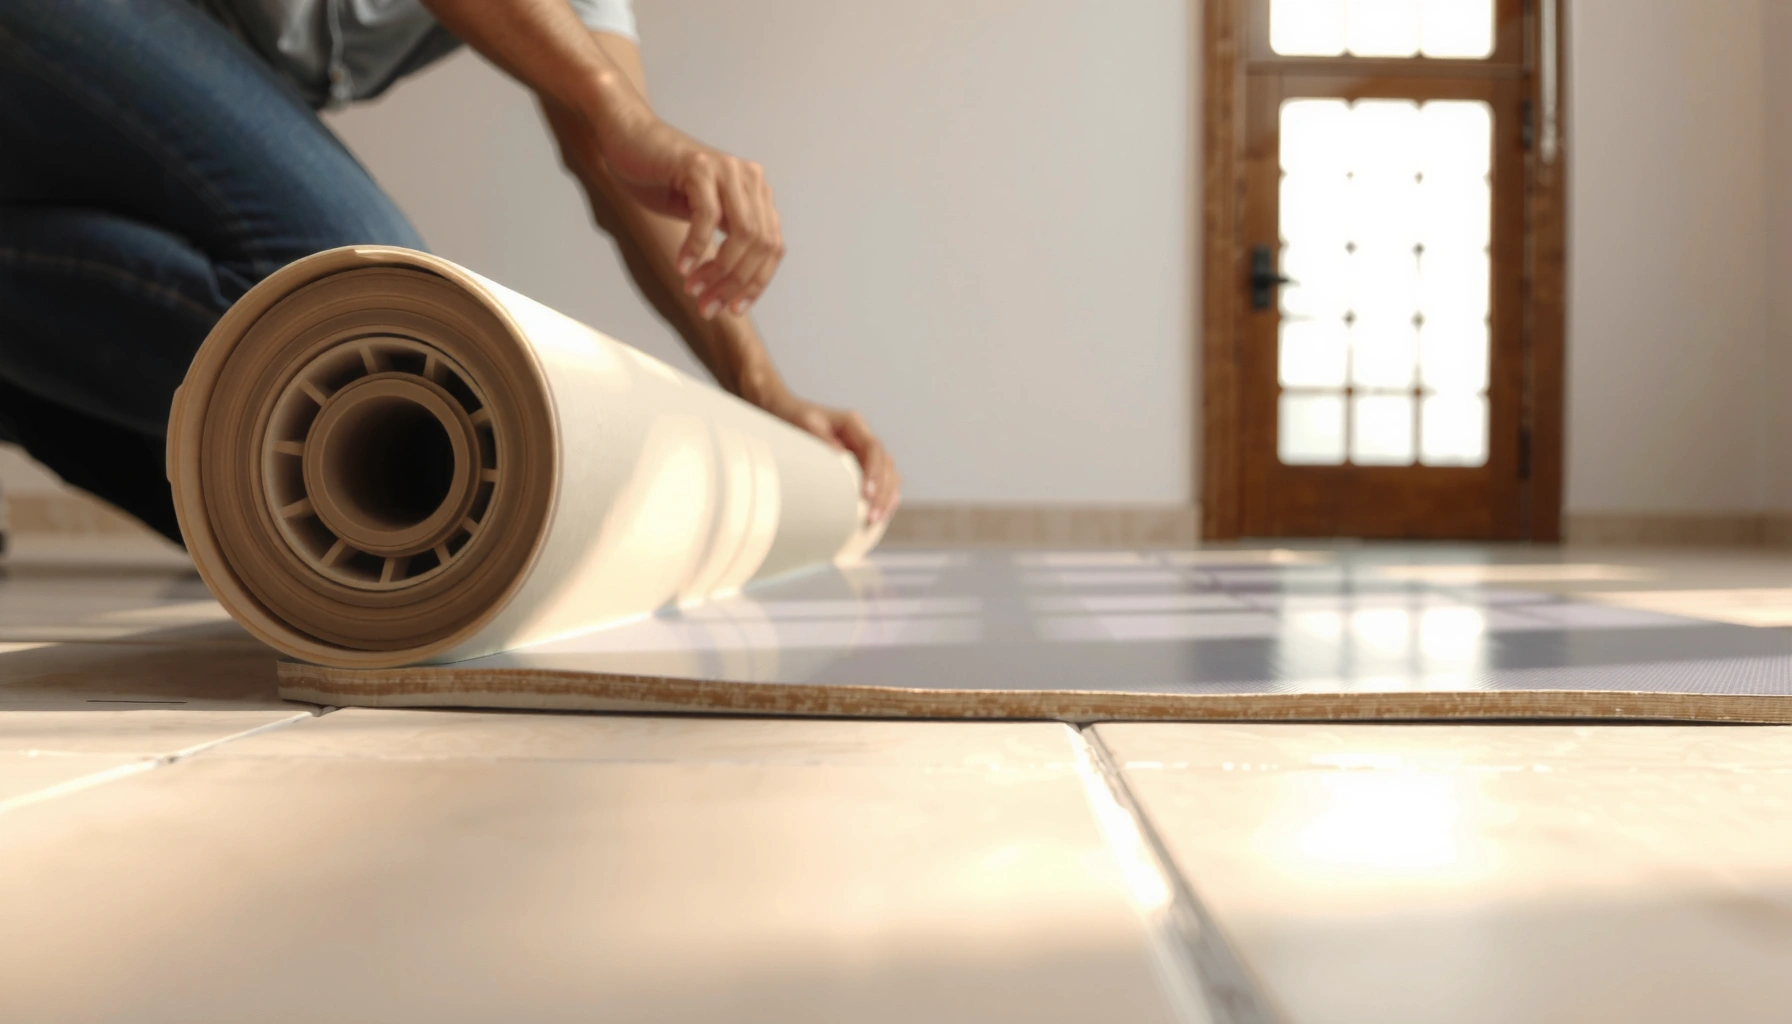
Clean the concrete thoroughly and verify it’s flat and free of dust, paint overspray, or curing compounds that could affect bonding. If using a direct-bond approach, apply a suitable stone-rated thinset and ensure any required moisture mitigation steps are completed before the travertine underlayment system. For uncoupling membranes, roll or sheet the membrane out smoothly, overlap seams as specified, and secure it properly so it doesn’t create ridges that could telegraph through the tile.
Why is proper underlayment important for travertine tile installations?
Travertine is a natural stone that can crack or loosen if the subfloor moves or if stress transfers through the underlayment. The right underlayment helps reduce movement, improves flatness, and provides a stable setting surface so your thinset and tile bond correctly. Using an uncoupling membrane or backer board can significantly lower the risk of grout cracking, hollow spots, and premature tile failure.
Which underlayment is best for wet areas like bathrooms with travertine floors?
In wet areas, choose a waterproofing system (often a membrane with an integrated waterproof layer or a separate waterproofing membrane designed for tile) that is compatible with natural stone. Prioritize products with validated performance and a clear installation method for wet zones, including proper seam treatment and wall-to-floor transitions. Be sure to follow cure and flood-test requirements where applicable, then install the travertine using the manufacturer-recommended thinset and grout system.
📅 Last Updated: October 09, 2026 | Topic: How to install underlayment under travertine floors? | Content verified for accuracy and freshness.
References
- Google Scholar Google Scholar
https://scholar.google.com/scholar?q=travertine+tile+underlayment+cement+board - Google Scholar Google Scholar
https://scholar.google.com/scholar?q=tile+floor+underlayment+uncoupling+membrane+ANSI+A118.12 - Google Scholar Google Scholar
https://scholar.google.com/scholar?q=natural+stone+tile+installation+thinset+cement+board+underlayment - Travertine
https://en.wikipedia.org/wiki/Travertine - Cement board
https://en.wikipedia.org/wiki/Cement_board - https://en.wikipedia.org/wiki/Tile_backer_board
- https://en.wikipedia.org/wiki/Thinset_mortar
- https://en.wikipedia.org/wiki/Uncoupling_membrane
- Google Scholar Google Scholar
https://scholar.google.com/scholar?q=How+to+install+underlayment+under+travertine+floors? - How to install underlayment under travertine floors? – Search results
https://en.wikipedia.org/wiki/Special:Search?search=How+to+install+underlayment+under+travertine+floors?