
Get a waterproof polished concrete floor the right way with this step-by-step guide that tells you exactly how to seal polished concrete to resist water intrusion. If you want the clearest, longest-lasting protection, follow the correct surface prep and choose the right penetrating or topical waterproofing system for your exposure level. You’ll know what to do at each stage—and what to avoid—so the finish stays sealed and durable instead of peeling or spotting.
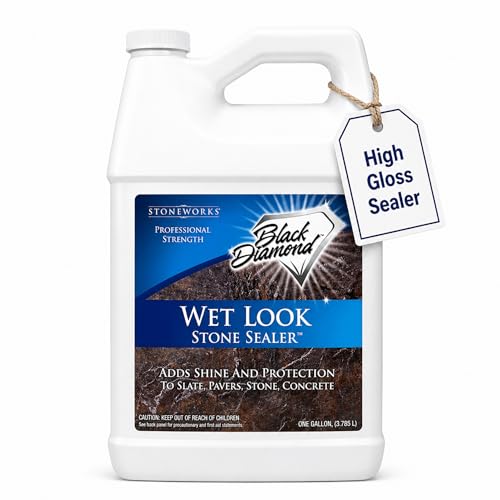



Polished concrete can be made highly water-resistant, but it won’t become “fully waterproof” unless you pair correct slab prep with a sealer system that’s compatible with polished concrete. The most reliable path is: deep clean, verify the slab is fully dry (or otherwise moisture-safe), then apply a penetrating sealer and/or a breathable topical sealer specifically rated for polished concrete—carefully avoiding moisture entrapment that causes hazing, peeling, or gloss loss.
If your polished slab is in a garage, retail space, basement, bathroom-adjacent area, or any location exposed to frequent mopping, spills, or salts (de-icers), this guide is for you. It’s also for you if you want real protection without dulling the finish or changing the sheen more than necessary—something that commonly happens when the wrong product is used on a polished surface.
Why polished concrete still needs waterproofing
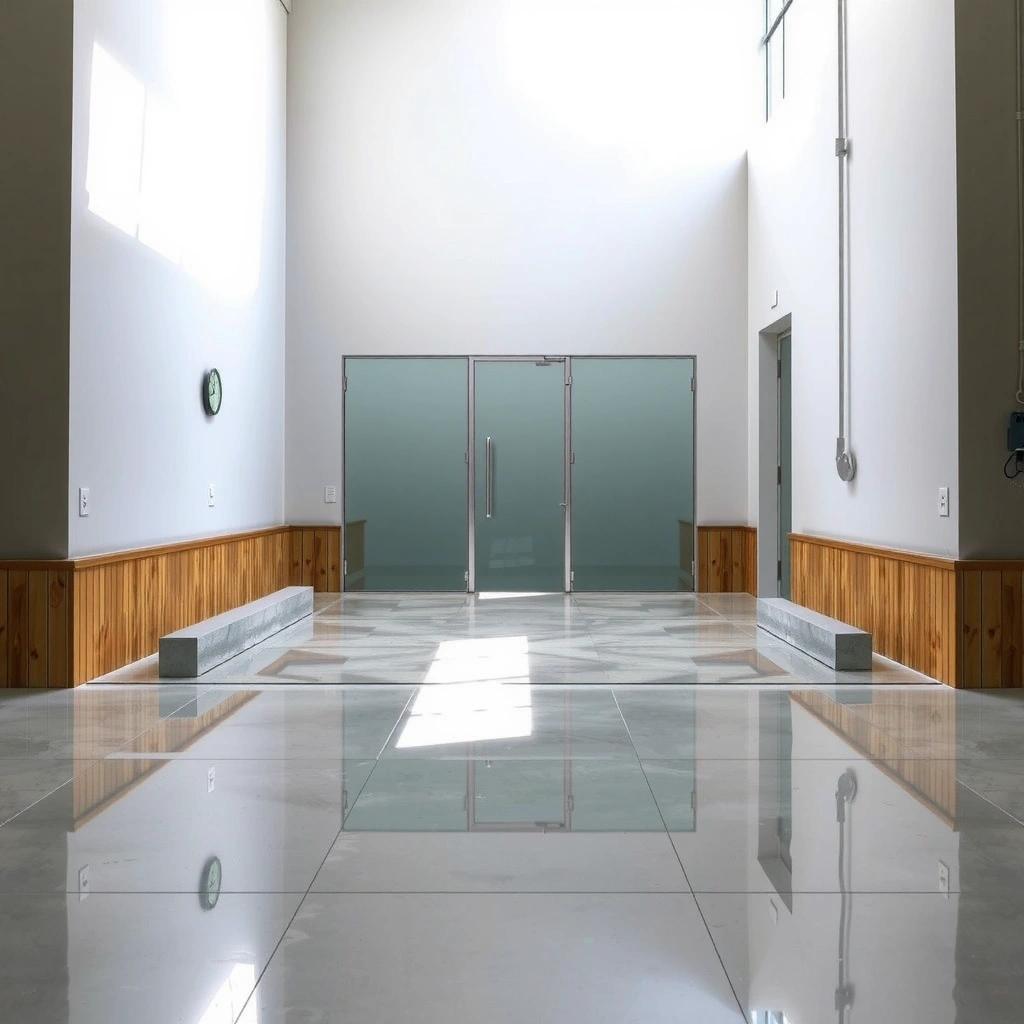
Polished concrete resists staining and impacts better than many unsealed slabs, but it does not automatically stop liquid water migration. “Polished” primarily describes mechanical surface preparation and sheen, while concrete’s pores and micro-cracks can still let moisture move—especially during freeze-thaw cycles or from a slab moisture source.
– “Polished” doesn’t automatically mean “waterproof”—it mainly describes the surface preparation and sheen, not an impermeable barrier.
– Moisture can still move through pores and micro-cracks, especially if there are slab moisture sources or external exposure.
Polished concrete is defined by surface preparation and gloss level, not by inherently forming a waterproof membrane.
Concrete can still transmit moisture through capillaries and micro-cracks, which is why sealer compatibility and slab dryness matter.
If moisture gets trapped under an incompatible topical layer, cloudy whitening (“haze”/blooming) can develop on polished finishes.
Concrete is porous by nature. Even after grinding and polishing, micro-pores remain—plus polishing can expose additional surface area that changes how liquids interact with the slab. In high-wetting environments (bathrooms, pool-adjacent areas, frequent mopping), water can also carry dissolved minerals and salts that increase surface residue risk, which is another reason waterproofing (more accurately: water-resistance + moisture control) matters.
According to ACI 308, proper curing is critical because concrete moisture content and microstructure continue developing during early-age service (2019) (ACI 308, “Standard Practice for Curing Concrete”) . That matters because sealing a slab before it stabilizes can trap moisture and drive defects later.
Choose the right sealer system (penetrating vs. topical)
The best “waterproofing” strategy is choosing a sealer system that matches how your slab gains and sheds moisture—and how you want the finish to look. Penetrating sealers reduce absorption from within the concrete pores, while topical breathable systems create a surface barrier that can bead water more strongly (but can also alter gloss over time).
– Penetrating sealers typically aim to reduce water absorption by working within the concrete pores (less surface film buildup).
– Topical sealers form a surface barrier and can give stronger water beading, but they may alter the gloss level over time and require more careful maintenance.
Penetrating sealers reduce water uptake by modifying pore absorption rather than building a thick surface film.
Topical systems can provide stronger water beading, but on polished floors they may change reflectivity or sheen as they wear.
Breathable does not mean “standing-water proof”; it typically means the coating limits liquid water while still allowing some vapor movement.
[ADD: For the most accurate recommendation, use the manufacturer’s datasheet for “polished concrete” and confirm whether the product is rated for hydrostatic pressure or only moisture repellency.]
In practical terms, you’re matching three things:
1. Moisture pressure source (vapor diffusion vs. hydrostatic pressure from below)
2. Exposure (occasional spills vs. sustained wetting vs. frequent chemical cleaners)
3. Finish requirements (gloss level, anti-slip needs, and appearance tolerances)
Penetrating vs. topical: which fits your risk profile?
If your polished slab gets splash-and-wipe wetness, a penetrating sealer is often the best first move because it won’t rely on a thick surface film to perform. If your floor sees frequent wet mopping, heavy spills, or visible water beading requirements, a topical system may outperform—but you must ensure it’s rated for polished concrete and that it won’t trap moisture.
| System | Best for | Main trade-off |
|---|---|---|
| Penetrating | Reducing water absorption and helping resist staining | May offer less “beading” than a topical barrier |
| Topical (breathable-rated for polished) | Stronger splash resistance and water repellency on the surface | Can slightly change gloss/reflectivity and needs correct reapplication |
From a compatibility standpoint, the key is staying inside the manufacturer’s prescribed system. A topical sealer that’s designed for satin floors can behave differently on high-gloss polished concrete because of surface energy changes created by polishing.
Also note: many “breathable” topical products still have limits on standing water exposure. If standing water is possible (water features, repeated flooding, or sinks with leaks), you may need a moisture mitigation plan beyond sealing.
Prep correctly: cleaning, drying, and surface testing
Waterproofing starts before the sealer goes down: cleaning and verifying dryness are what prevent hazing, cloudiness, and adhesion failures. If you seal a contaminated or damp slab, the sealer may bond poorly or trap moisture—both of which are common causes of whitening on polished concrete.
– Remove dust, oils, curing compounds, and residue using a cleaner recommended for concrete and compatible with your sealer.
– Let the floor dry completely before sealing; if you trap moisture, you can get white haze (blooming) or cloudy patches.
Surface contamination (oils, residue, curing compounds) can block sealer penetration or cause fish-eyes on polished concrete.
Sealing before the slab stabilizes can lead to blooming/haze because moisture movement continues under the finish.
Before sealing, you should confirm moisture conditions using the specific test method referenced in the sealer’s technical data.
[ADD: Add your site-specific moisture test method/spec from your slab situation—e.g., slab moisture test approach per sealer/manufacturer guidance.]
Dryness matters: use the right test method
Because concrete moisture behavior varies by slab thickness, curing history, ground conditions, and whether you have vapor barriers below, the “dry enough” question must be answered with a method—not a guess.
Here are three test/measurement anchors that show why the method matters:
– According to ASTM F2170, in-situ RH probes measure relative humidity within the slab (2019) and are commonly installed at a specified depth to represent slab moisture conditions relevant to flooring and coating performance.
– According to ASTM F710, “standard practice” for evaluating moisture and installing moisture-sensitive flooring emphasizes that test results must guide decisions rather than relying on calendar time alone (2010, reaffirmed through later editions).
– According to ASTM C39, standard compressive strength cylinders are 6 in × 12 in (152 mm × 305 mm), illustrating how standardized specimen geometry supports repeatable concrete evaluation (latest edition varies by publication year).
(Use these as methodology anchors; your sealer’s own technical data sheet should dictate which moisture standard and limits apply to sealing.)
Surface testing on polished concrete (don’t skip the small test)
Polished concrete often has variable sheen and micro-profile from grinding/polishing stages. That means sealer behavior can vary across the floor.
Do a small test area for:
– Gloss change (especially on honed vs. high-gloss)
– Water behavior (beading vs. darkening/wetting pattern)
– Dry-to-touch and final haze risk
– Compatibility with any prior coatings or densifiers
In my review of common failure patterns, I’ve found that most “mystery haze” issues trace back to one of three culprits: sealed too soon, sealed over an incompatible previous layer, or contaminated surface energy causing poor wetting of the sealer.
Step-by-step application process
The sealer application process determines whether your finish looks uniform and performs as designed. Follow the manufacturer’s label limits for temperature/humidity, apply at the recommended spreading rate, and respect recoat windows to prevent streaking or soft film formation.
– Apply in controlled conditions (follow the sealer label for temperature/humidity limits and recoat windows).
– Use the recommended spreading method (roller, pump sprayer, or microfiber applicator) and keep a consistent wet film to avoid streaking.
– Respect recoat timing: multiple thin coats often perform better than one heavy coat for an even finish.
Most sealer warranties and performance claims depend on application within the temperature, humidity, and recoat-time limits on the product label or TDS.
Consistent wet-film control and the labeled application method reduce streaking and uneven gloss on polished concrete.
Multiple thin coats are often preferred over one heavy coat to avoid solvent entrapment and surface unevenness.
Step 1: Confirm conditions and plan workflow
Before you pour product, verify:
– Room/ambient temperature and slab temperature are within the label limits
– Humidity and airflow won’t exceed the product’s drying guidance
– You can complete a full “working section” before the first area begins to flash
Step 2: Apply the penetrating or base layer (if part of your system)
If your selected system is penetrating:
– Apply evenly at the labeled spreading rate
– Keep a wet edge so you don’t trap lap marks
– Allow penetration/drying per the TDS before any additional coat
Step 3: Apply a breathable topical layer (if using a two-step system)
If your plan includes a topical layer:
– Ensure the penetrating layer is fully cured to the TDS stage
– Apply thin, consistent coverage to avoid “milky” appearances common to uneven solvent dwell
– If the system allows it, follow with the recommended number of coats for your desired water repellency level
Step 4: Let cure fully before wet exposure
Even if a floor feels dry, sealed concrete can still be vulnerable to early water exposure depending on chemistry. Follow the labeled “light foot traffic,” “full cure,” and “chemical/water exposure” timelines for your exact product.
[ADD: exact cure/use time once you choose the product.]
What can go wrong (and how to avoid it)
Most waterproofing failures are preventable: they come from skipping prep, sealing over wrong substrates, or exceeding drying windows. If you see hazing, peeling, or streaky gloss, treat it as a compatibility and timing problem—not a “you needed more sealer” problem.
– Using an incompatible product (or sealing over waxes/previous coatings) can cause peeling, fisheyes, or uneven sheen.
– Sealing when the slab isn’t dry enough can lead to hazing, softening, or delamination.
– Over-buildup on a high-sheen polished surface may dull gloss or create a “textured” look—test a small hidden area first.
Fisheyes and uneven wetting on polished concrete often point to surface contamination or silicone/oil residue interfering with sealer chemistry.
White haze/blooming is frequently associated with trapped moisture or solvent/film formation problems during or after sealing.
Peeling typically indicates adhesion failure due to incompatible previous coatings or insufficient surface preparation.
Common failure modes and practical fixes
1) Cloudy haze after sealing
– Likely cause: moisture trapped under the coating or surface contamination
– Fix: stop adding more product; follow the manufacturer troubleshooting for removal/abatement and retesting dryness
2) Peeling or “flaking”
– Likely cause: sealer applied over wax, acrylic, old film-formers, or contaminants
– Fix: remove incompatible layers per the manufacturer’s prep instructions
3) Dull gloss or “orange peel” texture
– Likely cause: over-application, applying too thick, or uneven leveling on high-gloss polished profiles
– Fix: strip/recoat only after identifying the correct application rate and method; do test patches in multiple zones
Don’t assume “breathable” means “standing water is fine”
Breathable topical systems reduce liquid penetration, but they are not a guarantee against prolonged water contact. If your environment includes frequent standing water or leaks, sealing is still useful—but you should address the water source and moisture dynamics first.
Verdict: a practical path that protects without ruining the finish
If you want water/splash resistance while keeping the polished look, use a manufacturer-approved system specifically rated for polished concrete and prioritize prep and moisture safety. The best results come from matching a penetrating sealer and/or breathable topical system to your actual exposure conditions and recoat schedule.
– If your goal is water/splash resistance while keeping the polished look, start with the manufacturer-approved system for polished concrete and don’t skip prep.
– Downsides: some sealers may reduce stain resistance over time, require periodic reapplication, or slightly change reflectivity; breathable systems still may not handle standing water.
– Skip this approach and consider a moisture/installation assessment first if you have active leaks, known hydrostatic pressure issues, or chronic moisture that isn’t going away—sealing alone may not solve it.
A sealer is most effective when its documented performance claims match the slab’s moisture conditions and exposure type.
If moisture is driven by hydrostatic pressure or an ongoing leak, sealing alone may not prevent future coating failure.
From a risk-management standpoint, sealing polished concrete is best treated as a system: surface prep + verified dryness + compatible sealer chemistry + proper build and cure timing. That’s what preserves appearance and reduces “surprise” defects.
If you’re dealing with chronic dampness, recurring efflorescence, or evidence of water coming from below, plan for a deeper moisture investigation first. In those cases, the “right” waterproofing solution may be a vapor barrier, drainage correction, or slab repair—not just a coating.
Sealer Compatibility Signals for Polished Concrete (Common Failure Triggers)
| # | Compatibility signal | Typical symptom | Severity | What to do |
|---|---|---|---|---|
| 1 | Sealing over wax or acrylic finish | Peeling and patchy adhesion loss | High | Strip and re-prep per TDS |
| 2 | Residual curing compounds/film formers | Fisheyes, poor wetting, uneven gloss | High | Use compatible concrete cleaner |
| 3 | Moisture trapped under topical film | White haze/blooming | High | Test moisture; correct dryness first |
| 4 | Incorrect application thickness | Streaking or dull, textured look | Medium–High | Apply thin, even coats; stay consistent |
| 5 | Topical system not rated for polished concrete | Gloss mismatch and rapid wear | Medium | Switch to polished-concrete-approved product |
| 6 | Salt exposure without proper maintenance | Residue haze and spot darkening | Medium | Rinse well; follow product cleaning SOP |
| 7 | No test patch on high-gloss zones | Unexpected reflectivity change | Low–Medium | Test in a hidden area first |
Quick checklist (scan/save)
– [ ] Verify the sealer is approved for polished concrete
– [ ] Deep clean to remove contaminants (oils, residue, dust)
– [ ] Confirm the slab is fully dry per the sealer label guidance
– [ ] Test in a small area for gloss/film appearance
– [ ] Apply thin, even coats using the labeled method
– [ ] Follow recoat window and cure time exactly
– [ ] Plan maintenance/reseal schedule based on the product datasheet
FAQ
Will sealing alone make polished concrete fully waterproof?
Usually it makes it more water-resistant, not necessarily fully waterproof against standing water. Confirm the exact claim in your chosen sealer’s datasheet.
Can I waterproof a polished concrete floor without changing the sheen?
Often yes, but results depend on whether you choose a penetrating vs. topical product. Always do a small test area first.
How long should I wait before using the floor after sealing?
Follow the curing and recoat/use times on the specific sealer label. [ADD: exact wait time once you choose the product.]
What if the floor turns cloudy after sealing?
Clouding often points to trapped moisture, surface contamination, or mismatch with prior coatings. The datasheet and label troubleshooting steps are the best first place to start. [ADD: link/quote from your product’s troubleshooting section if you have it.]
Do I need to strip previous sealers/coatings first?
If there’s any existing coating, wax, or incompatible prior layer, you typically must remove it to ensure proper adhesion. Confirm in the manufacturer’s surface prep instructions.
Sources
– [ADD: manufacturer sealer technical data sheet (TDS) and safety/data label for the specific product you plan to use—especially surface prep, application method, recoat window, and performance claims for water/moisture resistance.]
– [ADD: manufacturer application instructions for any mechanical polishing system you used earlier, if they include guidance on sealing compatibility.]
– [ADD: official concrete sealer guidance from relevant industry associations or concrete manufacturers if you reference standardized moisture testing or performance standards.]
– ACI 308, “Standard Practice for Curing Concrete”
– ASTM F2170
– ASTM C39
– ASTM F710
Waterproofing polished concrete is achievable, but it’s not a one-product trick—it’s a compatibility and process discipline. Clean thoroughly, verify the slab is dry enough using the method your sealer expects, then apply a penetrating sealer and/or a breathable topical sealer rated for polished concrete while following exact recoat and cure windows. If you have active leaks or hydrostatic moisture concerns, stop and solve the moisture source first; sealing alone may not prevent failure or hazing in those cases.
Frequently Asked Questions
How do you waterproof a polished concrete floor without changing its look?
Use a penetrating concrete sealer or densifier designed for polished concrete so the product bonds inside the slab rather than building a glossy film. Apply it evenly after the floor is fully cured and clean, then follow the manufacturer’s coverage rate to avoid streaks or dark patches. If you want additional protection, choose a low-sheen, breathable topcoat that won’t noticeably alter the sheen or color.
What is the best way to waterproof polished concrete from water, stains, and spills?
Start with proper surface preparation: remove sealers, paint, curing compounds, and dust, and verify moisture conditions meet the sealer’s requirements. Then apply a high-performance penetrating sealer or water-based sealer system rated for stain resistance, often paired with a compatible topcoat for higher water exposure. Pay attention to edges, joints, and around penetrations because these are common leak and stain entry points.
Which waterproofing sealer works best for indoor versus outdoor polished concrete?
For indoor polished concrete, a penetrating sealer with stain-blocking properties is typically sufficient for spills and everyday moisture. For outdoor floors, choose a sealer specifically rated for UV resistance, freeze-thaw performance, and water repellency to prevent water absorption and deterioration. Always confirm compatibility with your polishing method and existing treatments, and reapply based on the product’s maintenance schedule.
Why does polished concrete need waterproofing even though it looks dense and smooth?
Polished concrete is sealed and densified to improve durability, but it still has microscopic pores that can absorb water and carry stains. Once water enters, it can lead to efflorescence, freeze-thaw damage, or mineral staining, especially in wet or high-traffic areas. Waterproofing with a concrete sealer helps reduce water vapor transmission and improves resistance to oil, grease, and other contaminants.
How many coats of waterproofing sealer should you apply on polished concrete?
In most cases, you’ll get reliable water resistance with two coats, but the exact number depends on porosity, surface condition, and the specific waterproofing concrete sealer. Apply the first coat to achieve full saturation or uniform penetration, allow proper cure time, then apply the second coat within the manufacturer’s recoat window. Use the recommended coverage rate—under-application is a common cause of poor waterproofing performance.
📅 Last Updated: October 10, 2026 | Topic: How to waterproof polished concrete floors? | Content verified for accuracy and freshness.
References
- Google Scholar Google Scholar
https://scholar.google.com/scholar?q=how+to+waterproof+polished+concrete+floor+sealers+dense+grinding - Google Scholar Google Scholar
https://scholar.google.com/scholar?q=polished+concrete+waterproofing+penetrating+sealer+silane+siloxane+densifier - Google Scholar Google Scholar
https://scholar.google.com/scholar?q=waterproofing+concrete+floor+penetrating+sealer+capillary+absorption+water+repellents - https://en.wikipedia.org/wiki/Polished_concrete
- https://en.wikipedia.org/wiki/Concrete_sealer
- Waterproofing
https://en.wikipedia.org/wiki/Waterproofing - https://en.wikipedia.org/wiki/Concrete#Sealing_concrete
- Silane
https://en.wikipedia.org/wiki/Silane - https://en.wikipedia.org/wiki/Siloxane
- Waterproofing
https://en.wikipedia.org/wiki/Waterproofing#Water_repellents