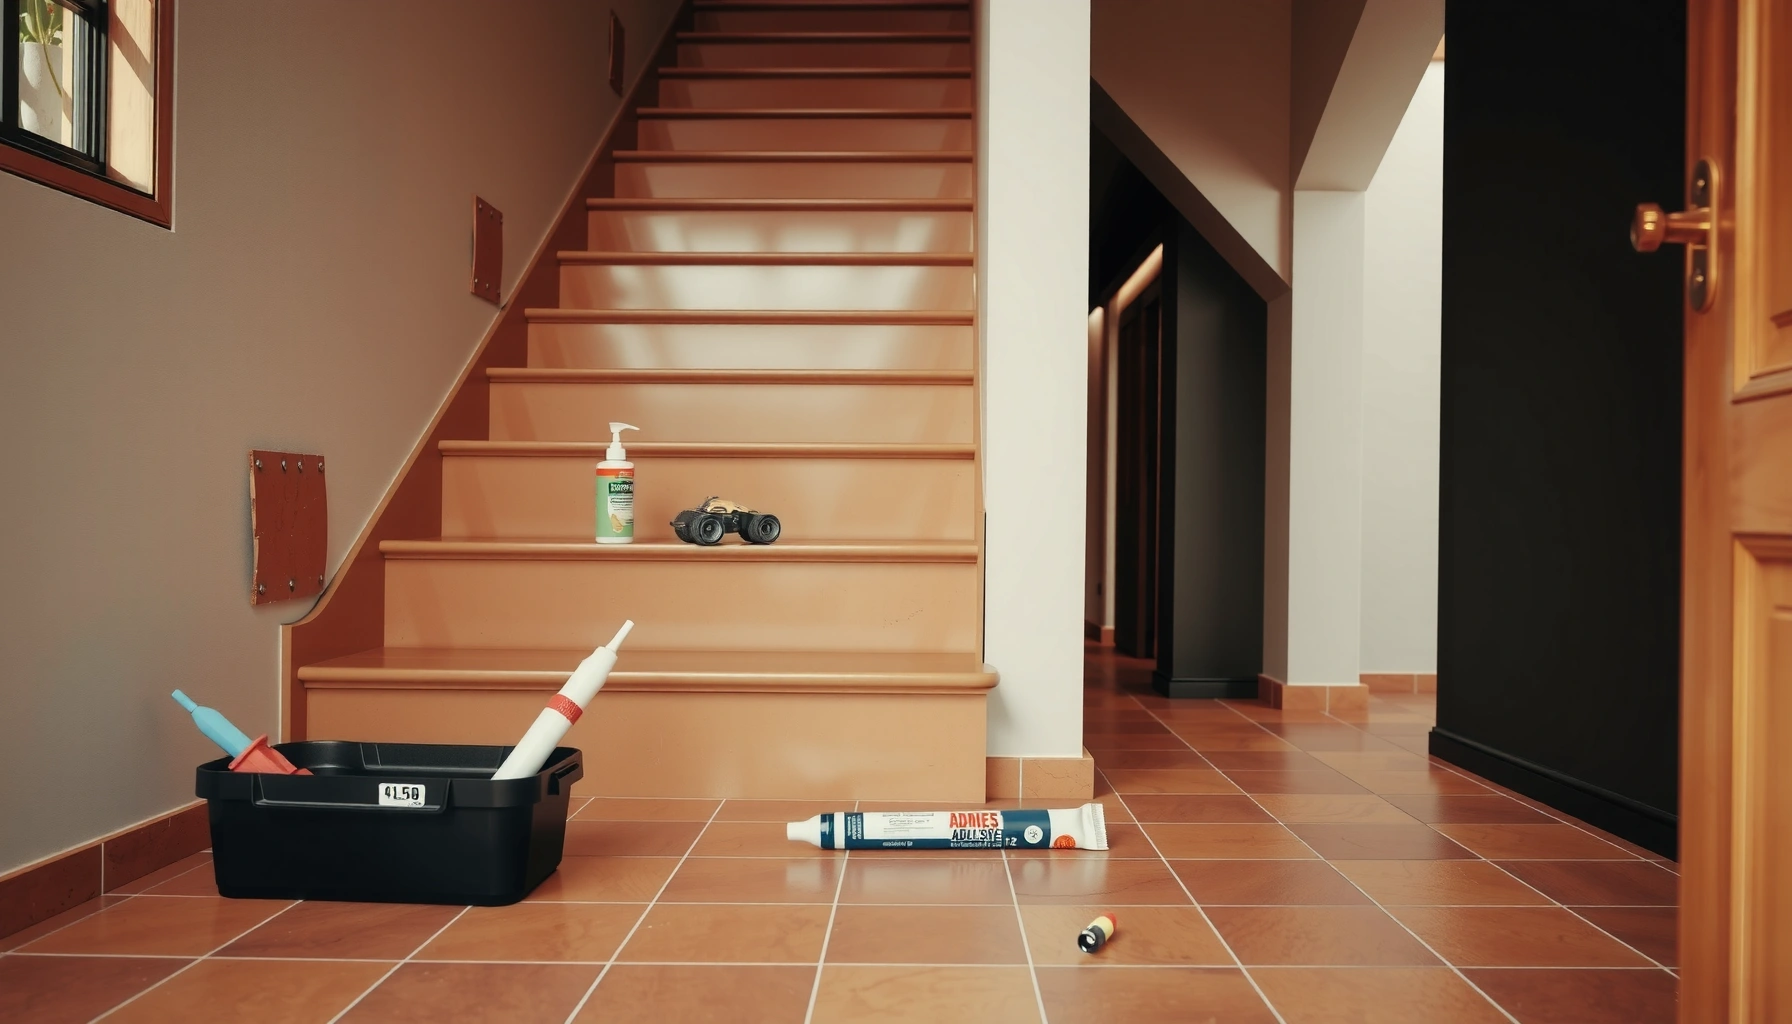

Find out how to install terracotta floors on stairs with a step-by-step method that actually holds up under foot traffic. This guide walks you through subfloor prep, tile layout, proper adhesive and grout choices, and the details that keep edges from cracking. By the end, you’ll know exactly how to measure, cut, and finish stair treads and risers for a clean, long-lasting terracotta installation.



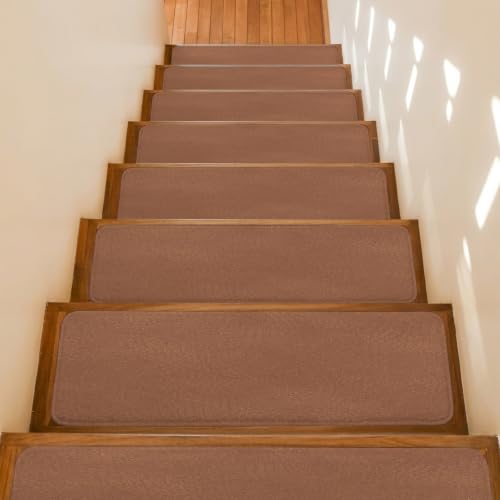
Installing terracotta (or terracotta-look tile) on stairs comes down to two priorities: a properly prepared, flat subfloor and a non-slip, flexible mortar/grout system designed for stair movement. If you nail those first, the rest is a disciplined process—measure your tread/riser layout, set with full coverage, then seal after curing to reduce staining and wear in high-traffic areas.
If your staircase sees frequent foot traffic, has uneven treads, or currently has an aging surface that needs leveling, this guide walks you through a reliable installation approach. It’s written for homeowners and installers planning to tile treads and risers with real terracotta or a terracotta-look ceramic/porcelain tile.
Prepare stairs: measure, inspect, and level
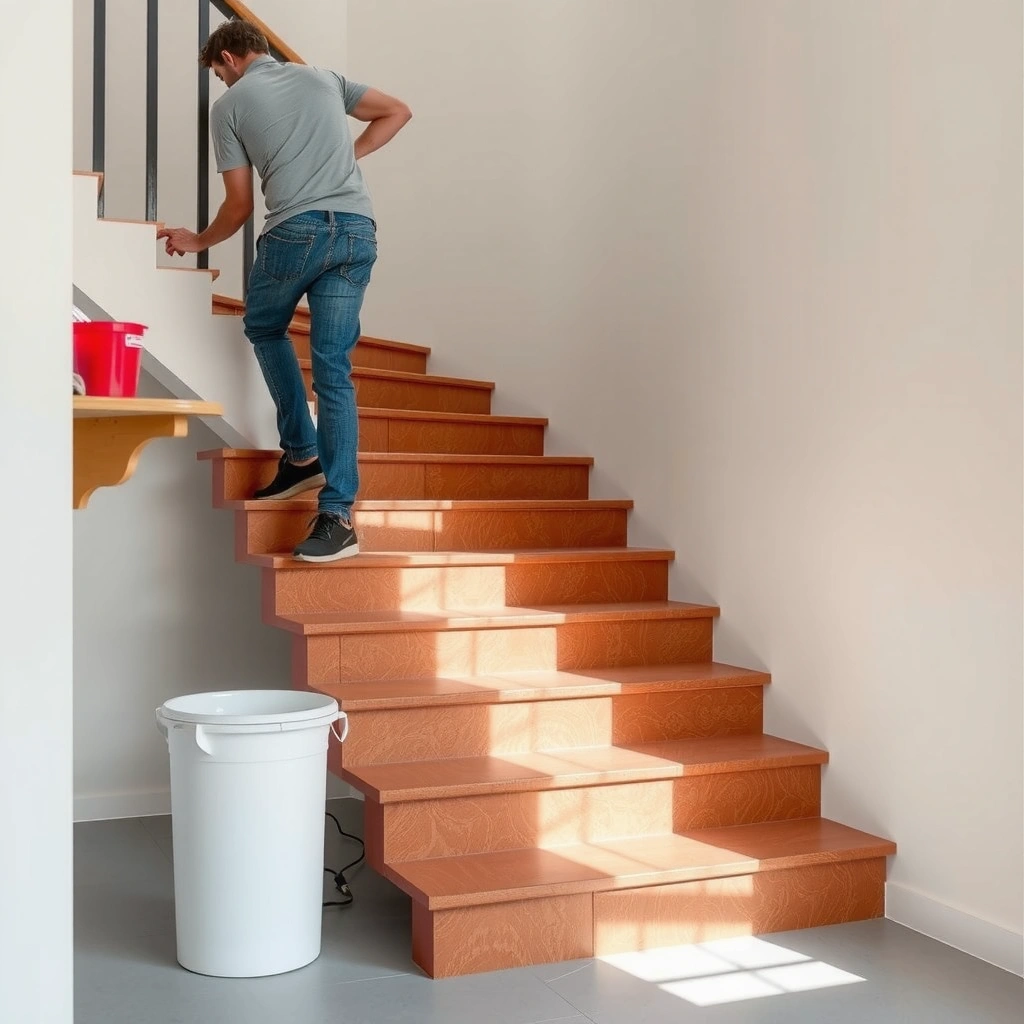
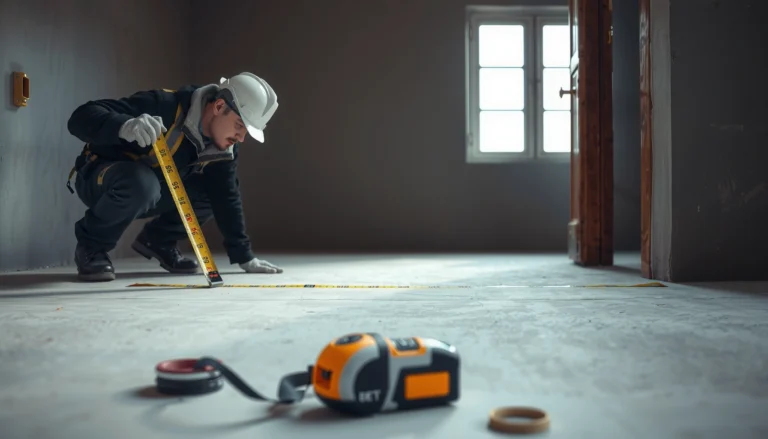
First, confirm the stair structure is solid—no bounce under weight and no “wobble” at the tread support. Then measure consistently: tread depth and width should be uniform, and riser height should match along the same flight. When you’re working with older staircases, take time to identify where bowing, sagging, or prior repairs create variation.
Next, remove everything that can compromise bond: paint overspray, adhesives, loose drywall compound, drywall mud, carpet tack strips, and any curing compounds that won’t accept thinset. Grind down high spots and fill low spots with a suitable patch/leveling system rated for floors (and, ideally, stairs). Tile failures on stairs often show up as hollow spots under tiles—those hollow areas are typically tied to insufficient contact caused by uneven substrates.
Before you commit to thinset, dry-fit along the stair “run.” Dry-fitting helps you verify that your layout lands cut pieces where they look intentional (not narrow slivers at the nosing) and that your grout joints stay visually consistent across treads and risers. In my experience, the dry-fit step is the difference between “stair tiling that looks custom” and “stair tiling that looks patched.”
Terracotta tile and terracotta-look tile require a stable, flat substrate because stair flex and tread-to-tread movement amplify small lippage and voids.
A dry-fit run on the stair “run” helps confirm that tread noses won’t be forced into awkward, skinny cut lines that visually highlight uneven layout.
Grinding high spots and patching low spots is the most common preventive step against tile hollowing and cracking under foot traffic.
Choose the right materials for terracotta on stairs
The right mortar, grout, and surface treatment are what keep terracotta tile safe and durable on stairways. For stairs, your goal is not just adhesion—it’s controlled flexibility plus traction at the nosing/edges.
Start by selecting mortar/thinset that’s explicitly rated for tile floors and suitable for your substrate type (concrete, plywood subfloor with proper underlayment, etc.). Many installers use a polymer-modified thinset for better bonding and reduced debonding risk, but the final choice should follow the mortar manufacturer’s substrate instructions. For grout, pick a grout type and cement chemistry designed for movement-prone installations; some systems also recommend a flexible grout or crack isolation approach depending on your tile and substrate.
Safety planning should happen before you pick tile color. Stairs need non-slip performance where foot contact occurs: tread faces and especially stair nosing/edge profiles. If your tile is glossy, prioritize a matte finish or add a compatible anti-slip treatment at the edges. Consider stair nosing details or an anti-slip edge strip designed for tiled steps.
Finally, confirm sealing requirements for your specific terracotta product. Real terracotta is typically porous and can stain if not sealed correctly; terracotta-look tiles may be less absorbent (depending on whether they’re ceramic/porcelain and glazed), but you still need to follow the tile and sealer manufacturer instructions.
Stair installations benefit from mortar/grout systems intended for floors that experience movement rather than rigid, stress-sensitive assemblies.
Most terracotta sealing failures come from skipping manufacturer timing instructions—either sealing too early, or using the wrong sealer for the tile’s porosity.
For tiled stairs, traction details at the nosing are a primary safety variable, not an optional finishing step.
Stair Tiling Material Decisions That Reduce Failure Modes
| # | Installation risk on stairs | Root cause | Best material/approach choice | Outcome impact |
|---|---|---|---|---|
| ★ | Cracking at tread edges | Substrate movement + stress concentration at edges | Stair-rated thinset + compatible grout system (per manufacturer) | High |
| 2 | Tiles debonding (“hollow” tiles) | Insufficient mortar coverage / poor substrate contact | Back-butter where required + achieve full contact | High |
| 3 | Staining or blotchy discoloration | Porous terracotta exposed before correct sealing | Use manufacturer-specified sealer type + correct cure/seal timing | Medium–High |
| 4 | Dull haze from grout/cleaners | Porous surfaces trapping grout residue | Grout cleanup within the recommended window + avoid harsh early cleaning | Medium |
| 5 | Slippery treads | Low traction finish + unaddressed nosing contact points | Non-slip strategy for treads/edges (tile finish choice + compatible treatment) | High |
| 6 | Uneven stair “line” | Layout misalignment compounds from step to step | Verify alignment and joint widths at every tread during setting | Medium |
| 7 | Edge chipping at nosing | No dedicated edge detail + impact at step fronts | Appropriate trim/nosing or edge-tile strategy designed for stair exposure | Medium–High |
Install tiles on treads and risers (order matters)
Starting order controls alignment, and alignment controls comfort and safety. A consistent sequence—typically risers then treads—helps keep each step visually and dimensionally coherent as you move up.
Begin by dry-laying key control lines so you know where your tile edges will land relative to the stair stringers. When you set, use even mortar coverage and follow the notch size recommended by the thinset manufacturer for your tile format. If you’re working with terracotta (real) or heavier tiles, many installers also back-butter to ensure full contact where possible—this is especially valuable on stairs where voids can become stress points.
Set risers and treads in a controlled rhythm. Use spacers and check for level/line frequently—don’t assume the second step will look like the first if the substrate is slightly uneven. Let each step cure as recommended before moving upward, because bumped tiles or premature traffic can shift alignment and create a “wave” across the stair run.
Because stairs involve continuous movement, cure timing matters. According to the U.S. ADA 2010 stair geometry guidance, max riser height is 7 3/4 in and minimum tread depth is 11 in (measured as clear tread) for accessible routes, which underscores how strict stair dimensions can be on code-compliant designs (U.S. Access Board, ADA Standards for Accessible Design (2010)). Even if you’re not altering code-compliance on an existing stair, the takeaway is clear: small dimensional errors at each step compound quickly.
Stair tile installations are alignment-sensitive—risers and treads should be set in a consistent sequence and checked frequently so small deviations don’t compound upward.
Using the thinset notch size and achieving full contact reduces hollow spots that often precede cracking on stair treads.
Letting tiles cure before progressing helps prevent micro-movements that later show up as lippage or uneven stair lines.
Cut, fit, and finish edges for a clean, safe stair
Edges are where stair tiling succeeds—or fails. Clean cuts, consistent joint widths at corners, and a deliberate nosing/edge detail reduce both visual “patching” and chipping.
Plan your cuts before you reach the stair front. Use a wet tile saw method for clean terracotta cuts (or the method your tile manufacturer recommends) and test-fit corner pieces so tread edges meet stringers naturally. Terracotta can chip if you force the fit, so aim for precise trimming rather than “nudging” tiles into place with excess mortar.
Maintain uniform joint widths across tread edges and corner returns. If your stair’s geometry is slightly irregular, correct the tile fit with careful trimming and micro-adjustments—not by forcing inconsistent mortar thickness. Stair edges also benefit from the right trim/nosing approach. Dedicated stair nosing profiles (or an edge-tile strategy rated for stair impact exposure) can improve slip resistance and reduce front-face damage from daily foot impact.
Pros/cons of edge finish approaches are often worth reviewing up front:
| Edge strategy | Pros | Cons / watch-outs |
|---|---|---|
| Integrated edge tile + grout line | Seamless look if alignment is perfect; fewer moving parts | Higher risk of front-edge chipping; traction must be addressed |
| Stair nosing profile (rated for tile) | Improves durability; can integrate anti-slip texture | Requires correct height/fit; detail work matters at transitions |
| Anti-slip edge strips + finished tile | Targeted traction where feet land; easier to replace than re-tiling | Visual change at edges; must be compatible with your finish and grout/sealer |
Clean nosing/edge detailing improves both durability (impact resistance) and traction, reducing the “slip-prone” effect of stair fronts.
For porous terracotta, forcing a poor edge fit can trap excess mortar that later affects sealing uniformity and appearance.
Consistent grout joint widths at corners create a professional stair rhythm and reduce stress concentration along tile boundaries.
Grout, seal, and add non-slip protection
Finishing is where you protect the tile surface and lock in the system. Full cure time comes first, then grout, then sealing, then any additional non-slip strategy you chose.
Wait until tiles and mortar have cured fully before grouting—rush timing is one of the most common causes of weak joints, grout color issues, and residue haze. Choose a grout recommended for your environment and your terracotta tile type. Because terracotta is often porous, cleanup timing matters: wipe and tool grout consistently, then clean residue promptly according to the grout manufacturer’s instructions. Excess haze can permanently dull or discolor porous surfaces.
After grout cure, apply sealer based on the terracotta product’s instructions. Sealing steps vary by manufacturer and sealer chemistry, so follow your tile/sealer label precisely. Then address safety: if your tile finish doesn’t provide adequate traction, apply a compatible non-slip treatment designed for tiled stair use. Avoid random household additives—traction failures often trace back to incompatible coatings.
For terracotta, manufacturer-directed sealing timing after grout cure is essential to reduce moisture staining and uneven blotching.
Grout haze removal is harder on porous tile—prompt cleaning within the grout manufacturer’s recommended window reduces discoloration risk.
Non-slip protection should be planned for stair nosings and tread contact zones, not added later once wear or polish has already occurred.
What can go wrong (and how to avoid it)
Stair tile failures usually stem from substrate problems, wrong chemistry, or skipped timing—not from “bad luck.” Understanding the failure modes helps you prevent them before thinset ever touches tile.
Tiles lifting or cracking typically trace back to:
– Poor surface prep (dust, loose material, paint residue)
– Insufficient mortar coverage or improper mortar for stairs
– Incompatible grout/mortar for movement and porosity demands
Uneven stair lines often come from:
– Skipping dry-fit layout confirmation
– Not re-checking level/line at each tread
– Allowing early movement before cure
Staining and haze are common on porous terracotta when:
– Sealing is rushed or done with the wrong sealer type
– Harsh cleaners are used too early
– Grout residue is left to haze on the tile surface
Slippery finish happens when:
– Tiles are glossy (or become polished by wear)
– Nosing edges aren’t treated with traction in mind
– The anti-slip plan isn’t compatible with grout and sealer
One key standard point for installation quality: according to ANSI A108.5 (Tile Installation Methods), mortar coverage/contact requirements are tied to installation conditions (e.g., interior wet areas vs. dry) and are designed to limit debonding risk. On stairs, you should assume you need excellent contact and stress distribution, and follow the strictest applicable guidance in your scenario.
Most stair tile cracking is preventable by improving substrate flatness and using mortar systems designed for tile bonding under movement.
Stair tread staining often follows skipped or mistimed sealing on porous terracotta, because terracotta can absorb water and residues before protection is applied.
Slips are frequently linked to nosing traction details—edge zones need dedicated non-slip design, especially if the tile finish reflects light.
Verdict: is it worth installing terracotta on stairs yourself?
Terracotta on stairs can look exceptional, but it demands tight control over prep, alignment, bonding, and curing. This DIY approach is best when you can level and prep carefully, follow cure/seal timelines exactly, and plan traction deliberately.
From a practical standpoint, tiling stairs yourself is “reasonable” if your stair surfaces are stable, you can correct uneven treads/risers before installation, and you’re comfortable with careful layout and trimming. It’s less suitable if your staircase is structurally questionable, significantly out of level in a way that can’t be corrected with underlayment/patching, or if you’re not confident selecting mortar/grout/sealers that match terracotta porosity and stair movement.
If you’re uncertain, hiring a tile contractor for the critical prep and first few steps is often the best compromise—especially for stair edge profiling and anti-slip details.
DIY stair tiling succeeds when substrate leveling and manufacturer cure/seal timing are followed exactly; it fails when movement and traction aren’t designed into the system.
Because stairs compound small layout errors from step to step, careful dry-fitting and alignment checks are more important than tile “style” decisions once mortar is on-site.
Quick checklist (scan before you start)
– [ ] Stair surface is solid, clean, and leveled (no wobble; low spots patched; high spots ground)
– [ ] Dry-fit confirms spacing, tread/riser layout rhythm, and edge cut locations
– [ ] Mortar/adhesive and grout are specified for stairs plus your substrate type
– [ ] Non-slip strategy planned for tread faces and stair nosing/edges
– [ ] Tiles set with even mortar coverage and consistent joints (verified at each step)
– [ ] Full cure time respected before grouting and sealing
– [ ] Sealer applied per terracotta instructions (and anti-slip added if needed)
FAQ
Do I need to seal terracotta before or after installation?
Usually, terracotta should be sealed based on manufacturer instructions, often after installation and grout cure. If your product spec says otherwise (or calls for pre-sealing), follow that guidance instead. [ADD: exact sealing steps from your terracotta/sealer manufacturer]
Can I tile over existing stair surfaces?
You can sometimes tile over stable, properly prepared surfaces, but you must remove contaminants and ensure the substrate is solid and flat. If the existing finish is loose, soft, or too uneven, you’ll likely need repairs or leveling first. [ADD: what your current stairs are made of]
What’s the safest way to prevent slipping on tiled stairs?
Use a non-slip tile/finish strategy and treat stair nosing and edges with particular care for traction. The best approach depends on your tile finish and the products you choose. [ADD: your tile finish (matte/gloss) and any anti-slip system you plan to use]
Why do stair tiles crack even when the install looks good?
Cracking commonly comes from movement (stair flex), inadequate mortar coverage, or substrates that weren’t properly leveled/prepped. Using a mortar/grout system intended for stair applications helps, but curing and substrate prep are still critical.
Sources
– [ADD: manufacturer installation instructions for your specific terracotta tile (and whether they require sealing pre/post install)]
– [ADD: mortar/adhesive manufacturer specification for stair applications and substrate requirements]
– [ADD: grout manufacturer datasheet for stair/porous tile guidance]
– [ADD: sealer manufacturer instructions for terracotta curing/sealing timing]
– U.S. Access Board, ADA Standards for Accessible Design (2010)
– ANSI A108.5 (Tile Installation Methods)
Terracotta stairs can be a high-impact upgrade, but they’re also unforgiving: the most durable results come from strict prep, correct stair-rated materials, careful step-by-step alignment, and finishing (especially sealing and traction) done on the right schedule. If you follow the workflow above—and you’re honest about whether your substrate and stair geometry are ready—your tiled stairs will look sharp and feel safer for everyday use.
Frequently Asked Questions
What underlayment should I use when installing terracotta tile on stairs?
For terracotta floor tiles on stairs, use a suitable tile backer system designed for floors and heavy foot traffic, often a cement board or a modified thinset-compatible underlayment. If your subfloor is wood, ensure it’s stable, properly screwed, and consider a backer board to minimize flex and cracking. Use an uncoupling membrane when you have minor movement to improve crack resistance in terracotta installation.
How do I prepare the stair treads and risers before laying terracotta?
Start by removing old flooring, cleaning off dust and adhesive residue, and checking that each tread and riser is level and consistent. Fill dips and flatten high spots so your tile layout remains tight, especially on nosing where unevenness shows. Prime porous substrates if recommended by your thinset or leveling product, and make sure stair edges are square to avoid crooked lines with terracotta tiles.
How do I cut and fit terracotta tiles around the stair nosing and edges?
Measure each tread carefully and dry-fit tiles to determine cuts for the front nosing and tight wall gaps. Use a wet saw with the right blade for ceramic/terracotta and support the tile during cutting to reduce chipping. For clean stair edges, you can use matching stair bullnose trim or edge profiles designed for terracotta floor installation rather than relying on brittle cut edges.
Why is sealing terracotta important on stairs, and when should I do it?
Terracotta is porous, so without sealing it can absorb moisture, dirt, and cleaning chemicals—especially on stairways that see constant traffic. After installation and full cure of the mortar and grout, seal the tiles and allow proper drying time according to the sealer instructions. Use a penetrating sealer made for terracotta tile floors and reapply as recommended to keep the surface durable and easier to maintain.
Which thinset and grout are best for terracotta tile on stair steps?
Choose a quality thinset mortar rated for tile floors and the specific substrate type (e.g., modified thinset for many common installations). For grout, use a sanded grout for wider joints or unsanded for narrow joints, and consider a grout with water resistance suitable for stair use. Proper mixing, correct trowel notch size, and full thinset coverage under the tiles are key to preventing loose tiles on stairs and reducing risk of cracks in terracotta flooring.
📅 Last Updated: October 10, 2026 | Topic: How to install on stairs terracotta floors? | Content verified for accuracy and freshness.
References
- https://scholar.google.com/scholar?q=terracotta+tile+installation+on+stairs Google Scholar
- Google Scholar Google Scholar
https://scholar.google.com/scholar?q=ceramic+tile+installation+stair+treads+risers+thinset+mortar - Google Scholar Google Scholar
https://scholar.google.com/scholar?q=terracotta+floor+waterproofing+sealing+installation - Terracotta
https://en.wikipedia.org/wiki/Terracotta - https://en.wikipedia.org/wiki/Ceramic_tile
- https://en.wikipedia.org/wiki/Thinset_mortar
- Backer board
https://en.wikipedia.org/wiki/Backer_board - https://www.tileusa.com/technical-library/
- https://www.tile-assn.com/installation-guides/
- NTCA.com for sale
https://www.ntca.com/contractor-resources/how-to-install-tile/