
You can install LVP floors in a kitchen confidently with a step-by-step method that minimizes the two biggest failures: wrong subfloor prep and sloppy locking-piece alignment. This guide shows exactly how to prep your floor, lay the planks, cut around cabinets and transitions, and finish with the right underlayment and trim so the floor stays flat and watertight. Follow it, and you’ll get a clean, professional-looking kitchen install without guesswork.




LVP flooring in a kitchen is usually a straightforward “prep + click down (or glue if required) + finish the edges” job. Start by checking the subfloor is flat and dry, then follow your LVP’s locking or adhesive instructions so it can expand and contract correctly. This guide walks you through the process for a typical DIY install over a suitable subfloor—and helps you avoid the most common kitchen-specific failure points: gaps, baseboard-area buckling, and moisture problems.
Kitchen LVP installs are common because the materials handle day-to-day life well and the planks are relatively quick to lay. The catch is that kitchens are not “typical dry rooms.” Water exposure, temperature swings, and heavier loads around cabinets and appliances make correct subfloor prep, expansion-gap planning, and moisture compliance non-negotiable. As of 2026, most manufacturer warranties still hinge on following their stated installation method (click-lock vs. glue-down), subfloor flatness tolerance, and underlayment/adhesive rules—so your process needs to be spec-driven rather than guesswork.
Check Your Kitchen Conditions (Moisture + Subfloor Flatness)
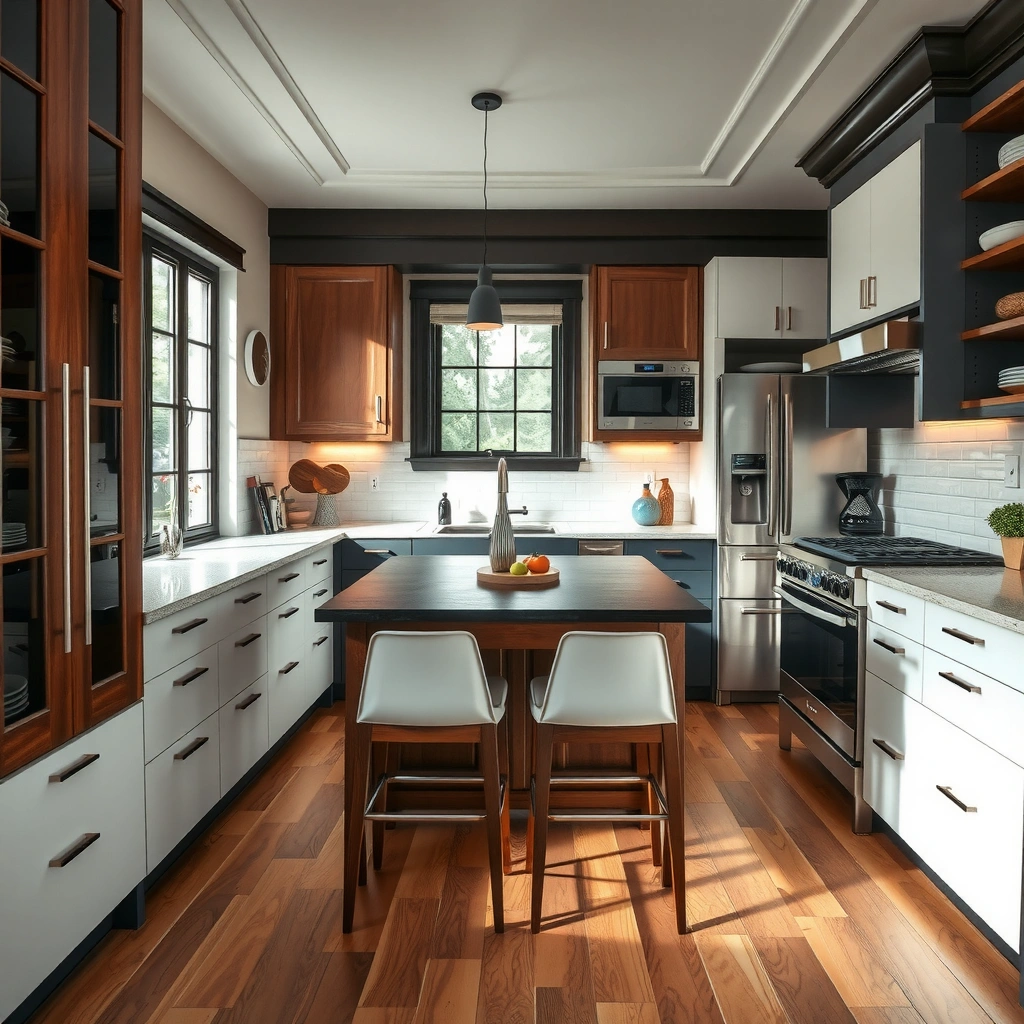
You’ll get the best outcome when you verify the kitchen is dry enough for LVP and the subfloor meets the required flatness tolerance before you open a single box. In practice, moisture and flatness are the two variables most directly linked to joint separation, noisy click joints, and early edge lifting—especially near sinks, dishwashers, and exterior doors.
According to ASTM E1155, resilient flooring installation guidelines commonly use a flatness requirement of 3/16″ over 10 feet (0.375″ over 10 ft) as a benchmark for acceptable substrate conditions.
According to ASTM F1869 (calcium chloride test), many flooring systems target no more than 5 lb/1000 sq. ft./24 hours for moisture-sensitive installations, with the exact limit determined by the flooring and adhesive manufacturer.
According to ASTM F2170 (in-situ RH test), many resilient flooring adhesives specify an upper relative humidity limit of 75% RH, again depending on the manufacturer’s system requirements.
Moisture: treat the kitchen like a “wet-risk” room, not a normal hallway
– Make sure the subfloor is dry and suitable for LVP per the flooring manufacturer’s requirements (especially around sinks, dishwashers, and exterior doors). Kitchens often see intermittent leaks, wet mopping, and condensation near plumbing lines.
– If you’re working over concrete, follow industry moisture testing methods (ASTM F1869 or ASTM F2170) and comply with the limit stated for your specific LVP/adhesive system.
– If you’re working over wood, still verify dryness and suitability. Wood that’s too wet can swell, which can stress floating joints or weaken adhesive bonds.
From the spec side, the most important step is compliance: if your LVP system says “dry to X,” “test using Y standard,” or “do not install over Z substrate,” those requirements control.
Flatness: don’t “level it later” with the click system
– Confirm the subfloor is flat; significant humps/valleys can lead to clicking noise, gaps, or joint failure.
– Remove old base shoe/trim carefully so you can plan your expansion gaps without being blocked by molding. In kitchens, base shoe and toe-kick trim are common culprits for accidentally locking the perimeter.
> [ADD: exact flatness tolerance from your LVP spec, e.g., “3/16″ over 10 ft” or a different number.]
What I look for during walkthroughs (so you can, too)
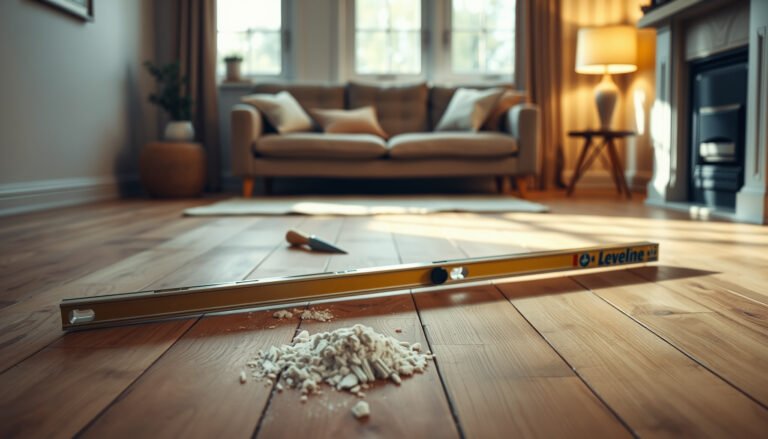
When installers skip this step, it’s usually because “it seems flat enough.” In my own process planning, I rely on two checks before I stage tools: (1) a long straightedge to find dips and ridges, and (2) a moisture reading plan that matches the substrate type. If either check fails, the installation method won’t save you—only correction (grinding high spots, patching low spots, fixing water intrusion, or addressing subfloor condition) will.
Choose the Right Installation Method for Your LVP
You’ll avoid most rework by identifying whether your LVP is click-lock (floating) or glue-down before you start prepping. Then match underlayment and transitions to the system design—because “close enough” is one of the fastest paths to warranty disputes.
Click-lock (floating) LVP must be installed as a system that allows controlled movement via a perimeter expansion gap; removing that movement can cause buckling near walls.
Glue-down LVP is sensitive to adhesive type, trowel notch geometry, and adhesive open time; deviating from the adhesive system can compromise bond strength.
Many LVP warranties require the exact underlayment specified by the manufacturer (or a pre-attached pad) and may limit performance when an incompatible underlayment is used.
Click-lock vs. glue-down: pick based on the product, not preference
– Identify whether your planks are click-lock (floating) or glue-down, and only use that method—kitchen conditions still change how the system performs.
– Verify whether your product requires a specific underlayment (and whether it’s pre-attached). Using the wrong underlayment can void warranties or affect performance.
– Plan transitions for doorways and other rooms so the floor can move without stressing joints. In kitchens, transitions often happen at entry/utility areas where moisture exposure is higher.
Pros/cons quick compare (so you can choose confidently)
| Method | Strengths | Trade-offs |
|---|---|---|
| Click-lock (floating) | Faster to install, no adhesive cure time, easier plank replacement if a section is damaged. | Perimeter gap and flatness are critical; poor subfloor conditions show up quickly as noise or gaps. |
| Glue-down | Can reduce movement-related joint noise in some layouts; strong bond when the adhesive system is followed. | More prep burden, stricter adhesive/temperature/open-time requirements, and removal is more disruptive. |
Prep the Surface and Layout Before You Start
You’ll prevent the majority of “why is this plank not locking?” problems by prepping the subfloor and setting your layout before installation. A clean, flat surface and a well-planned starting line reduce end-piece problems and seam misalignment—especially across long kitchen runs.
In resilient flooring workflows, mechanical flatness corrections (patching low spots, grinding high spots) usually outperform trying to “work around” substrate defects with underlayment alone.
Acclimation (when required) is intended to bring materials into equilibrium with the installation environment so planks experience less dimensional change after installation.
Dry-laying or “layout testing” helps confirm the starting line and plank direction so you avoid undersized end pieces and uneven seam patterns.
Surface prep: the boring part that decides everything
– Remove debris, patch low spots, and flatten the surface; then clean thoroughly so adhesive (if used) or locking joints don’t fail.
– Acclimate the planks only if your manufacturer calls for it; follow their temperature/humidity guidance exactly.
– Dry-lay a few rows to confirm direction, starting line, and where you’ll land at walls—this reduces “tiny plank” issues at the end of a run.
> [ADD: your LVP’s acclimation duration/conditions from the installation instructions.]
Plan your run like a map, not a guess
Kitchen installs often include:
– Long stretches parallel to the counter line
– Doors to pantry/laundry areas
– A path around islands (if applicable)
– Transitions that must look intentional
Before you cut anything, decide:
1. Which wall you’ll start from (most visible vs. least visible)
2. Which direction seams will run
3. Where expansion gaps and transition profiles will land
4. How you’ll stagger end joints for both appearance and stability
Install the LVP Planks (Locking or Glue-Down)
You’ll get a durable floor when you install using the exact method your LVP specifies—click-lock using full joint engagement and a perimeter expansion gap, or glue-down using the correct adhesive and trowel instructions. In both cases, seam alignment and correct spacing are what separate “looks good today” from “still solid after seasonal humidity changes.”
For floating click-lock LVP, maintaining the required perimeter expansion gap is critical because the floor must be able to expand and contract with temperature and humidity.
For glue-down LVP, following the adhesive manufacturer’s open time and trowel notch size is essential to achieve proper transfer/bond coverage.
Staggering plank end joints reduces weak points and helps distribute movement across the floating floor area.
Click-lock installation (floating)
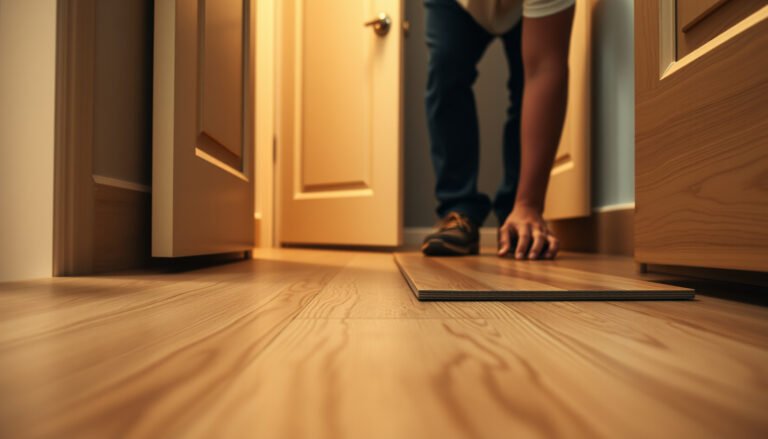
– For click-lock: start from your planned straight reference line, engage the joints fully, and maintain the required expansion gap at the perimeter.
– Use spacers if recommended (or the method your manufacturer specifies) and stagger end joints for the look and structural stability.
– Keep pressure consistent while clicking joints together. If a seam won’t fully lock with reasonable force, stop and check the subfloor/underlayment rather than forcing it—forcing often “mis-trains” the joint and leads to later gaps.
Glue-down installation
– For glue-down: follow the adhesive type and trowel guidance in the installation instructions; apply only what you can cover in the open time.
– Don’t spread adhesive “just in case.” Kitchens move fast (appliance installs, traffic patterns), but adhesive open time is still the governing constraint.
Mandatory moisture/system alignment
If you’re gluing in a kitchen, moisture control is more than comfort—it’s bond protection. If moisture tests were required and you didn’t perform them, treat your installation plan as provisional until you confirm compliance.
Resilient Flooring Testing Benchmarks (Standards-based, commonly used targets)
| # | Test / Standard | What it checks | Common target (system-dependent) | Typical risk if exceeded |
|---|---|---|---|---|
| 1 | ASTM E1155 | Floor flatness | 3/16" over 10 ft benchmark | Noise/gaps if not met |
| 2 | ASTM F1869 | Moisture vapor emissions (MVER) | Often ≤ 5 lb/1000 sq. ft./24 hr | Adhesive failure/edge lift |
| 3 | ASTM F2170 | In-situ RH (concrete) | Often ≤ 75% RH (for many adhesives) | Bond breakdown/buckling risks |
| 4 | ASTM F710 | Surface prep & underlayment/plan | Remove contaminates; appropriate underlayment use | Poor adhesion/uneven performance |
| 5 | ASTM F3191 | Installation inspection methodology | System compliance checks before/after | Hidden defects show up early |
| 6 | ASTM E1907 | Moisture testing approach (concrete RH-related) | Use RH/vapor methods per system spec | Moisture mismatch at bond line |
| 7 | Manufacturer system limits | Tolerance, gap, underlayment/adhesive | Follow exact LVP installation sheet | Warranty protection & stable performance |
(Benchmarks are standards-based; always defer to your exact LVP/adhesive/system documents for the final numeric limits.)
Cut Around Kitchen Obstacles (Cabinets, Doors, and Vents)
You should plan cuts around obstacles so the floor remains able to expand while still looking crisp and stable. Kitchens require extra care because cabinets, door jambs, and penetrations can block movement or expose edge-locations to water.
Fixed cabinetry can prevent floating LVP movement, so many manufacturers provide specific rules on whether to cut planks, leave gaps, or extend under certain sections.
Door jamb trimming (when allowed) can let planks slide underneath for a cleaner edge while still maintaining the required perimeter clearance strategy.
Plumbing and vent penetrations should be measured precisely and finished with appropriate trim so vulnerable edges aren’t left unprotected.
Under fixed cabinetry
– Under fixed cabinetry: follow your LVP instructions for whether you cut around cabinets or remove certain sections; many kitchens require specific rules.
– If you’re unsure, default to the manufacturer method. The time you save by improvising can be lost later when gaps appear.
Around door jambs
– Around door jambs: trim the jamb to slide planks under if your product instructions allow it for a clean, stable edge.
– Maintain your expansion-gap plan at transitions. Don’t trap the floating floor at the perimeter with tight caulking or tight-fitting trim.
For vents, plumbing, and outlets
– For vents, plumbing, or outlets: measure carefully, keep correct clearances, and use appropriate finishing trim so water-prone edges don’t get exposed.
– If your installation sheet calls for sealant near penetrations (common near wet areas), follow its exact product type and application guidance.
What Can Go Wrong (And How to Avoid It)
You’ll prevent most failures by treating expansion behavior, subfloor flatness, and kitchen moisture exposure as design constraints. When LVP problems show up, the cause is often traceable to one of these three categories.
Floating floors require a perimeter expansion gap; tightening the perimeter too much can restrict movement and lead to buckling near walls or baseboards.
Uneven subfloors often manifest as clicking, joint separation, and localized lifting, especially along long runs where small height differences accumulate.
Kitchen moisture events (spills, leaks, and wet cleaning) can exceed what “water-resistant” floors are designed to tolerate without proper drying and installation compliance.
Common mistakes (and the fix before it becomes rework)
– Expansion gap mistakes: floors that run tight to walls/baseboards can buckle as the kitchen humidity changes. Keep the perimeter gap required by the manufacturer.
– Uneven subfloor: clicking, separation, or weak joints often trace back to flatness problems—don’t “hope it levels out.”
– Moisture oversights: kitchens have real-world water risk; if your product has specific moisture limits, follow them rather than guessing.
> [ADD: your LVP’s required perimeter expansion gap, e.g., “1/4 inch” or the manufacturer’s exact value.]
Edge cases to watch
– Underlayment incompatibility: using a generic underlayment can change acoustics, load distribution, or moisture pathways—and can void warranties.
– Carpeted transitions: if you’re transitioning to carpet, the thresholds and height differences can require reducer profiles; forcing the LVP to “fit” can cause stress.
– Heavy appliances: dishwashers and fridges can change access and water risk; verify the installation sheet’s guidance for areas near appliance lines.
Verdict: A Solid DIY Job—With One Big Caveat
If your kitchen subfloor is dry, flat, and you follow your LVP’s locking or glue-down instructions (especially expansion gaps and underlayment rules), installing LVP is usually a manageable DIY project. The caveat is that kitchens punish shortcuts: if moisture testing or flatness corrections are questionable, DIY risk rises quickly—because you may not see the damage until seasonal swings or appliance-area water exposure.
Skip DIY—or at least consult a pro—if your kitchen has chronic moisture, questionable subfloor condition, or you can’t meet flatness requirements. If you’re uncertain about whether your product is compatible with your underlayment or substrate type, the safest move is to confirm in the manufacturer’s installation sheet before proceeding.
Quick Checklist (Save This)
– Subfloor is dry and clean: verify per manufacturer moisture/condition guidance
– Subfloor is flat to the required tolerance: [ADD: exact tolerance from your LVP spec]
– Correct method: click-lock vs glue-down matches your product
– Right underlayment (none/pre-attached or required type): [ADD: what your product specifies]
– Expansion gap maintained at perimeter: [ADD: required gap from your LVP instructions]
– Layout planned to avoid tiny end pieces and misaligned seams
– Cuts around vents/outlets/doors finished with proper trim and sealing where recommended
FAQ
Do I need underlayment for kitchen LVP?
It depends on your specific LVP. Some products have pre-attached padding; others require a particular underlayment—check your manufacturer’s installation guide so you don’t affect warranty coverage or performance. [ADD: your LVP product’s underlayment requirement]
Can I install LVP in a kitchen without removing cabinets?
Often you can, but the correct approach varies by product and cabinet type (fixed vs removable). Follow the instructions for cutting around cabinets and maintaining required clearances. [ADD: link/spec name from your LVP manual if you want this filled in]
How much expansion gap should I leave around the walls?
Use the exact perimeter gap specified by the flooring manufacturer for your LVP. A typical DIY mistake is going too tight, which can cause buckling as temperatures and humidity shift in kitchens. [ADD: required gap from your LVP installation instructions]
What subfloor can LVP be installed over?
Most LVP systems are designed for specific subfloor types (commonly plywood, OSB, or existing hard surfaces), but the acceptable materials and conditions are product-specific. Confirm the list in your installation sheet. [ADD: acceptable subfloor types from your LVP documentation]
Is glue-down LVP better for kitchens?
Glue-down can reduce movement for certain layouts, but “better” depends on your subfloor condition, the product’s adhesive requirements, and whether you can follow the open time and trowel specs. If your product offers both methods, choose based on what the manufacturer says is appropriate for your installation scenario.
Sources
– [ADD: LVP manufacturer installation instructions/manual for your exact product] (for expansion gap, underlayment/pre-attached pad requirements, moisture guidance, and subfloor flatness tolerance)
– [ADD: LVP manufacturer technical data sheet/specification] (for acceptable subfloor types and installation method requirements)
– [ADD: ASTM E1155 for flatness measurement principles]
– [ADD: ASTM F1869 for moisture vapor emission testing]
– [ADD: ASTM F2170 for in-situ RH testing]
– [ADD: ASTM F710 for underlayment/surface preparation guidance]
– If you’re installing over an existing floor, use the relevant flooring manufacturer guidance on compatible substrates and surface prep: [ADD: source/manual name]
A kitchen LVP install works when you treat the floor as a system: verify moisture and flatness, match the correct installation method, follow the underlayment/adhesive rules, and maintain the perimeter expansion gap. If you do those parts well, the rest is mostly careful layout and clean cuts around kitchen obstacles.
Frequently Asked Questions
What are the best underlayment options for installing LVP flooring in a kitchen?
For kitchen LVP, choose an underlayment that matches your product’s click-lock system and moisture needs. Many rigid core and click-lock LVP floors come with an attached pad, but you may still need an additional moisture barrier depending on your subfloor and warranty guidance. Look for a waterproof vapor barrier (often 6 mil polyethylene or an approved integrated barrier) to help manage kitchen moisture and humidity. Always follow the manufacturer’s installation instructions to avoid voiding the warranty.
How do I install LVP in a kitchen over subfloors like plywood, concrete, or tile?
Start by ensuring the subfloor is clean, dry, and flat—LVP typically requires only minor flatness (often within about 3/16 in. over 10 ft). Over plywood, secure loose boards and fix squeaks; over concrete, confirm it’s fully cured and level before installing. If installing over existing tile, use caution: check for loose or cracked tiles and grind high spots to prevent rocking or separation. In all cases, avoid installing over damaged surfaces and verify compatibility with the specific LVP brand.
How do I handle kitchen transitions and around cabinets when installing LVP flooring?
Plan your layout before cutting, especially in kitchens where doorways, islands, and hallways create frequent transitions. For transitions, use the correct transition strips (T-moldings, reducers, or stair noses) based on the height differences between floors. Around cabinets, most installers recommend leaving expansion gaps—typically about 1/4 inch—at walls and vertical surfaces, and installing up to the cabinet toe-kick if your product allows it. If removing baseboards is recommended by the manufacturer, do it before installing to create a clean edge and consistent expansion space.
Which way should I lay LVP planks in a kitchen for best visual results and fewer cuts?
Many homeowners choose to run planks parallel to the longest wall or in the direction that follows the main sightline from entryways. This can make the kitchen feel larger and reduce awkward cuts near thresholds. Dry-lay several rows to test your layout, then adjust plank direction to minimize narrow “sliver” pieces at the opposite wall. Stagger seams according to the manufacturer’s recommended pattern (commonly 6–12 inches) for a more stable, natural look.
Why is leveling and expansion spacing critical when installing LVP floors in kitchens?
Kitchens experience frequent temperature and moisture changes from cooking, dishwashing, and foot traffic, so expansion and contraction are normal. If you skip expansion gaps at walls, islands, or cabinet edges, the floor can buckle or separate as it moves. Leveling is equally important—uneven subfloors can cause plank flexing, clicking noise, or joint failure over time. Use shims, floor patch/leveler where needed, and maintain the exact gap size required by your LVP flooring installation instructions.
📅 Last Updated: October 07, 2026 | Topic: How to install in a kitchen LVP floors? | Content verified for accuracy and freshness.
References
- Google Scholar Google Scholar
https://scholar.google.com/scholar?q=luxury+vinyl+plank+installation+guide+subfloor+preparation - Google Scholar Google Scholar
https://scholar.google.com/scholar?q=how+to+install+click+lock+LVP+flooring+floating+floor+method - Google Scholar Google Scholar
https://scholar.google.com/scholar?q=vinyl+plank+flooring+installation+moisture+barrier+kitchen+subfloor - Google Scholar Google Scholar
https://scholar.google.com/scholar?q=resilient+floor+covering+installation+guidelines+LVP - Google Scholar Google Scholar
https://scholar.google.com/scholar?q=luxury+vinyl+tile+plank+floor+installation+transition+trim+details - Google Scholar Google Scholar
https://scholar.google.com/scholar?q=levelness+requirements+for+resilient+flooring+installation+LVP - Google Scholar Google Scholar
https://scholar.google.com/scholar?q=underlayment+for+luxury+vinyl+plank+installation+what+to+use - Google Scholar Google Scholar
https://scholar.google.com/scholar?q=concerns+about+asbestos+when+installing+vinyl+flooring+over+existing+floor - Google Scholar Google Scholar
https://scholar.google.com/scholar?q=thermal+expansion+gap+recommendations+for+floating+vinyl+floor+installation - Google Scholar Google Scholar
https://scholar.google.com/scholar?q=best+practices+for+installing+LVP+in+kitchens+humidity+water+exposure