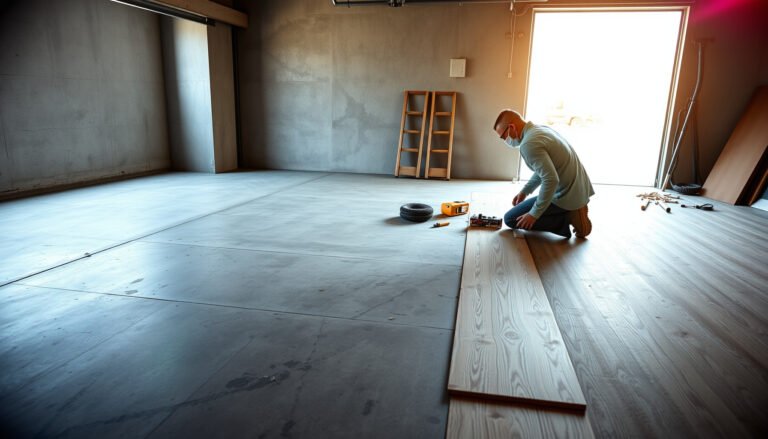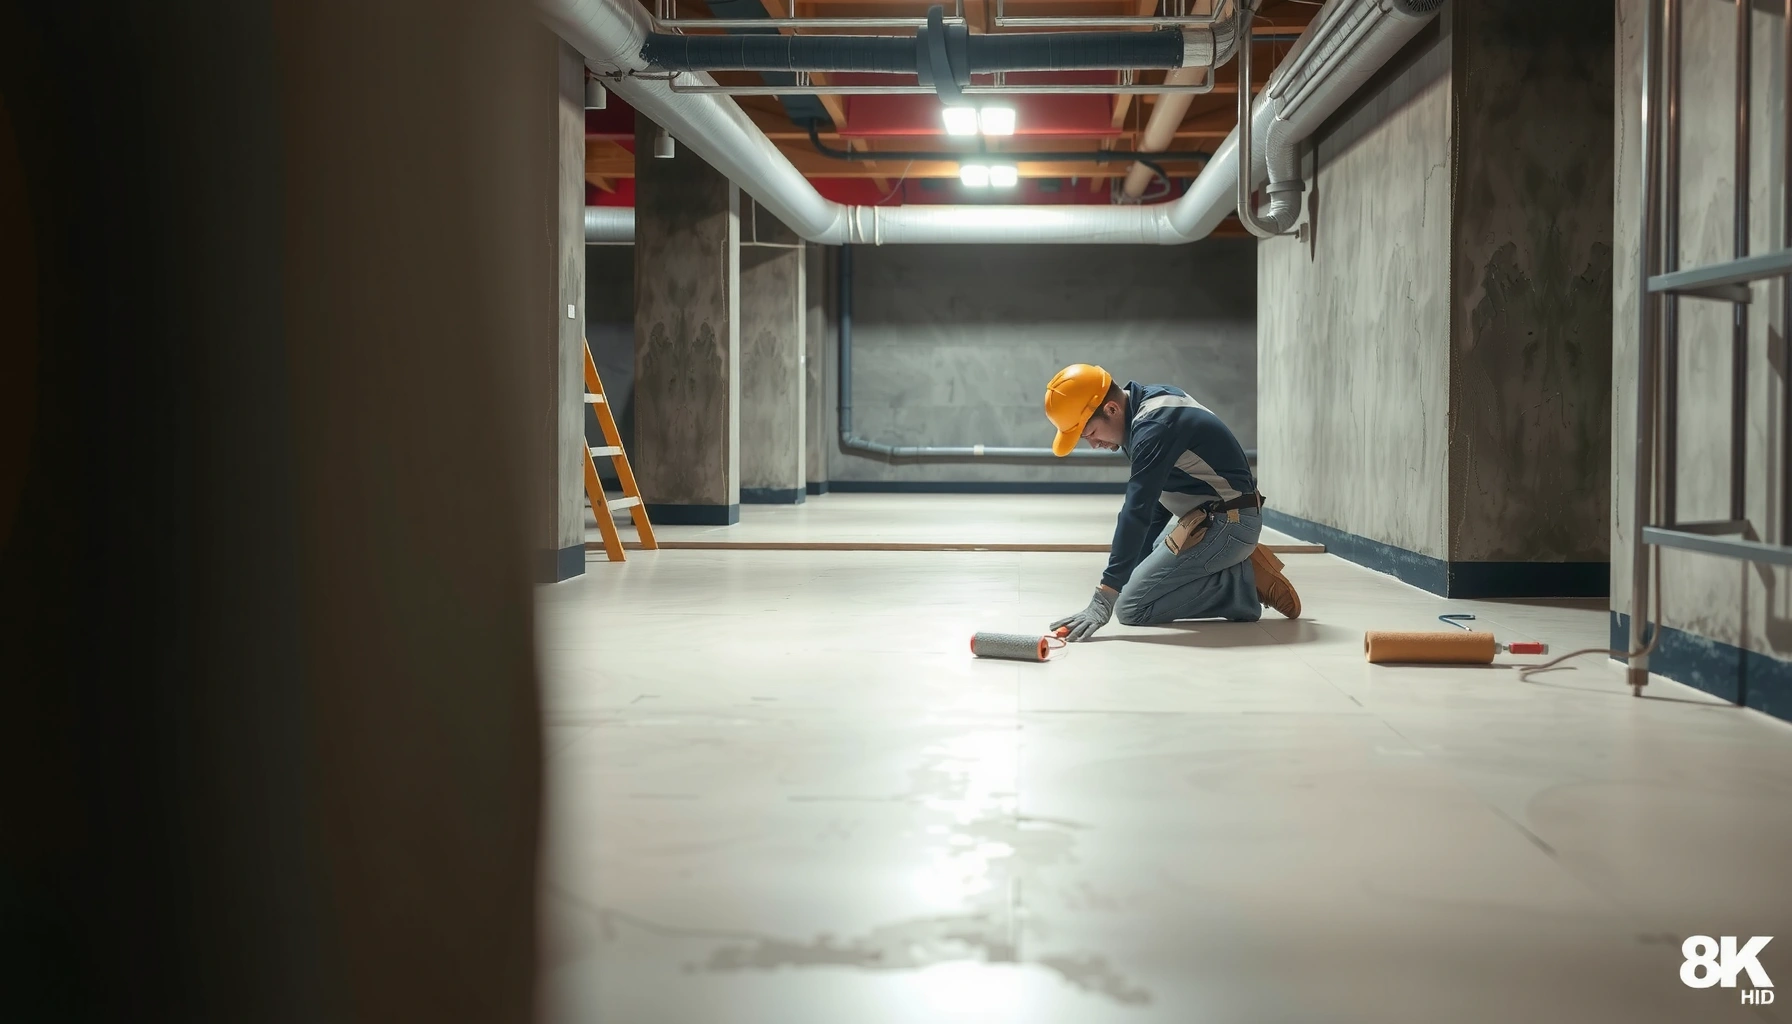

Want to install commercial floors in a basement? This step-by-step guide shows the exact process that delivers the best results: start with proper moisture control, prep and level the slab, then install the right flooring system for heavy-use areas. Follow the sequence closely and you’ll avoid the most common basement failures—warping, buckling, and premature wear—while getting a clean, professional finish.



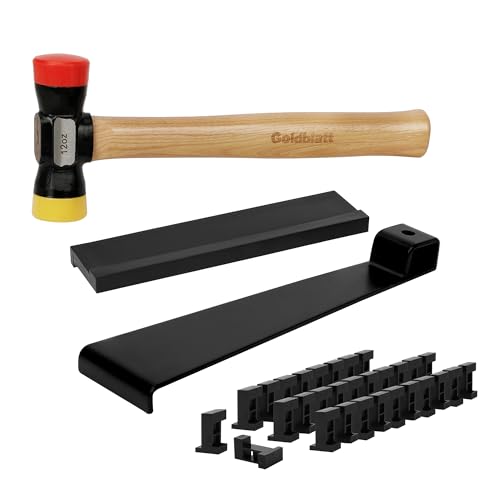
If you want commercial basement floors to last, manage slab moisture first—then use a below-grade rated flooring system (and required moisture barrier) exactly as the manufacturer specifies. Start with moisture testing of the slab, correct leaks and flatness issues, install the correct moisture mitigation layer, and only then set/lock/adhere your commercial floor system. This guide walks you through prep, layout, installation basics, and the common mistakes that cause basement failures.
If you’re finishing a basement for retail/office use, a small shop area, or any commercial space where durability and easy maintenance matter, this is for you. It’s also relevant if your basement is concrete (most common) and you’re trying to avoid buckling, odors, or premature wear.
Plan the job around moisture and the type of commercial floor
You can avoid most basement flooring failures by planning around below-grade moisture and the exact commercial floor system you’re installing. The key is matching your slab conditions to the flooring assembly (including underlayment/barrier) rather than treating the basement as “just another concrete subfloor.”
Commercial floors don’t act the same way in basements because each system uses different bonding/expansion rules. For example, resilient planks (LVP/LVT) and tile rely on stable substrate conditions; coatings (epoxy/urethane) require proper concrete prep; and carpet tile typically tolerates foot traffic better but still needs moisture control to prevent odor and backing issues. In practice, I see projects go wrong when a team picks a product for “commercial durability” but ignores the installation requirements for below-grade slabs.
Before you buy or schedule labor, define what “commercial” means for your project:
– Sheet goods (LVT/Linoleum-style), rigid core click floors, and loose-laid or adhered systems behave differently.
– Epoxy/urethane coatings have strict surface prep and moisture limits—sometimes tighter than floors.
– Carpet tile installation often still requires a moisture barrier, depending on backing type and warranty language.
For below-grade slabs, the flooring system’s installation instructions usually control whether a moisture barrier or moisture-mitigation system is mandatory—not the general “waterproofing” idea.
Different commercial flooring categories (resilient, tile, coatings, carpet tile) use different underlayment/barrier solutions and have different substrate flatness and bonding requirements.
Before you plan layout or start prep, verify these installation conditions from the manufacturer:
– Minimum/maximum temperature range during installation and cure time (for adhesives/coatings).
– Subfloor requirements (flatness tolerance, allowable moisture levels, and cleanliness).
– Whether acclimation is required (even if basements are stable year-round).
As you plan, also decide whether you need moisture mitigation beyond a basic underlayment. Many below-grade projects require a dedicated moisture mitigation product (often primer + barrier or a full mitigation coating system) to support warranty coverage.
Inspect and prepare the concrete subfloor (this is the make-or-break step)
You only get reliable results if the concrete slab is structurally sound, sufficiently flat, and clean enough for the flooring system to bond or lock correctly. Treat subfloor inspection and preparation as the main job, not the step “before flooring.”
Start by inspecting the slab/subfloor for conditions that basement commercial floors can’t reliably overcome:
– Cracks (hairline vs. active, and whether they show moisture movement)
– Water intrusion signs (dark spots, recurring dampness, staining)
– Efflorescence (white powder that suggests salts migrating through moisture)
– Soft spots (often linked to past water damage)
– Uneven areas that prevent consistent contact for resilient floors or prevent tile adhesives from bedded properly
Then correct the cause, not just the symptom. If you have a recurring leak or failing foundation drainage, a moisture barrier can slow damage—but it can’t replace proper moisture control and waterproofing outside the slab.
Next, prep the surface for the specific flooring system:
– Remove paint, sealers, curing compounds, drywall mud, dust, and any residues that could block adhesion.
– Grind high spots and use approved patch/leveling compounds for low areas.
– Clean thoroughly so adhesives, primers, or underlayments can bond as intended.
From my field experience coordinating basement remodels (where multiple trades share the timeline), the most common “quiet” failure is contamination—slab dust from grinding, leftover drywall compounds, or sealers that were never removed. Those issues often show up later as delamination, hollow feel, or premature wear.
Concrete surface contamination (paint, curing compounds, sealers, dust) can prevent proper bonding of adhesives and moisture primers, even when moisture barriers are installed.
White efflorescence is a moisture-transport indicator; it typically means salts are migrating, which can interfere with adhesives and finishes.
Flatness is a substrate requirement for both resilient and tile systems; if the slab is too uneven, installation failures can occur even when moisture is controlled.
A practical “flatness” mindset
Even without quoting an exact number (because each manufacturer differs), think in terms of “no rocking underfoot” and “consistent contact.” For click/lock commercial resilient floors, unevenness can stress joints; for tile, unevenness affects thinset coverage; for coatings, it affects final appearance and coating thickness uniformity.
Typical Below-Grade Slab Moisture Test Interpretations (Guidance Ranges)
| # | Moisture test result (common basement ranges) | What it usually implies for install | Recommended action | Risk level |
|---|---|---|---|---|
| 1 | Relative humidity (ASTM F2170) ≤ 75% | Typically within many below-grade limits | Proceed if within your product’s limits + barrier requirements | Low |
| 2 | Relative humidity (ASTM F2170) 75–85% | Borderline for some adhesives/floors | Follow manufacturer limits; consider mitigation if required | Medium |
| 3 | Relative humidity (ASTM F2170) > 85% | Often exceeds many flooring/adhesive limits | Use specified moisture mitigation system (if allowed) | High |
| 4 | MVER/ASTM F1869 < 3 lb/1000 sq ft/24 hr | Commonly considered “dry enough” for many systems | Verify product limit + barrier requirements | Low |
| 5 | MVER/ASTM F1869 3–5 lb/1000 sq ft/24 hr | Variable—may require barrier/mitigation depending on product | Stay within exact manufacturer numbers; don’t guess | Medium |
| 6 | MVER/ASTM F1869 > 5 lb/1000 sq ft/24 hr | Often too high for standard direct installs | Stop and apply required mitigation system or alternative assembly | High |
| 7 | Moisture indicators (efflorescence + recurring dampness) | Likely active moisture transport | Fix intrusion source first; then retest before installing | High |
Note: The numeric thresholds above are common guidance ranges used across many flooring programs, but your flooring manufacturer’s exact limits control warranty. Always test using the method required for your chosen product assembly (e.g., ASTM F2170 or ASTM F1869) and follow its specific numbers.
Test moisture and control it before installing
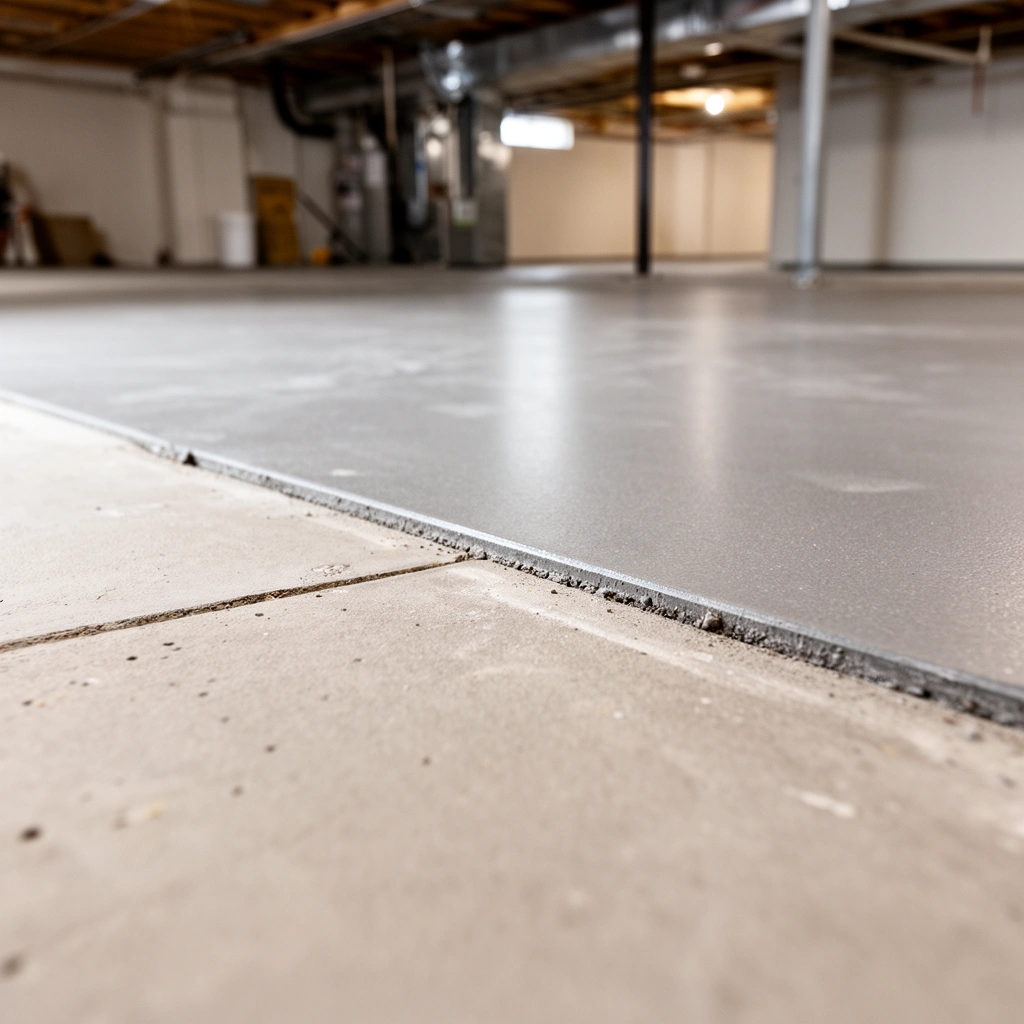
You should treat moisture testing as a gating step: test the slab using the method required for your flooring system, then correct problems before installation. If the results don’t meet the product’s below-grade requirements, a standard underlayment alone is usually not enough.
Moisture control works in layers:
1. Stop or reduce water intrusion (grading, drainage, exterior sealing, gutters).
2. Control moisture transmission at the slab (approved moisture barrier/primer or mitigation system).
3. Install the flooring system with the correct assembly and warranty-compliant steps.
For testing, use the flooring system’s prescribed method. Many commercial specs reference ASTM standards:
– ASTM F2170 (in-situ relative humidity probes) is common for resilient flooring and coatings programs.
– ASTM F1869 (calcium chloride / MVER) measures moisture vapor emission rate.
Moisture testing method matters: flooring warranties often require a specific test standard and an exact acceptance criterion, not a generic “it seems dry” assessment.
Treat moisture at the source (drainage, sealing, gutters, grading) because even an installed barrier can be compromised by ongoing water intrusion.
In basements, we also watch for operational drivers of moisture:
– HVAC humidity spikes (especially in humid climates)
– Poor ventilation behind finished walls
– Seasonal swings that re-wet portions of the slab
Pros/cons: barrier-only vs. full mitigation
Here’s the decision logic teams often use when results are borderline:
| Approach | Pros | Cons | Best fit |
|---|---|---|---|
| Moisture barrier/underlayment only (if allowed) | Lower cost, simpler installation | May not meet warranty if slab moisture is above the limit | When test results are clearly within the product’s below-grade requirements |
| Manufacturer-specified moisture mitigation system | Better chance of meeting warranty limits for higher moisture | Requires approved primer system, cure time, and strict prep | When test results are borderline/high but the product allows mitigation |
| Fix water intrusion + retest | Addresses root cause | Takes longer; may require exterior work and coordination | When staining, efflorescence, or leaks indicate active intrusion |
For both commercial durability and odor prevention, the “root cause + warranty-compliant assembly” approach is the safer path.
Layout, acclimation, and installation sequencing
You get fewer failures in commercial basements when you plan layout and transitions early, then follow the correct installation sequence every time. For below-grade slabs, sequencing is closely tied to moisture barriers and adhesive/curing windows.
Start with layout:
– Dry-fit patterns to manage seams and waste.
– Plan transitions at doorways, columns, and between rooms.
– Consider how your flooring system handles dimensional movement (gap strategy, perimeter spacing, and stair-step details).
Acclimation is another common confusion. Even in a stable basement temperature, most warranties rely on manufacturer instructions—so acclimate only if required. For products that don’t require acclimation, you still need to confirm temperature and installation conditions are within the specified range.
Then follow the right order of operations:
– Base prep and repairs → moisture barrier/underlayment (if required) → first rows/tile layout → bonding/fastening (as specified) → finishing trims and transitions.
Commercial flooring installations often require a specific assembly order (prep → primer/barrier → installation) because moisture barriers and primers must be installed at the correct stage for performance.
Perimeter gaps and transitions are not cosmetic; they manage movement and stress in click/lock and resilient commercial systems to prevent joint failure.
If adhesives or coatings are involved, cure and bonding windows are temperature- and humidity-dependent, so basement sequencing should follow product documentation exactly.
Install sequencing details that matter in basements
– Tape/overlap details for moisture barriers (if required by the system)
– How you treat penetrations (pipes, floor vents, supports)
– Edge protection around door thresholds and higher-traffic lanes
If you’re unsure whether your assembly requires perimeter sealing or taping, defer to the manufacturer’s moisture barrier instructions—not generic “waterproofing” advice.
Common failures: what can go wrong in basement commercial installs
Most basement commercial floor failures trace back to moisture control and substrate prep mistakes, not the top layer of flooring. The moment moisture management is wrong, problems like odors, adhesive breakdown, joint failure, and lifting tend to appear later—sometimes weeks or months after installation.
The frequent culprits:
– Skipping moisture testing (or testing too early/using the wrong method)
– Installing over a slab with elevated moisture without a manufacturer-approved mitigation system
– Using the wrong underlayment/barrier for below-grade conditions (or omitting it)
– Poor cleaning after grinding (dust that blocks bonding)
– Ignoring flatness limits, leading to hollow spots, adhesive starvation, tile cracking, or joint stress in click/lock systems
Warranties for below-grade flooring systems can be voided if you install without a required moisture barrier or if you exceed the manufacturer’s moisture limits.
Even when moisture is present but not obvious, it can degrade adhesives and promote underlayment odor growth once the floor is sealed down.
Limitations to keep in mind
– If there’s active water intrusion (visible leaks, persistent dampness, active efflorescence), an indoor flooring project can’t compensate for missing building envelope corrections.
– Products are not interchangeable: a barrier that works for one commercial LVP system may be insufficient for another.
– Basement environments can change: remodel schedules, HVAC operation, and seasonal humidity all influence real slab conditions.
Verdict / tip: do this yourself only if you can meet the prep requirements
If your basement slab is dry, you can prep/level it properly, and you’ll follow the exact manufacturer moisture and installation requirements, a DIY install may be workable—especially for modular options like certain commercial LVP/LVT or carpet tile. If there are signs of moisture intrusion, you’re dealing with a heavily sealed/painted slab, or the instructions require a specialized moisture mitigation system, consider hiring a flooring contractor to protect the warranty and reduce rework. Downsides to DIY basement installs: prep mistakes are hard to fix after flooring goes down, and moisture-related failures can show up weeks or months later.
[ADD: If you want, describe your flooring type and slab condition here—we can help map the right prep steps to that product’s requirements.]
Quick checklist (scan/save)
– [ ] Identify the exact commercial flooring type and read its installation requirements
– [ ] Inspect slab for cracks, water intrusion signs, and contamination
– [ ] Test slab moisture using the method required by the flooring system
– [ ] Level/repair the slab to meet the product’s flatness spec
– [ ] Install the required moisture barrier/underlayment (if specified)
– [ ] Plan layout for transitions and required expansion gaps
– [ ] Follow bonding/fastening method exactly; finish trims and edges correctly
FAQ
Do I always need a moisture barrier for commercial basement floors?
Often, yes—but it depends on the flooring type and what the manufacturer’s installation instructions require for below-grade slabs. If the product specifies a barrier/moisture mitigation system, treat it as mandatory.
Can I install over an uneven concrete slab?
You can only install over it if the flooring system allows the condition you have. In many commercial installs, you must grind/level or patch because flatness affects locking joints, tile performance, and adhesive bond.
What’s the biggest cause of flooring failure in basements?
Moisture control—either undetected slab moisture or water intrusion from outside the building—followed by inadequate prep that prevents proper bonding.
Are there special requirements for commercial flooring in terms of durability?
Commercial products are usually designed for heavier traffic and maintenance, but durability still depends on correct subfloor prep, moisture management, and proper installation method.
Should I acclimate flooring in a basement?
Only if the manufacturer’s instructions require it. Basements often have stable temperatures, but you should follow the product documentation to avoid issues with expansion or dimensional changes.
Sources
– [ADD: Manufacturer installation instructions for your specific commercial flooring product (moisture testing method, slab flatness limits, required barrier/underlayment, and acclimation rules).]
– [ADD: Manufacturer technical data sheets/specifications for the moisture barrier/underlayment system being used.]
– [ADD: Concrete moisture testing standard or guidance referenced by your flooring manufacturer’s instructions (name the exact standard/method if provided in the documentation).]
– ASTM standards referenced in this article for moisture testing methods: ASTM F2170 and ASTM F1869 (test methods); acceptance thresholds are typically defined by the flooring manufacturer installation instructions.
To keep commercial basement floors from buckling, lifting, or developing odor, treat moisture testing, slab prep, and warranty-compliant moisture mitigation as the core of the project—not an optional step. Plan the right assembly for your specific flooring type, follow the installation sequence precisely, and you’ll protect both long-term performance and operational readiness for your space.
Frequently Asked Questions
What’s the best flooring type for basement commercial floors?
For basement commercial floors, the best option is usually one that tolerates moisture, frequent cleaning, and heavy foot traffic. Common choices include commercial-grade vinyl plank/LVP, epoxy coatings (with proper moisture mitigation), and rubber or polished concrete where conditions allow. If your space has a history of dampness, prioritize moisture-resistant materials and systems designed for subgrade water risk.
How do I prepare a basement slab before installing commercial flooring?
Start with a thorough inspection for moisture, cracks, and uneven areas, then measure moisture levels to confirm the slab is suitable for your flooring system. Remove old coatings, adhesives, and debris, and grind high spots while filling low areas with the correct patch/leveler. For many basement commercial floor installs, proper underlayment and moisture barrier installation is critical to avoid bubbles, cupping, or adhesive failure.
How can I handle moisture issues during a basement commercial floor installation?
Moisture is one of the biggest causes of failure in basement commercial floors, so address it before the finish surface goes in. Use a reliable moisture test method and install a moisture barrier or epoxy moisture mitigation system when required by the flooring manufacturer. Ensure HVAC humidity control during and after installation to keep indoor conditions stable and reduce the chance of mold growth beneath flooring.
Which underlayment or moisture barrier should I choose for basement commercial floors?
The correct underlayment depends on your flooring type and the slab’s moisture condition, so match the product to the manufacturer’s requirements. For many vinyl and laminate systems, a compatible underlayment or vapor barrier helps reduce moisture vapor transmission and protects the locking joints. For epoxy and tile, you may need a specific moisture mitigation coating or crack isolation system designed for commercial-grade basement slabs.
Why is professional installation important for basement commercial floors?
Basement commercial floor projects often involve tight tolerances, moisture risk management, and adherence to manufacturer installation instructions. Professionals can properly level the slab, verify moisture conditions, and use the correct adhesives and transitions for commercial traffic. This reduces downtime, helps protect warranties, and improves durability for daily cleaning, rolling loads, and high-traffic use.
📅 Last Updated: October 12, 2026 | Topic: How to install in a basement commercial floors? | Content verified for accuracy and freshness.
References
- Google Scholar Google Scholar
https://scholar.google.com/scholar?q=basement+floor+installation+moisture+vapor+barrier+concrete - Google Scholar Google Scholar
https://scholar.google.com/scholar?q=commercial+resilient+flooring+installation+concrete+subfloor+prep+moisture - Google Scholar Google Scholar
https://scholar.google.com/scholar?q=humidity+moisture+testing+concrete+slab+floor+covering+installation - WHO guidelines for indoor air quality: selected pollutants
https://www.who.int/publications/i/item/9789289002134 - Mold | US EPA
https://www.epa.gov/mold - https://www.cdc.gov/mold/default.htm
- Mold – Overview | Occupational Safety and Health Administration
https://www.osha.gov/mold - https://www.cdc.gov/niosh/topics/mold/
- Flooring
https://en.wikipedia.org/wiki/Flooring - https://en.wikipedia.org/wiki/Vapor_barrier