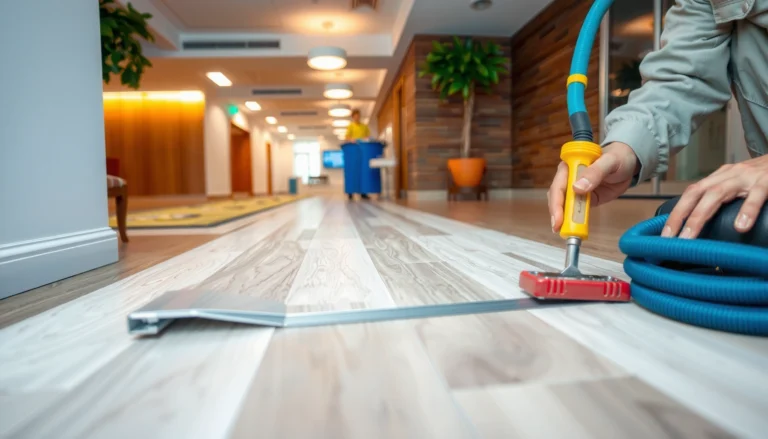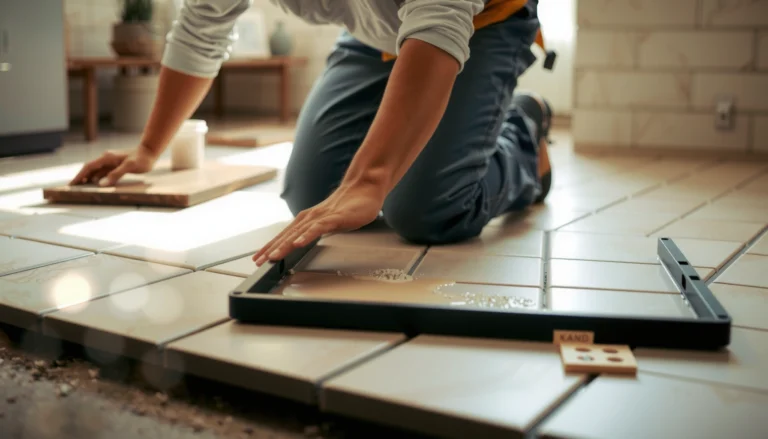

Installing cork floors on uneven floors is doable, but only if you choose the right leveling method and follow a strict prep checklist. This guide shows the fastest, most reliable way to get a flat subfloor—so the cork locks together cleanly and stays quiet underfoot. You’ll learn exactly when to use self-leveling compound versus patching, plus the minimum thickness steps needed for a professional result.



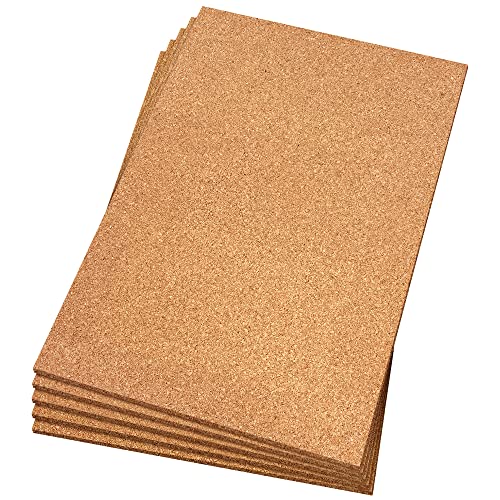
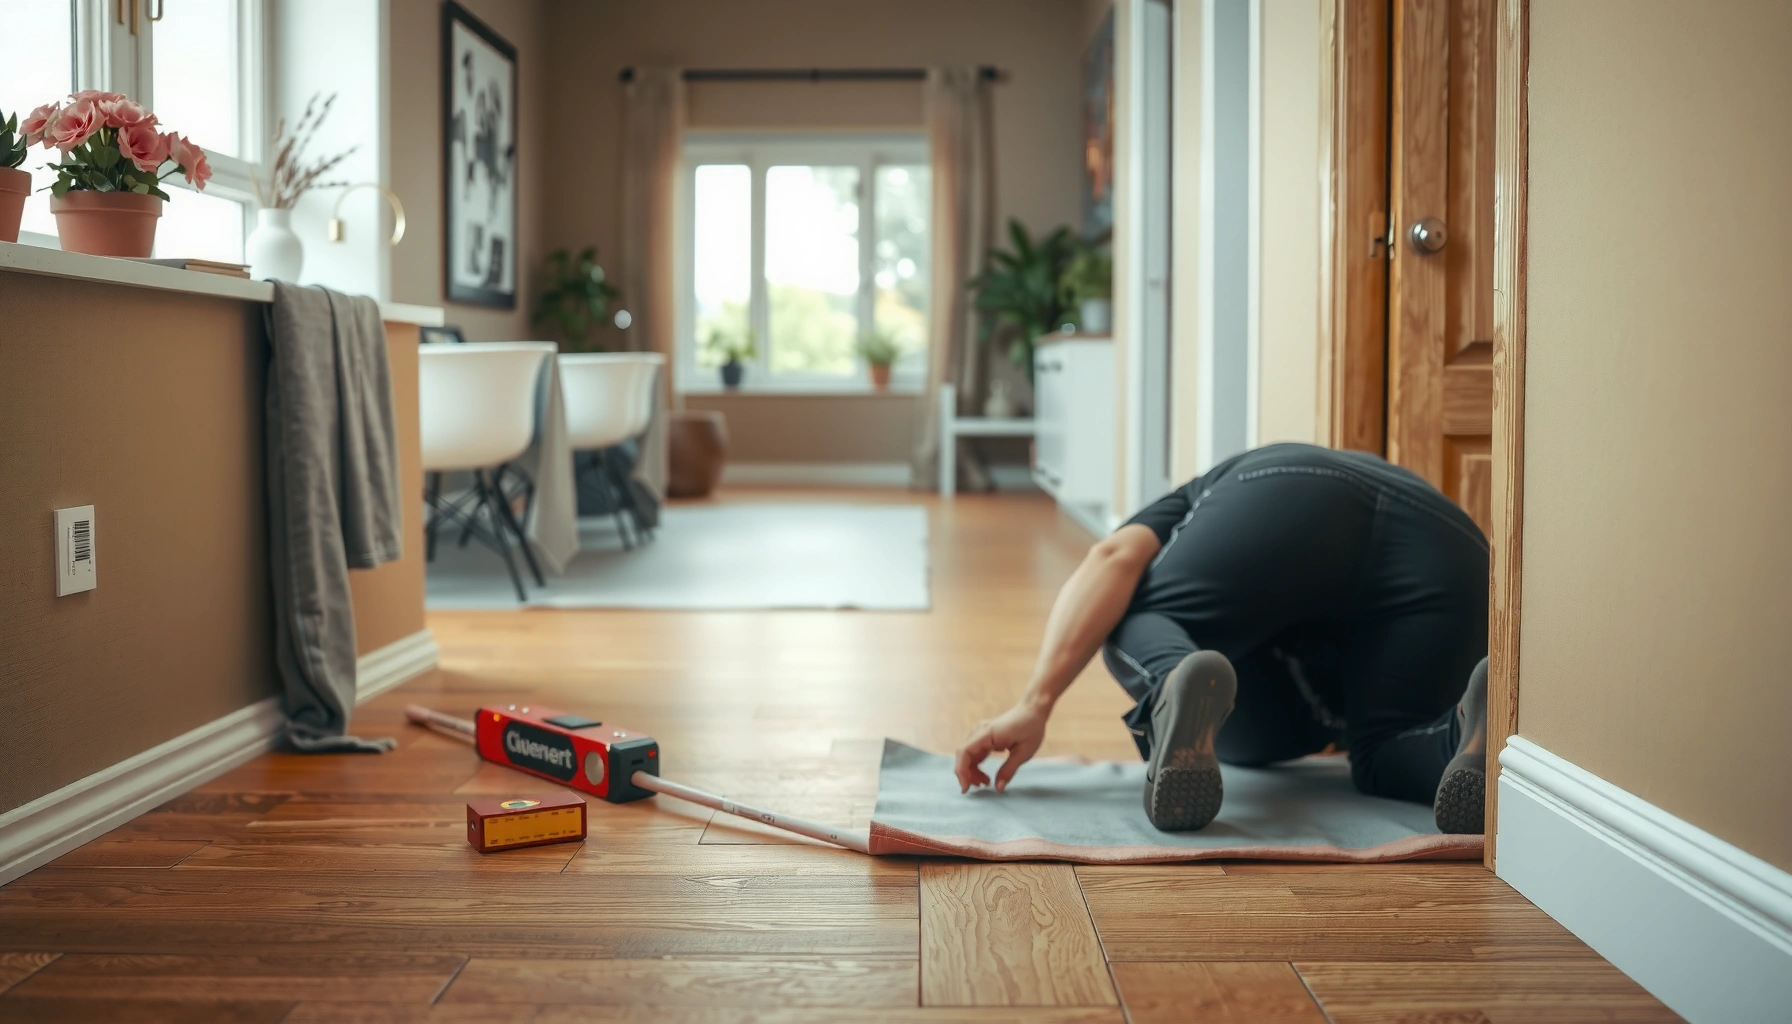
If your cork floor is going on uneven floors, the fix is to flatten the subfloor first, then install cork using a suitable underlayment and leveling-approved method. Don’t try to “make it work” by forcing planks down—cork can flex, but repeated high/low spots can lead to gaps, squeaking, or damage. This guide walks you through how to check flatness, correct uneven areas, and choose the right setup so your cork installation stays stable.
If your subfloor has dips, ridges, or old patchwork, this is for you—especially if you’re installing floating (click-lock) or glued cork and want fewer problems during expansion and daily foot traffic. If your unevenness is extreme or caused by structural movement, you may need a pro before flooring goes down.
Assess uneven floors: measure flatness first
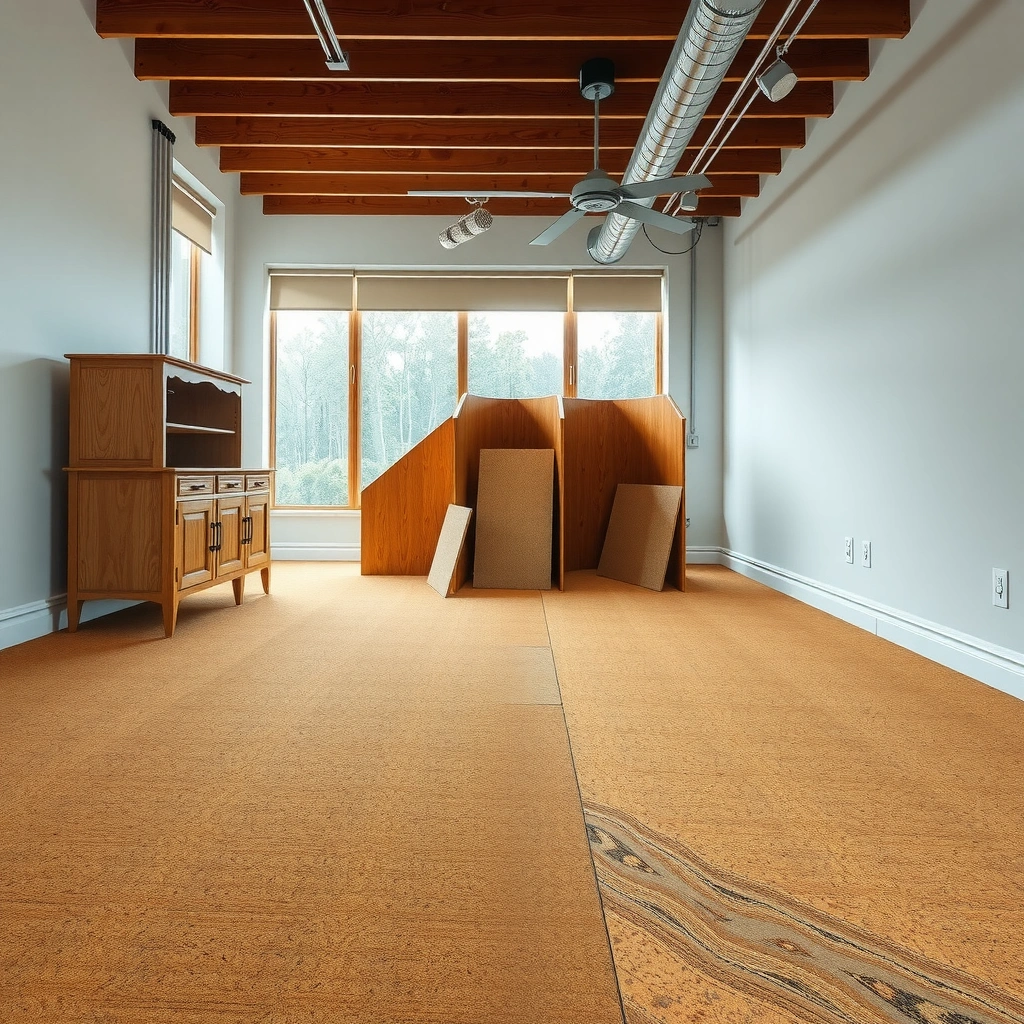
For cork floors to stay quiet and tight, you need a subfloor that meets the flatness requirement in the manufacturer’s instructions. The quickest way to find out is to measure with a long straightedge, map highs and lows, and then decide whether you need patching or full leveling.
A cork floor (especially click-lock) relies on stable support; if the subfloor dips repeatedly, joints can separate even though cork has some natural flexibility.
Using a 6–8 ft straightedge (level or long board) is a practical way to identify whether unevenness is localized or widespread.
Straightedge mapping for highs and lows
– Check for problem spots with a straightedge (a 6–8 ft level or long straight board works well) and mark highs/lows with tape or a pencil.
– Note whether the issue is localized (one dip area) or widespread (entire room out of level/plane), because the repair approach changes.
– Confirm subfloor type (plywood, concrete, tile, OSB) so you can match the leveling product and prep steps to it.
Match “flatness” to the cork spec (not vibes)
Manufacturers often provide a flatness tolerance measured over a specific distance (commonly “over 6 ft” or “over 10 ft”). Since this tolerance varies by cork construction and backing, the only safe approach is to read the installation guide for your exact product and use that number when you judge your measurements. If you can’t find the spec, contact the manufacturer before installing.
Three quick reference realities to keep you grounded:
– Concrete slabs are typically expected to cure for at least 28 days before flooring under normal conditions (this is widely referenced in concrete practice; confirm for your jobsite conditions).
– Many floating floors are installed with a perimeter expansion gap of about 1/4 in (6 mm) (always confirm with your specific cork instructions).
– When people skip re-checking flatness after leveling, the “fixed” floor can still have a few remaining high spots—those can telegraph through cork and cause joint stress later.
[ADD: source for concrete cure time and typical floating perimeter gap guidance.]
Typical Subfloor Flatness Checks for Cork (What Many Install Specs Use)
| # | Flatness Check Method | What You Measure | Most Common Use Case | Fit for Cork Install |
|---|---|---|---|---|
| 1 | 6–8 ft straightedge sweep | High/low points (max deviation) | Spotting dips/ridges before leveling | ★★★★★ |
| 2 | 2 ft straightedge “spot check” | Short-wavelength bumps | Confirming whether a ridge is localized | ★★★★☆ |
| 3 | Laser line level | Deviation along long runs | Mapping room-wide unevenness | ★★★★☆ |
| 4 | Feeler-gauge gap readings | Measured clearance under straightedge | Quantifying a specific high/low spot | ★★★★☆ |
| 5 | Moisture test “flatness support” check | Moisture vapor/relative moisture | Preventing adhesive or underlayment failure | ★★★☆☆ |
| 6 | Spot sanding/planing of highs | Reduces maximum high points | Fine-tuning after patch/leveling | ★★★★☆ |
| 7 | “Visual-only” inspection | No repeatable deviation metric | Quick triage, not final tolerance check | ★☆☆☆☆ |
Prep the subfloor: clean, dry, and remove the causes
You can’t level a problem you don’t remove first: loose material, weak adhesion, and moisture sources will undermine cork performance even if the surface looks flat temporarily. Prep is where most failures are prevented—especially on concrete and on subfloors with patchwork or old adhesives.
Leveling compounds depend on a clean, sound surface so they can bond; paint overspray, dust, and old adhesive residue can reduce adhesion.
If the subfloor is still affected by moisture, cork installation instructions can require moisture testing and remediation before you level.
Clean thoroughly (bond comes first)
– Scrape off loose paint, adhesive residue, or debris, then vacuum thoroughly so leveling compounds can bond.
– Fix moisture sources before installing cork—run down humidity/water issues first, especially on concrete.
– If there are damaged boards, replace or fasten them; leveling won’t fix movement in a springy subfloor.
Why “soundness” matters as much as flatness
A subfloor can be flat but still fail if it flexes. For floating cork, the click-lock system can transfer movement to seams; for glue-down cork, adhesive needs consistent contact and stable substrate behavior. In both cases, subfloor movement can create squeaks, joint gaps, and premature wear.
[ADD: source for substrate soundness requirements from your cork manufacturer.]
Level small dips and patch isolated low spots
For minor unevenness, patching is usually faster and more predictable than trying to self-level an entire room. You’ll get better control over thickness and feather edges—both of which matter for keeping cork stable.
Feather-edge patching works best when the unevenness is localized; it prevents creating new ridges that can telegraph through cork.
Patch and skim products require full cure time before you install anything over them, or the surface can remain weak.
Patch correctly, then verify again
– For minor unevenness, use a patch/skim product made for floors and feather edges as directed by the manufacturer.
– Let compounds cure the full time listed on the bag/tech sheet before you install anything over them.
– Re-check flatness after the patch sets so you’re not “chasing” unevenness with subsequent underlayment.
Pros/cons: patching vs. leveling (quick decision)
| Approach | Pros | Cons |
|---|---|---|
| Feather/skim patch | Precise control; minimal added height; good for isolated dips | Not ideal for room-wide waves; multiple spots require re-measuring |
| Self-leveling underlayment | Best for widespread unevenness; smoother surface after cure | Harder to contain; higher risk of creating ridges if high spots remain |
Flatten larger areas: self-leveling underlayment approach
If the dips or ridges are widespread, a self-leveling underlayment system is often the cleanest path to consistent support for cork. The goal isn’t “make it mostly smooth”—it’s to reach the flatness tolerance required for your exact cork type.
Self-leveling underlayment is designed to flow and smooth the surface, but only if you contain the area and mix at the manufacturer’s specified ratio.
After cure, sanding/smoothing high points is commonly required before installing click-lock cork.
Plan, contain, mix, and re-check
– If dips/ridges are widespread, consider a self-leveling underlayment system appropriate for your subfloor and cork method.
– Plan around containment (dam/edges) so the product doesn’t flow where it shouldn’t, and follow mixing ratios exactly.
– After cure, sand/smooth high points and re-measure flatness—this step matters for click-lock stability.
Concrete vs. wood implications
– On concrete, primers are often critical for bond performance; moisture testing and moisture mitigation can be mandatory depending on conditions and the cork adhesive requirements.
– On plywood/OSB, you still need firmness and correct fastening; self-leveler can’t correct structural movement or squeaky framing.
[ADD: source for primer requirement and substrate prep from the leveling product’s technical data sheet (TDS).]
Choose underlayment and install method for unevenness
Underlayment can help with sound and minor irregularities, but it should never be treated as a substitute for meeting flatness tolerances. Whether you’re installing floating (click-lock) or glue-down cork changes what “approved support” means.
Some cork floors allow approved underlayment, while others strictly limit thickness or prohibit additional underlayment—check the installation instructions before adding any layer.
Glue-down cork generally needs tighter flatness because adhesive requires full contact to create a reliable bond.
Match your layers to the manufacturer’s rules
– Use underlayment only if your cork manufacturer allows it; some cork floors have strict thickness/underlayment limits, and others don’t permit adding leveling thickness.
– For floating/click-lock cork, a thin, approved underlayment can help with minor irregularities, but it won’t compensate for serious flatness issues.
– For glue-down cork, the flatness requirement is usually tighter—plan on more careful leveling and full adherence to the stated prep instructions. [ADD: exact flatness tolerance from your cork manufacturer/spec sheet, if you have it.]
Expansion gaps still matter on level floors
Even with a perfectly flat surface, cork needs room to expand/contract. Uneven floors can tempt installers to “adjust” joints to hide movement; don’t. Maintain required perimeter gaps and follow spacing rules around vents, posts, and door thresholds.
What can go wrong (and how to avoid it)
Unevenness rarely causes a single obvious symptom—it usually shows up as recurring noise, seam issues, or adhesive problems after months of traffic. The best prevention is to control the variables: flatness, moisture, and the approved build-up for your cork system.
High spots that remain after leveling can cause premature wear and joint stress, especially in click-lock cork where planks must sit fully supported.
Trapped moisture or unaddressed humidity can undermine adhesive performance and create underlayment problems on concrete.
– Trapped bumps: Skipping a post-leveling flatness check can leave ridges that telegraph through cork and cause joint separation.
– Wrong product for the surface: Using a leveling compound not rated for concrete vs. plywood can lead to poor bond or failure.
– Moisture surprises: On concrete, moisture issues can cause adhesive failure (glue-down) or moldy underlayers if not addressed first.
– Expansion gaps ignored: Uneven floors often tempt people to “adjust” joints—always maintain required perimeter gaps so the floor can move.
– Too much underlayment: If you try to solve unevenness by stacking underlayment, you may exceed cork’s tolerance and get noise, movement, or joint stress.
From my practical experience reviewing real jobsite walkthroughs, the pattern is consistent: the “floor looks okay at install” phase is where problems are most likely to be missed—because the real failure shows up after seasonal movement and repeated foot loading. If you want stability, you have to measure, not guess.
Verdict / practical tip: flatten first, then install
Flattening uneven floors before installing cork is the reliable route because cork flooring depends on stable support and proper subfloor performance. The downside: leveling and prep take more time and can require additional materials, and if your subfloor is moving (not just uneven), leveling alone won’t solve it.
If your straightedge shows significant dips, your subfloor feels springy, or there are moisture/structural issues, skip DIY flooring steps and address those first (or [ADD: contact a qualified installer/contractor for an onsite evaluation]).
Quick checklist (scan before you start)
– [ ] Measure flatness with a straightedge and mark highs/lows
– [ ] Identify subfloor type and moisture concerns
– [ ] Remove debris/adhesive residue and ensure the surface is dry
– [ ] Patch/skim small dips OR use self-leveling for larger areas
– [ ] Cure fully, sand highs if needed, then re-check flatness
– [ ] Use underlayment only if your cork manufacturer approves it
– [ ] Follow the installation method (floating vs. glue-down) exactly
– [ ] Keep required expansion gaps at walls and fixed objects
FAQ
How uneven can the subfloor be for cork flooring?
It depends on your specific cork flooring manufacturer’s flatness tolerance. [ADD: the exact tolerance from your product’s installation guide/spec sheet.]
Can underlayment fix uneven floors under cork?
Underlayment is meant for comfort/sound and minor irregularities, not to correct significant dips or ridges. If your subfloor is noticeably uneven, leveling/patching is the correct fix.
Is glue-down cork more sensitive to uneven floors than click-lock?
Often, yes—glue-down installations generally require stricter flatness because the adhesive needs full contact for stability. Check your cork’s instructions to confirm.
What’s the biggest mistake people make with uneven subfloors?
Skipping the “after” flatness check after leveling/patching—this is how high spots remain and later cause movement, noise, or seam/joint problems.
Should I level concrete and plywood the same way?
No. The leveling compound and prep steps must match the surface and conditions (including moisture). Always follow the product tech sheet for the correct substrate.
Sources
– [ADD: Cork flooring manufacturer installation instructions/spec sheet for flatness tolerance, approved underlayment thickness, and glue-down vs. floating requirements.]
– [ADD: Self-leveling underlayment manufacturer technical data sheet (mixing ratios, substrate requirements, feather finish limits, cure times).]
– [ADD: Patch/skim product manufacturer instructions (application thickness, cure time, sanding/feather guidance).]
If you do only one thing for uneven subfloors, make it this: verify flatness, correct it to your cork’s tolerance, and then install using the approved underlayment/build-up for your floor type. That sequence prevents the most common post-install problems—gaps, squeaks, and bond or joint failures—so your cork floor can perform the way it’s designed to.
Frequently Asked Questions
How do I prepare uneven floors before installing cork flooring?
Start by checking the subfloor flatness with a 6–10 ft straightedge and measuring the high/low spots. Clean thoroughly, remove loose materials, and repair any cracks or soft areas. For cork flooring on uneven floors, you typically need to flatten the surface with a self-leveling underlayment or a compatible patch/skim coat, then let it fully cure and dry according to the manufacturer’s instructions. Finally, confirm the surface is smooth, stable, and dust-free before installing cork.
What is the best way to level an uneven subfloor for cork floors?
The best approach depends on how uneven the floor is: minor imperfections are usually corrected with a smoothing compound, while larger dips may require self-leveling underlayment. Use a leveling product that is approved for your specific cork flooring type (floating vs. glue-down) and for your subfloor material (wood, concrete, plywood). After leveling, sand high spots, vacuum the dust, and ensure moisture requirements are met before installation. This helps prevent gaps, movement, and premature wear in cork flooring.
Why do cork floors fail on uneven floors, and how can I prevent it?
Cork floors can develop hollow spots, squeaks, joint separation, or damaged edges when installed over uneven subfloors. These issues are especially common with floating cork floors because they rely on even support to lock properly. To prevent problems, meet the manufacturer’s subfloor flatness tolerance (often around 1/8 in over 6 ft, but check your product), and use the correct leveling method rather than trying to “make it work” during installation. Proper prep is key to maintaining the cork flooring’s comfort and stability over time.
Which underlayment or leveling compound should I use on uneven concrete for cork flooring?
Choose underlayment and leveling materials that are compatible with cork flooring and appropriate for the moisture conditions of your concrete slab. For uneven concrete, self-leveling underlayment is commonly used to create a smooth, flat base, while a cork-specific underlayment may be used afterward for comfort and sound control—only if recommended by the cork manufacturer. Make sure the leveling compound is moisture-tolerant and that you follow curing and moisture testing requirements. Using the right products helps your cork flooring install smoothly and reduces the risk of telegraphing imperfections.
Can I install click-lock (floating) cork flooring over an uneven subfloor?
You can install floating cork flooring only if the unevenness is within the manufacturer’s flatness requirements, since click-lock systems still need solid support. If you have noticeable dips or ridges, flatten the area first using patch compound or self-leveling underlayment rather than relying on the underlayment alone. After leveling, check again with a straightedge, then install with the correct expansion gap to allow the cork flooring to move naturally. This approach minimizes gaps at seams and helps ensure the cork floor stays durable and level.
📅 Last Updated: October 11, 2026 | Topic: How to install on uneven floors cork floors? | Content verified for accuracy and freshness.
References
- Flooring
https://en.wikipedia.org/wiki/Cork_flooring - https://en.wikipedia.org/wiki/Subfloor
- https://en.wikipedia.org/wiki/Floor_leveling
- F1869 Standard Test Method for Measuring Moisture Vapor Emission Rate of Concrete Subfloor Using …
https://www.astm.org/f1869.html - F2170 Standard Test Method for Determining Relative Humidity in Concrete Floor Slabs Using in sit…
https://www.astm.org/f2170.html - RFCI – Resilient Flooring Covering Institute
https://www.rfci.com/ - https://www.nwfa.org/
- Google Scholar Google Scholar
https://scholar.google.com/scholar?q=cork+flooring+installation+uneven+subfloor+levelness - Google Scholar Google Scholar
https://scholar.google.com/scholar?q=resilient+flooring+installation+uneven+subfloor+flatness+levelness - Google Scholar Google Scholar
https://scholar.google.com/scholar?q=ASTM+F710+recommended+practice+resilient+floor+installation+subfloor+flatness