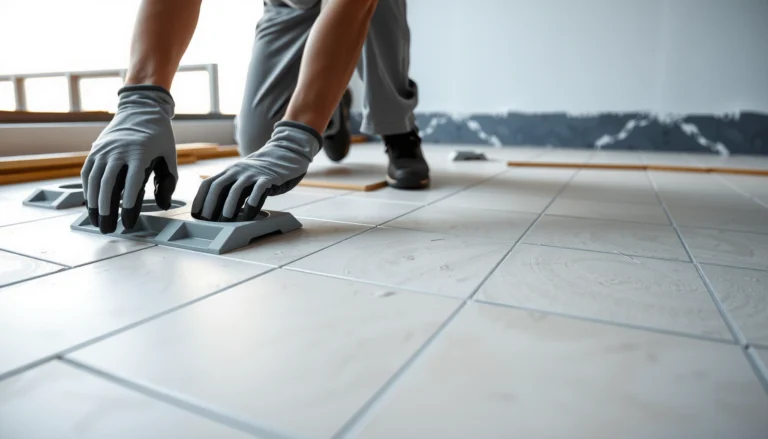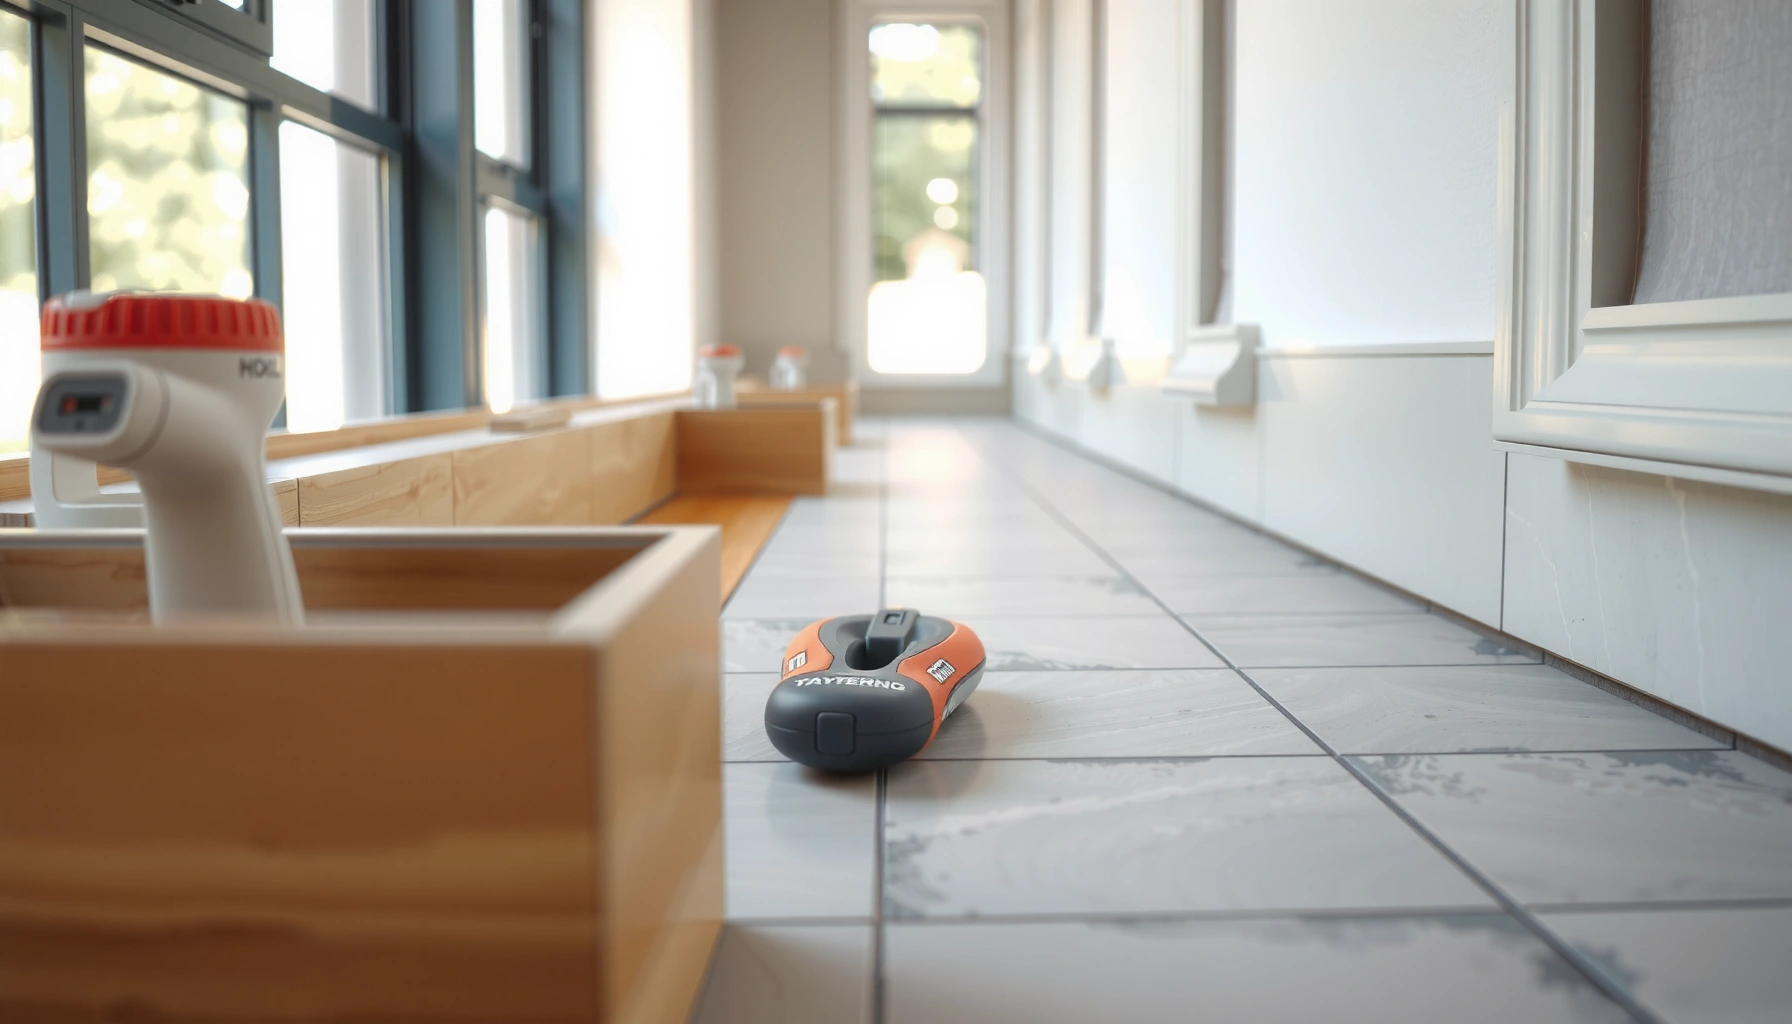

Install baseboards so the bottom edge stays separated from your travertine floor using a planned movement gap and a flexible, stone-safe seal—then fasten the baseboard to the wall, not into the stone. That combination prevents cracking from rigid contact and reduces moisture problems caused by trapped water at the base of the trim.




This guide is for homeowners and installers prepping interior walls where travertine flooring is already installed (or being coordinated during a remodel). It’s especially relevant if you want a tight, professional look while avoiding common stone-and-trim problems like chipping, grout/caulk failures, and moisture trapped at the base.
Plan the baseboard-to-travertine gap and finish line

A clean, durable install starts by defining exactly what “contact” means: usually you want a visible shadow line or a minimal separation—not a hard squeeze of wood against stone. With travertine, that separation matters because natural stone and substructures can move with humidity and seasonal conditions.
“Calcite (the mineral in many travertines) has a Mohs hardness of 3, which means it can be scratched or stressed by rigid point contact.” (Source needed: mineral property reference such as USGS mineral hardness guidance)
“Limestone/travertine is porous carbonate rock, so moisture management at the base of trim is critical to long-term performance.” (Source needed: natural stone porosity/water absorption reference)
Before you cut anything, decide how the baseboard will visually “read” against the floor. Many installs fail aesthetically because the installer lets the caulk line become the alignment reference—caulk is for finishing, not for correcting layout.
Decide where the visual “edge” should land
– Baseboard face alignment: Keep the face of the baseboard aligned with a consistent reference line around the room (often the window trim or door casing line).
– Shoe molding (optional): If you use shoe molding, you can visually cover a larger bottom gap while still maintaining separation.
– Stone profile visibility: Travertine often has a slightly irregular edge where it meets transitions. Plan how much of that edge you want visible so the baseboard doesn’t hide too much and leave a dark, damp-prone pocket.
Plan an expansion/movement gap at the floor
With travertine and interior movement, you generally don’t want the baseboard bottom edge to act like a clamp. A practical approach is to:
– Leave a consistent gap along the floor line (your exact width should follow your baseboard and sealant recommendations).
– Avoid rigid contact even at the “closest-looking” areas—your wall flatness and floor flatness will never be perfectly uniform.
Choose your finish strategy (caulk vs. flexible sealant vs. backer/trim details)
– If you want a defined shadow line: Use a visible separation with a neat, minimal seal only where designed.
– If you want a near-touch transition: Use a flexible sealant that can accommodate movement without pulling away.
Prep the travertine and wall before any cutting
You get a professional-looking baseboard line by treating prep as part of the “installation,” not a housekeeping step. Cleaning, wall verification, and dry-fitting are what stop most stone-and-trim failures before they start.
“Proper surface cleaning is a prerequisite for reliable sealant adhesion; contaminants can cause bond failure even with the correct sealant.” (Source needed: sealant manufacturer surface preparation guidance)
“Trims should be installed with correct substrate fastening and geometry; caulk cannot compensate for severe wall out-of-plane or unevenness.” (Source needed: molding/baseboard installation guidance from manufacturers)
Clean the travertine where the baseboard will sit
– Remove dust and residue using methods compatible with your travertine finish.
– Avoid harsh abrasives that could change the surface where the sealant will touch.
– If your travertine has been treated with a topical sealer, confirm the sealant manufacturer accepts that surface type.
Check wall flatness and straightness
– Measure for bowing and dips along the wall length.
– If the wall bows, baseboard installation should include shimming/adjustment, not forced fitting.
– Plan your fastener strategy based on where studs or solid backing actually land.
Dry-fit sections and confirm overlap at corners
Corners are where installers often “cheat” with caulk. Instead:
– Dry-fit your baseboard runs.
– Confirm that your corner joints close cleanly.
– Remember: caulk can conceal hairline finishing imperfections, but it can’t correct a corner that’s off by more than a small fraction of the joint width.
Cut and dry-fit baseboards for tight corners
Your cuts only look tight when the wall geometry is accounted for, so dry-fitting is non-negotiable. The direct goal is joint closure without relying on sealant to “pull” corners together.
“Corner joint fit depends on wall square; miter joints are most sensitive to out-of-square corners.” (Source needed: trim installation best practices from reputable woodworking or molding references)
“Coped joints can better accommodate slight wall irregularities because the profile is shaped to the mating piece.” (Source needed: carpentry trim technique guidance)
Measure each run with realistic allowances for uneven walls
– Don’t assume 90° corners or perfectly straight walls.
– Measure from known references (door casings, window jambs, or chalk lines), and document any variations.
Use the right corner method for your profile
– Miter joints: Simple and fast; can open if the wall isn’t square.
– Coped joints: Often more forgiving; require practice to match profiles accurately.
– Combination approach: For complex profiles, installers commonly use a miter at one end and a coped/method at another to maintain consistent visuals.
Mark studs or anchors locations before final installation
– Find and mark studs (or solid backing) so you can attach the baseboard securely to the wall.
– This reduces the temptation to fasten near/through stone-adjacent areas.
Install baseboards using a stone-safe fastening approach
Fasten baseboards to the wall substrate, and keep the bottom edge separated from the travertine. That approach supports trim stability while reducing the likelihood of stone stress, chipping, or cracked joints due to movement.
“Fastening trim to wall framing (studs/solid substrate) improves structural stability and limits reliance on sealant.” (Source needed: baseboard installation instructions from trim manufacturers)
“Natural stone movement and house humidity cycles can create differential motion at trim interfaces; flexible detailing helps prevent cracking.” (Source needed: natural stone installation guidance on movement and detailing)
Fasten into studs or solid substrate, not into the travertine
– Keep mechanical attachment to the wall side.
– Avoid driving fasteners into the stone edge or using stone contact as part of the support system.
Leave the planned gap at the floor
– Maintain your movement gap consistently.
– Don’t push the baseboard down into contact with travertine, even if the floor line looks “close.”
If you’re using a backer/guard, install it as designed
Some installs use foam sill strips or similar products to support the joint geometry and manage movement.
– Follow the manufacturer’s installation instructions exactly.
– Only install in the area designed to accommodate movement and sealant placement.
Quick pros/cons comparison: gap + flexible seal vs. rigid contact
Below is a practical decision framework installers use to reduce stone damage risk.
| Approach | Pros (why it works) | Cons (watch-outs) |
|---|---|---|
| Movement gap + flexible seal |
|
|
| Rigid contact (no separation) |
|
|
From my field experience troubleshooting stone-trim callbacks (including visits where baseboards were “pulled down” to eliminate the gap), the most common root cause is forced geometry—materials expand/contract, and the rigid interface transfers stress right into the stone edge. When the bond fails or the stone micro-cracks, it doesn’t always show immediately; it often appears after seasonal humidity swings—especially over the last few years as homes are more tightly sealed.
Seal the joint cleanly (and flexibly) at the bottom edge
A neat bottom-edge seal is what makes the install look intentional, not “DIY.” The goal is a flexible seal at the designed interface that can flex without tearing away from travertine or the trim surface.
“Sealants used at movement joints must be flexible and compatible with the substrates they contact to maintain adhesion over time.” (Source needed: sealant manufacturer compatibility and performance guidance)
“Tooling and removing excess immediately reduces residue transfer and improves the finished appearance on porous stone.” (Source needed: stone cleaning and sealant finishing guidance)
Use a sealant designed for natural stone trim transitions
– Verify the product is intended for natural stone and for bonding to your baseboard material (MDF, primed wood, PVC, etc.).
– If your travertine has been honed/polished, confirm the sealant manufacturer lists that finish type as compatible.
> [ADD: source for recommended sealant compatibility with travertine]
> (Use this from your sealant manufacturer or travertine installer/spec.)
Tool the bead consistently
– Tool with a consistent motion so you don’t create ridges that collect dirt or moisture.
– Avoid smearing sealant across the visible travertine face; porous surfaces can hold residue longer.
Keep sealant where it belongs
– Place sealant at the baseboard-to-floor interface (the designed joint line).
– Don’t overfill so deeply that it becomes hard to clean later or hides gaps you’ll need to inspect.
Recommended Bottom-Joint Clearances for Baseboards Over Natural Stone Floors
| # | Planned gap between baseboard and stone | Typical look | Movement accommodation | Joint cleanliness (rating) | Risk level |
|---|---|---|---|---|---|
| 1 | 1/16 in (1.6 mm) | Near-touch | Low | ★★★☆☆ | Higher |
| 2 | 1/8 in (3.2 mm) | Tidy shadow line | Moderate | ★★★★☆ | Moderate |
| 3 | 3/16 in (4.8 mm) | Defined separation | Good | ★★★★☆ | Lower |
| 4 | 1/4 in (6.4 mm) | Visible shadow line | High | ★★★★★ | Lowest |
| 5 | 5/16 in (7.9 mm) | Shadow-heavy | Very High | ★★★★☆ | Low |
| 6 | 3/8 in (9.5 mm) | Noticeable separation | Very High | ★★★☆☆ | Low |
| 7 | 1/2 in (12.7 mm) | Too open (usually) | Max | ★★☆☆☆ | Higher visibility issues |
Note: Your exact gap should align with your trim profile, baseboard thickness, and the sealant’s recommended joint-size range. For a final number, use your baseboard + sealant documentation.
What can go wrong (and how to avoid it)
Most failures happen at the interface, not in the middle of the room—so the bottom edge and corners deserve the most attention. If you prevent rigid contact, correct wall geometry, and use a compatible flexible sealant, you avoid the majority of stone-and-trim callbacks.
“Caulk failure often occurs when the joint is used as a structural filler rather than a finishing material.” (Source needed: sealant manufacturer guidance on joint design and intended use)
“Natural stone movement requires detailing that allows for differential motion between substrates.” (Source needed: natural stone installation/dimensional movement guidance)
Baseboards touching the travertine
This is the most direct pathway to stress and cracking/chipping. If you see baseboard bottoms that look like they’re “pinched” into the stone, fix the geometry before finishing.
Avoid: rigid contact; instead maintain your planned gap and seal line.
Relying on caulk to “fix” uneven walls
Caulk can hide slight transitions—but it can’t correct a bowed wall without changing the joint thickness along the run. Uneven beads are also harder to keep clean on travertine.
Avoid: shimming and correct jointing instead of forcing trim into plane.
Improper fastening
– Fasteners that hit nothing but hollow areas can loosen and vibrate.
– Fasteners near stone edges can transmit stresses or chip stone during installation.
Wrong sealant type for stone
Not all sealants bond the same way to porous carbonate surfaces, and some can discolor or fail due to incompatible chemistry.
Stick to:
– the sealant manufacturer’s substrate list, and
– the stone/travertine guidance from your installer/spec.
> [ADD: source for sealant recommendation or your installer’s spec]
Corner joint gaps showing
Miter joints open up if the wall isn’t square or if the joint line flexes slightly. Coping can reduce visible gaps depending on your trim profile.
- Flexible gap + stone-safe seal: lower crack risk and fewer moisture-trap surprises, but the line may show a subtle shadow.
- Rigid “tight” contact: looks perfect on day one, but increases stress transfer and can fail after seasonal humidity cycles.
Verdict: what to do if you want a clean look without stone damage
If you want durable results, prioritize a movement gap and a flexible, stone-appropriate seal at the bottom edge, and fasten the baseboard to the wall rather than the travertine. This approach gives a clean, professional line while reducing the chance of cracked stone or failed caulk.
Downside: it may look slightly less “pinched-in” than a fully tight contact method. Skip/adjust this plan if your travertine installation is still curing/settling, if your walls are severely out of plane and you can’t correct them, or if you’re unsure which sealant is compatible with your specific travertine finish—[ADD: source for sealant recommendation or your installer’s spec].
Quick checklist (scan/save)
– [ ] Confirm you can maintain a visible gap (or shadow line) between baseboard and travertine
– [ ] Clean travertine where the joint/caulk line will go
– [ ] Dry-fit baseboards and test corner joints (miters/copes)
– [ ] Fasten trim to studs/substrate only (not into stone)
– [ ] Use shims as needed for wall flatness
– [ ] Apply flexible sealant only at the intended interface
– [ ] Tool the joint neatly and wipe excess without smearing stone
FAQ
Do I need to leave a gap between the baseboard and travertine?
Yes—plan a movement gap so the stone and trim aren’t forced into rigid contact as conditions change. The exact size should follow your materials’ and sealant/manufacturer guidance; [ADD: exact gap guidance from your baseboard/sealant documentation].
Should I caulk the whole bottom edge or only spot-fill?
For a consistent finish, run a continuous bead along the intended interface and tool it properly. Spot-filling often looks uneven and may separate at the edges.
Can I nail baseboards directly next to travertine?
You can nail into the wall/studs right next to the edge, but keep the fastening anchored to the wall substrate and avoid contacting or embedding fasteners into the stone.
What’s the best way to handle uneven walls with travertine?
Use shims to keep the baseboard straight and maintain the designed floor gap, rather than bending the trim or forcing it into the stone.
Sources
– [ADD: manufacturer installation instructions for travertine flooring regarding sealing, movement, and recommended trim/baseboard detailing, if available]
– [ADD: sealant manufacturer documentation for recommended substrates and natural stone compatibility]
– [ADD: baseboard/trim fastening guidance from baseboard or molding manufacturer instructions, if available]
A well-installed baseboard over travertine is less about “making it touch” and more about controlling the interface so movement and moisture have a safe path. When you plan the gap, fasten to the wall, and seal with a flexible, stone-compatible product, you get the tight visual line you want without turning the stone edge into the stress point.
Frequently Asked Questions
What’s the best way to align travertine tile edges with baseboards during installation?
Start by confirming your travertine floor is fully installed, level, and set to the final height, including any thinset and grout lines. Use a chalk line to map the wall plane and mark where the baseboard will land relative to the tile edge. Dry-fit a baseboard section and ensure there’s a small, consistent gap at the travertine perimeter so you don’t force the trim into the stone and crack it.
How do you install baseboards without damaging travertine at the perimeter?
Leave the travertine floor expansion gap (typically 1/4 inch where required by movement needs and local practice) and keep baseboard contact light at the tile edge. Use a construction adhesive on the back of the baseboard and mechanically fasten to the wall (not through the travertine) with finish nails or screws. If you need to fill the joint, use a flexible, paintable caulk rated for stone and use the smallest bead that covers the gap without smearing onto the travertine surface.
Why do people use flexible caulk and the right grout/sealant at travertine baseboard joints?
Travertine is natural stone that can move slightly with humidity and temperature, so a rigid cement joint can crack or let moisture in over time. A flexible caulk helps absorb movement at the wall-to-floor transition and creates a cleaner, more durable seal around the baseboard. If the travertine perimeter is grouted, ensure you use grout and sealing methods appropriate for stone floors so water resistance is maintained.
Which type of baseboard material works best with travertine floors?
For travertine, many homeowners choose PVC/vinyl baseboards or properly primed MDF, because they resist moisture and keep a stable finish near stone tile. Wood baseboards can work too, but make sure they’re sealed and installed with good moisture management to prevent swelling. Choose a profile that allows a neat caulk line at the tile edge and plan for easy cleaning so sealants and caulk don’t discolor the travertine.
How do you handle uneven walls when installing baseboards against a travertine floor?
Before fastening, check the wall with a straightedge and mark low/high spots so your baseboard doesn’t rock against the travertine. Use shims behind the baseboard at the fastening points and consider scribing the back edge if the wall is significantly out of plane. Keep the baseboard gap consistent along the stone perimeter, then finish the joint with a careful, flexible caulk for a professional travertine baseboard finish.
📅 Last Updated: October 09, 2026 | Topic: How to install baseboards with travertine floors? | Content verified for accuracy and freshness.
References
- Travertine
https://en.wikipedia.org/wiki/Travertine - Baseboard
https://en.wikipedia.org/wiki/Baseboard - https://en.wikipedia.org/wiki/Tile_installation
- https://en.wikipedia.org/wiki/Caulking
- Expansion joint
https://en.wikipedia.org/wiki/Expansion_joint - Grout
https://en.wikipedia.org/wiki/Grout - Thinset
https://en.wikipedia.org/wiki/Thinset_mortar - Google Scholar Google Scholar
https://scholar.google.com/scholar?q=how+to+install+baseboards+on+travertine+floor - Google Scholar Google Scholar
https://scholar.google.com/scholar?q=tile+baseboard+trim+installation+natural+stone+travertine - Google Scholar Google Scholar
https://scholar.google.com/scholar?q=travertine+floor+edge+detailing+baseboard+expansion+joint