
Need to fix dents in travertine floors? This step-by-step repair guide tells you exactly what to do—from cleaning and assessing the depth to filling, leveling, and sealing so the surface looks uniform again. Follow these instructions and you’ll get the cleanest, most durable dent repair without unnecessary stone replacement.




Fixing dents in travertine is usually a matter of determining whether the surface is only compressed or whether the stone is cracked/chipped—then using a travertine-safe repair material and sealing method that matches your existing finish. If the dent is shallow and intact, a color-matched travertine repair epoxy/paste is often enough; if it’s deeper or damaged, you may need controlled leveling/grinding and a more involved repair approach (or a stone pro).
If you’re seeing dark depressions from furniture, dropped objects, or repeated point-loading, don’t rush to fill and forget. The fastest path to a durable result starts with a careful diagnosis, then correct surface prep, proper filler selection, precise leveling/blending, and finally sealing to protect the repaired zone in a way that works with travertine’s porous structure.
Who this is for / when it applies
This guide is for homeowners, facility managers, and contractors dealing with dents in natural travertine floors—especially where impacts create a visible depression and the surrounding stone still looks generally intact. It’s also useful if you’ve already resealed your floor before and need to understand what “compatibility” means when choosing a repair material in 2026.
“Travertine is primarily calcium carbonate, so it behaves differently than harder silicate stones under impact and under chemical cleaners.”
“Repair materials only last when they bond to a clean, compatible substrate and are sealed to manage porosity-related staining.”
Step 1: Identify what kind of “dent” you have
A clear diagnosis decides everything: a shallow dent (compressed stone) often responds well to an epoxy/paste repair, while a dent with cracking or chipped edges usually requires deeper prep and a crack/damage-focused approach.
Start by inspecting under bright, raking light (side lighting helps you see whether you’re dealing with a depression only or a damaged edge). Then gently check the dent boundary: travertine can look “closed” while still having loosened micro-edges around the impact site. In my experience, that edge condition is what most often separates a repair that stays invisible from one that reopens later—even when the filler looks fine at first.
Also, look for the cause. Dents in travertine floors typically come from point-loading (chair legs, stool feet, appliance corners) and repeated pressure over time, not from normal traffic. If the same area gets hit repeatedly, the repair is at risk of being re-dented.
“According to mineral property references, calcite (the main component of travertine) has a Mohs hardness of about 3, which helps explain why concentrated impacts can leave dents.” [source: USGS / mineral property summaries for calcite]
“If any portion of the dent area is loose or crumbling at the edges, filling alone won’t restore structural integrity—prep depth and bonding surface become the limiting factors.”
Step 2: Clean and prep the damaged area
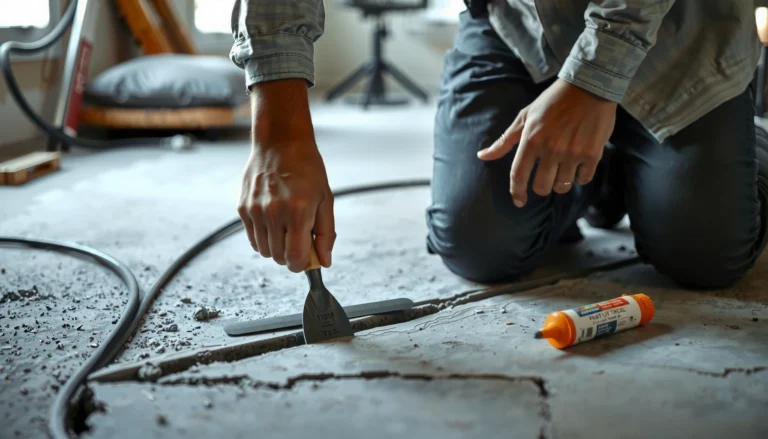
Before you fill anything, clean like you’re preparing a bonding surface for a structural patch—not like you’re doing routine maintenance. Dents tend to trap grit in low areas, and that grit can weaken adhesion.
Use a pH-neutral stone cleaner and remove all residue—especially waxes, oils, and previous sealant buildup. Rinse with clean water if your cleaner instructions require it, then let the area fully dry. Moisture trapped in travertine pores can interfere with many epoxies and can create cloudy or weak repair zones after curing.
Next, follow the repair product’s instructions for surface roughening. Many systems require minimal mechanical profiling (for example, “lightly abrade” rather than aggressively grind). Over-grinding can enlarge the visible mark and expose more porous material than you intended to repair.
Finally, confirm compatibility with your existing floor protection. Some older sealers can inhibit adhesion or cause poor bond strength if the repair chemistry doesn’t match.
“Travertine is porous; residues and sealer films in pores can prevent repair materials from wetting the substrate properly.”
“Most manufacturer repair systems require fully cured, clean, dry stone before application to achieve intended bond strength and predictable working time.” [ADD: cite manufacturer spec sheet for the travertine repair paste/epoxy you plan to use]
Step 3: Choose the right repair method (shallow vs deep)
The right method is the one matched to the damage mechanism. Shallow dents can often be repaired with a travertine-specific epoxy/paste and careful leveling; deeper uneven cavities may require more build-up material and finishing to match the surrounding sheen.
Use the following logic:
– Shallow dent (surface depression only, no crack/spall): choose a travertine-safe repair epoxy/paste. Tint or color-match as the product system allows.
– Deeper dent / uneven cavity: use a build-capable filler system (still travertine-safe), then level and polish/hone to match.
– Cracked/chipped dent: stop and treat this as damage repair, not “dent filling.” If the stone is cracked through, structural restoration matters; a pro may need to assess whether section replacement is required.
To keep expectations grounded: travertine’s natural pore structure means “perfect invisibility” is harder than on smoother stones, even with excellent color matching. Sealing after repair helps reduce contrast, but it doesn’t eliminate the geological texture differences created by impacts.
Reference data: common calcite properties that influence denting & finish behavior
Calcite (Main Component of Travertine) — Properties Relevant to Repairs
| # | Property | Typical Value | Why It Matters | Repair Risk Impact |
|---|---|---|---|---|
| 1 | Dominant mineral | Calcite (CaCO₃) | Controls hardness and acid sensitivity | High |
| 2 | Mohs hardness | ~3 | Impacts can dent more easily than harder stones | High |
| 3 | Density (reference) | ~2.71 g/cm³ | Helps estimate substrate mass vs. localized flex/impact | Moderate |
| 4 | Cleavage | Rhombohedral | Supports the “chip/spall” failure mode | High |
| 5 | Reaction to acids | Dissolves in acids | Etching during cleaning can enlarge repair contrast | High |
| 6 | Porosity (travertine varies) | Often noticeable in-filled pores | Affects staining and sealer absorption | Moderate–High |
| 7 | Typical repair bonding strategy | Adhesive + surface profile | Bond strength depends on clean, dry substrate | Manageable |
Note: Values for calcite hardness and density are standard reference data; travertine porosity varies by quarry, fill, and finish. Always align repair and sealing steps with your product specifications. [ADD: sources for calcite properties used above]
“If you see spalling (flaked edges) or hairline fractures radiating from the impact, the correct approach is damage stabilization—not just cosmetic filling.”
“For shallow dents, travertine repair pastes/epoxies are designed to be applied to a depression and then leveled before curing.” [ADD: cite the repair system’s application method]
Quick pros/cons: shallow dent DIY vs deep damage pro
- Shallow dent DIY (best case)
- Pros: Lower cost, smaller footprint, usually faster schedule.
- Cons: Visibility can remain if pores/veins differ or if you can’t match sheen after sealing.
- Deep/chipped/cracked repair (often pro)
- Pros: Correct prep depth, better control of leveling/polishing and crack stabilization.
- Cons: Higher cost and longer timeline; may still show slight blending differences.
Step 4: Fill, level, and blend the surface
Now you’re doing the “cosmetics,” but with engineering discipline. The objective is to restore flush height (so chairs don’t wobble and traffic doesn’t concentrate at an edge) and match the surrounding surface feel.
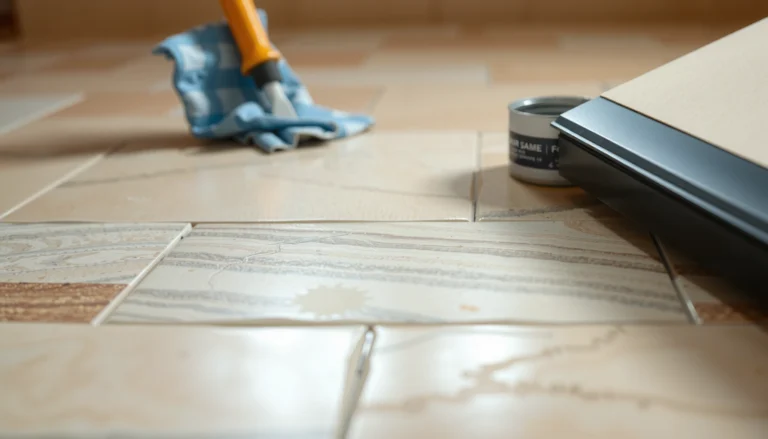
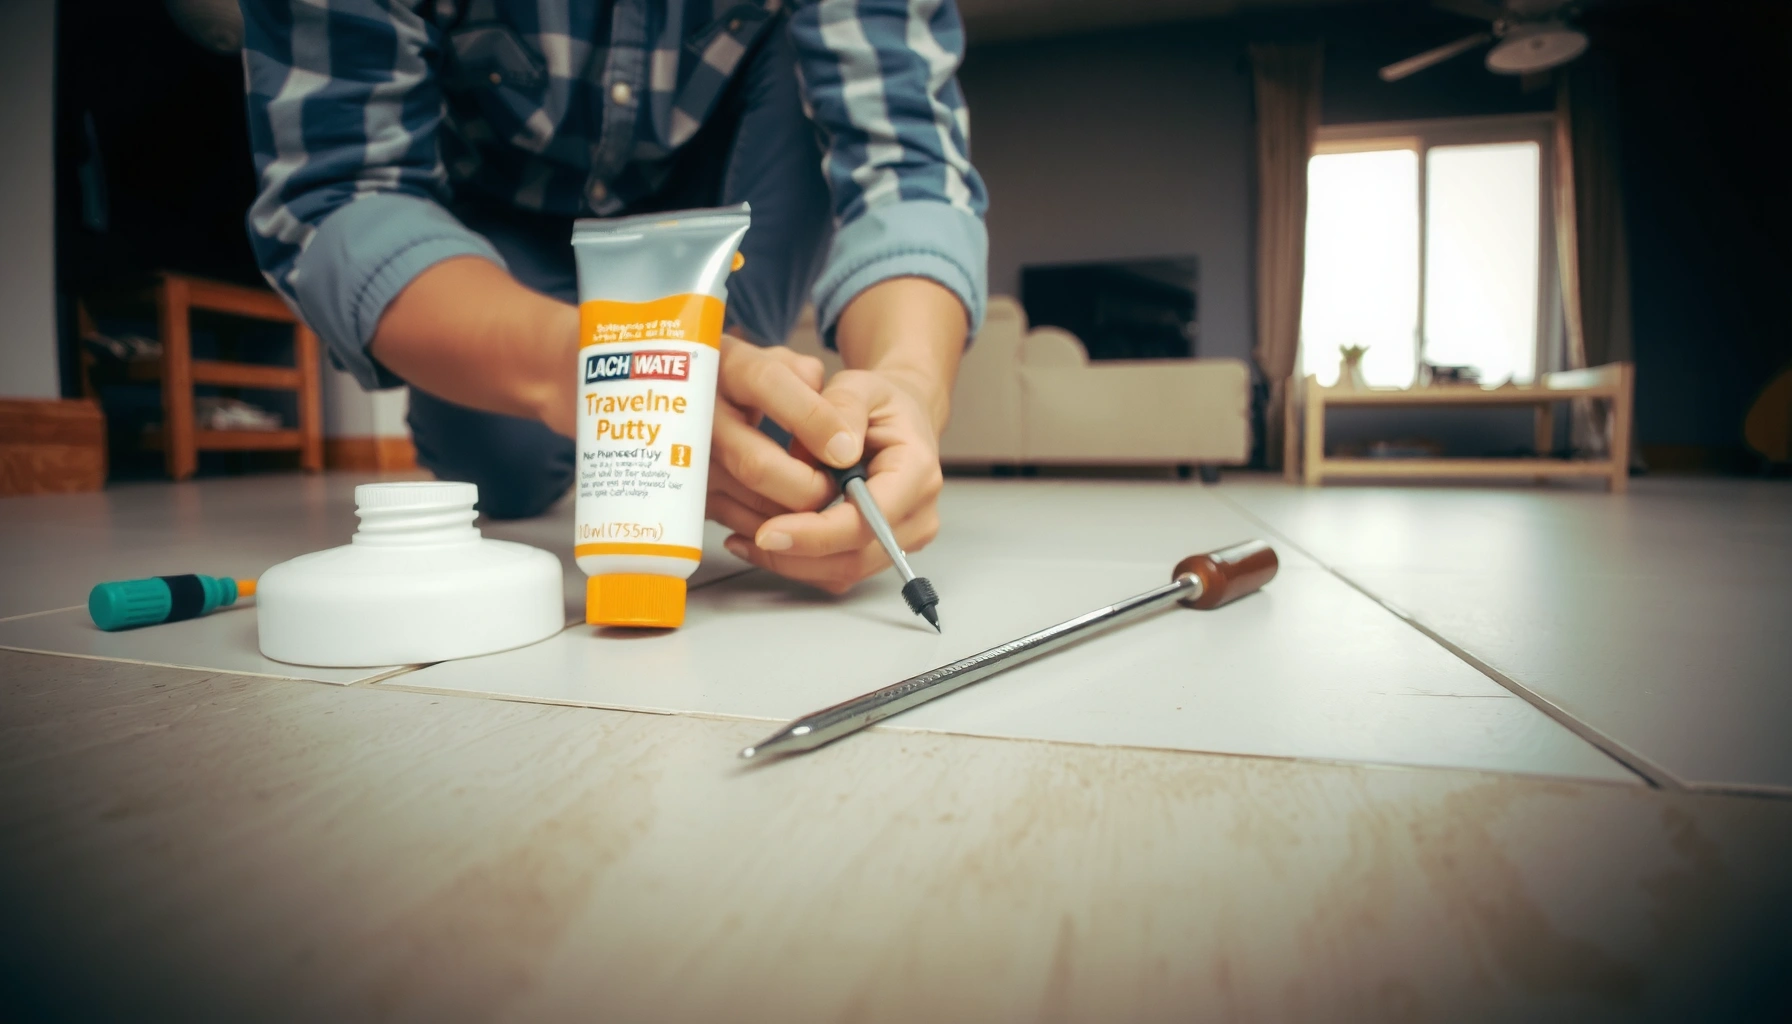
Mix/apply the filler exactly as the manufacturer specifies. For most epoxy/paste systems, you press the material into the low spot, then scrape excess once it starts to firm up. Scraping too early can pull material from the cavity; waiting too long can make cleanup difficult and increase rework.
Leveling matters because travertine’s pores can create micro-texture. If your floor is honed, you may want to maintain a similar finish rather than chasing a mirror-smooth gloss. After curing, polish/hone lightly—least aggressive first—until the transition disappears.
In 2026, I recommend a “progressive refinement” mindset: small blending steps, frequent visual checks, and stopping as soon as the repair face transitions smoothly. Over-polishing can widen the area you’re trying to blend.
“For epoxy/paste repairs, manufacturer mixing ratios and specified scrape timing are critical to achieving workable viscosity and predictable cure.” [ADD: cite repair paste/epoxy spec sheet]
“Blending should prioritize matching the floor’s current sheen (honed vs polished) to minimize contrast from pore-level differences.”
Step 5: Seal to protect the repaired area
Sealing is what turns a repaired “patch” into a protected surface. Travertine’s pores can absorb liquids and dirt, and a repair zone can behave differently than the surrounding stone if sealing isn’t applied correctly.
After the repair fully cures, apply a travertine-safe penetrating sealer (or the same sealer type already used on the floor, if you know it). Use thin, even coats and respect cure timing before foot traffic. Sealing too early can trap moisture or interfere with the repair’s final surface development.
Then plan your maintenance. Entryways and high-traffic rooms typically need more frequent re-sealing. If you’re not sure when the floor last received sealer, do a small water-bead test in an inconspicuous spot (follow your sealer’s guidance, and avoid acids).
Just as important: address point-load sources—chair glides, felt pads, and protective mats prevent the repaired zone from being stressed again.
“Penetrating sealers are selected to reduce absorption in porous stone without forming a thick surface film.” [ADD: cite sealer manufacturer technical data]
“Prevent re-dents by removing concentrated loads (felt pads and glides) after repair, because repeated impact will outlast most cosmetic fixes.”
What can go wrong (and when to stop)
Most failures aren’t about the filler—they’re about diagnosis, prep, or compatibility.
Common pitfalls
– Wrong filler type: generic wood filler, spackle, or incompatible adhesives often fail due to poor bonding and mismatched hardness.
– Residue on the substrate: waxes, dust, and some sealers block adhesion. If pH-neutral cleaning doesn’t remove residue, you may need an appropriate prep step recommended by the repair system.
– Color mismatch: travertine color varies with pores and veins. Tinting helps, but sealed appearance depends on the final sealer absorption.
– Over-grinding/polishing: aggressive abrasion can expand the visible area and make blending harder.
– Root cause ignored: if the dent location keeps getting hit (chair legs, heavy objects), the repair may re-dent.
When to stop and call a stone pro
– You see cracks, spalling, or loose stone edges around the dent.
– The area is large or highly visible (entry foyers, main living space).
– Your existing sealer type is unknown and you can’t confirm compatibility with the repair and sealer system.
– Dents are repeating in the same spot, suggesting ongoing point-load stress that must be corrected.
“If the dent includes structural cracking, a simple fill may look good short-term but won’t restore strength where stone has failed.”
“Unknown existing sealers are a common cause of repair delamination because adhesion chemistry can be incompatible.” [ADD: cite repair/adhesion guidance from a manufacturer]
Verdict / tip
For most shallow, single dents without cracks, a travertine-specific epoxy/paste repair paired with correct sealing is a reasonable DIY path in 2026—especially when you take time with cleaning, follow the manufacturer’s cure and leveling steps, and match the floor’s finish style. The downside is realistic: even when done well, travertine blending can still show slight texture or sheen differences due to its natural pore structure.
Skip DIY (or consult a stone pro) if the dent involves cracked/chipped edges, if your floor has an unknown or potentially incompatible sealer, or if the damage is large/high-visibility. Also, don’t forget the practical fix: add felt pads, glides, and protective mats so the same dent doesn’t return.
Quick checklist (save this)
– [ ] Confirm dent type: depression only vs chipped/cracked stone
– [ ] Clean with pH-neutral stone cleaner; rinse and fully dry
– [ ] Verify repair material is travertine-safe and compatible with existing finish/sealer
– [ ] Fill and level per manufacturer mixing/application instructions
– [ ] Cure fully, then polish lightly to blend
– [ ] Seal the repaired area with travertine-safe penetrating sealer (per directions)
– [ ] Add point-load protection to prevent re-dents
FAQ
Can I fix a dent in travertine without grinding?
Often yes for shallow dents, because many travertine repair epoxies/pastes are formulated to be leveled without heavy grinding. If the surface is uneven or the repair needs significant height correction, light polishing/honing may still be necessary.
Will the repair match the color permanently?
It can get close, but travertine coloration is influenced by pores, veining, lighting, and sealing. Even color-matched repairs can look slightly different until fully cured and sealed.
Do I need to reseal the whole floor?
Usually only the repaired area needs sealing, then you compare sheen/absorption. If your entire floor is due for maintenance and your goal is uniform appearance, full resealing may look more consistent—follow your sealer’s guidance.
What if the dent keeps coming back?
That usually indicates ongoing point-load or repetitive impact. Fix chair/furniture glides, pad materials, and mat coverage first, then repair if needed.
Sources
– [ADD: manufacturer instructions/spec sheet for the travertine repair paste/epoxy you plan to use—mixing ratios, cure time, and surface prep requirements]
– [ADD: manufacturer instructions/spec sheet for the travertine-safe sealer you plan to apply—application method and cure timing]
– [ADD: official stone care guidance from the travertine or sealer manufacturer about cleaning (pH-neutral cleaners), sealing, and compatibility]
– USGS mineral references for calcite properties (Mohs hardness and related physical characteristics)
With the right diagnosis, the correct travertine-safe repair system, and careful leveling/blending plus sealing, most shallow travertine dents can be fixed with a result that looks intentional rather than “patched.” If cracks, spalling, or compatibility uncertainties are present, the smart move is to pause—because durable travertine repair is as much about preparation and system selection as it is about the filler.
Frequently Asked Questions
What’s the best way to fix dents in travertine floors without damaging the surface?
Start by cleaning the area thoroughly so no grit interferes with repairs, then assess whether the dent is shallow or has exposed a chipped/voided area. For shallow dents, a stone repair filler matched to travertine can fill the depression; for deeper dents, you may need to rebuild with a two-part repair compound or professional patching to restore the level. Finish by grinding or leveling carefully and sealing the travertine so the repaired spot blends and stays protected. Always avoid harsh abrasives that can create more visible damage or dull the travertine finish.
How do I fix a shallow dent in travertine using a DIY stone repair kit?
Clean the dent with a pH-neutral stone cleaner, then dry completely to ensure the filler bonds properly. Apply a travertine-safe stone repair filler using a putty knife, slightly overfilling the dent, and let it cure according to the kit instructions. Once hardened, level the area gently (often with fine-grit pads) until it’s flush with the surrounding floor, then polish if needed. Seal the repaired travertine with a compatible stone sealer to reduce future staining and help the surface look uniform.
How can I repair deeper dents or chipped edges in travertine floors?
Deeper dents often require rebuilding missing material rather than only filling, so you’ll want a two-part stone repair system designed for travertine or natural stone. Clean and remove loose debris, then slightly undercut the edges if needed so the filler mechanically holds. Apply the repair compound in layers, let it cure fully, then grind/level carefully and match the surface finish (honed vs. filled/polished). After repairs, apply a penetrating sealer (and optionally a topcoat sealer) to protect the travertine floor and minimize color mismatch over time.
Why do dents happen in travertine floors, and how can I prevent them after repairs?
Dents usually occur when heavy objects, furniture legs, or dropped items concentrate force on a soft or already worn portion of travertine. Because travertine can be porous and textured—especially in honed finishes—impact damage can be more likely if the floor isn’t adequately sealed or is worn down. After fixing, use felt pads under furniture, avoid dragging items, and clean with pH-neutral products to maintain surface integrity. Re-seal travertine on a regular schedule to improve stain resistance and help reduce the severity of future damage.
Which travertine sealer should I use after fixing dents to protect the repair?
Choose a sealer compatible with travertine and your floor finish, focusing on penetrating sealers that help protect against staining in the pores. If your travertine is honed, a breathable penetrating sealer is typically preferred to preserve the matte look; for filled or more uniform surfaces, select a sealer that matches that finish type. Before sealing, ensure the repaired area is fully cured and level, then test the sealer in a small inconspicuous spot to verify the color and sheen. Proper sealing helps the repaired dent area resist moisture and everyday spills, keeping the travertine floor looking consistent.
📅 Last Updated: October 09, 2026 | Topic: How to fix dents in travertine floors? | Content verified for accuracy and freshness.
References
- Travertine
https://en.wikipedia.org/wiki/Travertine - https://www.britannica.com/science/travertine
- Conservation Institute | Getty
https://www.getty.edu/conservation/ - Historic Preservation (U.S. National Park Service)
https://www.nps.gov/subjects/historicpreservation/index.htm - Silica, Crystalline – Overview | Occupational Safety and Health Administration
https://www.osha.gov/silica - https://pubmed.ncbi.nlm.nih.gov/?term=silica+dust+stone+cutting+grinding
- https://www.sciencedirect.com/search?qs=travertine%20repair%20floor%20cracks%20dents
- https://www.sciencedirect.com/search?qs=stone%20consolidation%20repair%20limestone%20marble%20grout
- Google Scholar Google Scholar
https://scholar.google.com/scholar?q=how+to+repair+travertine+floor+dents - Google Scholar Google Scholar
https://scholar.google.com/scholar?q=travertine+floor+repair+resin+filler+polishing