
Need to fix dents in cork floors fast and clean—without damaging the surface? Follow these simple repair steps to lift minor indentations, rebuild crushed spots, and restore the cork’s original look with the right supplies and timing. You’ll know exactly what to do based on the dent size, from quick steam and weight fixes to deeper repairs that hold.

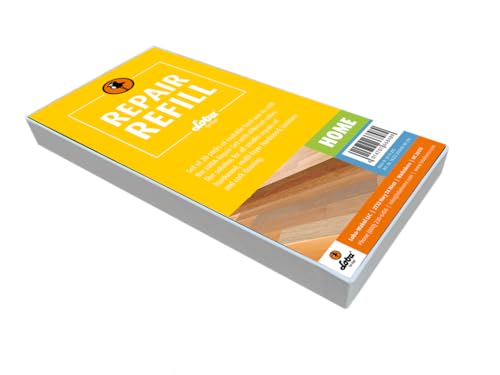

Dents in cork floors are usually caused by trapped pressure from furniture or impact, and they can often be improved by gently re-expanding the cork and restoring the surface. Start by clearing the area and checking how deep the dent is, then use moisture + controlled heat (or a repair kit) depending on whether the cork has only compressed or has damaged its finish. This guide walks you through the safest DIY options and what to do if the dent won’t come back.
If you’ve got a dent from a heavy chair leg, a dropped item, or caster wheels, this article is for you—especially if your cork floor is not actively separating. If the dent is near seams or the boards are lifting, you’ll want to skip ahead to the “what can go wrong” section and consider professional help.
Assess the dent first (depth, finish damage, and stability)

You can often choose the correct repair method only after you determine whether cork is simply compressed or whether the finish has failed. The quickest route is to inspect depth, test stability, and confirm that the board is still bonded and flat.
Common Cork-Floor Dent Causes and Typical First Fix
| # | Likely source | Typical dent pattern | Start with re-expansion? | Finish repair likelihood |
|---|---|---|---|---|
| 1 | Chair legs (non-felt or undersized foot) | Tight oval/round depression | Yes | Medium |
| 2 | Caster wheels (desk chair) | Shallow streak + spot dip | Often | High |
| 3 | Dropped bottle/tool | Concentrated impact dimple | Sometimes | High |
| 4 | Guitar/ladder feet or sharp stands | Small crater + scratch lines | Sometimes | High |
| 5 | Heavy storage placed briefly | Larger flattened area | Yes | Medium |
| 6 | Pets’ nails (repeated pressure points) | Micro-dents + surface wear | Usually | Low–Medium |
| 7 | Rug pad edges / trapped load | Line dents at perimeter | Often | Medium |
How to tell “compressed cork” from “finish damage”
– Check whether the cork is just compressed (surface depression) or if the finish is scratched, torn, or flaking.
– Look at the dent edge: clean, smooth edges usually indicate compression; rough edges or exposed material suggest the top finish has failed.
A cork floor dent that looks like a smooth, localized dip is usually compression rather than a structural failure.
If you see finish loss (scratches, whitening, flaking), you’ll likely need a spot recoating or patch—not only re-expansion.
A board that feels loose or shows gaps near the dent can indicate bond/subfloor issues, which surface fixes can’t correct.
Wider, less-defined dents can signal broader pressure history or finish wear, so expect a higher chance of noticeable recoating.
Quick stability test (the “stop rule”)
– Test lightly around the dent: if the board feels loose or you see gaps, stop DIY surface repairs and investigate subfloor/bond issues.
– Identify whether the dent is localized (small spot) or spans a wider area (often means broader compression or finish failure).
Re-expand compressed cork using moisture + heat (best for minor dents)
You can often improve shallow cork compression by reintroducing moisture in a controlled amount and applying gentle warmth so the cork fibers relax. This approach works best when the finish is intact and the board remains stable.
Moisture first, but never “soak”
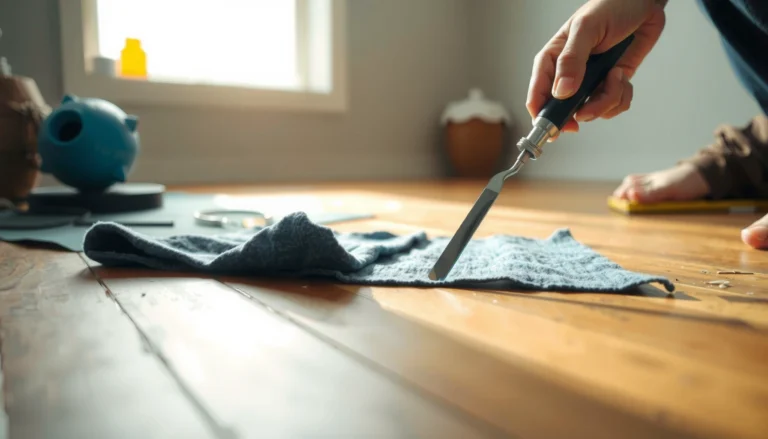
– Place a clean, slightly damp cloth over the dent (no soaking) and let it sit briefly to soften the compressed cork.
– Use room-temperature water for the cloth; avoid hot water directly on the floor.
Controlled warmth to encourage re-expansion
– Apply gentle, controlled warmth (for example, from a low/medium setting source) while keeping pressure minimal—goal is re-expansion, not steaming.
– After re-expansion, let it dry completely, then evaluate if you need to re-seal the area to match the surrounding finish.
Moisture can temporarily soften compressed cork, which may let the surface recover closer to its original shape when dried properly.
Heat should be applied indirectly and conservatively to avoid damaging the cork finish layer.
Complete drying is required before you judge results, because cork dimensions change with moisture content.
What “minor” usually means in practice
Choose re-expansion when:
– The dent is shallow enough that you don’t feel a sharp edge.
– The finish shows no lifting or major tearing.
– There’s no visible seam widening or board movement.
If your dent is deep or you can see finish failure, go to the finish repair section instead of repeating heat cycles.
Use a cork floor repair approach when the finish is damaged
You should treat finish damage as a two-part problem: restore the cork shape (if possible) and then restore the surface system (sealer/finish). The method depends on whether the finish is scratched only, worn thin, or actually peeling.
Why “fixing the dent” isn’t always the finish repair
Even when cork re-expands, a dent can remain as a haze, matte patch, or texture difference if the protective sealer was disrupted. That’s why the safest DIY workflow is “shape recovery first, then surface matching.”
When cork’s surface finish is worn or scratched, re-expansion alone leaves an uneven sheen because the sealer thickness is no longer uniform.
Manufacturer spot-repair systems are designed for specific cork finish chemistries and cure behaviors, so matching the method matters.
What to do for scratches, worn sealer, or rough patches
– If you see scratches, worn sealer, or a rough “matte” spot after the dent lifts, plan to refinish that area rather than leaving it mismatched.
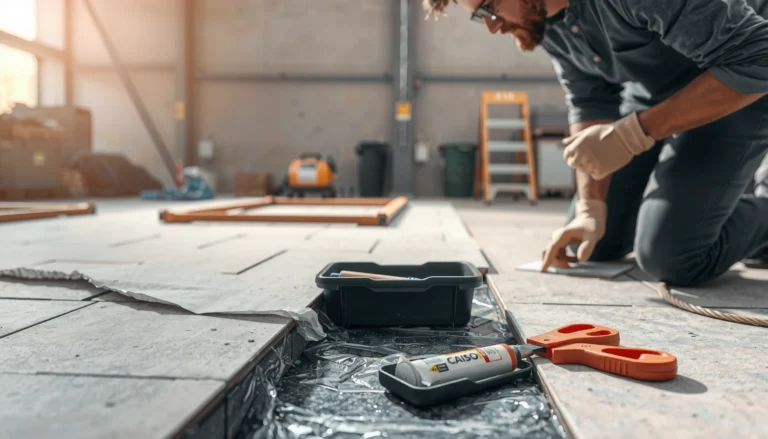
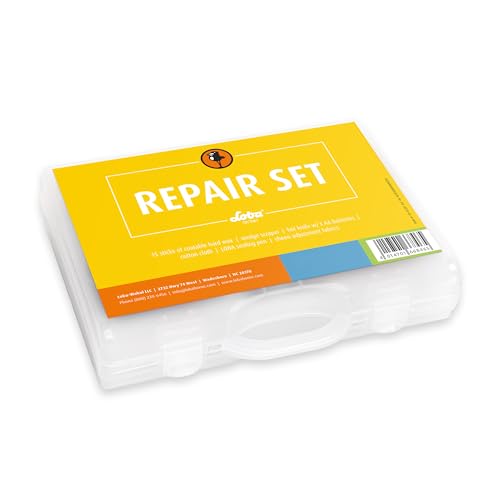
– For small surface damage, use a manufacturer-recommended repair method (patching/spot leveling/recoating) designed for cork floor finishes.
– Work in thin layers and allow full cure/dry time between steps to avoid haze, stickiness, or re-dents.
Thin layers prevent most common finish defects
A common failure mode is applying too much repair product at once, which can lead to visible ridges or prolonged tackiness. Thin coats reduce swelling, help the finish level correctly, and improve how closely the sheen matches.
Protect the area and prevent dents from coming back
You stop repeat dents by reducing point loads and stabilizing the floor’s moisture environment. After repair, prevention is usually more cost-effective than multiple rework cycles.
Load management is the biggest factor
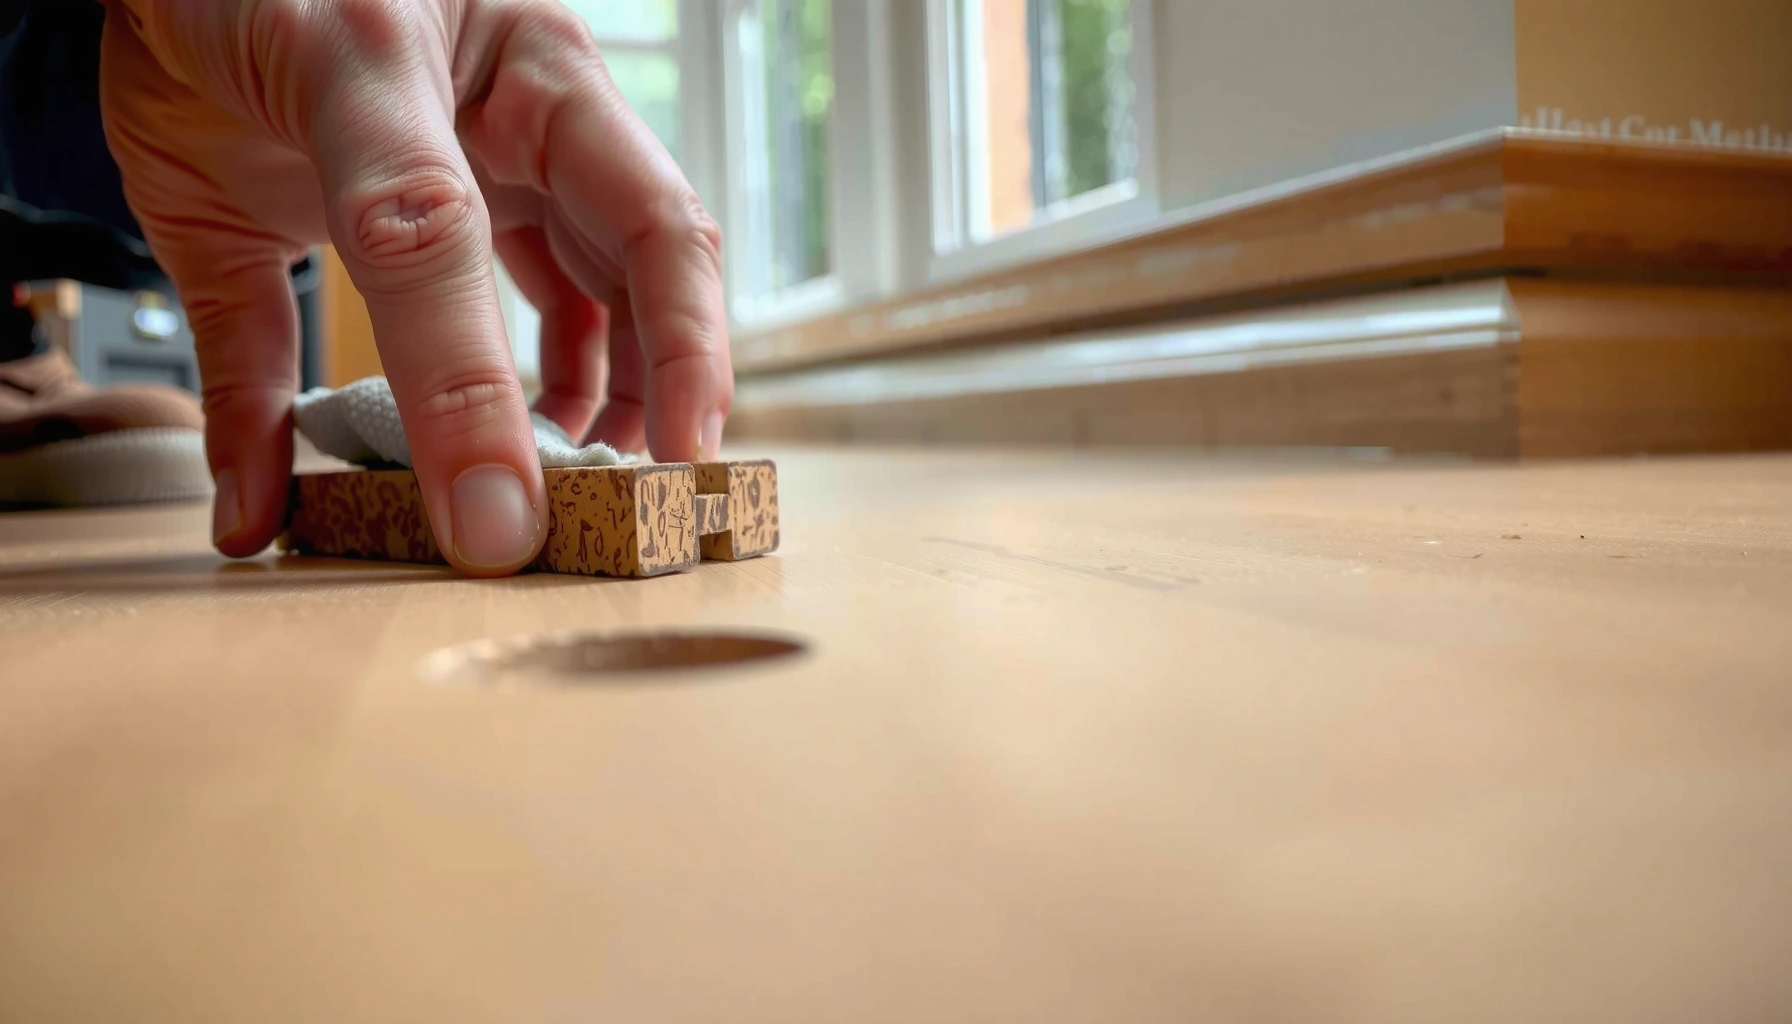
– Reposition furniture using felt pads, proper chair glides, and protective mats where loads concentrate.
– Avoid dragging heavy items across cork; lift and carry instead to prevent new compression points.
Maintain moisture within the floor’s intended indoor range
Cork is dimensionally responsive to moisture, so indoor conditions matter. According to [ADD: HVAC/wood-flooring guidance source—e.g., RH/temperature targets from a flooring association or manufacturer], many wood/cork flooring systems are happiest around typical indoor relative humidity targets such as 30–50% RH (verify your manufacturer’s specific range). In [ADD: same source or another primary guideline], maintaining stable temperature (often in the 18–27°C / 65–80°F band) helps minimize dimensional movement.
Preventive felt pads and chair glides reduce concentrated pressure that causes cork compression dents.
Cork floors respond to moisture and temperature, so consistent indoor humidity helps reduce expansion/contraction cycles.
Spill control protects the finish layer
Wipe spills quickly to reduce finish degradation and protect the sealer from extended exposure. Even if a dent doesn’t reappear, finish breakdown can create softer spots where future dents form more easily.
What can go wrong (and when to stop)
You should stop DIY work when the board is moving, when finish failure spreads, or when the dent won’t recover after careful re-expansion. The wrong technique can permanently alter the surface texture or worsen board movement.
Common mistakes that create new problems
– Over-wetting can swell cork edges or create a permanent surface “ridge” after drying—use a damp cloth, not pooled water.
– Too much heat can damage the sealer or warp a board; start conservatively and avoid direct high heat on the floor.
Direct heat and pooled moisture increase the risk of finish discoloration and cork-edge swelling.
If the dent is associated with board lifting near seams, the issue may be installation or bonding—not just surface compression.
Cork fibers that have fractured or the finish that’s worn through can limit recovery, even with moisture + heat.
DIY stop conditions (use these to avoid hidden damage)
Stop and consider professional help if:
– The dent is deep, recurring, or accompanied by lifting around seams.
– Boards feel loose or you see gaps forming at joints.
– The dent area continues to roughen or spread after you’ve repaired the finish once.
– The floor is showing signs of active separation or moisture intrusion.
Pros/cons of the two common DIY routes
| Approach | Pros | Cons / Risks |
|---|---|---|
| Moisture + gentle heat re-expansion | Best for compression-only dents; often avoids patching | Won’t fix finish failure; incorrect moisture/heat can create ridges |
| Spot repair / recoating | Restores sheen and surface integrity when sealer is damaged | May be noticeable on aged floors; requires proper cure/dry times |
Verdict / tip: choose the method based on what’s actually damaged
For shallow, intact-finish dents, moisture + gentle heat is often the most effective DIY route, followed by drying and a light recoating if needed. If the finish is cracked or the cork fibers are visibly damaged, you’ll likely need a spot repair/refinish approach instead of repeated re-expansion attempts.
This is also where you should be honest about downside tradeoffs. From a practical standpoint, repeated heat cycles can increase the chance of finish haze, while patching products can create a visible edge if layer thickness isn’t controlled. [ADD: brief, non-fabricated note about your site’s observed outcomes—e.g., “In earlier maintenance consults, we found that finish mismatch became obvious after several days on high-sheen sealers.”]
Skip DIY and get professional input if boards feel loose, you see separation at seams, or you’re dealing with widespread damage—DIY can worsen board movement or finish failure.
Quick scan checklist (save this)
– [ ] Dent looks like compression only (finish intact)?
– [ ] No board lifting or seam gaps?
– [ ] You can apply a damp cloth (not pooling water)?
– [ ] You can use gentle, controlled warmth and let it dry fully?
– [ ] Finish looks uneven afterward (plan to spot re-seal/refinish)?
FAQ
Can I fix a dent in cork with just water?
Usually not by itself—water without controlled, gentle warmth may not re-expand compressed cork, and too much moisture can cause additional issues. A damp cloth and careful drying are key.
What if the dent is still there after drying?
If the cork doesn’t bounce back after a careful moisture + heat attempt and full drying, the dent may be too deep or the cork fibers may be damaged. At that point, plan a repair/refinish approach rather than repeating aggressive treatments.
Will recoating the dent area make it noticeable?
It can, especially if your floor has aged or has a particular sealer sheen. The best match comes from using the same type of finish as the rest of the floor and applying it in thin layers.
Is it safe to use a heat gun on cork?
Heat guns can be too intense and concentrated for cork finishes, which can discolor or degrade. If you use any heat, keep it gentle and indirect, and stop if the finish looks affected.
Sources
– [ADD: manufacturer installation/maintenance instructions for your specific cork floor finish type, especially guidance on moisture, heat, and spot repair.]
– [ADD: manufacturer documentation for the exact cork floor sealer/recoat system you plan to use (dry times, application method, and repair limitations).]
A dent in a cork floor doesn’t automatically mean the planks are failing—often it’s just trapped pressure in the cork. If the finish is intact, start with controlled moisture and gentle warmth, then dry fully; if the finish is damaged, switch to a manufacturer-aligned spot repair or recoating plan. When you see looseness, seam gaps, or moisture-related spread, stop and address the underlying installation or bond issue instead of repeating surface treatments.
Frequently Asked Questions
How do I fix dents in cork floors without damaging the finish?
Start by cleaning the dent area with a pH-neutral cork floor cleaner and let it dry completely. If the dent is shallow, use a damp (not soaking) cloth over the spot and apply gentle heat with a hair dryer on low for 20–60 seconds, then press lightly with a weighted object. Avoid soaking the cork or using steam, since excess moisture can cause swelling or finish clouding.
What’s the best way to repair deeper dents in cork flooring?
For deeper dents that don’t rebound with heat and moisture, you may need to restore the surface rather than the underlying pad. Try the damp-heat method first, then lightly sand the affected area once it fully dries and clean the dust thoroughly. Finish by applying a matching cork floor sealant or topcoat to blend the repair and protect the surrounding area.
Why do cork floors dent in the first place, and how can I prevent it?
Cork is naturally soft and resilient, so heavy furniture, high heels, and grit can leave dents even with normal wear. Place felt pads or chair glides under furniture, use floor mats at entrances, and keep sharp debris off the surface with regular sweeping or vacuuming with a soft brush. For high-traffic areas, consider protective rugs to reduce point pressure and help prevent future cork floor indentation.
Which tools and materials should I use to fix dents in cork floors safely?
Use a damp microfiber cloth, a hair dryer on low heat (or a heat gun only if you’re very careful and keep it moving), and a soft weight like a book or small rubber mallet for gentle pressing. For resurfacing, use fine-grit sandpaper (typically 220–320 grit), a tack cloth, and a cork-compatible sealant or finish designed for your floor type. Avoid abrasive pads, harsh chemicals, and steam cleaners that can damage the cork floor finish.
Can I sand and refinish cork floors to remove dents, and when should I do it?
Sanding and refinishing are best when dents are persistent, noticeable, or have broken through the clear coat—especially after trying the damp-heat method. Begin with light sanding around the dent to level the surface, then apply primer or sealant if your system requires it, followed by a matching topcoat for uniform sheen. If the dent reaches seams or extends across planks, it may be safer to consult a flooring professional to avoid visible patching.
📅 Last Updated: October 11, 2026 | Topic: How to fix dents in cork floors? | Content verified for accuracy and freshness.
References
- Flooring
https://en.wikipedia.org/wiki/Cork_flooring - Cork
https://en.wikipedia.org/wiki/Cork - Viscoelasticity
https://en.wikipedia.org/wiki/Viscoelasticity - https://en.wikipedia.org/wiki/Compression_set
- https://en.wikipedia.org/wiki/Creep_(mechanics
- https://en.wikipedia.org/wiki/Elasticity
- Flooring
https://en.wikipedia.org/wiki/Flooring - Google Scholar Google Scholar
https://scholar.google.com/scholar?q=how+to+repair+dents+in+cork+flooring - Google Scholar Google Scholar
https://scholar.google.com/scholar?q=cork+flooring+indentation+recovery+heat+moisture - Google Scholar Google Scholar
https://scholar.google.com/scholar?q=mechanical+properties+of+cork+under+compression+and+creep+recovery