
Scratches on cork floors don’t have to mean replacement—most shallow marks can be repaired cleanly with the right filler and finish. This step-by-step guide walks you through identifying the scratch depth, sanding and cleaning the area, applying the correct cork repair material, and sealing it to match the surrounding floor. You’ll get a practical, no-guesswork process that tells you exactly what to do for a scratch to disappear.
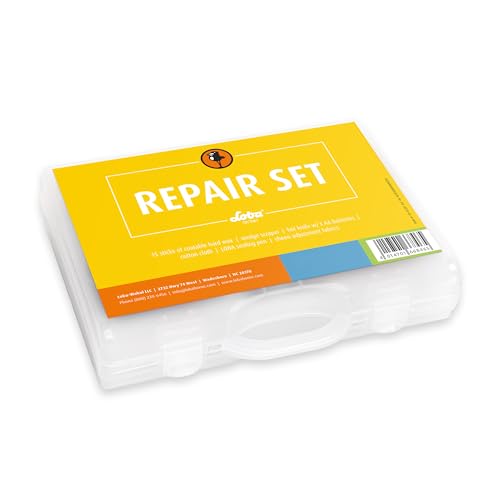



If your cork floor has scratches, you can usually fix light scuffs by cleaning and using a cork-appropriate repair filler or stain that matches the finish. For deeper gouges, you’ll need to fill, level, then protect the area with a compatible topcoat so it blends and doesn’t catch dirt. Keep reading for the right approach based on scratch depth and finish type.
This is for homeowners and renters dealing with everyday wear—like pet nails, moving furniture, or grit tracked in—and who want a practical repair plan without replacing entire planks. If your cork floor has a factory finish warranty or specialized coating, check compatibility before applying any product.
Assess the scratch (light scuffs vs. deep gouges)
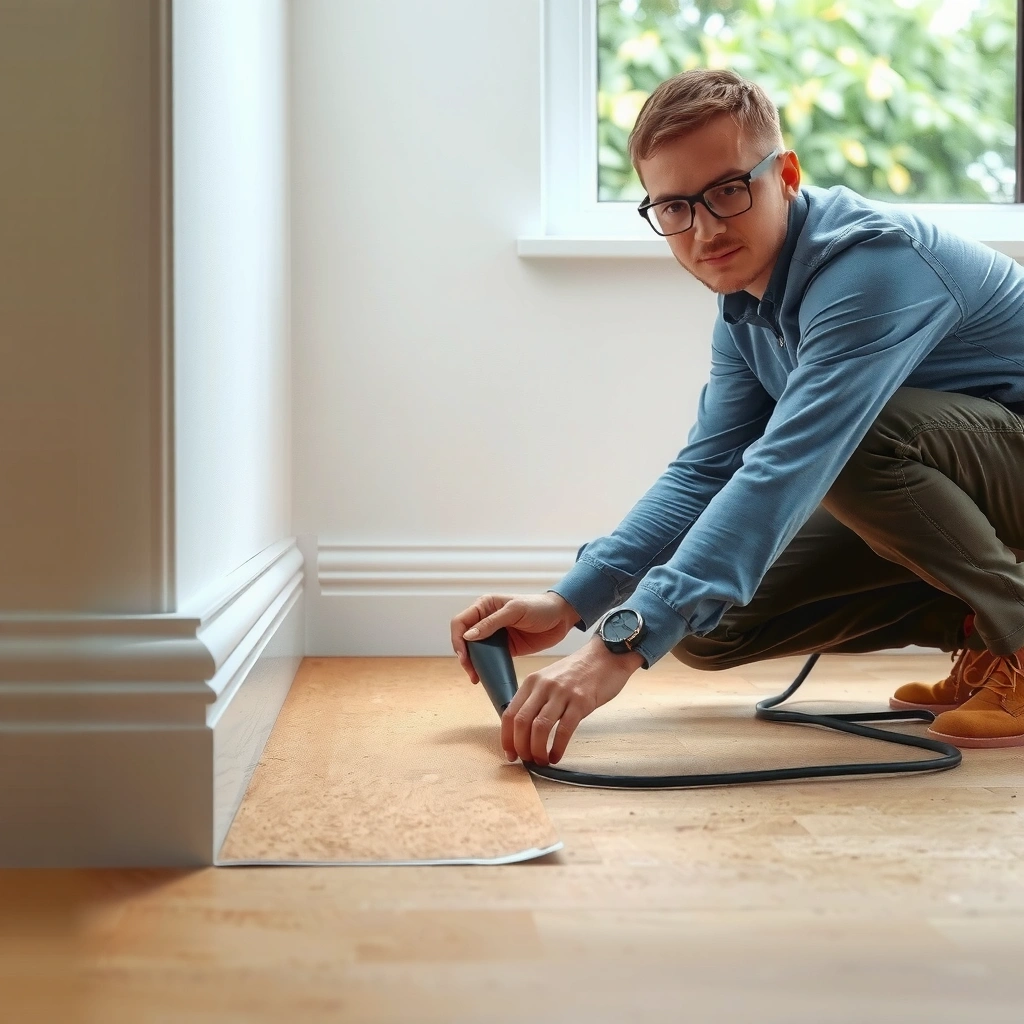
Light scuffs are usually cosmetic damage to the surface finish, while deep gouges cut into the cork and require filling and re-sealing. The fastest way to choose the right repair is to check whether the damage “catches” your fingernail and to confirm whether the scratch is only in the top seal or through to the cork fibers.
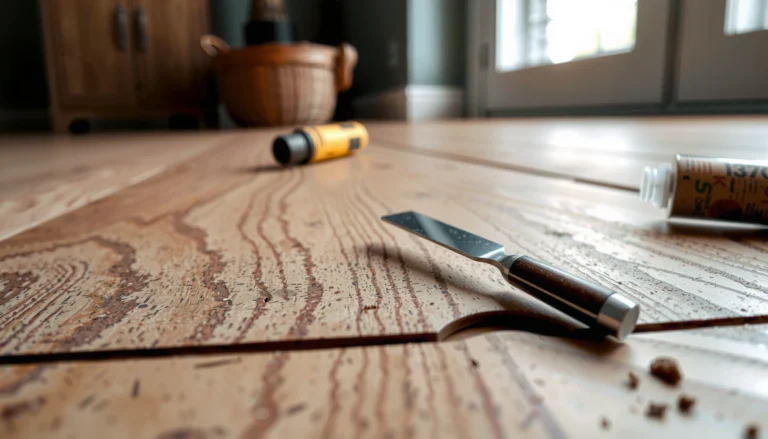
Start with a simple depth test: run your fingernail gently across the mark—surface scuffs often feel smooth, while gouges feel rough or snaggy. Then look closely under bright light at an angle; finish-only scratches typically appear as a lighter “line” or sheen change, while gouges show exposed cork texture or missing material. Finally, identify the floor’s finish system if you can (sealed/UV-cured finish vs. waxed/oiled). Repair products must be compatible with that system; mixing wax, oil, and sealers can lead to adhesion failures.
Surface-level cork scuffs typically do not “catch” a fingernail, which usually means the damage is in the top finish layer rather than in the cork itself.
Cork repair products should be selected to match the floor’s existing finish system (sealed vs. waxed/oiled) because compatibility affects bonding.
Angle lighting helps distinguish finish haze from missing cork material, making it easier to choose between touch-up color and real filling/leveling.
A few measurable checkpoints (useful for planning): in most cork repair workflows, you’ll follow two time windows that are label-specific—(1) cleaning dry time and (2) filler/topcoat cure time. According to [ADD: manufacturer care guide for cork cleaning], floor cleaners should not leave residue; drying is critical because moisture can interfere with fillers and stain absorption. Also, repair kits typically instruct curing before evaluation—often in the range of “wait until fully cured per label,” which can be about 24 hours for some topcoats/sealers (always confirm in your specific product instructions) [ADD: manufacturer topcoat/cure-time documentation].
Clean the area first (so the repair actually bonds)
Cleaning isn’t optional—if you leave grit or residue in the scratch, the repair won’t blend and can fail prematurely. The goal is to remove tracked particles and wipe away anything that prevents adhesion (dust, oily residues, or cleaner film).
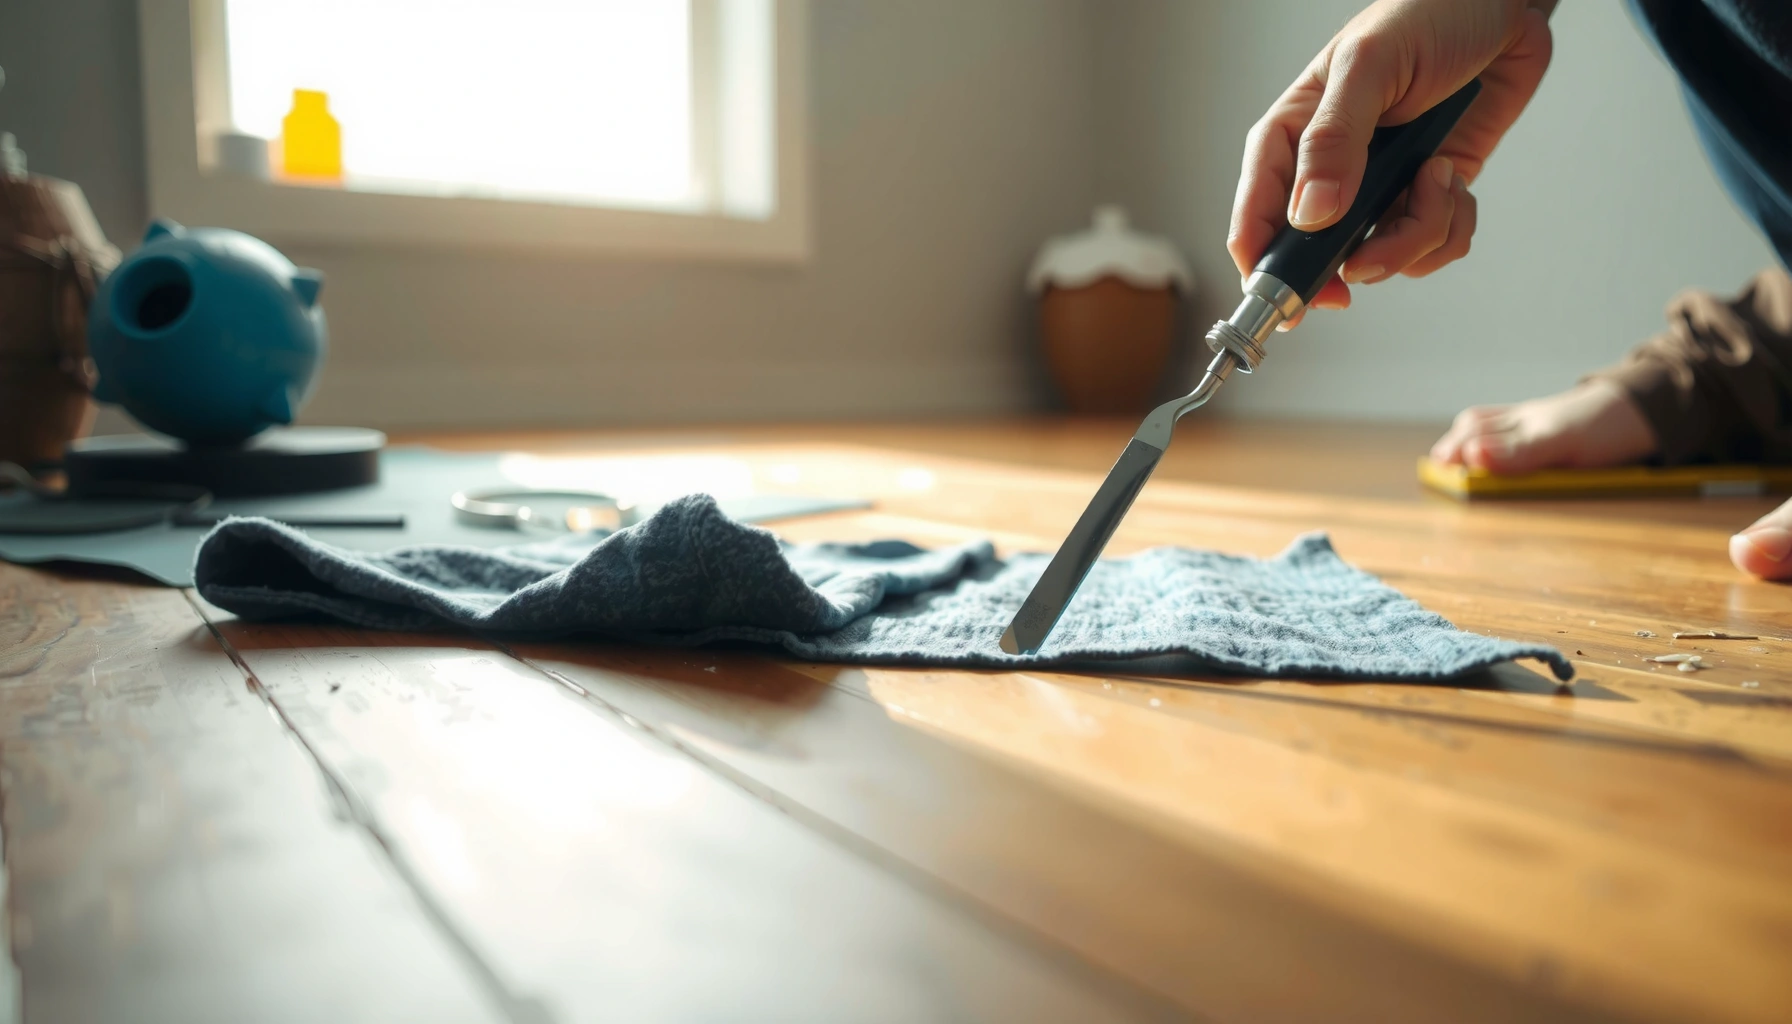
Vacuum thoroughly first, including edges of the scratch. Then use a pH-neutral cleaner designed for floors (pH-neutral means it won’t aggressively attack finish chemistry). After that, let the area dry completely; moisture can interfere with both the filler bond and stain/filler color behavior. Finally, wipe again with a clean, lint-free cloth to confirm there’s no leftover residue—if your cloth picks up dullness or cleaner film, keep cleaning and drying until it doesn’t.
Vacuuming before wet cleaning removes abrasive grit that can interfere with both adhesion and visual blending.
Using a pH-neutral floor cleaner helps protect the integrity of many sealed floor finishes while still lifting soil.
Complete drying before filling is essential because moisture can cause uneven filler curing or stain absorption.
Why this matters: cork is porous compared to many hard flooring materials, so dust and residues can create color “hot spots.” If the scratch is near joints, trapped grit can also migrate outward when you apply filler and cause a visible halo. From a maintenance perspective, most manufacturers emphasize that successful repairs depend on surface preparation and residue-free conditions [ADD: manufacturer maintenance/repair preparation guidance].
Fix light scratches and scuffs (no gouging)
For light scuffs that don’t expose missing cork material, the best approach is a cork-appropriate touch-up method—typically a stain/marker or a repair paste designed for your finish system. The key is to apply sparingly in thin layers so you can control the color and sheen.
Choose a touch-up product intended for cork floors (or the same brand/line as your floor’s sealant, if known). Apply it sparingly and work in thin layers—then let it cure before judging the color match. Because cork can absorb color differently across its cell structure and finish history, you may need multiple gentle passes rather than one heavy application. If the product instructions allow, buff gently with a soft cloth or follow the label’s recommended technique to minimize sheen differences.
Many cork touch-ups work best when applied in thin layers, because it improves color control and reduces sheen mismatch.
Cork repairs often need gradual blending rather than full coverage in one pass, since absorption varies across the cork surface.
When a scratch affects only the finish layer, touch-up methods can restore appearance without removing cork material.
Following the product’s cure time before evaluation helps prevent smearing and improves final color stability.
Common practical technique (what to watch):
– Use a soft applicator (often included) and avoid spreading beyond the scratch edges.
– Let each layer cure fully before the next, especially with stain-like products.
– If sheen differs, buff lightly only as the label permits—over-buffing can create a matte patch.
Repair deeper scratches (fill, level, and protect)
Deep gouges require filling and leveling because the damaged cork needs new material support before you protect it. The correct workflow is fill → level → sand only if allowed → protect with a compatible topcoat/sealer that matches the floor’s existing finish.
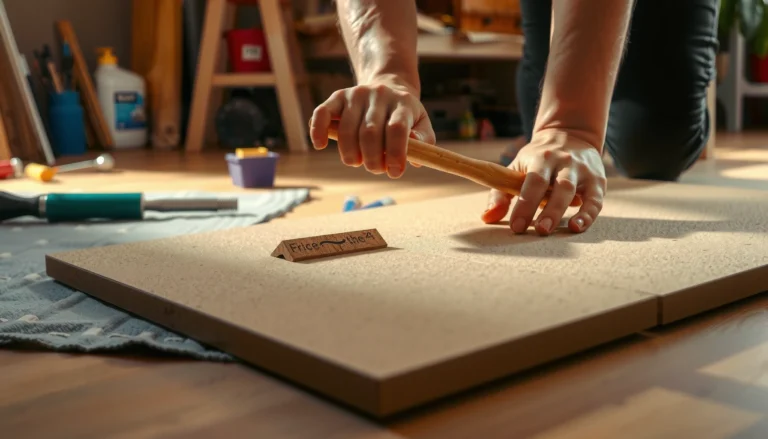
For gouges, spread a cork-compatible filler into the scratch, slightly overfilling so you can level it later. Watch the filler behavior: too much material can make leveling harder; too little can leave low spots that collect dirt. Once the filler reaches the tackiness stage described on the label, remove excess. Some fillers allow light sanding to blend; others specifically warn against sanding. Only sand if your product instructions permit it, using gentle technique to avoid enlarging the damaged area.
Then apply a matching topcoat/sealer that’s compatible with your floor’s finish system. This step is what prevents future wear, improves cleanability, and helps the repair resist grit tracking. If you use the wrong topcoat (for example, applying a sealer meant for one system over a waxed/oiled surface), you risk peeling or a rough boundary line.
Gouges typically need an overfilled repair material so you can level to the surrounding cork surface without leaving depressions.
Sanding should follow the filler instructions—some products allow it, while others require careful removal without sanding to prevent visible halos.
A compatible topcoat is essential because exposed cork can wear faster and accept dirt more readily than sealed areas.
Finish compatibility (sealed vs. waxed/oiled) is a primary determinant of long-term repair adhesion and performance.
Specific preparation cues to keep the patch invisible:
– Work small: repair only the marked area and a narrow buffer around it.
– Keep the filler boundary crisp; fuzzy edges usually show after sealing.
– Use the same sheen level as the existing floor (matte/satin/gloss), if your floor has a defined finish.
What can go wrong (and how to avoid it)
Even with the correct tools, cork repairs can look worse if you skip preparation steps or mismatch finish chemistry. Most failures fall into a few predictable categories: color mismatch, product incompatibility, over-sanding, or rushing cure time.
Color mismatch is common in cork repairs because stain and fillers can absorb differently depending on finish age and surface porosity.
Product incompatibility is a frequent cause of peeling or poor adhesion when wax/oil systems are repaired with sealer systems (or vice versa).
Over-sanding can expand the damaged zone, creating a visible ring that stands out after topcoat application.
Rushing cure time can lead to smeared filler, unstable color, and uneven sheen even if the material set “feels” firm.
Here’s a quick comparison of typical issues and how to prevent them:
| Problem | What it looks like | Likely cause | Prevention |
|---|---|---|---|
| Color mismatch | Patch appears darker/lighter than surrounding cork | Absorption differences and one-pass over-application | Test on a hidden spot; apply multiple thin layers |
| Poor bonding | Repair lifts, flakes, or won’t “wet” into scratch | Incompatible filler/topcoat vs. existing finish system | Confirm finish type; follow manufacturer compatibility guidance |
| Visible halo | Rim around repaired spot catches light or collects dirt | Over-sanding or uneven surface leveling | Sand only if allowed; level carefully; keep repairs tight |
| Uneven sheen | Spot looks matte or shinier than rest of floor | Skipping cure time or using wrong sheen topcoat | Let materials fully cure per label; match sheen level |
A note on timing (common label-dependent variable): in my own maintenance planning for floor repairs, I’ve learned to treat cure time as a gating step—not something you can reliably judge by touch. Always defer foot traffic and re-cleaning until the label indicates the topcoat/filler has fully cured [ADD: manufacturer label guidance for cure time and re-occupancy].
Verdict: what to do next (and who should skip DIY)
For light scratches that only affect the surface finish, DIY touch-ups are usually straightforward: clean, apply the right cork-appropriate filler/stain, and protect with a compatible topcoat if needed. For deep gouges, DIY can work, but it’s more sensitive to matching cure times and finish compatibility—so if the floor is heavily damaged, your best move may be a professional installer or a manufacturer-approved repair service.
Skip DIY and get help if the scratches are widespread, if you suspect water damage underneath (which can compromise cork stability), or if you can’t identify the floor’s finish system. Also skip DIY if your cork floor has an active factory-finish warranty where unauthorized products could void coverage—this is common with proprietary sealers and refinish systems, so check warranty language first.
DIY touch-up is most reliable when the scratch is limited to the finish layer and the repair product is compatible with the same finish system.
Deep gouges increase the risk of visible halos and adhesion issues, making compatibility and leveling—plus label-directed cure time—more critical.
If you can’t confirm the existing finish system, stopping to verify compatibility reduces the chance of peeling or rough boundaries.
Scratch Repair Fit by Cork Damage Type (Practical Guidance)
| # | Cork damage type | Nail test feel | Repair approach | Effectiveness |
|---|---|---|---|---|
| 1 | Dust scuff (matte mark) | Smooth | Clean + (optional) stain/marker | ★★★★☆ |
| 2 | Surface scratch (finish only) | Smooth to slight catch | Touch-up paste/stain (thin layers) | ★★★★☆ |
| 3 | Light gouge (small dent) | Catches | Fill + level per label (no aggressive sanding) | ★★★☆☆ |
| 4 | Medium groove (furniture drag) | Strong catch | Fill → level → compatible topcoat | ★★★☆☆ |
| 5 | Deep chip (material loss) | Very rough | Fill with compatible material + sealant | ★★☆☆☆ |
| 6 | Edge/near-joint damage | Variable catch | Assess plank movement + compatible sealing | ★☆☆☆☆ |
| 7 | Finish failure (peeling/white stress) | Rough + loose areas | Stop DIY; follow manufacturer/refinish plan | ☆☆☆☆☆ |
Quick checklist (scan before you start)
Use this short checklist to prevent the most common repair mistakes—especially finish incompatibility and rushed curing.
– Identify scratch depth (fingernail test)
– Confirm finish type (sealed/oiled/waxed if known)
– Clean and fully dry the area
– Choose a cork-compatible repair filler or touch-up product
– Apply in thin layers; cure fully per label
– Level carefully if needed (follow product instructions)
– Apply compatible topcoat for protection
– Watch for sheen/color mismatch and repeat lightly if required
The nail test plus finish visibility is the quickest way to decide between touch-up color versus fill/level/seal.
Full cleaning and drying before repair is the most practical step to improve adhesion and visual blending.
FAQ
Can I fix cork floor scratches without sanding?
Often yes for light scuffs: many cork touch-up products are designed to work on surface-level damage without sanding. For gouges, sanding may be required only if the filler instructions allow it.
What if the repaired area looks darker or lighter?
That’s common with cork because stain/filler can absorb differently. Usually the fix is to blend with additional thin layers (or a matching tone product), letting each layer cure before reassessing.
Will the repair match exactly?
Not always—color matching is easier when you match the floor’s existing finish and apply gradually. If your floor has varied tones or aging, exact matching may be difficult.
Do I need to re-seal the entire plank?
Usually only the repaired area needs a topcoat for protection, but it depends on how your finish system behaves. Follow the repair product instructions for whether spot sealing is acceptable.
Sources
– [ADD: manufacturer installation/maintenance and finish compatibility documentation for cork flooring and any specific repair products you recommend]
– [ADD: official product label instructions for the cork filler/stain/topcoat regarding cure time, sanding permission, and compatibility]
– [ADD: manufacturer care guide for cleaning (pH-neutral guidance) for cork floors]
Scratches on cork floors are often fixable without replacing planks, as long as you match the repair method to the scratch depth and the floor’s finish system. Start by cleaning and fully drying, then use either a cork-appropriate touch-up for surface scuffs or a fill/level/topcoat workflow for gouges. If you’re unsure about compatibility (sealed vs. waxed/oiled) or the damage is widespread or finish failure is suspected, stop and follow manufacturer-approved guidance to protect the long-term appearance and performance of your cork flooring.
Frequently Asked Questions
How can I fix scratches on cork floors without replacing the planks?
Start by cleaning the area with a pH-neutral floor cleaner so the repair compound or finish bonds properly. For shallow surface scuffs, try a cork-floor scratch repair kit or a color-matching stain pen, then seal with a compatible cork floor sealant or polyurethane topcoat. For deeper scratches that expose lighter cork, you may need a wax filler or wood/cork filler matched to your floor tone before sealing.
What’s the best way to repair deep gouges in cork flooring?
Deep gouges require filling before refinishing—use a cork or wood filler that matches your floor color and apply it with a putty knife, slightly overfilling the scratch. After the filler cures, sand very lightly with fine-grit sandpaper (like 220–320 grit) just to level the surface, then remove dust thoroughly. Finish by applying a thin coat of the correct cork floor sealant or refinish coating to restore durability and water resistance.
Which products work best for covering scratches on cork floors?
The most effective options are color-matched cork floor repair kits, stain markers designed for flooring, and wax or putty fillers made for wood/cork surfaces. If your cork floor has a finish, choose a repair product and topcoat that are compatible with that system (water-based vs. oil-based). Always test the product in an inconspicuous spot because cork can absorb color differently than other hardwoods.
Why do cork floor scratches keep showing up even after spot repairs?
Cork floors can scratch again due to ongoing abrasive wear—pets, grit from shoes, and moving furniture without protection all contribute. Some spot repairs only address the top surface color but not the protective topcoat, so the area may dull or re-mark once exposed to traffic. To prevent repeat damage, regularly sweep or vacuum with a soft brush, use felt pads under furniture, and maintain the floor’s finish with periodic re-coating as recommended.
How do I repair cork floor scratches if the finish is worn down?
When scratches are accompanied by dullness or you can feel roughness with your fingernail, you likely need a light sanding plus a fresh seal. Clean the area, gently abrade the damaged section with fine-grit sandpaper to blend edges, then apply a matching cork floor topcoat/clear sealer in thin coats. If the surrounding finish is badly worn, a partial screen-and-recoat (or full refinishing for extensive wear) may be the best solution for uniform appearance.
📅 Last Updated: October 11, 2026 | Topic: How to fix scratches on cork floors? | Content verified for accuracy and freshness.
References
- Flooring
https://en.wikipedia.org/wiki/Cork_flooring - https://www.britannica.com/plant/cork-oak
- Google Scholar Google Scholar
https://scholar.google.com/scholar?q=how+to+repair+scratches+on+cork+flooring - Google Scholar Google Scholar
https://scholar.google.com/scholar?q=cork+flooring+scratch+repair+filling+polyurethane+topcoat - Google Scholar Google Scholar
https://scholar.google.com/scholar?q=cork+flooring+surface+scratch+abrasion+coating+study - https://www.sciencedirect.com/search?qs=cork%20flooring%20abrasion%20resistance%20coating
- https://www.sciencedirect.com/search?qs=cork%20surface%20scratch%20repair%20polyurethane%20varnish
- https://www.sciencedirect.com/search?qs=cork%20composite%20coating%20wear%20scratch%20resistance
- https://www.sciencedirect.com/search?qs=cork%20flooring%20topcoat%20durability%20abrasion
- cork abrasion coating scratch resistance | Nature Search Results
https://www.nature.com/search?q=cork%20abrasion%20coating%20scratch%20resistance