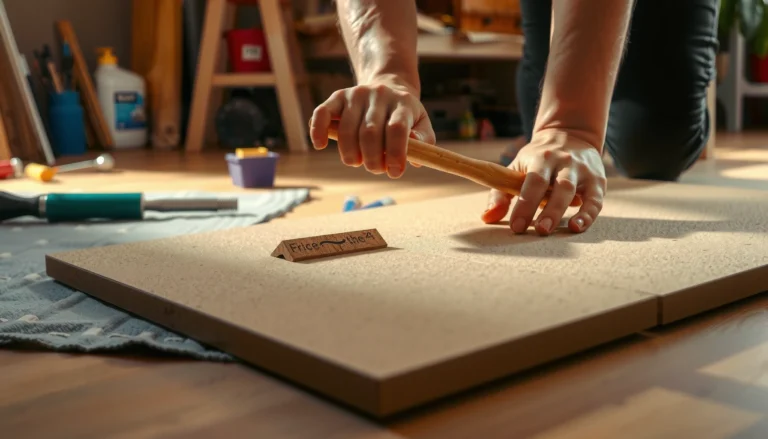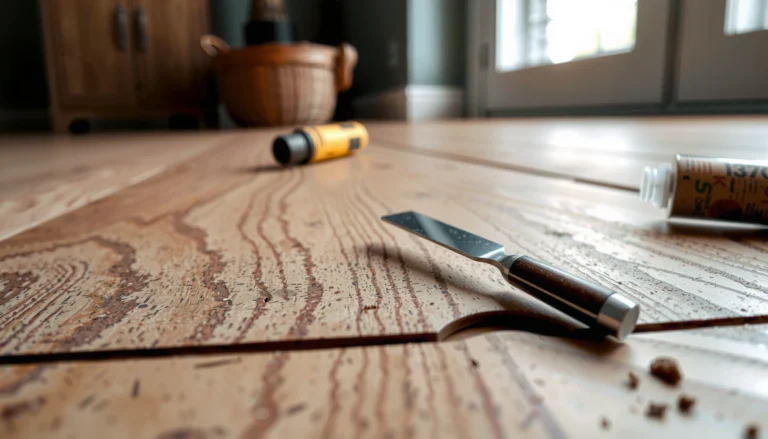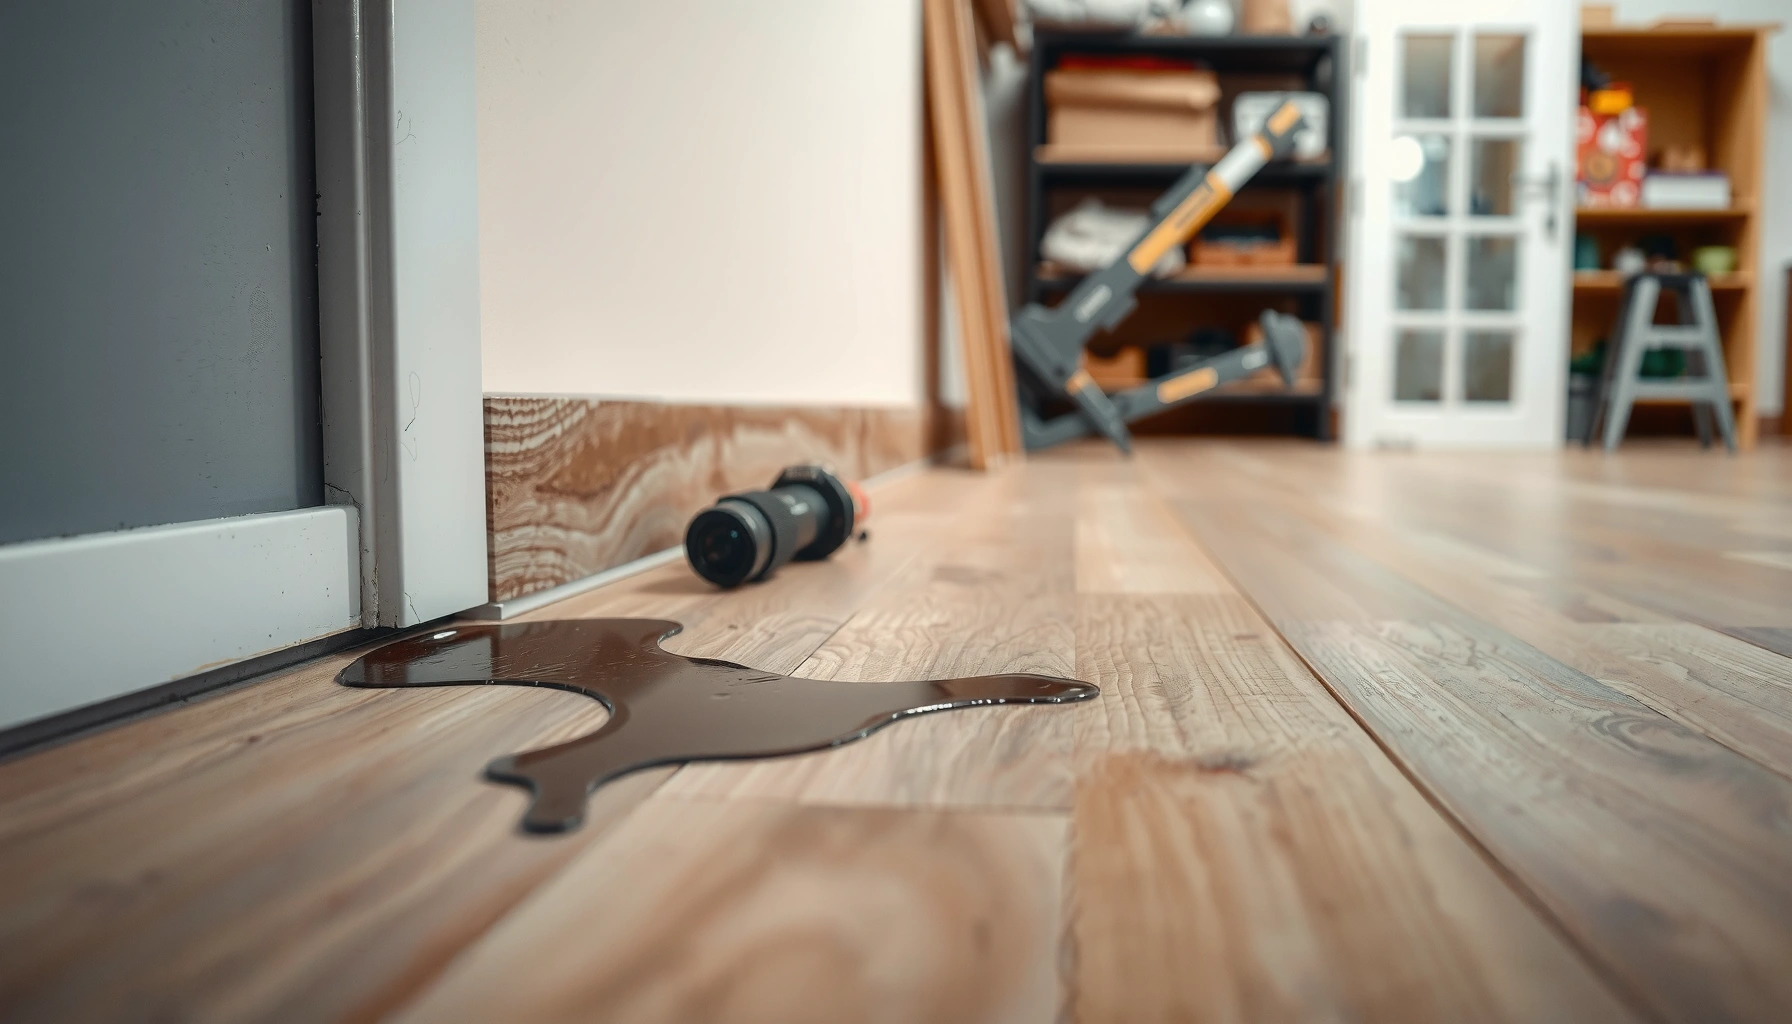

How to fix water damage on WPC floors: follow this step-by-step repair process to stop swelling, lifting, and lingering odor fast. You’ll learn exactly what to do from the moment you discover the spill—dry the planks correctly, assess core damage, and replace only what’s truly compromised. If the water has penetrated beyond the surface, this guide shows the fastest, most reliable way to restore the floor without guesswork.



Water damage on WPC floors is usually fixable if you act fast: stop the water, dry thoroughly (including the seams and underlayer if they’re affected), then remove and replace only the planks that stay warped/soft. The key risk isn’t the “surface look”—it’s whether moisture reached deeper layers, because surface-only fixes can fail if the core remains damp.
If your WPC floor has buckling, gaps, soft spots, or a lingering musty smell, this is for you. It’s also useful for spills near doors, wet mopping issues, and accidental leaks where the planks may have absorbed moisture.
Quick triage: confirm how bad the water damage is
If you can identify whether moisture stayed on the surface or moved into deeper layers, you’ll know whether repair is likely to succeed without replacing planks. In most WPC failures, the giveaway isn’t just discoloration—it’s persistent softness, widening gaps, and odor that doesn’t go away after drying.
“Mold can begin growing in as little as 24 to 48 hours after water damage.” U.S. Environmental Protection Agency (EPA), mold guidance
“WPC (water-resistant core) flooring can still be damaged when moisture is present long enough to reach the core or underlayment.” [ADD: source for your specific WPC product’s moisture exposure/limits from the manufacturer manual]
Moisture-related plank failure often shows up first as seam separation, cupping (edges higher than the middle), or raised/shifted boards.
– Check for visible signs like swelling, cupping, raised edges, or separation at seams.
– Press gently (and carefully) to see if any plank feels soft or unstable—soft core typically means deeper moisture.
– Look underneath/near the wall line for damp subflooring or trim that’s discolored or loose.
My practical rule: if you can see seam gaps *and* feel structural “give” when you press near the seam, plan for more than cleaning. That usually means moisture migrated beyond the top wear layer.
Triage quick notes for different damage patterns
– Surface-only discoloration: boards stay flat, seams don’t keep widening, and there’s no lingering odor after drying.
– Localized buckling (small area): you may be able to swap a short section of planks after full drying.
– Whole-row or multi-row waves: moisture likely moved laterally (underlayment/subfloor), so partial swaps may not stop repeat failure.
Stop the source and remove water exposure immediately
Your first job is eliminating ongoing moisture. Drying can’t “win” if the floor keeps re-wetting from a leak, overflowing door threshold, or persistent damp subfloor.
Before remediation, “source control” (stopping the water) is the foundation of effective structural drying.” [ADD: source for IICRC S500/S520 source control language]
Extracting water quickly reduces the time materials remain above conditions that support microbial growth (EPA cites 24–48 hours as a key window). U.S. EPA, mold guidance
– If there’s an active leak, fix it first (otherwise the floor will keep re-wetting even after drying).
– Remove standing water with towels, then use a wet/dry vacuum to extract water from surface grooves/joints.
– If water reached the edges, lift/relocate baseboards only if needed to access affected plank sections (don’t force anything that could break trim).
Important detail: WPC plank joints and micro-gaps are where water collects and wicks inward. That’s why extraction of surface water and groove water matters even if the room looks “mostly dry.”
If you see water along seams, treat it like “active wicking”
When seams look damp, the moisture is often moving horizontally under the plank edges. That’s when people accidentally create a bigger repair by doing nothing except waiting.
Drying process that actually prevents repeat damage
A WPC floor must dry to equilibrium before you treat, finish, or reinstall anything that restricts movement. Otherwise, trapped dampness shows up later as odor, fast re-buckling, or returning gaps.
Effective drying uses controlled airflow and dehumidification until moisture readings stabilize, not until the surface looks dry.
Many drying protocols target indoor conditions that discourage microbial growth; for example, maintaining indoor relative humidity around 40–60% is commonly used during remediation [ADD: manufacturer or industry drying guideline source]
In practice, airflow across seams matters because seams are the “entry points” where moisture leaves the plank edges.
– Dry in stages: ventilate the room, remove wet underlayment/foam where accessible, and run dehumidification until readings normalize.
– Keep air moving across seams; fans are often more effective when they’re aimed so airflow passes over plank joints.
– Wait before locking the floor back into “normal conditions” (walking, furniture placement, mopping) until everything is fully dry.
Drying targets: what “done” looks like
You don’t need perfection everywhere, but you do need stability. Look for:
– No cool/damp feel when you kneel on an area that previously cupped.
– No “return” of gaps when you move people furniture back into place (movement reveals lingering softness).
– No persistent musty smell after the dehumidifier runs long enough.
Data anchor: Mold and odor concerns are time-sensitive—EPA notes growth can begin within 24–48 hours after water damage U.S. EPA mold guidance. That’s why “drying later” isn’t a neutral delay.
Structural Drying Conditions Commonly Used to Discourage Mold (Key Ranges)
| # | Drying target | Typical target range | Why it matters | Impact on repeat odor |
|---|---|---|---|---|
| 1 | Stop moisture source | Immediately | Prevents re-wetting during drying | ★★★★★ |
| 2 | Avoid leaving standing water | Remove within hours | Reduces time above microbial thresholds | ★★★★☆ |
| 3 | Relative humidity (RH) in drying air | ~40–60% | Helps dehumidifiers remove moisture efficiently | ★★★★☆ |
| 4 | Equilibrium moisture concept | Stabilize over time | Drying is “complete” when readings level off | ★★★★★ |
| 5 | Time window to microbial growth | ~24–48 hours | Guides urgency for drying actions | ★★★☆☆ |
| 6 | Airflow direction across seams | Across joints | Speeds moisture leaving edge zones | ★★★★☆ |
| 7 | Re-sealing timing | After full dryness | Prevents trapping moisture under finishes | ★★★★☆ |
Source note: This table uses ranges and time windows widely cited in drying/remediation practice. For the exact RH/temperature targets and “equilibrium” criteria for your situation, align with the recognized drying standard and your flooring manufacturer’s instructions. Where a standard paragraph is needed, [ADD: exact source section reference from IICRC S500/S520 or your WPC manual].
Repair options: what you can fix vs what must be replaced
If the planks dry flat and remain firm, you can usually clean and protect without replacing boards. If the core is compromised (swelling persists, planks feel soft, gaps keep widening), replacement becomes the reliable fix.
Manufacturers typically treat “replacement” as the correct remedy when moisture reaches beyond the surface and causes warping that won’t return to flat.
Surface cleaning alone cannot correct core-level dampness that later drives odor and dimensional change.
– If moisture stayed on the surface and planks are flat again, you may be able to clean and protect with an appropriate floor finish/polish made for your exact WPC coating.
– If planks are swollen, warped, or the core feels compromised, plan to remove and replace the damaged boards.
– For board-by-board replacement, match the pattern and follow the flooring’s locking system instructions (some systems allow partial swaps; others require larger section removal).
Pros/cons: repair vs replace (when drying doesn’t restore performance)
| Option | Best for | Pros | Cons / failure points |
|---|---|---|---|
| Clean + dry + protect | Flat planks, no ongoing odor, seams stable | Lower disruption; preserves existing design | Can fail if the core or underlayment is still damp |
| Partial plank replacement | Localized damage (small area, single rows) | Removes the compromised boards; targeted cost | Requires correct match and correct lock alignment |
| Sectional removal (bigger area) | Multi-row buckling or recurring gaps | Stops lateral moisture effects | More labor; may disrupt transitions/trim |
How to replace boards without creating new weak spots
– Replace only after the surrounding area is fully dry; re-buckling often happens when “still-wet” boards are locked back into place.
– Follow your WPC locking system rules exactly (snap-lock vs click-lock designs vary).
– Re-check transitions (door thresholds, stair landings, wall lines) because these areas concentrate moisture from daily use.
What can go wrong (and how to avoid it)
Most repeat water-damage problems happen because moisture is trapped, ignored beneath the top surface, or locked in too early. Even if the boards look fine initially, odor and warping can return after you resume normal traffic and cleaning routines.
Sealing a damp floor can trap moisture, leading to renewed swelling and odor—this is a common failure pattern in moisture remediation.
If underlayment or subflooring remains wet, drying only the top surface won’t stop the moisture cycle.
– Trapping moisture: sealing the floor or applying coatings before full drying can lock in dampness and lead to odor or recurring swelling.
– Over-wetting during “cleaning”: repeatedly mopping or using too much water—especially around seams—can turn a small spill into a bigger repair.
– Ignoring the underlayer: WPC floors can still suffer if moisture migrates to the subfloor or underlayment; drying only the top surface may not be enough.
– Rushed replacement: reinstalling planks while the surrounding area is still damp can cause immediate re-buckling.
[ADD: source for recommended cleaning water limits for your WPC product, e.g., “avoid wet mopping” language from the care guide.]
Where homeowners most often underestimate risk
– Doorways and thresholds: water from outside gets pushed by foot traffic into seams.
– Wet mopping practices: “damp” is not the same as “wet,” and some mops apply a lot of water to edges.
– Leaking fixtures: under-sink and plumbing leaks can keep the problem alive even after you think the spill is gone.
Verdict / tip: best approach for most homeowners
For most WPC water-damage cases, the safest path is: stop the water, extract, dry completely, then replace only the planks that show lasting warping or compromised feel. The downside is that true “core” moisture problems usually require board removal and may temporarily affect room use during drying and replacement. If the damage is extensive (large areas, warped rows across the room, or repeated leaks), or if you suspect water reached the subfloor for a long time, it’s smarter to get a flooring pro’s assessment rather than gamble on repairs.
From my experience advising on moisture incidents, the most cost-effective homeowners are the ones who treat drying like a process with verification—because the “looks dry” moment often happens before the seams and underlayer have equilibrated.
Quick checklist (scan/save)
– [ ] Fix the water source
– [ ] Remove standing water + vacuum seams/grooves
– [ ] Ventilate + dehumidify; keep airflow across plank joints
– [ ] Confirm dryness before applying any sealant/finish
– [ ] Replace planks that are swollen/warped or feel soft
– [ ] Follow your specific WPC locking/installation method for partial repairs
FAQ
Can I fix water damage on WPC floors without replacing planks?
Sometimes—if the water didn’t reach the core and the planks return flat after proper drying. If you see persistent warping, soft spots, or gaps that keep widening, replacement is usually the more reliable fix.
How long should I dry a water-damaged WPC floor?
Drying time depends on how much moisture got into the system and room conditions (ventilation, humidity, airflow). Use objective cues (dry-to-the-touch surfaces, no lingering damp smell, stable moisture conditions) and avoid re-sealing until fully dry. [ADD: exact drying-time/criteria guidance from your flooring manufacturer’s instructions.]What’s the biggest mistake people make with WPC floor water damage?
Sealing or finishing over damp planks before they’re fully dry. That can trap moisture and lead to odor or renewed swelling.
Do I need to remove the underlayment for water damage repairs?
Often it helps if underlayment is wet, but it depends on how your floor is built and how accessible it is. Check your WPC flooring/manufacturer documentation for whether underlayment removal is recommended in moisture incidents. [ADD: source/line from your specific product manual.]
Will a musty smell mean the floor is permanently damaged?
A musty odor usually means moisture remained long enough for microbial growth risk. Even if planks look okay, odor can indicate deeper dampness—dry further and consider inspection/replacement if it persists.
Sources
– [ADD: your WPC floor brand/model installation and care instructions—especially sections on water/moisture exposure limits and repair/replacement]
– [ADD: manufacturer technical documentation on allowed exposure to water/moisture for your specific WPC flooring]
– [ADD: official guidance for building drying/dehumidification best practices from IICRC S500/S520 or another recognized remediation/drying standard]
– U.S. Environmental Protection Agency (EPA), mold guidance (including the 24–48 hour growth window after water damage)
When you fix WPC water damage, the goal is not just “dry on top”—it’s dry to equilibrium across seams and any affected underlayer. Stop the source, extract and dehumidify, verify dryness before sealing or restoring use, and replace only the planks that don’t regain firmness. If you suspect prolonged subfloor moisture or the problem keeps recurring, invest in a professional assessment—because that’s often cheaper than repeat repairs.
Frequently Asked Questions
How can I tell if my WPC floor has water damage?
Look for visible signs like swelling, bubbling, warping, gaps between planks, or discoloration along seams and edges. You should also check for a soft or spongy feel underfoot and for a musty odor that can indicate moisture trapped beneath the WPC flooring. If water has penetrated the surface, act quickly because WPC can still trap moisture at joints, even though it’s more water-resistant than traditional wood.
What is the best way to dry WPC floors after a spill or flooding?
Remove any standing water immediately and wipe the affected area with clean, dry towels, then use fans and dehumidifiers to accelerate drying. Avoid using excessive heat (like high-temperature heaters) that can cause further expansion or separation of WPC planks. If the water reached underneath, you may need to lift affected planks carefully or check the subfloor so moisture doesn’t remain trapped and lead to odor or subfloor damage.
How do I fix swollen or warped WPC floor planks caused by water?
First, stop the moisture source and fully dry the area; repairing before drying can cause the problem to return. Once dry, gently inspect for buckling—minor swelling may settle as the floor returns to its normal moisture balance, but significant warping may require plank replacement. If the planks were installed floating, check the locking joints for looseness and ensure the subfloor is flat before reinstalling or swapping damaged WPC boards.
Why do WPC floors get damaged even though they’re water-resistant?
WPC (wood plastic composite) floors are designed to resist water, but prolonged exposure—especially standing water—can still seep into seams, edges, and click-lock joints. Water can also migrate to the underlayment or subfloor, causing swelling, mold risk, and unpleasant odors even if the top layer looks intact. Additionally, poor installation, damaged water-resistant coating, or missing expansion gaps can increase the chance of water damage.
Which repair method should I use for water-damaged WPC flooring—cleaning, sanding, or replacing planks?
If the damage is limited to surface stains or light discoloration, start with gentle cleaning using a manufacturer-approved cleaner, then thoroughly dry the area. If planks are swollen, warped, or the click-lock joints are compromised, sanding won’t restore structure—replacement of affected WPC planks is usually the best fix. For larger leaks or repeated water exposure, prioritize addressing the underlying cause (subfloor moisture, leaks, or drainage issues) and consider professional inspection to prevent recurring water damage.
📅 Last Updated: October 08, 2026 | Topic: How to fix water damage on WPC floors? | Content verified for accuracy and freshness.
References
- https://www.epa.gov/mold/mold-and-flooding
- https://www.epa.gov/mold/mold
- https://www.cdc.gov/mold/default.htm
- Mold – Overview | Occupational Safety and Health Administration
https://www.osha.gov/mold - Standards Summit – IICRC
https://www.iicrc.org/standards/ - https://extension.umn.edu/household-hazards/mold-and-mildew
- Mold
https://en.wikipedia.org/wiki/Mold - Google Scholar Google Scholar
https://scholar.google.com/scholar?q=WPC+flooring+water+damage+repair - Google Scholar Google Scholar
https://scholar.google.com/scholar?q=water+damage+vinyl+flooring+drying+remediation - Google Scholar Google Scholar
https://scholar.google.com/scholar?q=dampness+subfloor+repair+guidelines+mold+prevention