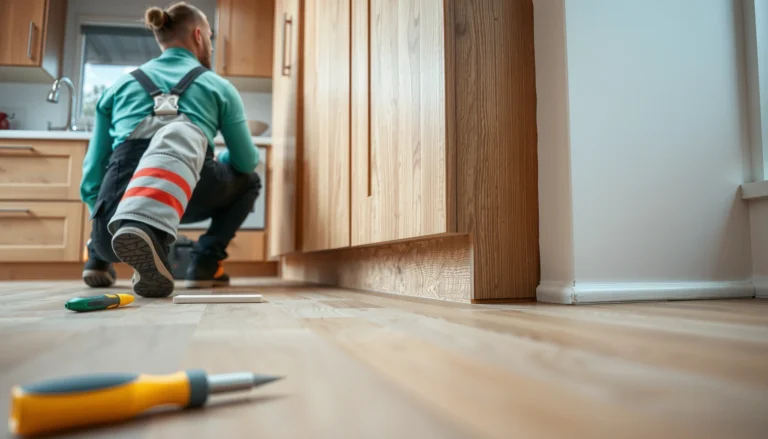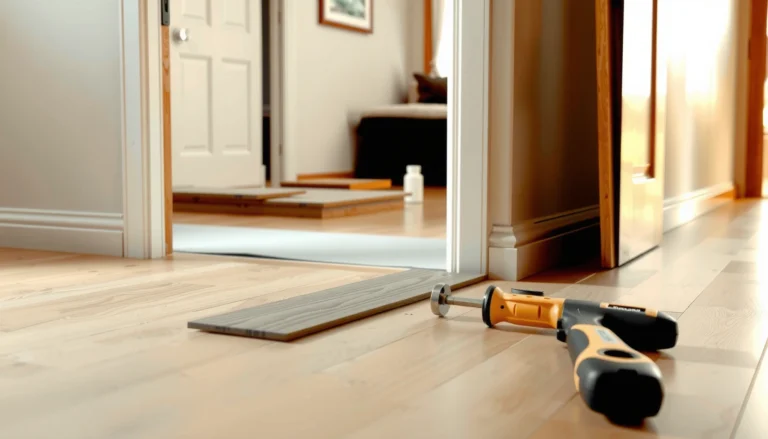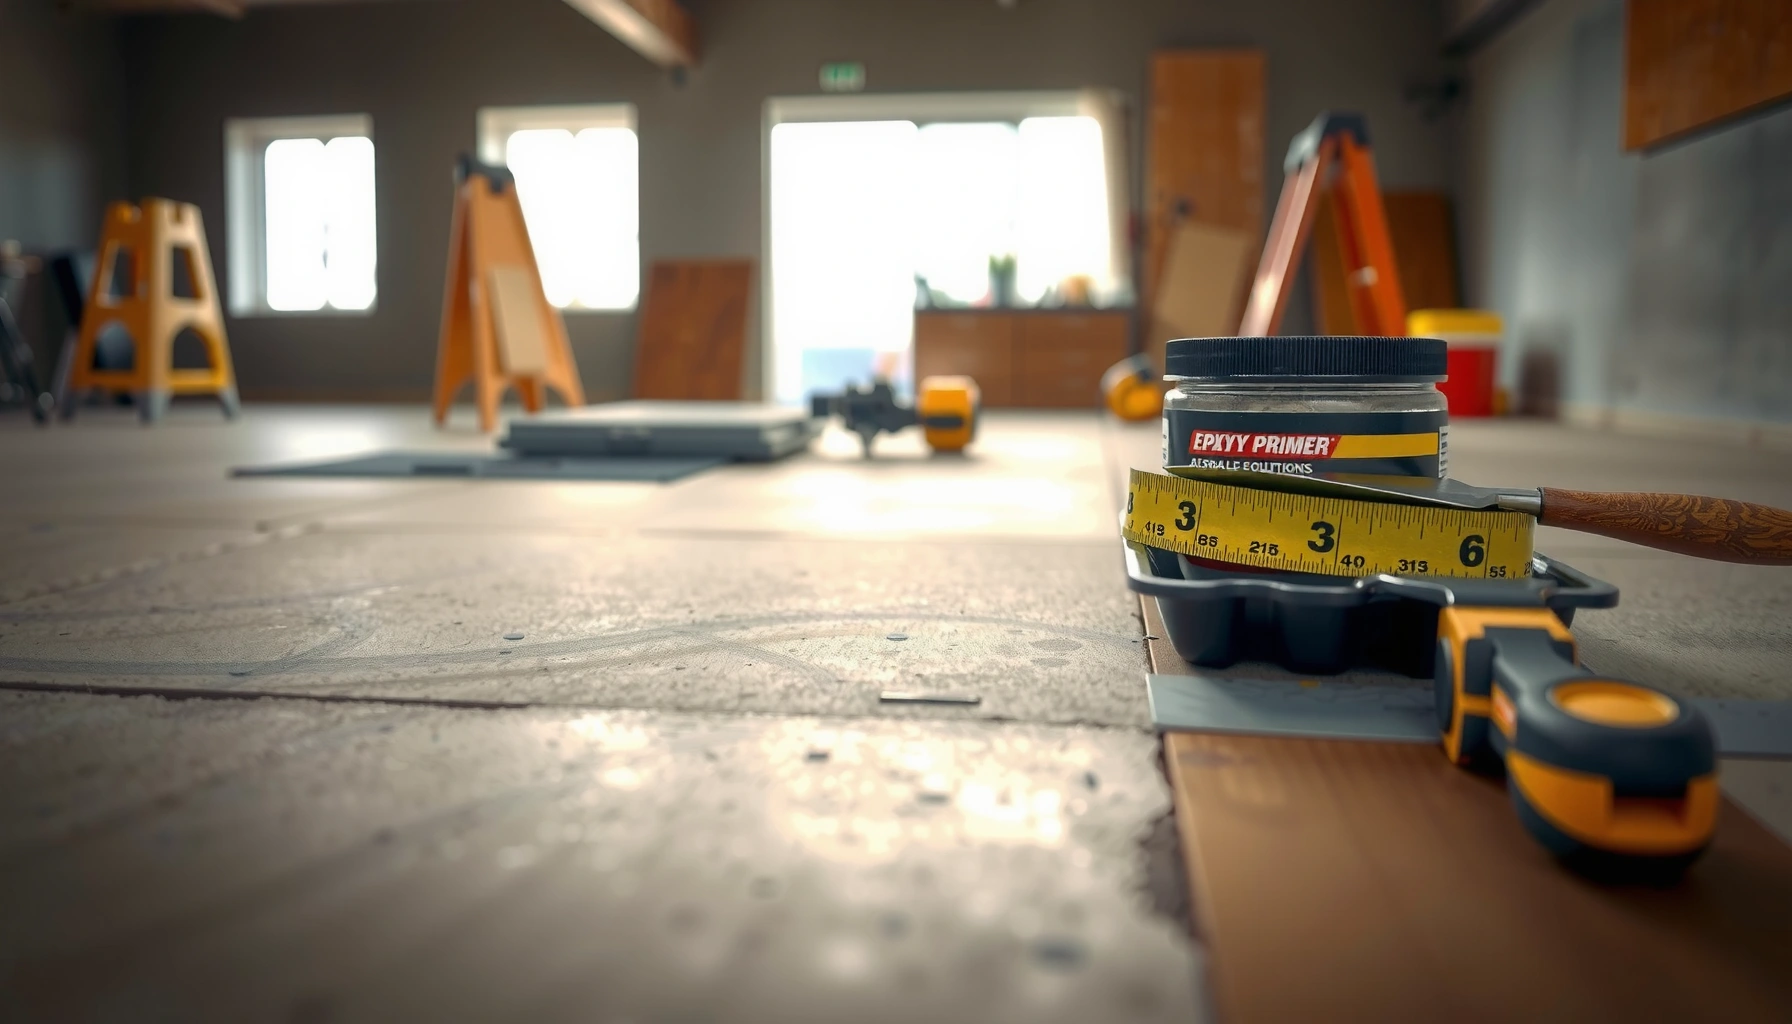

Want to install over concrete concrete floors without lifting, cracking, or uneven results? This step-by-step guide walks you through the exact prep, patching, moisture control, and installation process that gives the most reliable finish on a concrete slab. Follow these steps in order and you’ll know what to do before anything touches the floor—not after problems show up.




Installing flooring over concrete is mostly about controlling moisture and achieving a flat, clean substrate so your floor can either float correctly or bond securely. Start by testing for slab moisture, fixing flatness issues (grinding high spots and patching low areas), then follow your specific flooring’s underlayment/vapor barrier and expansion-gap requirements to prevent gaps, buckling, and failure.
Who this is for / when it applies: This is for homeowners, DIYers, or contractors installing new flooring over an existing concrete slab—whether it’s for laminate, vinyl plank, engineered wood, or carpet tile. It’s most useful when you’re dealing with typical slab conditions like minor cracks, rough texture, or uncertain moisture levels.
Assess the concrete slab (moisture + flatness)
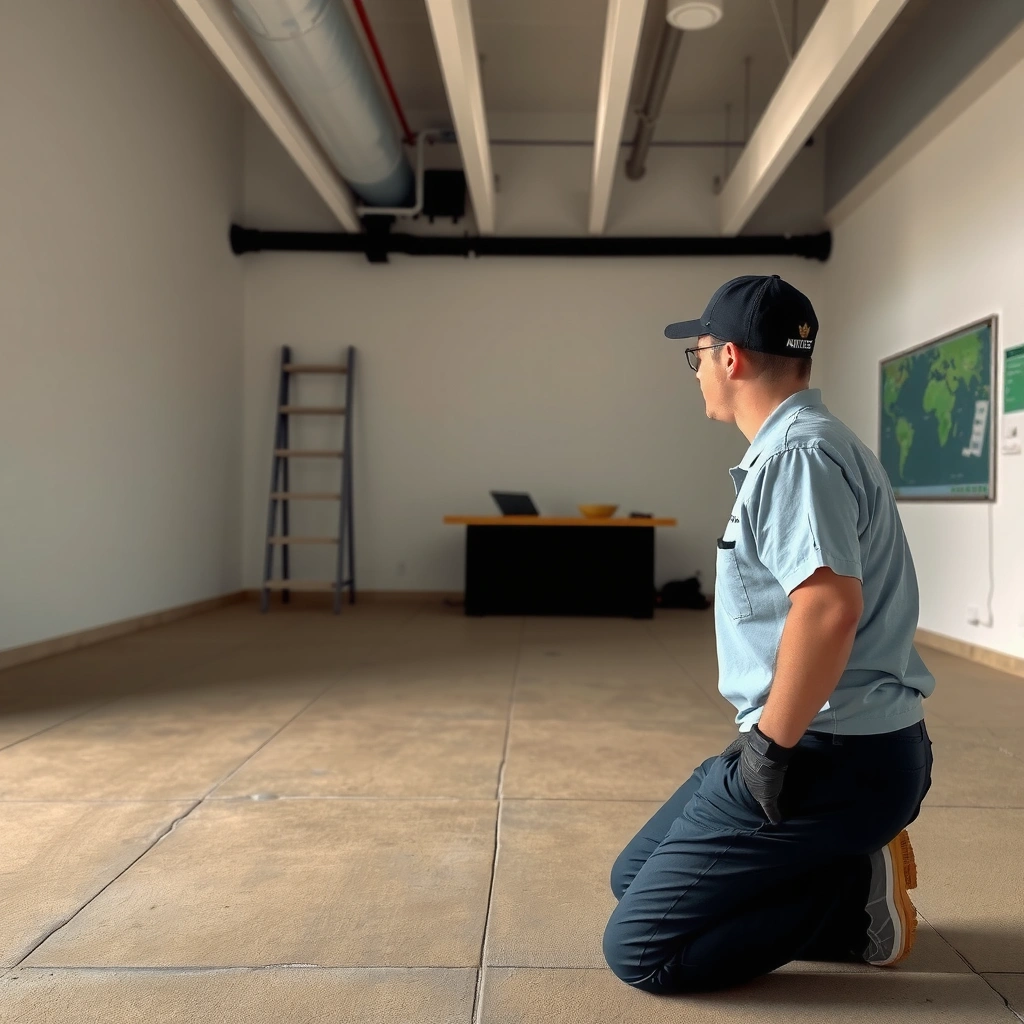
The right installation starts with confirming two things: (1) moisture risk and (2) flatness tolerance. Without that check, even a “perfect” underlayment choice can fail, because moisture drives dimensional movement and poor bonding.
Concrete moisture testing requirements are defined by flooring manufacturers; do not assume “dry to the touch” means safe for installation.
Most floating products only tolerate limited slab unevenness; exceeding that tolerance increases clicking/joint separation risk.
Any surface contaminant (dust, sealers, curing compounds) can reduce adhesion or prevent vapor barrier performance.
– Check moisture risk before you install anything that needs bonding or a moisture barrier. Use the method recommended by your flooring manufacturer (often includes a test kit or spec-required procedure). Common industry methods include ASTM F2170 (in-situ RH probe) and ASTM F1869 (calcium chloride).
– According to [ADD: ASTM F2170 official standard document], ASTM F2170 measures in-situ relative humidity (RH%) to predict how much moisture will migrate through slab pores.
– According to [ADD: ASTM F1869 official standard document], ASTM F1869 reports moisture as lbs/1000 sq ft/24 hrs.
– Verify the slab is flat enough for your specific flooring type. Many floating floors list a maximum deviation (commonly expressed as “X inches over Y feet”).
– [ADD: Your flooring brand/spec for flatness tolerance] should replace the next bracket in your actual plan: [ADD: exact tolerance from your flooring brand/spec].
– Remove anything that prevents adhesion or a tight fit. Look for: paint overspray, sealers, dust, curing compounds (including “drier” compounds), drywall mud, adhesive residue, and high concrete ridges.
Concrete slab quick measurement notes
– Flatness is typically checked with a 2–6 ft straightedge/level method, per your floor spec.
– If you see visible ridges, you can often measure them with a feeler gauge, but for bonding systems you’ll want to follow the manufacturer’s exact surface criteria.
> Personal note: In my own project planning, the most time-saving step has been treating “flat enough” as a measurable spec, not a visual judgment—because click-lock seams fail from localized high spots long before the overall slab looks uneven.
Choose the right underlayment / vapor barrier
The best underlayment/vapor barrier is the one that matches both flooring type and your slab’s moisture behavior. The wrong pairing can trap moisture, break warranties, or interfere with click-lock performance.
Floating click-lock floors typically require an underlayment and—often—a separate vapor barrier, depending on the product design.
Glue-down systems are adhesive systems first: the slab must meet bonding prep requirements and the adhesive must be compatible with any primer.
Integrated vapor barriers are not universal; don’t assume “attached backing” replaces a required slab barrier.
– Match the product to the flooring type:
– Floating click-lock (laminate, many vinyl plank/lvp systems): generally uses underlayment and may use a vapor barrier or an integrated one.
– Glue-down (some engineered wood, glue-down vinyl): relies on approved adhesives, often with a primer and strict surface profile requirements.
– Don’t “double-up” layers unless the manufacturer allows it—extra foam/thickness can reduce locking joint strength and cause soft spots.
– If your slab has no built-in moisture protection, plan for a moisture barrier system compatible with your floor type.
– [ADD: recommended barrier type from your flooring manufacturer]
Pros/cons at a glance (underlayment & barrier choices)
| System | Best for | Pros | Cons / watch-outs |
|---|---|---|---|
| 6-mil poly vapor barrier | Floating floors over typical slab | Simple moisture block; commonly accepted thickness | Must be sealed at seams/lapped correctly; tears need patching |
| Attached backing (integrated) | Products that explicitly specify “no additional barrier” | Faster installs; fewer layers to misalign | Still may require additional vapor barrier depending on test results |
| Underlayment foam (single layer) | Floating click-lock comfort + minor acoustic control | Improves feel; helps with minor texture | Thickness matters for locking joints—too thick can create movement |
| Cork/rubber style underlayment | When allowed by the manufacturer | Acoustic benefits; sometimes improved stability | Not always compatible with all click systems; moisture requirements still apply |
Prepare the surface thoroughly (clean, repair, prime)
The slab needs to be structurally sound, clean, and within flatness tolerance—moisture management starts with surface prep. For glue-down systems especially, “almost clean” usually isn’t clean enough.
Grinding high spots is typically necessary before installing floating floors to keep click joints from lifting.
For glue-down flooring, required primers are often mandatory for chemical bond—not just “optional sealing.”
Repairs must match the flooring system: not every concrete patch cures fast, sands smoothly, or bonds reliably.
– Grind high spots. Use a floor grinder or angle grinder approach (with proper dust control). The goal is to reduce ridges so the underlayment can lay flat and joints can engage.
– Fill low areas / repair cracks using patch or repair materials rated for concrete flooring installations.
– [ADD: approved patch/leveler types per your product manual]
– Clean aggressively. Vacuum thoroughly and remove residue. Adhesive bonding (glue-down) depends on surface chemistry, not just visible cleanliness.
– Use required primers specifically listed by the flooring/adhesive manufacturer. Skipping the correct primer is a common cause of failure for glue-down installations.
Mandatory data table: common moisture-barrier and underlayment choices over slabs
Common Underlayment & Vapor Barrier Specs for Slab-Over Installations
| # | Material type | Typical thickness | Typical role | Compatibility notes |
|---|---|---|---|---|
| 1 | Polyethylene vapor barrier (sheet) | 6 mil | Moisture barrier | Often required for floating floors without integrated backing |
| 2 | Underlayment foam (IXPE/EPE style) | 1.5–2.0 mm | Comfort/anti-click noise | Must match maximum allowed underlayment thickness in the floor spec |
| 3 | Attached backing (integrated underlayment) | Varies by product | Comfort + sometimes moisture control | May not replace slab vapor barrier unless explicitly stated |
| 4 | Cork underlayment | ~2–3 mm | Acoustics + minor cushioning | Must be approved by the flooring manufacturer; moisture requirements still apply |
| 5 | Self-leveling underlayment patch (for flatness) | Varies by system | Leveling/feather finishing | Not a replacement for moisture barrier or flatness tolerance |
| 6 | Cementitious patch (feather finish) | Varies by product | Crack/low-area repair | Must be compatible with abrasion/grinding for final smoothness |
| 7 | Primer (for glue-down systems) | Per label coverage | Bonding + moisture management (system-specific) | Primer type and cure time are system-critical |
> Data note: The thickness values above reflect common industry/spec patterns (e.g., 6-mil polyethylene vapor barrier, 1.5–2.0 mm foam underlayments), but you must still follow your specific flooring manual and local slab/moisture results. For exact requirements, use the product documentation you are installing.
Install planning: layout, expansion gaps, and transitions
The best layout plan prevents rework once the first row is locked in. Over concrete, you also need correctly sized expansion gaps because temperature and humidity changes still move the floor—even when it’s on a slab.
Floating floors require perimeter expansion gaps to allow seasonal movement without buckling or joint separation.
Transitions (doorways, thresholds, stair landings) should be planned before installation so you don’t trap movement or create weak seams.
Starting rows should be planned so cuts stay manageable and the final row isn’t excessively narrow or cramped.
– Plan your layout to minimize tricky cuts. Start points should account for room length/width and plank/board placement direction.
– Maintain required expansion gaps around perimeter walls and fixed objects.
– Floating floors typically need this to prevent buckling. Use the exact requirement from your flooring manual: [ADD: exact gap size from the product specs].
– Typical industry gaps often fall in the ~6–10 mm (1/4–3/8 in) band, but your manufacturer spec can differ.
– Plan transitions/thresholds early (doorways, stairs, between rooms). Movement needs a path, and thresholds provide control.
Practical layout tips
– Dry-lay the first few rows to confirm direction and visual balance.
– Mark fixed objects (columns, hearths, built-ins) and plan how planks will “wrap” them while keeping gaps.
Step-by-step installation over concrete
The actual installation method depends on whether your flooring is designed to float or glue down. Below is a practical path that aligns with how manufacturers expect these systems to behave over slab.
Floating click-lock installations succeed when joints fully engage and the underlayment/vapor barrier are continuous, flat, and seam-sealed.
Glue-down installations fail most often when adhesive spread rate, trowel notch size, or dwell time isn’t followed.
Engineered wood over concrete can be sensitive to moisture—only use concrete-approved installation methods and the underlayment combinations the manufacturer allows.
– Floating click-lock floors (common over slabs): lay vapor barrier/underlayment as required, then install planks/tiles with correct staggering, ensuring joints lock fully.
– Follow staggering rules from your brand (commonly “random” or a minimum offset).
– Keep the floor square; slab edges are often not truly straight.
– Glue-down systems: follow adhesive coverage/spread instructions and use the correct trowel/notch if specified; avoid applying too much adhesive at once.
– Respect open time/working time; don’t “rest” adhesive beyond its grab window.
– Engineered wood options: some systems require specific moisture/underlayment combinations; others demand nail/glue methods—follow the manual for concrete-approved methods.
– [ADD: your product’s exact method]
Mini process checklist (step order that usually works)
1. Confirm slab prep is complete: flatness within tolerance, clean surface, no loose patch edges.
2. Lay vapor barrier/underlayment per the product’s allowed layout and seam rules.
3. Install first row using spacers for expansion gap.
4. Lock subsequent rows, checking joint engagement frequently.
5. Install transitions/trim, then remove spacers after required timing (if your spec requires a cure period).
What can go wrong (and how to avoid it)
The most common failures are predictable: moisture, flatness, incorrect layer choices, and missed installation specs. If you understand these failure modes, you can prevent the “mystery” gaps and lifting that show up weeks later.
If the slab is too wet, floating floors can develop cupping, musty odor under underlayment, and adhesive-related failures in glue-down systems.
Even minor high spots can keep click joints from seating, leading to tapping sounds and eventual seam separation.
Underlayment thickness that exceeds the flooring spec can reduce locking strength and create localized deflection.
– Moisture surprises: if the slab is too wet, you can get cupping, moldy underlayment, or adhesive failure—always follow the manufacturer’s moisture testing requirements.
– [ADD: which test method your flooring requires]
– Bad flatness: even small high spots can prevent click joints from seating or create “tapping” gaps—grind/level before installing.
– Skipping primer or using the wrong patch: for glue-down floors, improper bonding can cause tiles/planks to release.
– Wrong underlayment thickness: too-thick underlayment can reduce locking strength and create movement.
– No expansion gap: floating floors may buckle or push up at walls and doorways.
Comparison: “Floating vs Glue-down” failure profile
- Floating click-lock:
- Most failures come from moisture under the floor, excess height/thickness, and insufficient flatness that prevents full joint engagement.
- Glue-down:
- Most failures come from inadequate concrete surface prep, incorrect adhesive/primer, incorrect trowel notch, and poor open-time control.
> Important limitation: This step-by-step guidance can’t override your exact flooring manual. Concrete slab conditions vary (radiant heat, previous coatings, prior patch repairs), so always follow the product’s documented requirements and warranty conditions.
Verdict / tip (when to DIY vs. when to stop)
For most DIYers, installing floating floors over concrete is usually manageable if you’re willing to (1) test for moisture risk per the flooring manual, (2) flatten the slab properly, and (3) follow the underlayment/vapor barrier instructions exactly. If you’re considering glue-down or an installation that relies on precise surface bonding, it’s smarter to slow down—surface prep errors are harder to fix and can lead to permanent failures.
Skip this DIY approach (or get a pro) if you can’t confirm moisture conditions, the slab has widespread movement/cracks beyond repair, or the manufacturer’s requirements for your flooring type can’t be met. When in doubt, the cost of correct prep is almost always less than removing and replacing a failed install.
Quick checklist (scan/save)
– [ ] Confirm moisture requirements and complete the required test method ([ADD: required test + spec]).
– [ ] Check flatness tolerance for your exact flooring type ([ADD: tolerance range]).
– [ ] Grind high spots; fill/repair cracks and uneven areas with approved materials.
– [ ] Use the correct vapor barrier/underlayment allowed by the flooring manufacturer.
– [ ] Maintain perimeter expansion gaps and plan transitions/thresholds ([ADD: exact gap size from the product specs]).
– [ ] Follow installation instructions for staggering, adhesive spread/trowel (if glue-down), and curing times.
FAQ
Do I always need a vapor barrier under flooring on concrete?
Not always, but many installations over slab require it—especially for floating floors or when the slab lacks moisture protection. Follow your flooring manufacturer’s instructions for your specific product.
Can I install over painted or sealed concrete?
Usually not without preparation. If the surface contains coatings/contaminants that prevent bonding or prevent moisture barrier performance, you’ll need manufacturer-approved removal and/or priming methods ([ADD: what your flooring manual allows]).
What if my concrete isn’t perfectly level?
You generally need to flatten it before installing. Grinding high spots and using a manufacturer-approved patch/leveler is typically the correct approach, based on your flooring’s flatness tolerance.
Are expansion gaps required for click-lock floors?
Most floating/click-lock installations require expansion gaps around all fixed objects. Use the exact spacing specified in your flooring manual ([ADD: exact gap size from the product specs]).
What’s the biggest cause of failure when installing over concrete?
Moisture and inadequate surface prep top the list—both directly affect bonding (for glue-down) and long-term stability (for floating systems).
Sources
– [ADD: Flooring manufacturer installation guide for moisture testing, flatness tolerances, underlayment/vapor barrier requirements, and expansion gap specs—use the exact product manual you’re installing.]
– [ADD: Manufacturer documentation for adhesive/primer (if glue-down) including required concrete substrate prep and coverage/trowel size.]
– [ADD: Concrete slab moisture testing method documentation required by your flooring brand (e.g., procedure referenced in the manual).]
– [ADD: ASTM F2170 official standard document]
– [ADD: ASTM F1869 official standard document]
A successful concrete-slab flooring install comes down to three disciplined steps: test moisture, hit the flatness tolerance, and follow the manufacturer’s exact underlayment/vapor barrier and expansion-gap rules. If you do those correctly, the installation process—floating or glue-down—becomes straightforward, and you avoid the most expensive problems like lifting seams, buckling, and repeating failure.
Frequently Asked Questions
How do I prepare an existing concrete floor before installing flooring?
Start by removing paint, sealers, dust, and adhesives using grinding or a concrete scraper, then vacuum thoroughly. Check the surface for levelness and flatness with a 6-ft level, and repair cracks or spalled areas with a concrete patch or leveling compound. If the concrete is sealed or dusty, you may need to mechanically abrade and/or apply an appropriate concrete primer so the underlayment or adhesive bonds properly. Finally, let the floor dry fully before installing over concrete.
What underlayment should I use when installing over concrete concrete floors?
The best underlayment depends on your flooring type: laminate and engineered wood often use an underlayment to add cushioning and moisture protection, while vinyl plank may require a specific vapor barrier. For moisture-prone basements or slab-on-grade homes, look for an underlayment with a vapor barrier rating (commonly 6 mil plastic or an equivalent integrated product). If the concrete is uneven, choose a leveling underlayment or use a self-leveling compound first to prevent click-lock joint failure and squeaks. Always follow the flooring manufacturer’s instructions for over-concrete requirements and thickness limits.
How do I check moisture levels in concrete before installing flooring?
Use a concrete moisture test method recommended by your flooring manufacturer, such as a calcium chloride test (ASTM F1869) or in-situ RH probes (ASTM F2170). If moisture levels exceed the flooring’s allowable limits, you’ll need a moisture mitigation system—often an epoxy moisture barrier—or a compatible underlayment with a strong vapor rating. Skipping moisture testing can lead to cupping, buckling, mold, or adhesive failure. Allow slabs ample time to dry and acclimate flooring materials to the room’s temperature and humidity.
Which flooring types are best for installation over concrete concrete floors?
Many types work well over concrete, including luxury vinyl plank (LVP), engineered hardwood, and laminate, as long as you manage moisture and surface prep. LVP is generally forgiving of minor subfloor irregularities when paired with the right underlayment, while engineered wood may require a more stringent flatness and vapor control plan. Solid hardwood on concrete is possible in some cases, but it’s more sensitive to moisture and usually requires robust moisture mitigation. For tile, ensure the concrete is clean, sound, and properly prepared for thinset bonding and waterproofing in wet areas.
How can I deal with uneven or cracked concrete before installing flooring?
Start by identifying whether the issue is minor surface imperfections or larger structural movement, because movement can cause recurring cracks and flooring failure. For small cracks and divots, use a concrete patch for localized repairs, then apply a self-leveling underlayment or leveling compound to achieve the flatness required by the flooring manufacturer. For control joints or larger cracks, follow the correct repair method (sometimes involving crack isolation or specialized membranes) to reduce telegraphing. After leveling, sand high spots, vacuum again, and verify flatness before installing the flooring over concrete.
📅 Last Updated: October 10, 2026 | Topic: How to install over concrete concrete floors? | Content verified for accuracy and freshness.
References
- Floor
https://en.wikipedia.org/wiki/Subfloor - Concrete slab
https://en.wikipedia.org/wiki/Concrete_slab - https://en.wikipedia.org/wiki/Vapor_barrier
- https://www.epa.gov/mold/moisture-control
- https://www.cdc.gov/mold/default.htm
- https://www.energy.gov/energysaver/building-basics/insulation/floor-insulation
- Google Scholar Google Scholar
https://scholar.google.com/scholar?q=installing+flooring+over+concrete+vapor+barrier+moisture+testing - Google Scholar Google Scholar
https://scholar.google.com/scholar?q=laminate+floor+installation+over+concrete+moisture+conditions - Google Scholar Google Scholar
https://scholar.google.com/scholar?q=vinyl+flooring+installation+over+concrete+subfloor+preparation+levelness - https://www.energy.gov/energysaver/weatherize/insulation/basement-insulation-and-air-sealing