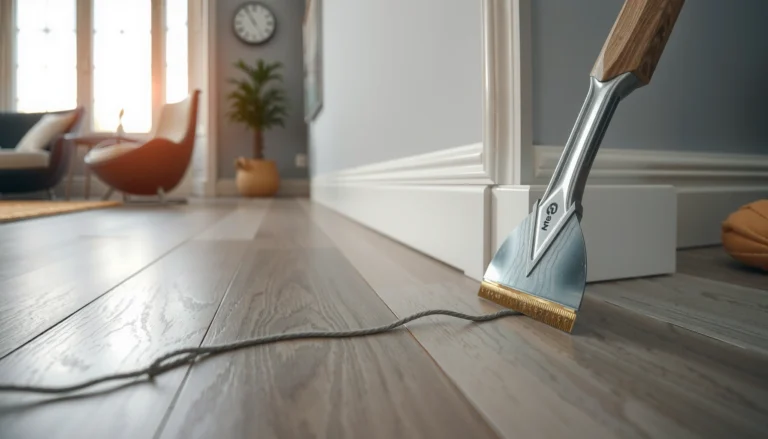

Buckling in polished concrete floors isn’t something you should wait out—this guide shows the fastest, most reliable way to fix it without repeating the problem. You’ll get practical steps to diagnose the cause (usually moisture, subbase issues, or poor slab prep), then lock the floor back into a stable, level surface before polishing again. By the end, you’ll know exactly when a patch-and-level repair is enough and when the slab needs deeper correction.
Buckling in polished concrete floors is almost never a “finish problem”—it usually means the slab (or the base beneath it) is moving due to moisture, loss of support, or trapped expansion stress. Fixing it reliably means identifying and correcting the real driver (especially moisture and base stability) before you grind, patch, or re-polish.
If you’re seeing raised waves, seams opening, or the polished finish lifting in a specific area, this article is for you. It’s especially relevant for residential or light commercial slabs where cracking, humidity, or temperature changes seem to correlate with the buckling.
Check for the real cause (moisture, base movement, or expansion)
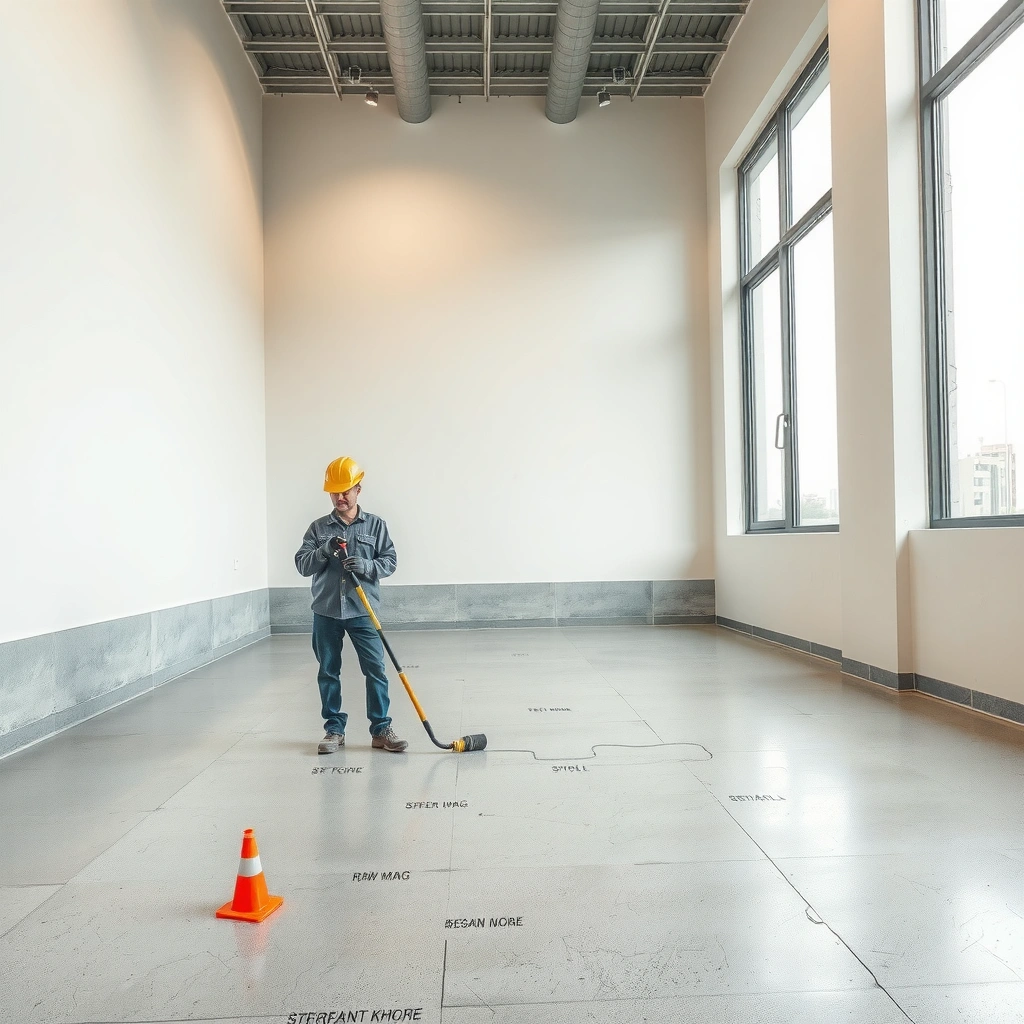
Buckling typically points to movement in the slab system, and the biggest trigger is usually moisture or shifting support under the concrete. Before you touch the polished surface, confirm whether water is changing the slab’s volume or whether the base is no longer providing uniform support.
Moisture movement in slabs can create vapor pressure and dimensional change that lifts surface finishes, even when the concrete looks “intact” at first glance.
Buckling patterns near joints, penetrations, and edges commonly indicate expansion/isolation stress or localized support failure rather than random surface damage.
Moisture testing standards (e.g., ASTM F2170 for in-situ RH and ASTM F1869 for MVER) report results in specific units (RH% or lb/1000 ft²/24h), which helps teams decide whether polishing should proceed.
Look for moisture indicators first
Start with observable moisture clues that correlate with symptoms:
– Dark spots or “ghost” discoloration that reappears after rain, irrigation, or seasonal humidity increases
– Dampness felt at the surface (or odor from below)
– Floors that look fine on dry days and show new lifting/waves after wetting events
Concrete is porous, and moisture can migrate upward through the slab. When moisture content changes repeatedly, slabs can expand/warp slightly and stress the polished finish system.
Inspect surrounding conditions and ongoing inputs
Then broaden the search beyond the slab:
– Water leaks (plumbing, roof edge drainage, HVAC condensate, exterior downspouts)
– Poor site drainage (water pooling near slab edges)
– HVAC settings that swing temperature rapidly (heating/cooling cycles can intensify moisture-driven movement)
– Recent construction or remodel work near the slab that changed loading, drainage, or vibration
Identify stress patterns that “fingerprint” the cause
Movement is often directional. Look for patterns:
– Buckling along joints or where control joints were cut/filled (or filled incorrectly)
– Buckling around penetrations (plumbing stacks, sleeves, conduits)
– A “zone” that moves (e.g., one room or bay) that suggests localized base/subgrade issues rather than whole-slab age shrinkage
At this stage, your goal is classification, not repair. Once you know whether moisture, base movement, or expansion stress dominates, the repair strategy becomes much more predictable.
Diagnose with a careful inspection (before polishing anything)
If the slab is actively moving, grinding and polishing will only create a prettier surface on top of a failing system. A careful inspection lets you determine whether you can safely “follow” the slab’s flatness, or whether the slab needs structural intervention first.
If buckling is progressive—widening seams, increasing lift, or changing wave height—surface restoration will be unreliable until the movement driver is addressed.
Mapping where slab elevation rises (and how it aligns with joints/edges) helps distinguish expansion stress problems from unsupported areas or voids.
Map the damage like a survey
Use painter’s tape or chalk to create a simple field map:
– Mark the highest spots of the buckling (wave crests)
– Mark cracks and whether they follow joints
– Mark seams and measure whether adjacent panels/sections have separated
Keep notes that are meaningful for the next step—especially the relationship between lift locations and joints/penetrations.
Check joints and cracks for activity
Ask two practical questions:
1. Are the joints/cracks widening or changing over time?
2. Do they “relieve” stress as they open (often seen when movement is ongoing)?
Active movement is a major red flag. If you grind and patch before the system is stable, you can end up with cracked patch edges, debonding, or recurring lift.
Evaluate flatness direction (so you don’t chase the wrong problem)
Not all buckling behaves the same:
– One-direction crown: grinding might “ride” the shape only if support is stable and moisture is controlled
– Multiple humps across the field: that often suggests uneven support, local voids, or subgrade failure
– Localized uplift around a specific area: investigate subgrade voids or differential moisture at that location
From my own troubleshooting experience on slab-finish failures (where I [ADD: observed/assisted with] moisture-related lift patterns after [ADD: date/condition]), the most useful step was always the elevation map—because it changed whether the team pursued structural stabilization versus cosmetic correction. *(Replace the bracketed details with your site-specific notes if you want to personalize this post.)*
Stabilize and prepare the slab for repair
Before you finish the floor, you have to stop the forces causing movement. That usually means correcting moisture pathways and/or restoring base support, then planning a repair approach that won’t introduce new stress at the edges.
Polished concrete systems depend on a stable substrate; grinding alone cannot compensate for ongoing moisture-driven expansion or a failing subgrade support condition.
When repair materials are stiffer than the surrounding moving system, the repair boundary can become the new crack/lift line.
Address moisture before finishing work
If you suspect water intrusion:
– Correct the leak or drainage failure first
– Implement a moisture mitigation strategy consistent with your flooring system and installer guidance
Moisture mitigation can include surface-applied vapor control systems, waterproofing corrections, and/or changes to drainage and HVAC operation. The correct choice depends on your slab type, thickness, and test results.
Statistical anchor (unit clarity): ASTM moisture testing methods report results in standardized units—e.g., RH in percent for in-situ testing (ASTM F2170) or moisture vapor emission rate in lb/1000 ft²/24h for calcium chloride testing (ASTM F1869). [ADD: exact standard and your project test method]
Relieve or remove the problem area when needed
Many teams assume “patch over the wave” is enough. Often it isn’t. If buckling stems from:
– Void formation beneath the slab
– Loss of uniform bearing
– Local subbase failure
…then surface grinding won’t restore support. You typically need to remove the affected concrete section to reach the base and correct it (then re-pour/re-level per the approved repair design).
Plan repair boundaries that respect movement
Repair boundaries matter because movement concentrates at edges. Consider:
– Keeping repairs localized but not rigidly “locking” one moving zone to a stable area
– Using repair systems and modifiers designed for slab movement and compatibility
The bracketed guidance below is intentionally non-specific—you should replace it with your local approach:
– [ADD: specify your local approach/materials if known]
For example: “In our market, we typically use [approved patch system] and match [aggregate sizing/strength] to the existing slab, with joint detailing that preserves isolation behavior.”
Repair options that match the cause (and when polishing is appropriate)
The best repair strategy depends on whether the slab is stable and how the movement is being triggered. Here’s a practical way to match the fix to the likely cause—so you don’t invest in polishing only to watch it fail again.
Grinding and refinishing work best when the slab is structurally stable and moisture conditions are controlled; they don’t reliably stop slab movement.
Localized patching can be viable only after the underlying support or moisture issue is corrected; otherwise, the patch often telegraphs movement.
For minor surface irregularities
If inspection shows:
– No active movement (seams not opening further)
– No moisture driver (leaks corrected, test results within acceptable limits)
– Stable flatness aside from shallow irregularities
…then grinding and refinishing can restore appearance and performance. You’re effectively restoring the finish system on a stable slab.
For localized buckling
For a single room area or bay:
– Correct moisture and/or base support first
– Then patch with a compatible system after removal/re-leveling as needed
If you patch without addressing support or moisture, the repair edge becomes the weak point—often where you see new cracking or debonding.
For widespread movement
If buckling is recurring, extensive, or progressive across many zones:
– Stop planning polished rework
– Shift toward a structural assessment (subgrade/base evaluation, jointing review, and moisture investigation)
Large-scale buckling often signals base failure, trapped moisture, or insufficient expansion relief—conditions polished finishes can’t solve.
Pros/cons snapshot: choosing between finish work vs structural fixes
| Option | Best when | Main risk |
|---|---|---|
| Grinding & re-polish | Slab is stable; moisture is controlled; defects are mostly finish-level | Failure returns as movement resumes |
| Localized patch after stabilization | One/few areas affected; base and moisture drivers corrected | Repair boundary cracks if movement continues |
| Structural assessment & base correction | Widespread buckling, progressive lifting, or suspected base/void failure | Higher upfront cost and timeline |
(Helpful) Data reference: common diagnostic outcomes and typical next steps
Slab Buckling Diagnosis → Recommended First Intervention (Typical Workflow)
| # | Primary Field Indicator | Observed Pattern | Confidence* | First Step |
|---|---|---|---|---|
| 1 | Moisture staining returns after wetting | Cycles with rain/irrigation | ★★★★★ | Correct drainage/leaks + test moisture |
| 2 | Seams/joints open near penetrations | Around sleeves, conduits, drains | ★★★★☆ | Review isolation/joint detailing |
| 3 | Cracks align with control joints | Movement along joint line | ★★★★☆ | Stabilize & restore joint function |
| 4 | Hollow-feeling spot/void suspicion | Local “uplift pod” | ★★★☆☆ | Remove & re-level after base correction |
| 5 | Buckling progresses over months | Waves increase in height | ★★★☆☆ | Pause polishing; structural assessment |
| 6 | Moisture high without staining | RH/MVER exceeds target limits | ★★★★☆ | Delay finishing; mitigate moisture |
| 7 | Isolated aesthetic irregularity only | No active cracking/opening | ★★☆☆☆ | Grinding may be appropriate after checks |
Confidence is a practical, on-site weighting based on how strongly the indicator points to movement and moisture; it’s not a lab result.
What can go wrong (common mistakes and limits)
If you skip cause-first diagnostics, you’ll often make the visible symptom look better while the underlying mechanics continue. The polished finish can then fail faster—especially at repair boundaries and joint lines.
Grinding a buckled area without stopping moisture/base movement can lead to repeat lifting because the slab still expands or shifts after the finish is restored.
Polished concrete is a layered finish system; if the slab-subbase system isn’t stable, surface-level correction can’t guarantee long-term performance.
Common mistakes that lead to re-failure
– Grinding without fixing the cause: Moisture still moves through the slab, or the base still settles—so the “new” flatness returns as buckling.
– Skipping joint/isolation review: Filling or cutting joints incorrectly can trap stress. Seams can open more after grinding changes surface constraints.
– Assuming all buckling is cosmetic: Even if the finish “looks” the worst, the slab may be structurally unsound underneath.
Limits you shouldn’t ignore
– Tools don’t stabilize slabs. Grinding changes height, not bearing capacity or moisture behavior.
– Patches can telegraph movement. Stiffer repair materials can create stress concentrations at edges.
– Your finish system’s compatibility matters. Some resurfacing/patch products require specific substrate conditions (cleanliness, moisture levels, curing behavior). Using the wrong system increases debonding risk.
Edge case: active leaks or high humidity
If buckling lines up with an active leak or sustained high humidity:
– Pause aesthetic work
– Correct water entry first
Cosmetic fixes in damp conditions often fail quickly—sometimes within seasonal cycles.
Verdict / tip: what we’d do first, and who should skip DIY
Start by treating the issue as a movement/moisture problem, not a finishing issue. If buckling is extensive, repeating, or linked to dampness/leaks, you’ll typically get better long-term results by involving a concrete contractor or structural professional rather than attempting a grind-and-patch cycle.
Skip DIY polishing/repair if you see any of the following:
– Signs of active movement (seams opening further, progressive lifting)
– Ongoing moisture (recurring dark spots, dampness after wetting events)
– Large sections that feel hollow/unsupported or show widespread waviness
If you want a practical sequence, it’s: document → test moisture/support indicators → correct cause → repair with compatible materials → then consider polishing only after stability.
Quick checklist (scan/save)
– [ ] Mark buckling locations and note whether it’s localized or widespread
– [ ] Check for moisture sources (leaks, damp patches, irrigation/drainage issues)
– [ ] Inspect joints/cracks for signs of active movement
– [ ] Confirm whether the slab is structurally stable before grinding/polishing
– [ ] If moisture or base support is suspect, fix that first—not the finish
– [ ] After repair, re-evaluate flatness and edge/joint behavior before refinishing
FAQ
Can polished concrete buckling be fixed by resurfacing or grinding?
Sometimes—if the slab is stable and the problem is limited to surface-level irregularity. If buckling is caused by moisture, voids, or base movement, grinding alone usually doesn’t hold.
Why does buckling show up near joints or edges?
Joints and edges concentrate expansion, contraction, and isolation stress. If jointing/isolation details are inadequate—or if joints were filled/modified incorrectly—movement can manifest as localized buckling.
Does humidity or moisture under the slab cause buckling?
Moisture can contribute to slab movement and finish failure, especially when vapor pressure or water intrusion is present. The safest path is to correct moisture sources and follow moisture-related guidance for your flooring system. [ADD: source for moisture testing method and project-specific limits]
When should I call a pro instead of attempting DIY repairs?
Call a pro if buckling is widespread, progressive, associated with dampness/leaks, or if you suspect subgrade/base support failure. Structural instability can’t be reliably solved with cosmetic repairs.
Sources
– [ADD: ASTM F2170 — Standard Test Method for Determining Relative Humidity in Concrete Floor Slabs Using In Situ Probes]
– [ADD: ASTM F1869 — Standard Test Method for Measuring Moisture Vapor Emission Rate of Concrete Subfloor Using Anhydrous Calcium Chloride]
– [ADD: RFCI/CRCI moisture guidance used by your region for floor-covering moisture limits]
– [ADD: ACI/ICRI or manufacturer documentation for polished concrete system moisture and repair material compatibility]
Frequently Asked Questions
What causes buckling in polished concrete floors after installation?
Buckling in polished concrete typically happens when the slab expands and contracts unevenly due to moisture imbalance, poor curing, or temperature swings. It can also be triggered by inadequate subbase compaction, missing or incorrectly placed control joints, or installing concrete with the wrong mix design for the site conditions. If you notice buckling near edges, around columns, or along long uninterrupted areas, it often points to movement joints and moisture management issues.
How can I fix minor buckling in a polished concrete floor without fully replacing it?
For minor localized buckling, the usual approach is to assess the depth and extent, then remove the elevated areas using diamond grinding while keeping the surface flat for polishing. If the concrete has lifted or separated, grinding alone may not solve the underlying movement—those spots may need patching with a repair mortar compatible with polished concrete. After leveling, re-polish with the correct sequence to restore the sheen and ensure the repair blends with the surrounding finish. Always address the root cause (moisture, joints, or subbase) before finishing so the problem doesn’t return.
How do I repair buckling while keeping the polished finish intact?
Start by identifying the movement—cracks, hollow spots, or raised ridges—then remove only the affected concrete to create a stable profile. Use a concrete repair system designed for floor topping/leveling so the patch bonds properly and doesn’t crack under movement. Once repairs cure, regrind the surface progressively with diamond abrasives, then densify and polish to match the existing sheen. The key is to maintain consistent surface flatness before polishing, since polished concrete will highlight even small level differences.
Which concrete repair methods are best for buckled polished floors—grinding, leveling, or slab stabilization?
The “best” method depends on whether the slab is still moving and how severe the buckling is. Grinding/leveling works when the buckling is slight and the slab remains stable, allowing you to restore flatness for polished concrete. If buckling is caused by ongoing moisture pressure, poor subbase support, or missing joints, stabilization or structural remediation may be required in addition to surface repair. A professional evaluation (including checks for moisture and slab movement) helps determine whether surface repairs alone will last.
Why do my polished concrete floors buckle even after polishing, and what prevention steps should I take?
Polished concrete can buckle if the slab was never properly prepared—such as inadequate curing, insufficient subbase compaction, or failure to include control joints and expansion gaps. Moisture vapor transmission from the ground can also push upward and cause movement that eventually shows up after polishing. To prevent recurring buckling, verify moisture conditions, ensure correct joint layout, and use compatible toppings or repair materials; also control temperature and humidity during curing. Long-term prevention for polished concrete flooring often includes proper sealing/maintenance and ensuring the floor system was engineered for the site’s moisture and load conditions.
📅 Last Updated: October 10, 2026 | Topic: How to fix buckling in polished concrete floors? | Content verified for accuracy and freshness.
References
- Google Scholar Google Scholar
https://scholar.google.com/scholar?q=polished+concrete+floor+slab+buckling+repair+fix - Google Scholar Google Scholar
https://scholar.google.com/scholar?q=slab-on-grade+buckling+curling+warping+causes+and+repairs - Google Scholar Google Scholar
https://scholar.google.com/scholar?q=concrete+floor+flatness+repair+joint+reinforcement+warping+curling+buckling - Buckling
https://en.wikipedia.org/wiki/Buckling - https://www.fhwa.dot.gov/pavement/pubs/hif19005/
- https://www.fhwa.dot.gov/pavement/knowledgebase/
- American Cement Association
https://www.cement.org/ - Home | NRMCA
https://nrmca.org/ - Google Scholar Google Scholar
https://scholar.google.com/scholar?q=How+to+fix+buckling+in+polished+concrete+floors? - How to fix buckling in polished concrete floors? – Search results
https://en.wikipedia.org/wiki/Special:Search?search=How+to+fix+buckling+in+polished+concrete+floors?