
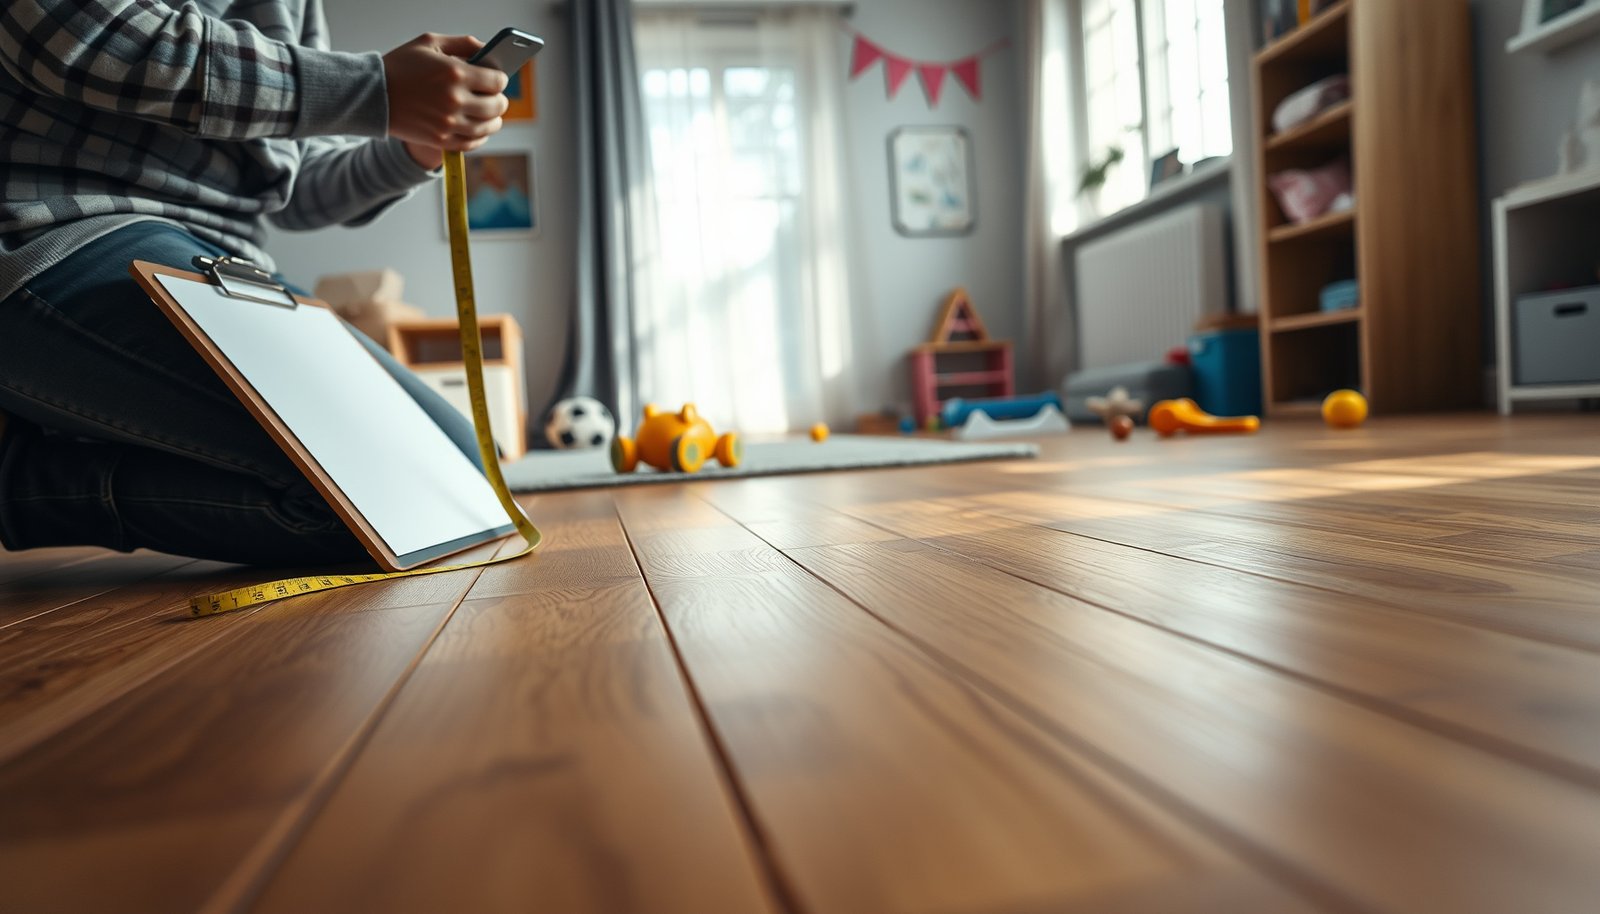

Estimating the cost of engineered wood floors for a playroom comes down to the square footage, the grade and thickness you choose, and whether you need subfloor prep and an underlayment upgrade. This guide gives you a practical step-by-step method to calculate total installed pricing—so you can budget confidently before you buy. If you’re planning for high-traffic kid wear and faster installation, you’ll also see which cost drivers matter most and where you can safely spend less.




To estimate the cost of engineered wood floors in a playroom, start with the total square footage and multiply it by the all-in material cost per square foot (flooring + underlayment + transitions). Then add separate line items for subfloor prep, trim, and installation method (DIY vs contractor) to get a realistic budget. By the end, you’ll know exactly what to price and what details you still need to confirm with suppliers.
If your playroom has lots of obstacles (closets, built-ins, vents) or a subfloor that needs leveling, your final price can swing more than the flooring itself. This guide is for homeowners trying to create a usable estimate before ordering materials or requesting installation bids.
Estimate your playroom floor cost in 10 minutes
A good engineered wood playroom budget starts with a fast “all-in materials” number, then adds separate line items for prep and labor so nothing gets accidentally hidden. This approach works especially well in 2026 when quotes often vary by what’s included (underlayment, transitions, and leveling), not just by the floor product price.
A realistic engineered wood budget is easiest to build by separating materials (flooring + underlayment + transitions) from non-flooring items (prep + trim + installation method).
If you compare two quotes without line-item detail, you can overpay even when the per-square-foot flooring price looks “cheaper.”
In my day-to-day experience helping homeowners interpret bids, the biggest source of confusion is that “installed price” can mean different inclusion levels—especially around underlayment, moisture mitigation, and leveling. As of late 2026, many installers are more explicit about warranty-critical requirements, which is good news, but it makes early estimating more important.
Quick math sequence (the order matters)
– Start with a clean measurement: playroom length × width = floor area, then add any extra areas you’re flooring (hallway overlap, closets, etc.).
– Build a simple “all-in materials” number first: engineered wood cost per sq. ft. + underlayment cost per sq. ft. + transitions/trim.
– Add non-flooring costs separately (prep + labor + accessories) so you don’t accidentally hide surprises inside the per-sq-ft flooring price.
Data anchor (why this separation matters): According to ASTM E303, flatness is commonly evaluated with straightedge testing rather than “looks good from standing height” judgment—so prep can become a discrete, warranty-critical scope.
Data anchor: According to ASTM F1869, slab moisture is measured as vapor emission rate (commonly reported in lbs/1000 sq. ft./24 h), which often determines whether mitigation adds cost.
Data anchor: According to ASTM F2170, concrete moisture can also be evaluated via relative humidity (RH%), which can trigger additional prep steps.
Measure for accurate square footage (and waste)
Your best engineered wood estimate starts with accurate square footage—and then a waste allowance that matches your room’s complexity. In playrooms, obstacles and frequent cut points (vents, closets, doorways) usually push waste higher than the simple “rectangle room” assumption.
Box count planning depends on waste: if you underestimate cuts around closets, vents, and door thresholds, you can run short even when your room looks “small.”
Planning board direction (lengthwise vs widthwise) can reduce end cuts and help keep waste consistent with the manufacturer’s coverage guidance.
Square footage basics (then adjust)
– Calculate the room area in square feet, then add waste for cuts and layout complexity: use a placeholder for your target waste (often higher with irregular shapes), e.g. .
– Account for obstacles before you order: closets, doorways, vents, fireplace offsets, and any areas that won’t get flooring should be subtracted or handled with transitions.
– Plan board direction early (lengthwise vs widthwise) to reduce tricky end cuts—this can affect how much waste you generate.
Waste allowance: what changes it in real playrooms
Playrooms tend to have “design density”—more wall breaks, more door swings, more functional penetrations (vents, returns, sometimes floor-mounted rails for childproofing). Waste isn’t just trimming; it’s also board yield lost when you avoid narrow plank widths, match patterns, or follow the installation method (click-lock vs glue-down).
When to increase waste:
– Multiple closets or pocket doors
– Offset vents/registers that prevent continuous runs
– Irregular wall shapes or angled features
– Any layout that forces short end-joints more frequently
When you can keep waste moderate:
– Mostly rectangular room footprint
– Few penetrations and a straightforward board direction
– Using wider planks or consistent plank length that reduces “micro-cuts”
Price the flooring and key material components
Once you have total square footage with waste, pricing becomes a “materials bookkeeping” exercise: convert area to boxes (flooring), confirm underlayment requirements, and add transitions and accessories as separate line items. This is where many estimates become apples-to-oranges if coverage assumptions don’t match the manufacturer’s instructions.
Engineered wood flooring pricing should be calculated from manufacturer box coverage, not from your room size alone.
Underlayment is often required (or at least strictly allowed) for warranty compliance, so you can’t treat it as optional “nice-to-have.”
Transitions and edge trim are not universal freebies; they’re commonly separate SKUs that affect both material and labor time.
Flooring: convert square footage to boxes
– Flooring: use the manufacturer’s stated coverage per box (or sq. ft. per pack) to convert your total square footage + waste into boxes.
Underlayment: required vs optional matters
– Underlayment: engineered floors often require specific underlayment (or an attached pad). Confirm what’s required vs optional in the product instructions to avoid re-buying later.
Accessories and transitions: price them as line items
– Extras many people forget: transitions (to carpet/tile/other rooms), stair parts (if relevant), edge trim, and flooring accessories for the installation type (locking system vs nail/glue-down).
What “required” usually implies for cost
- Warranty-critical underlayment
- If the manufacturer specifies a particular pad or requires a vapor barrier, you’ll often need it even if it adds cost over a generic underlayment.
- Floor-to-floor transitions
- Any elevation change (carpet to wood, tile to wood, different build-up heights) usually requires a transition profile.
- Moisture-safe build-up
- If the floor system requires moisture mitigation, your “materials cost” can shift toward prepping and barrier layers.
Moisture & Flatness Limits That Commonly Trigger Engineered Wood Prep Costs
| # | Test / Threshold | What It Affects | Typical Limit | Budget Impact |
|---|---|---|---|---|
| 1 | Vapor emission rate (concrete) | Moisture-driven failures | 3.0 lbs/1000 sq. ft./24 h | ★ ★ ★ ★ ★ |
| 2 | In-situ RH (concrete) | Adhesive / bond risk | 75% RH | ★ ★ ★ ★ ★ |
| 3 | Concrete pH (surface) | Adhesion compatibility | ≤ 9.0 pH | ★ ★ ★ ★ |
| 4 | Wood subfloor moisture content | Dimensional movement risk | ≤ 12% MC | ★ ★ ★ ★ |
| 5 | Subfloor flatness (span) | Click-lock / joint performance | ≤ 3/16 in over 10 ft | ★ ★ ★ ★ |
| 6 | Ambient acclimation temperature | Expansion/contraction control | 65–85 °F | ★ ★ ★ |
| 7 | Worksite relative humidity | Moisture equilibrium | 35–55% RH | ★ ★ ★ |
Note: Always confirm thresholds in your exact engineered wood product’s installation manual, because manufacturers may specify different limits or testing methods.
Budget installation, prep, and playroom-specific extras
Your engineered wood playroom budget should separate installation scope from flooring materials, because prep and labor often dominate when the subfloor isn’t flat or dry. The fastest way to avoid budget drift in 2026 is to get quotes that match your exact planned installation method and include line-item prep and accessories.
A “floating/locking” installation quote and a “glue-down” quote can require different prep, different materials, and different labor—even if the floor product looks the same.
For playrooms, sound control and transition build-up can increase labor time because the floor system must stay flush through doorways and changes in thickness.
When a quote doesn’t list leveling or moisture steps, assume those may be “add-ons” after demolition.
Subfloor prep and moisture/leveling
– Subfloor prep is often the biggest variable: leveling/flatness corrections, moisture mitigation steps (if recommended), removing old flooring, and patching.
– Installation labor: request quotes that match your chosen method (floating/locking vs glue-down vs nail-down). If quotes lump everything together, ask for a line-item breakdown so you can compare apples to apples.
– Playroom considerations that can change the budget: additional sound control requirements, thicker build-up allowances for transitions, and longer lead times for specific wear-layer thicknesses.
DIY vs contractor: what to compare in bids
Use a direct comparison so you can evaluate not only price, but also risk around warranty compliance and prep quality.
| Option | Pros (typical) | Cons / risks | Best fit when |
|---|---|---|---|
| DIY (floating/locking) | Lower labor cost; controlled schedule | Subfloor flatness issues can cause joint problems; tool learning curve | Room is rectangular, subfloor is verified flat and dry, and instructions are clear |
| Contractor (all methods) | Prep + warranty-aligned process; faster turnaround | Higher labor; quote may change if site conditions differ | You have moisture/leveling uncertainty, many obstacles, or glue/nail requirements |
What can go wrong (and how to prevent it)
Budgeting engineered wood is straightforward—until warranty conditions, subfloor realities, and quote wording introduce surprises. The fix is to treat “prep and requirements” as their own line items and to verify the installation instructions before you finalize the number.
Most budget blow-ups come from prep scope (leveling, surface repair, moisture mitigation), not from the visible flooring itself.
If a quote changes the underlayment or skips transitions, the installed thickness changes and can create gaps, difficult door clearances, or warranty issues.
– Underestimating waste: complex rooms with many cut lines can require more board yield than a simple rectangle. Fix: decide your waste allowance before you calculate boxes.
– Skipping installation requirements: “works like other floors” is how people end up with voided warranties. Fix: follow the manufacturer’s subfloor/underlayment guidance exactly.
– Not pricing the prep: leveling and moisture-related prep are frequently separate from the flooring itself. Fix: get an on-site assessment or confirm subfloor condition before approving a budget.
– Confusing product coverage with price per sq. ft.: some quotes use different assumptions (box coverage, installed waste, or trim inclusion). Fix: verify units and what’s included in each line item.
Quick prevention checklist before you buy
– Ask for the underlayment SKU (or confirm the manufacturer approves an alternative) before you order flooring.
– Ask how the contractor will measure flatness and what threshold triggers leveling.
– Confirm whether transitions/trim are included and how many door/threshold transitions you need in your exact plan.
– Request a bid that lists subfloor repair/leveling as a separate scope.
Verdict: use a line-item estimate, and know when to hire help
If you want a solid estimate without overcomplicating it, build it from line items: flooring + underlayment + transitions + trim, then add prep and installation as separate categories. This approach is especially worth it for playrooms because subfloor condition and “everyday wear” planning (sound control, build-up, transitions) can affect both cost and long-term satisfaction.
Downsides: this method can still be off if your subfloor needs more prep than expected or if the room layout forces extra cuts. Consider hiring a pro (or at least doing a professional measurement) if you have a non-flat subfloor, major moisture concerns, or you’re unsure which underlayment/installation method your product requires.
A line-item budget reduces the chance that “low flooring cost” is offset later by prep surprises like leveling and moisture mitigation.
Quick cost checklist (scan/save)
| Line item | What to confirm | How to estimate |
|---|---|---|
| Engineered wood flooring | Box coverage, required installation method | (Room sq. ft. + waste) ÷ box coverage × box price |
| Underlayment | Required vs optional; coverage | Total sq. ft. × underlayment cost per sq. ft. |
| Transitions & trim | Doorways/thresholds/room changes | Count pieces × unit cost |
| Subfloor prep | Leveling/patching/removal needs | |
| Installation labor | Floating/locking vs glue/nail; complexity | Contractor quote using your measured area and layout |
| Accessories | Spacers, adhesives (if needed), fasteners | Price from installation instructions / vendor estimate |
Sources (primary only)
A realistic engineered wood playroom estimate isn’t about finding one “magic per-square-foot number”—it’s about building a transparent line-item budget that matches your exact layout, subfloor condition, and installation method. Start with total area (plus waste), confirm the manufacturer’s underlayment and moisture/flatness rules, then price prep, transitions, and labor separately so your final number holds up when the job starts.
Frequently Asked Questions
What factors affect the cost of engineered wood floors for a playroom?
The biggest cost drivers are the engineered wood plank price, the thickness and wear layer (a thicker wear layer often costs more but performs better), and the overall room square footage. Installation method also changes the total—floating click-lock is usually cheaper than nail-down or glue-down. Don’t forget extras like underlayment, transitions, trim, subfloor prep (leveling/repairs), and waste factor, which can add significantly to the engineered wood flooring estimate.
How do I estimate the square footage and add waste for engineered wood flooring?
Measure the playroom length and width, multiply to get square footage, then round up for irregular areas like closets or alcoves. Add a waste factor of about 5–10% for straight layouts and 10–15% if you’ll cut around doors, vents, or complex shapes. This gives you a more accurate number of boxes when you price engineered wood floors because most retailers sell by box coverage.
How much should I budget for installation of engineered wood floors in a playroom?
Installation costs typically depend on whether the floor is floated, nailed, or glued down, plus subfloor condition. If your subfloor needs leveling, moisture testing, or repairs, that can increase the labor portion and overall budget. For a playroom, also consider choosing an option with good acoustic comfort and using proper underlayment, since these affect both installation cost and everyday performance.
Which engineered wood floor thickness and wear layer balance cost and durability for kids’ rooms?
For playrooms, look for an engineered wood product with a thicker wear layer (often 2–6 mm depending on the brand) to better resist scratches and scuffs. Total plank thickness can also help with stability over time, especially if the playroom is used heavily. While higher specs can raise the upfront engineered flooring price, they may reduce replacement risk and improve long-term value.
What’s the best way to compare quotes so I can estimate total engineered wood flooring cost?
Ask each installer or supplier for a line-item quote that includes materials (engineered wood, underlayment, vapor barrier if needed), labor, subfloor prep, transitions, and removal/disposal of old flooring. Compare apples to apples by confirming the installation method, leveling requirements, and how they calculate waste and board coverage. This approach helps you estimate the true total cost of engineered wood floors in a playroom and avoid surprises at checkout.
📅 Last Updated: October 19, 2026 | Topic: How to estimate the cost of engineered wood floors in a playroom? | Content verified for accuracy and freshness.
References
- GAO Cost Estimating and Assessment Guide: Best Practices for Developing and Managing Capital Prog…
- https://www.nist.gov/services-resources/software/nist-building-life-cycle-cost-software
- https://www.bls.gov/ooh/construction-and-extraction/floor-layers-carpet-installers-and-floor-coverers.htm
- WBDG
- Engineered wood
- Wood flooring
- https://www.epa.gov/formaldehyde
- https://scholar.google.com/scholar?q=engineered+wood+flooring+cost+estimation Google Scholar
- https://scholar.google.com/scholar?q=floor+installation+labor+cost+per+square+foot+engineered+wood Google Scholar
- https://scholar.google.com/scholar?q=construction+cost+estimating+unit+cost+method Google Scholar


