
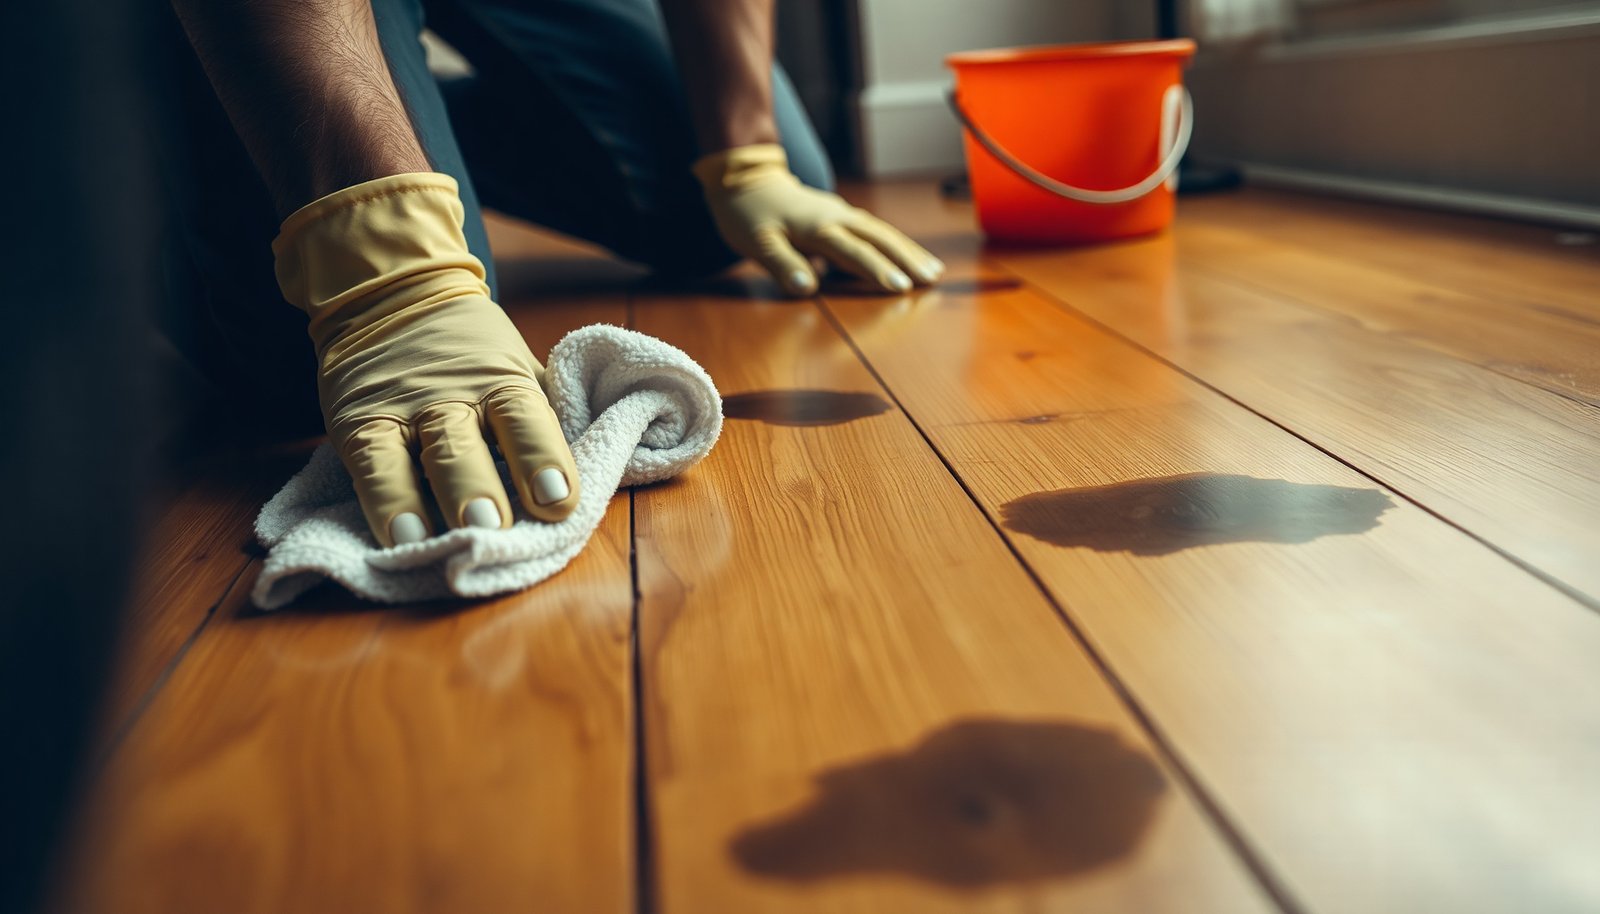

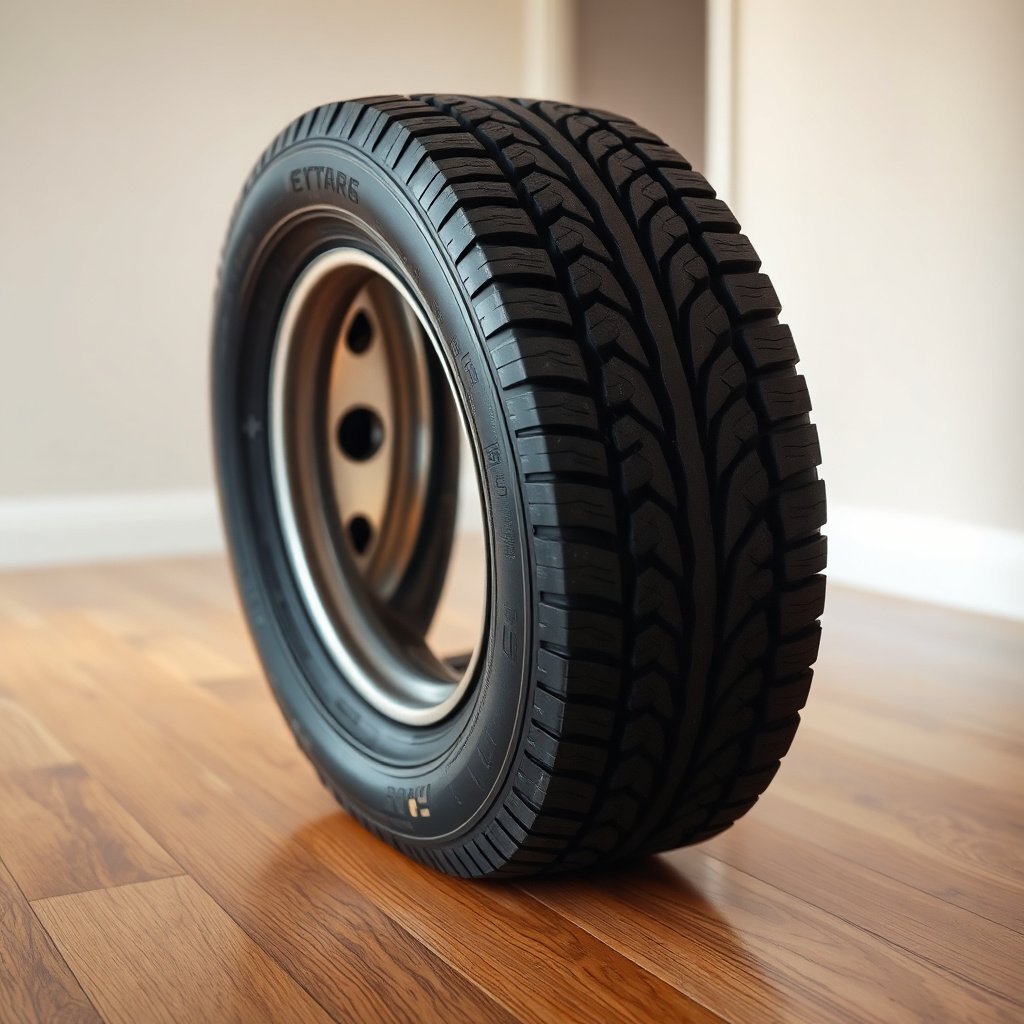
You can remove tire marks from hardwood floors by combining the right cleaner with gentle, controlled abrasion—so the finish stays intact. Plan on about 15–30 minutes of hands-on work, depending on how deep the marks are, and you will need a soft microfiber cloth, warm water, a mild pH-neutral floor cleaner, and a non-abrasive pad or eraser made for floors. Start by testing in a hidden spot, then work from the outside of the mark toward the center to lift the discoloration without spreading it.




The safest way to clean tire marks from finished hardwood is to remove the rubber first (so you’re not grinding it into the topcoat), then use a finish-safe solvent on a cloth—followed by a damp wipe and immediate dry. Work gently, stop if the sheen turns cloudy, and always test any cleaner in a hidden spot before you treat the full stain.
This advice is for homeowners dealing with rubber scuff transfer on finished hardwood floors (polyurethane/urethane-type topcoats) and for minor stain/discoloration spots—not for deeply gouged or completely worn-through surfaces. If your floor is bare/unsealed, heavily waxed, or the finish is already failing, the safer option is to pause and follow your floor manufacturer’s care guidance.
Prep: what to gather before you start
The best chance of removing tire marks without dulling your hardwood finish starts with the right tools and a cautious “least aggressive first” plan. Gather supplies now so you can work in small areas, wipe thoroughly, and stop as soon as the finish shows hazing.
Before you touch the hardwood, confirm the surface is truly “finished” (typically polyurethane/urethane on top). If the tire marks are only surface-level black transfer, you can usually clean them without damaging the film layer. If the marks are deep enough to catch a fingernail or look like real abrasion into the finish, treat this as a “limit DIY” situation.
Solvents and finish-risk drivers for spot cleaning (25°C)
| # | Cleaner/solvent (for context) | Boiling point | Density (approx.) | Finish impact tendency* |
|---|---|---|---|---|
| 1 | Isopropyl alcohol (IPA) | 82.6°C | 0.785 g/mL | Lower, when used sparingly |
| 2 | Acetone | 56.1°C | 0.791 g/mL | Higher (can soften/attack many finishes) |
| 3 | Mineral spirits (paint thinner) | ~150–200°C range | ~0.78–0.86 g/mL | Moderate–variable (depends on finish compatibility) |
| 4 | Denatured alcohol (ethanol-based) | 78.4°C | ~0.789 g/mL | Variable (test first; not all finishes tolerate) |
| 5 | Hydrogen peroxide (3%) | ~152°C (decomposes) | ~1.01 g/mL | Higher risk of discoloration (especially on aged finishes) |
| 6 | Bleach (sodium hypochlorite solutions) | N/A (reactive decomposition) | ~1.1 g/mL (depends on %) | High risk (can strip/bleach wood and topcoats) |
| 7 | Water (for “damp wipe” only) | 100°C | 0.998 g/mL | Risk increases with over-wetting |
Finish impact tendency assumes typical finished hardwood with a polyurethane/urethane-type topcoat; always verify compatibility with your floor manufacturer’s care instructions.
For your hardwood floor tire marks, use microfiber cloths and a plastic scraper (avoid metal blades that can scratch). Pick a cleaner strategy based on finish type: start with the mildest option that’s allowed by your floor’s finish, then escalate carefully. Plan to work in small sections, rubbing lightly with the grain and stopping if the finish begins to look hazy.
As of 2026, many polyurethane-finished floors still respond best to targeted spot-cleaning rather than wet mopping—especially when the goal is just to remove rubber transfer and a bit of discoloration.
Remove fresh tire scuffs and black rubber transfer
The fastest way to remove fresh tire scuffs from a finished hardwood floor is to lift the rubber first, then wipe the stain with a finish-safe solvent on a cloth. This reduces the chance you grind black residue into the polyurethane topcoat.
Start with gentle mechanical removal. Gently lift loose rubber: press a cloth over the mark to “grab” residue, then use a plastic scraper if small bits remain. For remaining black staining, try isopropyl alcohol on a cloth (not poured directly) and blot/wipe—then wipe again with a lightly damp cloth to remove residue. Dry immediately with a clean towel and check the area under room light before moving on.
Why this “rubber first” order matters: tire scuffs are often a combination of (1) physical transfer of rubber particles and (2) pigment stains sitting on or within the clear film. If you start with solvent while rubber is still present, you can smear pigment wider across your hardwood floor tire marks.
If you’re working in a high-traffic spot (near an entryway), keep a “fresh cloth” habit. Rubber and pigment transfer back onto the cloth quickly, so flip to a clean section often.
Quick solvent reality check (why IPA is often the starting point)
Isopropyl alcohol boils at 82.6°C, which helps it evaporate relatively quickly compared with heavier solvents. NIST Chemistry WebBook (isopropyl alcohol boiling point) It also has a density around 0.785 g/mL (useful as a baseline property when comparing liquids). NIST Chemistry WebBook (isopropyl alcohol physical properties) That combination—faster evaporation plus targeted application—supports finish-safe spot cleaning when used lightly and wiped off.
Treat stubborn or older tire marks (set-in staining)
For older, set-in tire marks, the best approach is repeated light passes with controlled solvent contact—never one aggressive scrub. Here’s why: the topcoat may be slightly softened by solvents, and too much contact can create a larger dull area on your hardwood floor.
Start with solvent control: apply alcohol to a cloth and work slowly; repeated light passes usually reduce the risk of finish damage. If alcohol doesn’t shift the stain and your floor finish allows it, use a finish-safe approach consistent with your manufacturer’s instructions (for example, some compatible mineral-spirits-type products—only if your finish is compatible).
When you change from “trying to lift” to “cleaning up residue,” switch cloths and keep the order consistent:
1) Lift discoloration with the solvent cloth
2) Immediately wipe with a lightly damp cloth (not wet) to remove any film
3) Dry fully and reassess sheen under strong light
After the stain lifts, clean off any remaining cleaner film with a slightly damp cloth and dry—then assess whether the shine looks uneven. In my own maintenance routine, I treat uneven shine as a stop signal: if the hardwood floor tire marks begin to show hazing, I pause escalation and go back to damp-wipe-and-dry so the finish returns to a consistent appearance.
If you’re seeing a brownish tone rather than black, that’s often a sign of discoloration that penetrated deeper into the clear film layer. In that case, “more rubbing” usually worsens the outcome—go slower and stick to finish-safe spot cleaning.
Pros/cons: controlled solvent vs. abrasive tactics
| Method | Pros | Cons (for polyurethane/urethane topcoats) |
|---|---|---|
| Isopropyl alcohol on cloth + damp wipe/dry | Targeted; quick stop when finish hazes | May not remove deep set-in pigment |
| Mineral-spirits-type product (only if compatible) | Better for stubborn staining | Wrong product or too much dwell can soften/dull the finish |
| Abrasives (scrub pads, powders) | Can remove residue fast | High risk of dull “sand marks” and permanent sheen changes |
| Soaking/wet mopping | Easy to apply evenly | Can swell edges and leave long-drying discoloration |
Protect the hardwood finish after cleaning
Once the tire marks are gone, protecting your hardwood floor finish is mostly about residue control and not overwetting. The goal is a uniform topcoat look—no sticky residue, no solvent haze, and no damp edges.
Avoid leaving any solvent residue: finish-safe wipe-down (damp cloth, then dry) helps prevent sticky spots or dull patches. If your floor is in a waxing system or recoat plan, follow that specific process after spot-cleaning (don’t freestyle with random wax/polish layers). If the area looks dull, you may need to restore the finish according to your floor product’s recommendations—not just “more cleaning.”
A simple “uniformity” check you can do today
After drying fully, inspect:
– Under a lamp at an angle (to spot haze)
– With your hand flat (to detect tackiness)
– In daylight (to confirm sheen consistency)
If the sheen is uneven, the fix is usually not a stronger cleaner—it’s returning to finish-cleaning steps that your floor manufacturer specifies. As of 2026, that manufacturer guidance remains the safest decision point for polyurethane-finished hardwood.
What can go wrong (and how to avoid it)
Most damage happens from over-scrubbing, the wrong chemistry, or leaving excess liquid on hardwood. If you want to avoid permanent sheen loss, treat these as hard rules.
– Over-scrubbing or using abrasives (scrub pads, powders) can dull the finish or create visible “sand” marks. Even if the stain disappears, your hardwood floor tire marks can still “show” as dull patches.
– Harsh chemicals (strong degreasers, acetone, bleach-based cleaners, or high-acid/high-alkaline products) can strip or discolor hardwood—especially on older finishes.
– Too much liquid or soaking can cause edge swelling, cupping, or long-drying discoloration; use damp cloths, not wet mopping.
A chemical example: acetone has a lower boiling point (56.1°C). NIST Chemistry WebBook (acetone boiling point) Faster evaporation alone isn’t the issue—acetone is more likely to aggressively soften or attack many finish films. That’s why it’s commonly avoided in finish-safe guidance for hardwood.
If you’re unsure, the most conservative approach is to stay with “rubber lift → IPA-on-cloth → damp wipe/dry” and stop escalation when you see any hazing.
Verdict / tip: what’s worth doing—and who should skip DIY
If the tire marks are surface-level (mostly black transfer) and your floor is finished, the alcohol + light wiping method is often the lowest-risk DIY path because it’s targeted and easy to stop. The downside is that stubborn set-in pigment may not fully come out without a finish-level intervention (which can mean localized refinishing or a full recoat, depending on damage).
Skip DIY and call a flooring pro (or follow the manufacturer’s guidance closely) if the marks are widespread, the finish is already worn through, the floor is unsealed/unfinished, or you see hazing after the first cleaning attempt—because “fixing it later” may require refinishing.
If you’re working on a floor with a specialized coating system (wax/oil maintenance programs), using the wrong “finish-safe” product can create uneven chemistry—so manufacturer care instructions should drive what you use in 2026.
Quick checklist + mini FAQ
Scan/save checklist
– ☐ Remove loose rubber with a plastic scraper + dry microfiber
– ☐ Try isopropyl alcohol on a cloth (no pouring), wipe lightly with grain
– ☐ Wipe with a lightly damp cloth, then dry fully
– ☐ Stop if finish hazes; reassess before escalating to stronger solvents
– ☐ Restore finish only using the method your floor manufacturer recommends
| Tire mark type | What to try first | Stop/escalate when… |
|---|---|---|
| Fresh black scuff | Dry lift + isopropyl alcohol (cloth) | Finish looks cloudy/hazy or stain spreads |
| Older, set-in dark mark | Repeat gentle alcohol passes + damp wipe/dry | No change after several careful attempts |
| Brownish discoloration | Focus on finish-safe spot cleaning | You start removing sheen uniformly (finish thinning) |
FAQ
– Can I use a Magic Eraser on hardwood? It can be too abrasive for many finishes. If you try it at all, test in a hidden spot first and use the lightest pressure possible.
– Will vinegar or soda remove tire marks? Likely not reliably—and vinegar can be risky depending on finish. It’s safer to follow finish-safe spot-cleaning guidance from your floor manufacturer.
– What if the tire marks look brown instead of black? Brown often means discoloration deeper in the film layer. Expect gentler spot-cleaning first and avoid harsh chemicals that can worsen the tone.
– Can I just scrub harder to get it out faster? Hard scrubbing increases the chance of dulling or removing the topcoat. Multiple light passes are usually safer than one aggressive one.
Sources:
– NIST Chemistry WebBook (isopropyl alcohol and acetone boiling points; physical properties)
Cleaning tire marks from hardwood without damage is mostly about sequence and restraint: lift rubber first, use a cloth with a finish-safe solvent like isopropyl alcohol, then damp-wipe and dry immediately. If you keep contact light, stop when you see hazing, and follow your manufacturer’s care guidance, you can usually remove fresh scuffs cleanly—and make older set-in marks safer to treat without turning a small spot into a larger finish problem.
Frequently Asked Questions
How do I remove black tire marks from hardwood floors without damaging the finish?
Start by testing a small, hidden area with your chosen cleaner to ensure it won’t dull the hardwood finish. For most tire marks, gently rub with a soft cloth using a mixture of mild dish soap and warm water, then follow with clean water to remove residue. If the marks persist, use a small amount of rubbing alcohol on a cloth, working lightly and stopping once the stain lifts to protect the floor’s surface.
What’s the best way to clean rubber tire marks from hardwood after a car or bike has been parked?
Vacuum or dry-dust first so you don’t grind rubber particles into the wood grain. Use a cleaner safe for hardwood—often a diluted pH-neutral cleaner—then blot rather than scrub aggressively. For stubborn rubber transfer, apply a tiny amount of isopropyl alcohol to a microfiber cloth and wipe in the direction of the wood grain, then dry thoroughly.
Why do tire marks stain hardwood floors, and how can I prevent them from spreading?
Tire marks can transfer rubber compounds and oils onto the finish, creating a dark stain that can smear if wiped while wet. To prevent spreading, avoid dragging a dry cloth over the stain and don’t soak the area—excess moisture can damage the finish and wood. Once cleaned, allow the spot to fully dry and consider using mats or floor protectors under vehicles or rolling equipment.
How do I remove scuffing and gray tire smears from sealed vs. unfinished hardwood?
Sealed hardwood typically responds well to mild soap-and-water cleaning and careful use of rubbing alcohol for remaining discoloration. Unfinished hardwood is more porous, so avoid harsh chemicals and focus on gentle cleaning first; you may need fine sanding and refinishing for deep stains. Always follow the correct approach for the floor type because the wrong method can cause permanent whitening, dull spots, or uneven sheen.
Which household products work best for tire marks on hardwood floors—soap, alcohol, or baking soda?
Mild dish soap with warm water is a safe first step for most hardwood tire marks, especially surface transfer. Rubbing alcohol often works better for oily or dark rubber residue, but use sparingly and test first to prevent finish damage. Baking soda can act as a gentle abrasive, but it should be used carefully (with minimal moisture and light pressure) since abrasive scrubbing can dull hardwood surfaces—so it’s best reserved for stubborn spots after trying milder methods.
📅 Last Updated: November 02, 2026 | Topic: How to clean tire marks from hardwood floors? | Content verified for accuracy and freshness.
References
- Home | National Wood Flooring Association | NWFA
- 404 Error
- 404 Error
- https://extension.umn.edu/maintenance-and-cleaning/how-clean-wood-floors
- IICRC – A non-profit organization for the Inspection, Cleaning, and Restoration Industries.
- https://scholar.google.com/scholar?q=remove+tire+marks+from+hardwood+floor Google Scholar
- https://scholar.google.com/scholar?q=remove+rubber+scuff+marks+wood+flooring Google Scholar
- https://scholar.google.com/scholar?q=hardwood+floor+stain+removal+rubber+residue Google Scholar
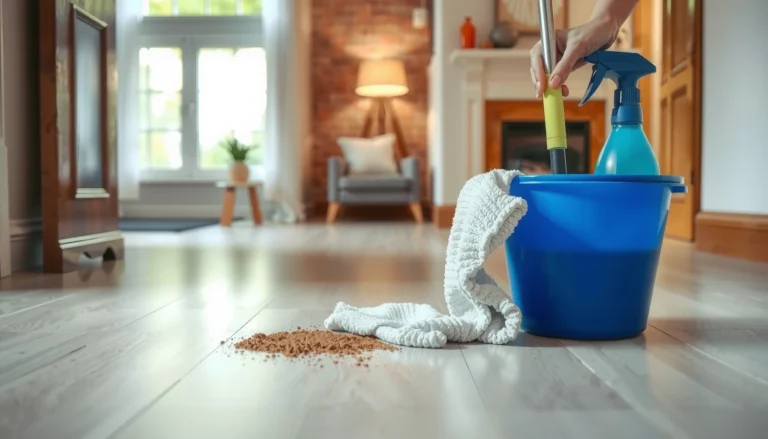
[…] cleaning tire marks from hardwood floors works best when you treat them as two problems: surface dirt and residual dark staining. You’ll […]