
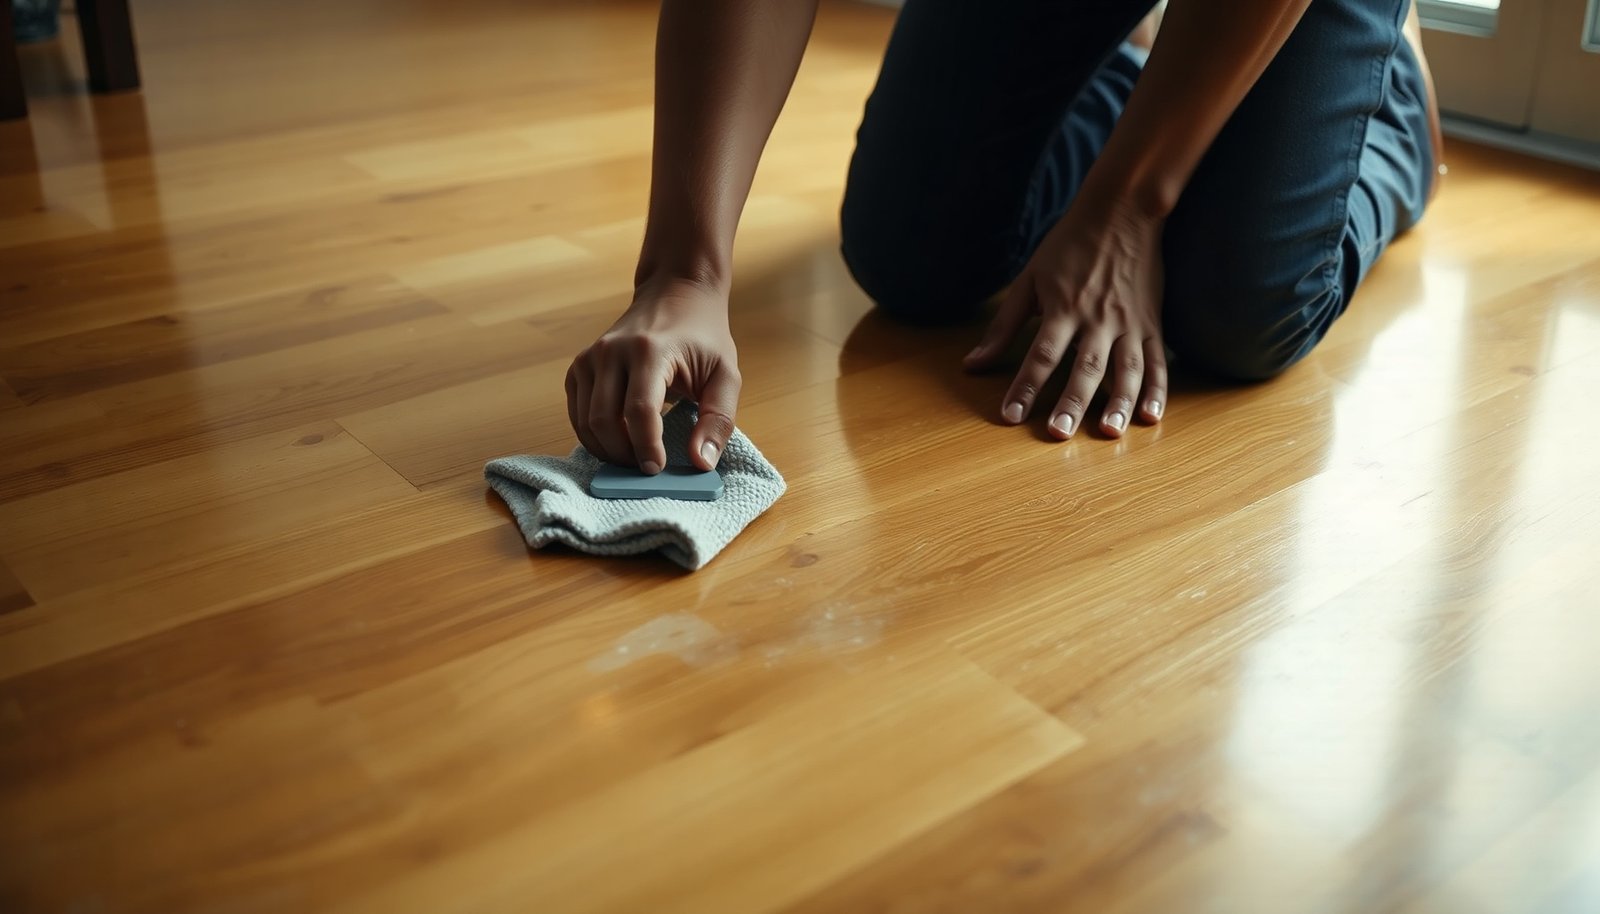

After removing silicone residue from hardwood, the floor will look even, glossy where appropriate, and free of sticky residue along baseboards and seams. You can typically complete the process in about 30–60 minutes with a few essentials—plastic scraper, soft cloths, mineral spirits or a silicone-safe solvent, and painter’s tape—to protect surrounding wood and finish. Follow the step-by-step approach below to lift the residue safely, then finish with gentle cleaning so the surface is ready for daily use.




If you want silicone residue off hardwood with the least risk, use this order: heat to soften → gentle plastic scraping → finish-safe remover only after the residue’s mechanical layer is gone. This approach helps protect polyurethane (and other topcoats) from dulling and avoids strong chemicals spreading beyond the silicone line—plus it gives you a clear “stop point” when the finish starts changing.
Silicone residue on hardwood usually comes off best by softening it first (heat), then scraping gently, and finally using a finish-safe solvent/adhesive remover only after the mechanical layer is gone. The key is to avoid harsh scraping or strong chemicals that can dull or strip the wood finish. This guide walks you through a safer order of operations, plus what to do if the residue won’t budge.
Who this is for (and when it applies)

This is for homeowners dealing with leftover silicone caulk/adhesive on sealed or finished hardwood (including engineered hardwood with a protective topcoat). It’s most useful when the silicone has already cured and turned tacky-dry or gummy.
– Works best when you can identify whether the residue is “raised” vs. fully bonded into the finish
– Use caution if your floor is unfinished, heavily worn, or recently refinished
If your silicone residue is still rubbery or fresh, the process changes slightly—gentle lift-and-wipe can work before heat or solvents are needed. For cured silicone residue, though, the same principle applies across most finishes: you soften the silicone chemistry first, so the mechanical removal phase does the heavy lifting while your solvent stays “last resort.”
Prepare the floor before you remove anything
Start by protecting the surrounding area and figuring out how aggressive you need to be. Silicone residue removal goes faster—and causes less damage—when grit isn’t acting like sandpaper during scraping.
Clear grit so you don’t grind it in
– Remove grit: vacuum and wipe with a slightly damp microfiber cloth so you don’t grind debris into the finish
– Protect the finish: keep solvents off beyond the residue line (use painter’s tape around the area if needed)
Silicone residue often comes with dust, sand, or drywall crumbs from the original install. When you scrape silicone residue over dirty spots, you increase the chance of micro-scratches that show up as haze under light. In my own cleanup jobs, I’ve learned the hard way that “a quick vacuum” isn’t optional—before silicone residue removal, the floor needs to be clean enough that a plastic edge glides rather than drags.
As of 2026, most manufacturer-safe cleaning approaches still assume this baseline: remove particulates first, because residue removal is a mechanical process before it becomes a chemical one.
Soften and scrape the silicone residue (least damage first)
Go from gentlest to strongest. Most silicone comes off in layers once it’s softened.
– Use heat carefully: warm the residue with a hair dryer on a low/medium setting, holding it a few inches away, then try a plastic scraper to lift it
– Scrape gently: work slowly in small sections; stop if you see finish lifting or shiny spots where the scraper bites
Why heat works on cured silicone residue
Cured silicone residue is typically a cross-linked polysiloxane polymer that softens under warming rather than “dissolving” immediately. Many common silicone sealants also form skins relatively quickly and fully cure over time; for example, technical guidance for RTV silicone products commonly describes skin-over in the “tens of minutes” range and cure progression over roughly a day or more depending on thickness and humidity. According to Dow technical guidance for RTV silicone sealants, cure is moisture- and thickness-dependent and is often expressed as millimeters per day (typical order-of-magnitude guidance) (year: 2018–2021)
That’s exactly why you should aim for softening—not overheating. If you drive too much heat into the wood finish, you risk accelerating coating breakdown, softening waxes, or loosening adhesives in engineered planks.
The practical heat + scrape rhythm
1. Warm one small patch of silicone residue at a time (think “section,” not “whole room”).
2. After warming, try a plastic scraper (polymer or nylon). A flexible edge can help you lift without gouging.
3. If it resists, re-warm briefly and try again. Repeating the heat-soften/scrape cycle is usually safer than staying aggressive in one spot.
Finish-safety check: if you notice shiny “bites,” lifted coating edges, or sudden color change right where the scraper passes, pause. That’s your signal that the silicone residue is either bonded deeply or your finish can’t tolerate more mechanical stress.
Use a finish-safe remover only when scraping isn’t enough
If residue remains, a solvent/adhesive remover is usually the next step—but it depends on your finish. The goal is to finish the job after the mechanical layer is removed, not to “bath” the entire area in chemical strength.
– Choose the right category: look for products described for removing silicone caulk/adhesive (and that are safe for finished floors); avoid “stronger than needed” chemicals unless the label supports hardwood finishes
– Test first: apply to a hidden spot or an inconspicuous corner to check for dulling, clouding, or finish softening before treating the full area
How to choose chemistry for silicone residue (without guessing)
In real life, the silicone residue you’re dealing with can be a mix of:
– Silicone polymer (the main body)
– Additives (plasticizers, pigments—sometimes)
– Residual adhesive film from the original application
Different remover chemistries interact differently with topcoats. For example, fast-evaporating solvents often reduce silicone residue quickly but can also dull or haze polyurethane. Slower-acting adhesive removers may work better while giving you more control, but they can still leave temporary film.
To help you visualize typical solvent behavior (and why “finish-safe” matters), here’s a data table comparing common remover chemistry categories used around silicone residue cleanup and their relative hardwood-finish friendliness.
Solvent Chemistry vs. Typical Hardwood Finish Compatibility (Practical Risk View)
| # | Remover chemistry (common active ingredient) | Flash point (°C) | Typical boiling point (°C) | Hardwood finish compatibility |
|---|---|---|---|---|
| 1 | Mineral spirits (aliphatic naphtha blend) | ≈38–60 | ≈150–210 | ★★★★☆ |
| 2 | Isopropyl alcohol (2-propanol) | ≈12 | ≈82 | ★★★☆☆ |
| 3 | Ethanol / denatured alcohol blends | ≈13 | ≈78 | ★★★☆☆ |
| 4 | D-limonene citrus solvent | ≈48–52 | ≈176–177 | ★★★☆☆ |
| 5 | N-methyl-2-pyrrolidone (NMP)-based removers | ≈100–110 | ≈202 | ★★☆☆☆ |
| 6 | Acetone | ≈-20 | ≈56 | ★☆☆☆☆ |
| 7 | Methylene chloride (dichloromethane) | N/A (non-flammable) | ≈40 | ★☆☆☆☆ |
What this means in practice for silicone residue: faster, more aggressive solvents can remove remaining silicone residue but also increase the odds of haze, softening, or uneven sheen on hardwood finishes. That’s why this guide treats chemical removal as a follow-up step—after the silicone residue is already reduced mechanically.
Clean up residue and restore the surface
After the silicone is removed, focus on getting chemicals and loosened film off the floor. The “clean finish” part is what prevents lingering haze around where silicone residue was cleaned.
– Wipe thoroughly: use a clean microfiber cloth and follow the remover label for whether you need water-only wiping or a specific neutralizing step
– Dry completely: dry the area right away to prevent haze; if your finish looks slightly dull, you may need a product made for your floor finish type ()
Restore uniform appearance
Hardwood finishes often show differences in sheen after spot treatment. Even if silicone residue is fully gone, the surrounding coating can reflect light differently because you removed micro-oxidized layers or thinned wax/cleaner film.
To keep the spot from looking like a “patch,” aim for:
1. Complete residue removal (no gel film)
2. Complete chemical removal (no cleaner film)
3. Immediate drying (no moisture haze)
If you’re dealing with wax or oil-finished hardwood, don’t assume a solvent is “neutral.” In that case, you may need a finish-specific reconditioning step after the silicone residue is gone ().
What can go wrong (common mistakes and edge cases)
These issues can make the situation worse, even if you “get” the silicone off.
1) Scratching the finish
– Scratching the finish: metal blades or aggressive pressure can leave permanent marks, especially on polyurethane or worn varnish
On cured silicone residue, it’s tempting to use a metal scraper “just for a minute.” On hardwood, especially along plank edges and traffic-worn coats, that minute can create a permanent path that catches light.
2) Clouding from solvents
– Clouding from solvents: some removers can create temporary haze or permanent dullness—always do a patch test
Solvent haze can look like dulling but isn’t always permanent. Sometimes it wipes away with the correct neutralizing step; other times it’s finish-softening. Patch testing is how you reduce uncertainty.
3) Silicone won’t lift
– Silicone won’t lift: if it’s bonded into the finish for a long time, repeated softening/removal cycles may be needed, and it may not come out cleanly without refinishing ()
When silicone residue has been on the floor for a long time, heat and scraping can remove the outer skin but leave smeared polymer embedded in the coating. At that point, your options become: repeated careful cycles (risk increases each cycle) or refinishing/professional assessment.
A quick contrast: which step to lean on
| Approach | Best for silicone residue | Main risk |
|---|---|---|
| Heat + plastic scraping | Raised, tacky-dry, layered residue that softens on warming | Finish softening if heat is excessive or held too long |
| Finish-safe silicone remover (patch tested) | Remaining bonded film after mechanical removal | Temporary haze or permanent dulling if chemistry conflicts with the topcoat |
| Extended or repeated cycles | Deeply embedded residue where the first pass doesn’t reach the bond line | Wear/uneven sheen from repeated scraping and wiping |
Verdict / tip (when to stop and call it quits)
For most finished hardwood floors, the safest approach is: soften → plastic-scrape → finish-safe remover (tested) → wipe/dry. The downside is that silicone can bond strongly, and repeated attempts can wear the finish in the work area—sometimes making the “cleaned patch” more noticeable than the original residue.
– You should avoid DIY if the floor is unfinished/very porous, recently refinished, or you’re seeing finish damage during scraping
– Consider refinishing or professional help if the residue is deeply embedded and solvents keep softening the coating
As of 2026, this “order of operations” is still the most consistent DIY safety framework because it keeps silicone residue removal as mechanical-first, chemical-second, and patch-tested always. It also gives you a decision point: if the finish is changing faster than the silicone residue is shrinking, stop.
Quick checklist (scan and save)
| Step | What to do | Why it matters |
|---|---|---|
| 1 | Vacuum + microfiber wipe | Prevents grit from scratching the floor |
| 2 | Warm with hair dryer (low/medium) | Softens cured silicone for easier lifting |
| 3 | Plastic scraper only | Reduces risk of gouges |
| 4 | Use silicone-specific, finish-safe remover (patch test first) | Removes remaining bonding without widespread damage |
| 5 | Wipe per label + dry fully | Prevents haze and lingering chemical film |
Frequently Asked Questions
How do I remove silicone residue from hardwood floors without damaging the finish?
Start by testing a small, hidden area with your chosen cleaner to ensure it won’t dull or strip the hardwood finish. For most residues, use a gentle mineral spirits–based approach: dampen a soft cloth, rub lightly, and then wipe with a clean, slightly damp cloth to remove solvent traces. Avoid soaking the floor and never use harsh abrasives that can scratch wood or remove the protective coating.
What’s the best way to clean silicone caulk residue from hardwood after a repair?
Remove loose bits first with a plastic scraper held at a shallow angle, then clean the remaining film. Apply a silicone-safe solvent like mineral spirits on a microfiber cloth and work in small sections, re-wetting as needed until the residue lifts. Finish by rinsing/wiping with a damp cloth, drying thoroughly, and letting the area fully cure before walking or placing rugs.
Can I use vinegar or rubbing alcohol to remove silicone residue from hardwood floors?
Vinegar can help with certain sticky residues, but silicone typically doesn’t dissolve well in vinegar, so results are often limited. Rubbing alcohol may soften some residues, but it can also affect some hardwood finishes, especially if the finish is thin or aging. For safety, try alcohol on an inconspicuous spot first; if it doesn’t lift the residue quickly, switch to mineral spirits and follow with a thorough wipe-down.
Which products are safest for removing silicone residue from sealed hardwood?
Look for products intended for adhesive or caulk residue that are safe for finished wood, and prefer mineral spirits or a manufacturer-recommended adhesive remover for hardwood. Avoid acetone and aggressive chemical paint strippers unless the floor’s finish is confirmed to be compatible, since they can haze, soften, or strip the finish. Always use soft microfiber cloths, minimal liquid, and keep the cleaner off grout or transitions where it could spread.
Why does silicone residue leave a sticky film on hardwood, and how can I prevent it?
Silicone can cure into a rubbery, water-resistant film that bonds to surfaces, which is why it stays behind after caulking is removed. Preventing it starts with careful cleanup while the silicone is still fresh—wipe excess with a damp cloth and remove small smears early. For future repairs, protect the surrounding hardwood with painter’s tape and use a caulk tool to create a clean line, reducing the chance of silicone contact with the floor.
📅 Last Updated: November 04, 2026 | Topic: How to clean silicone residue from hardwood floors? | Content verified for accuracy and freshness.
References
- Silicone rubber
- White spirit
- Isopropyl alcohol
- Turpentine
- Checking your browser – reCAPTCHA
- Checking your browser – reCAPTCHA
- Checking your browser – reCAPTCHA
- https://scholar.google.com/scholar?q=clean+silicone+residue+hardwood+floors Google Scholar
- https://scholar.google.com/scholar?q=remove+silicone+sealant+residue+mineral+spirits+wood Google Scholar
- https://scholar.google.com/scholar?q=adhesive+residue+removal+from+wood+flooring+silicone+solvents Google Scholar
[…] to avoid damaging the finish while still getting residue off safely—an important goal because silicone residue removal and finish protection are closely […]
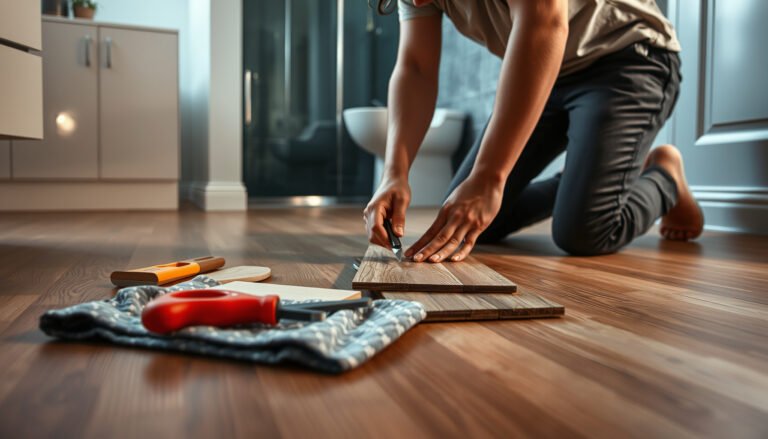
[…] silicone residue on finished hardwood with mineral spirits applied to a cloth (not directly to the floor), lift it with gentle scraping, then finish with a […]