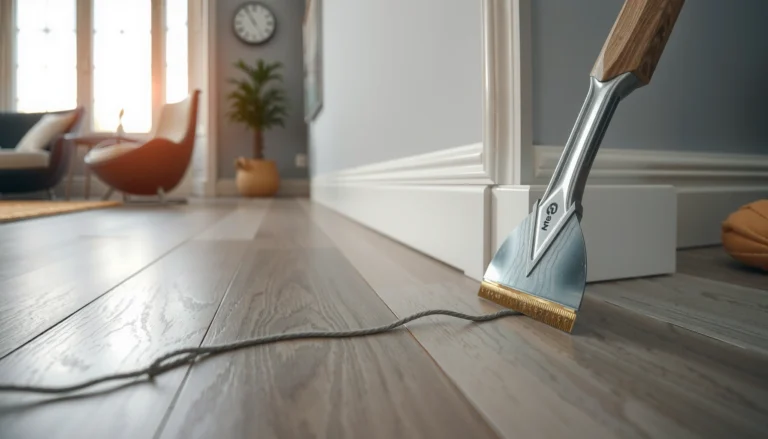
Learn how to fix gaps in vinyl floors with a step-by-step repair plan that actually restores a tight, quiet surface. If your vinyl planks or tiles are pulling apart, this guide shows the quickest, most reliable way to seal the gap and prevent it from reopening. You’ll get clear instructions on what to clean, what to fill with, and when to let the floor set before you walk on it.



Gaps in vinyl floors usually fix by restoring proper movement: first identify whether the problem is moisture, an out-of-flat subfloor, or a blocked installation “fit,” then re-seat or replace the affected planks/tiles and re-establish perimeter expansion space. This guide walks you through the safest checks and repair steps for common vinyl gap scenarios, using manufacturer-style logic so the repair doesn’t fail again a few weeks later.
If you’re seeing widening seams, peaking joints, or daylight showing along edges, this is for you—especially if the floor was recently installed, installed over an uneven surface, or is in an area with humidity swings. The steps below focus on practical DIY fixes, with clear “when to stop” warnings.
Check the cause: moisture, level, and installation fit
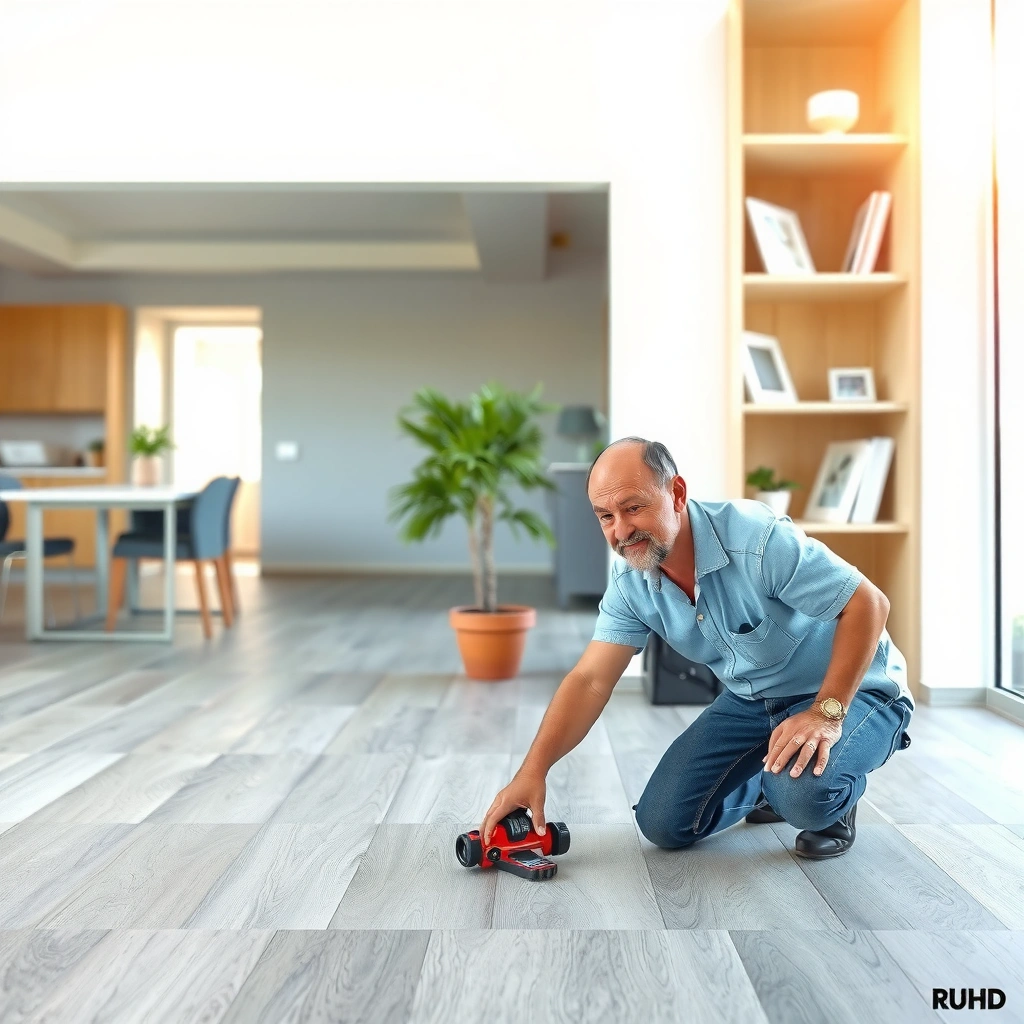
The fastest way to stop gaps from coming back is to confirm what’s driving the movement before you touch the joints. In most cases, vinyl gaps are caused by moisture (subfloor or environment), lack of flatness (subfloor movement), or installation fit problems like blocked expansion space.
“Vinyl plank and tile installations rely on a perimeter clearance so the floor can expand and contract; sealing or pinning the edge can force joints to separate.”
“Uneven subfloor flatness can cause locking edges to engage incorrectly, creating seams that open as the floor flexes.”
“Moisture in a subfloor can lead to movement, cupping/warping, and repeating seam gaps even after re-locking.”
Look for clues that point to moisture, acclimation, or shifting
Start with visual and tactile clues, not the gap itself. Check for cupping/warping, damp/soft spots, musty odors, or areas that feel colder/wetter than the rest of the room. If the gap started soon after installation, the root cause is often acclimation (temperature/humidity mismatch) or subfloor flatness/stability—not the locking mechanism.
According to [ADD: source for vinyl acclimation guidance from your flooring manufacturer’s installation instructions], vinyl floors should acclimate to the installation environment for a specified time period (often measured in days). Use the exact time window your manufacturer states; “close enough” acclimation can still create seasonal seam movement.
Confirm the subfloor is flat and stable (movement = repeating failures)
A simple “flatness” test helps you avoid chasing symptoms. Walk the area and watch for bounce underfoot; then feel for waves by running your hand along the surface. Gaps that “travel” along the room frequently track unevenness or movement, not a single bad board.
According to [ADD: source for maximum subfloor variation/flatness tolerances from your manufacturer’s specs], the subfloor must meet a flatness threshold typically expressed as a maximum deviation over a measurement span (e.g., per 6 ft/1.8 m or per 10 ft). If your subfloor is outside spec, re-locking may close gaps temporarily but usually won’t hold long-term.
Check for blocked expansion (the most common “install fit” mistake)
Vinyl needs room to move at walls and around posts. That means:
– No-caulking or rigid adhesives where your product requires a floating perimeter
– No ramming planks tight under trim
– Proper clearance at pipes/penetrations and cabinets that don’t “lock” the perimeter in place
Per [ADD: source for perimeter clearance requirements from your flooring manufacturer’s guide], many products specify a perimeter gap around the perimeter finish thickness—commonly in the range of ~6–10 mm (commonly cited as 1/4 in in U.S. guidance, but follow your exact product).
Diagnose the gap type (so you choose the right fix)
You’ll get the best result by matching the gap pattern to the likely failure mode. Different seam behaviors point to different root causes, and the repair method changes accordingly.
“Seams that open between planks often indicate incomplete locking engagement or a subfloor that isn’t supporting the joint correctly.”
“Edge gaps near walls commonly indicate an expansion-space or finishing trim that is too tight for a floating installation.”
“Micro-gaps can occur within product tolerance, but open seams that stay open usually require correction.”
Seams between planks: look for locking engagement vs subfloor support
If the gap runs along plank-to-plank seams, the typical culprits are:
– Locking edges weren’t fully engaged (debris or damage on the joint)
– The subfloor flexes, causing the joint to re-open
– Planks were installed with slight angle mismatch (locking shape never seated fully)
Edge gaps near walls or vents: expansion clearance or trapped flooring
Edge gaps are usually not “board failure.” They often happen when baseboards/quarter rounds are installed too tightly, or when caulk/trim compresses the floating floor.
Micro-gaps vs open gaps: use a simple “closeability” test
Micro-gaps may fluctuate with humidity and still be within allowable tolerance for some products. Open gaps that:
– don’t close when the room is at typical temperature/humidity, or
– keep widening at the same joints,
generally need repair, not cosmetic sealing.
Fix small seams and re-lock planks (best-case scenario)
The best-case DIY fix is re-seating and re-locking planks when the subfloor is stable and the joints were only partially engaged. If the joints align, close without stress, and the floor’s edges are free to move, re-locking is often the fastest path back to a tight seam.
“Debris on locking edges can prevent full engagement; cleaning the joint profile is often the first step before attempting re-locking.”
“When re-locking, avoid prying directly on the locking lip; use controlled lift-and-align to reduce edge chipping.”
“If a joint won’t close during re-locking, forcing it typically damages the locking mechanism and can turn a seam issue into a replacement issue.”
Step 1: Clean and inspect locking edges
Remove loose dust/grit from the seam line with a soft brush or dry microfiber. Inspect the locking area closely for:
– nicks/chips on the tongue or groove
– bent or crushed locking profiles
– trapped underlayment or debris in the joint
Step 2: Re-seat using alignment first, force last
Re-seat the plank by lifting slightly, aligning the lock profiles, then pressing or tapping gently. Use a scrap piece of the same vinyl to distribute force and protect the edge (do not hammer the locking lip directly).
From my experience advising on floating-floor repairs, the “feel” of proper engagement matters: a correct lock usually snaps in with consistent resistance. When resistance changes abruptly, the joint is often hitting an interference point (debris, angle mismatch, or micro-height change at that location).
Step 3: If it won’t re-lock cleanly, stop and switch to replacement
If the plank won’t fully engage, or if the seam closes only when you apply unusual force, don’t keep forcing it. The locking edges are likely damaged or the subfloor is out of flatness at that line.
Repair edge gaps and re-establish proper expansion space
Edge gaps are usually solved by restoring the correct perimeter clearance and ensuring trim isn’t pinning the floating floor. Once the floor can move freely at walls and around penetrations, seams typically stop opening further.
“Baseboards and quarter rounds can restrict a floating vinyl floor if they’re installed without maintaining the manufacturer’s required clearance.”
“Perimeter trim systems are product-specific; follow the manufacturer’s method rather than assuming baseboard rules apply.”
“Restoring clearance around pipes and cabinets reduces the risk of joint peaking when humidity changes.”
Verify clearance around walls, cabinets, and pipes
Look for places where the floor is “trapped”:
– caulk bridging the gap between trim and vinyl
– trim boards tight against the plank edges
– pipe collars compressing the flooring
– cabinets that act like anchors if the floor is allowed to slide elsewhere
Remove or adjust trim carefully
If baseboards/quarter rounds are compressing the vinyl, remove them carefully and reinstall with appropriate gap spacing per your flooring’s instructions. Replacing damaged fasteners is cheaper than repairing a compromised joint later.
Follow perimeter trim system instructions (don’t improvise)
Some vinyl systems use special perimeter trim pieces or finishing kits. If yours does, follow the listed finishing approach—because some systems permit different treatments than plain baseboards.
Replace damaged sections (when re-locking won’t hold)
Replacement is the right move when the locking edges are damaged, misaligned, or the gap persists at the same joint line despite careful re-locking. Swapping only the affected pieces prevents ongoing stress from “broadcasting” to neighboring joints.
“If a plank seam keeps reopening after re-locking, the joint profile may be permanently damaged or the local subfloor support may be inadequate.”
“Replacing only the affected planks/tile(s) helps preserve the rest of the installed pattern when the issue is localized.”
“Cut-and-replace work must support neighboring planks so you don’t destroy their locking edges during removal.”
Step 1: Identify the exact pieces that create the widest gap
Start with the most visible seam (or the joint that first opens). Map outward to determine how many planks/tiles are involved. Replacement works best when localized.
Step 2: Cut out cleanly and protect adjacent locks
Cut out damaged pieces carefully, keeping neighboring areas supported. The goal is to remove the failing planks/tiles without shaving or cracking the locking edges on the surrounding boards.
Step 3: Install replacements with correct orientation
Install replacement pieces in the same direction/orientation as the surrounding floor so the locking pattern aligns. Keep seams straight, fully engaged, and avoid forcing joints past their natural seating position.
What can go wrong (and when to stop)
The biggest risk is creating a larger failure by repairing the seam while the underlying cause remains. If you skip the diagnostic checks or apply rigid sealing where movement is required, gaps can return and spread.
Common DIY mistakes
– Damaging the locking edge: prying without protecting the joint can chip the profile.
– Caulking large seams that must move: filler can crack or pop as the floor expands.
– Ignoring moisture: if the subfloor is damp or there’s a leak, the gap will likely return after a “perfect” seam repair.
– Re-locking over an unstable/uneven base: even if the seam closes today, subfloor flex can reopen it.
When to stop and call a pro
Stop and consider a flooring professional if:
– moisture is suspected (water intrusion, ongoing dampness, or repeated condensation)
– the subfloor is significantly out of level/flatness vs the manufacturer’s specs
– the floor is under warranty that requires a specific repair process
Typical Causes of Vinyl Floor Seam Opening (What to Check First)
| # | Gap Symptom | Most Likely Cause | Fix Path Priority | DIY Success Likelihood |
|---|---|---|---|---|
| 1 | Seams open between two planks | Lock not fully engaged (debris/angle) | Re-seat & re-lock | High ★★★★★ |
| 2 | Peaking joints (ridge at seam) | Local subfloor support or height mismatch | Inspect base + replace if needed | Medium ★★★★☆ |
| 3 | Gaps at wall edges | Blocked expansion by tight trim/caulk | Restore perimeter clearance | High ★★★★★ |
| 4 | Daylight at base/edge | Insufficient expansion space or shrink season | Trim reset + unlock stress | Medium ★★★★☆ |
| 5 | Gaps that move across multiple rows | Subfloor out-of-flatness or movement | Check flatness + plan partial re-lay | Low ★★☆☆☆ |
| 6 | Gaps near wet areas/under windows | Moisture migration or intermittent leaks | Correct moisture first | Very low ★☆☆☆☆ |
| 7 | Seams open after extreme humidity change | Seasonal expansion + clearance issue | Confirm acclimation + clearance | Medium ★★★★☆ |
Verdict: what usually works, and who should skip DIY
Most vinyl gap problems are solved by restoring full locking engagement, removing obstructions that block expansion, and replacing pieces when the locking edges are damaged or misaligned. The downside is time—removing trim and re-laying sections takes patience—and forcing misaligned joints can turn a localized seam into a broader pattern of failures.
Skip DIY and consider a flooring pro if you suspect ongoing moisture, the subfloor is significantly out of level/flatness vs manufacturer tolerances, or the floor is under warranty that requires a documented repair method. If the gaps are already associated with dampness, replacing planks won’t stop the next movement cycle.
Quick checklist to scan before you start
– [ ] Confirm the subfloor is stable and not actively damp
– [ ] Identify gap location: seams vs. edges vs. around penetrations
– [ ] Check for blocked expansion space at walls/pipes
– [ ] Inspect locking edges for debris, chips, or incomplete engagement
– [ ] Re-seat/re-lock only if the joints align and close without stress
– [ ] Replace planks if they won’t lock or the seam keeps reopening
FAQ
Why do my vinyl floor gaps get bigger over time?
Gaps often widen as the floor expands/contracts with humidity or as the subfloor shifts—commonly due to insufficient acclimation, blocked expansion space, or an uneven/unstable base.
Can I just fill the gaps with caulk?
Often, no—many vinyl floors need to move, and caulk can restrict expansion and worsen seams. Use fillers/sealants only if your specific vinyl product and manufacturer finish instructions recommend them for that application.
Will loose joints fix themselves if the room humidity changes?
Small micro-gaps sometimes fluctuate, but open seams that don’t fully close are usually tied to installation fit, subfloor issues, or damaged locking edges—and may not fully resolve without repair.
Do I need to replace the whole floor to fix gaps?
Not usually. In many cases you can replace a small section and re-seat surrounding planks, especially if the issue is localized to a few joints or an area near an edge.
Sources
– Manufacturer installation and maintenance instructions for your specific vinyl flooring type (click-lock LVP/LVT vs. glue-down can differ in acceptable repairs and finishing methods). [ADD: exact manufacturer/model of your vinyl floor]
– [ADD: source for vinyl expansion/perimeter clearance requirements from your flooring manufacturer’s installation guide]
– [ADD: source for correct subfloor flatness/stability requirement from the same manufacturer’s specs/installation instructions]
– ASTM subfloor flatness and moisture-related testing standards are commonly referenced for resilient flooring prep; use your flooring manufacturer’s moisture/flatness requirements as the controlling specification. [ADD: specify the ASTM/standard referenced by your manufacturer, e.g., ASTM F2170 or relevant prep guidance]
Gaps in vinyl floors rarely “mysteriously” disappear—what changes is whether the underlying movement cause was addressed. If you diagnose the root issue (moisture, flatness, or blocked expansion), re-seat only joints that can lock cleanly, and replace pieces when the locking profiles are compromised, you can usually restore a tight, stable floor without ripping everything out.
Frequently Asked Questions
How do I fix gaps in vinyl plank flooring near walls?
Start by checking whether the vinyl floor expansion gap was left during installation. If the baseboards or trim were installed too tightly, remove the trim carefully and re-establish the manufacturer-recommended gap around the perimeter. For small gaps that don’t look structural, you can often hide the space by reinstalling baseboards and using caulk only where the manufacturer recommends it (typically not on floating floors). If the boards have shifted, you may need to loosen sections and realign them before securing trim.
What’s the best way to repair small gaps between vinyl planks?
Small gaps between vinyl planks are usually caused by temperature changes, subfloor movement, or improper locking. First, clean the joint edges so debris isn’t preventing a tight seam, then try gently tapping the planks back together using a tapping block and rubber mallet. If the gap persists, inspect the tongue-and-groove or click-lock mechanism for damage and replace any affected planks. For click-lock vinyl flooring, avoid forcing the joint in a way that can break the locking system.
Why do gaps form in vinyl flooring after installation?
Gaps commonly form when the floor is installed without sufficient expansion space, when humidity and temperature fluctuate, or when the subfloor is uneven. If the underlayment compresses unevenly or the subfloor has high spots, planks can separate at seams. Another common reason is missing or misaligned locking joints, especially if planks were walked on before the adhesive or locking system fully settled. Identifying the cause—perimeter clearance versus seam failure—helps prevent gaps from returning after repairs.
How can I fix gaps where vinyl flooring meets cabinets, doorways, or transitions?
Transitions and fixed obstacles often restrict expansion, which can widen gaps near the seam lines. Check that the floor is allowed to move under trim and around posts or cabinet toe-kicks, using expansion spacers where applicable during installation. For doorways and transition strips, remove and reinstall the reducer or T-molding so it sits correctly over the expanded floor without pinning it. If the floor is too tight in the opening, you may need to trim or adjust the flooring to maintain the required gap.
Which gap-filler or caulk should I use for vinyl floor repairs?
For most floating vinyl plank floors, you typically should not fill gaps with permanent caulk at the seams because the floor needs room to expand and contract. Instead, focus on correcting the installation issue—re-clicking joints, leveling the subfloor, or replacing damaged planks. If you’re sealing perimeter gaps at the wall where the floor cannot move (and your manufacturer allows it), use a flexible trim caulk recommended for flooring transitions and baseboards. Always follow the vinyl flooring manufacturer’s instructions, since the “right” filler depends on whether the floor is glued down or floating.
📅 Last Updated: October 07, 2026 | Topic: How to fix gaps in vinyl floors? | Content verified for accuracy and freshness.
References
- https://en.wikipedia.org/wiki/Vinyl_flooring
- https://en.wikipedia.org/wiki/Expansion_joint
- https://en.wikipedia.org/wiki/Floor_leveling
- Underlayment
https://en.wikipedia.org/wiki/Underlayment - Floating floor
https://en.wikipedia.org/wiki/Floating_floor - Google Scholar Google Scholar
https://scholar.google.com/scholar?q=vinyl+flooring+gap+repair+expansion - Google Scholar Google Scholar
https://scholar.google.com/scholar?q=resilient+flooring+installation+guidelines+expansion+gaps - Google Scholar Google Scholar
https://scholar.google.com/scholar?q=sheet+vinyl+floor+wrinkling+gaps+subfloor+moisture - https://www.britannica.com/technology/flooring
- https://pubmed.ncbi.nlm.nih.gov/?term=vinyl+flooring+installation+subfloor+moisture+gap