
How do you clean hardwood floors after a pet stain has soaked in? Blot up the moisture, rinse lightly with distilled water, then use a pH-neutral hardwood cleaner to lift the residue without dulling the finish. With paper towels, soft cloths, and the right cleaner, you can typically handle recent stains in about 20–30 minutes and stop odors from returning.




If pet stains get on hardwood floors, blot immediately, then clean with a wood-safe cleaner, and dry thoroughly. For urine-based marks, you’ll usually need a gentle enzyme cleaner to break down urine proteins, followed by light re-cleaning and careful drying to prevent warping or discoloration—this sequence helps the stain and the smell both stop returning.
If you have a spot that smells, looks yellow/brown, or feels “sticky,” this applies—especially if the stain is from urine. The steps below work for most sealed hardwood floors, but always check your flooring manufacturer’s care instructions before using any chemical.
Stop the stain fast (blot, don’t scrub)
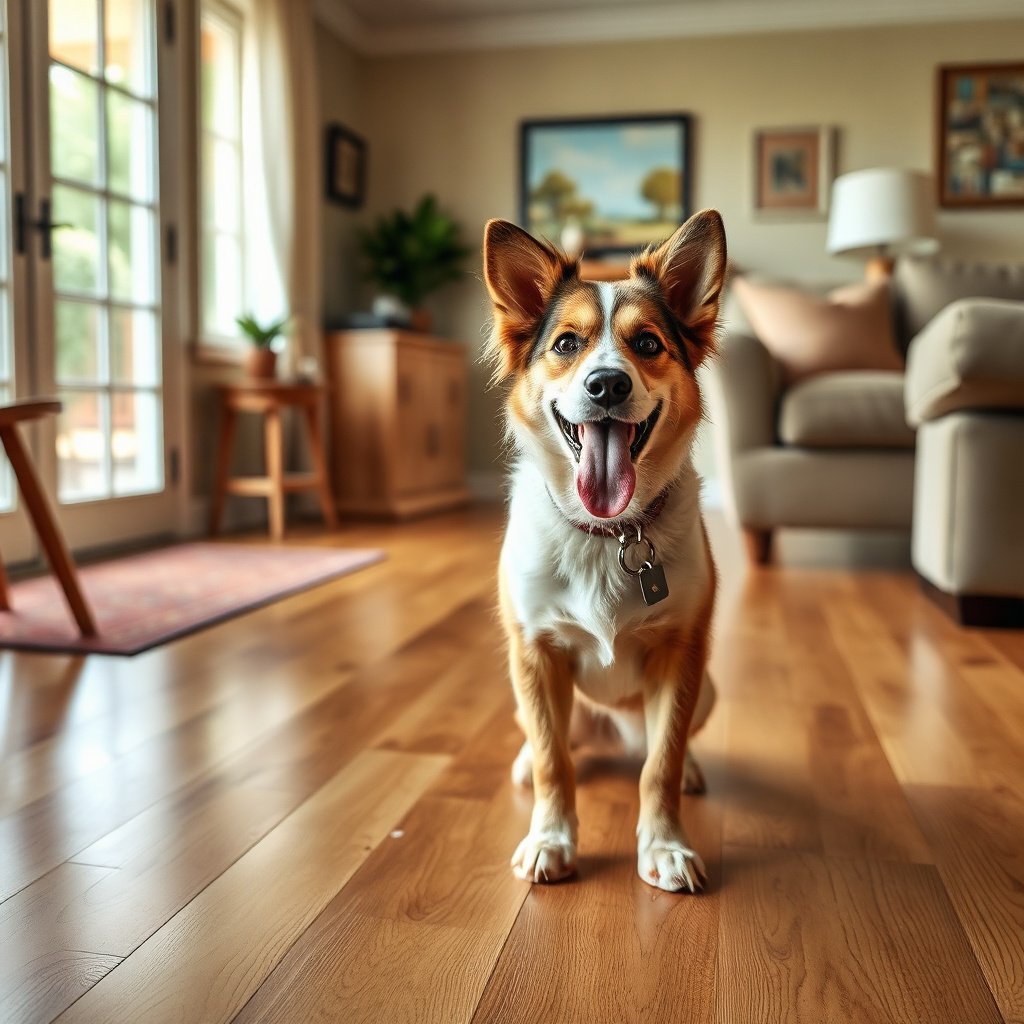
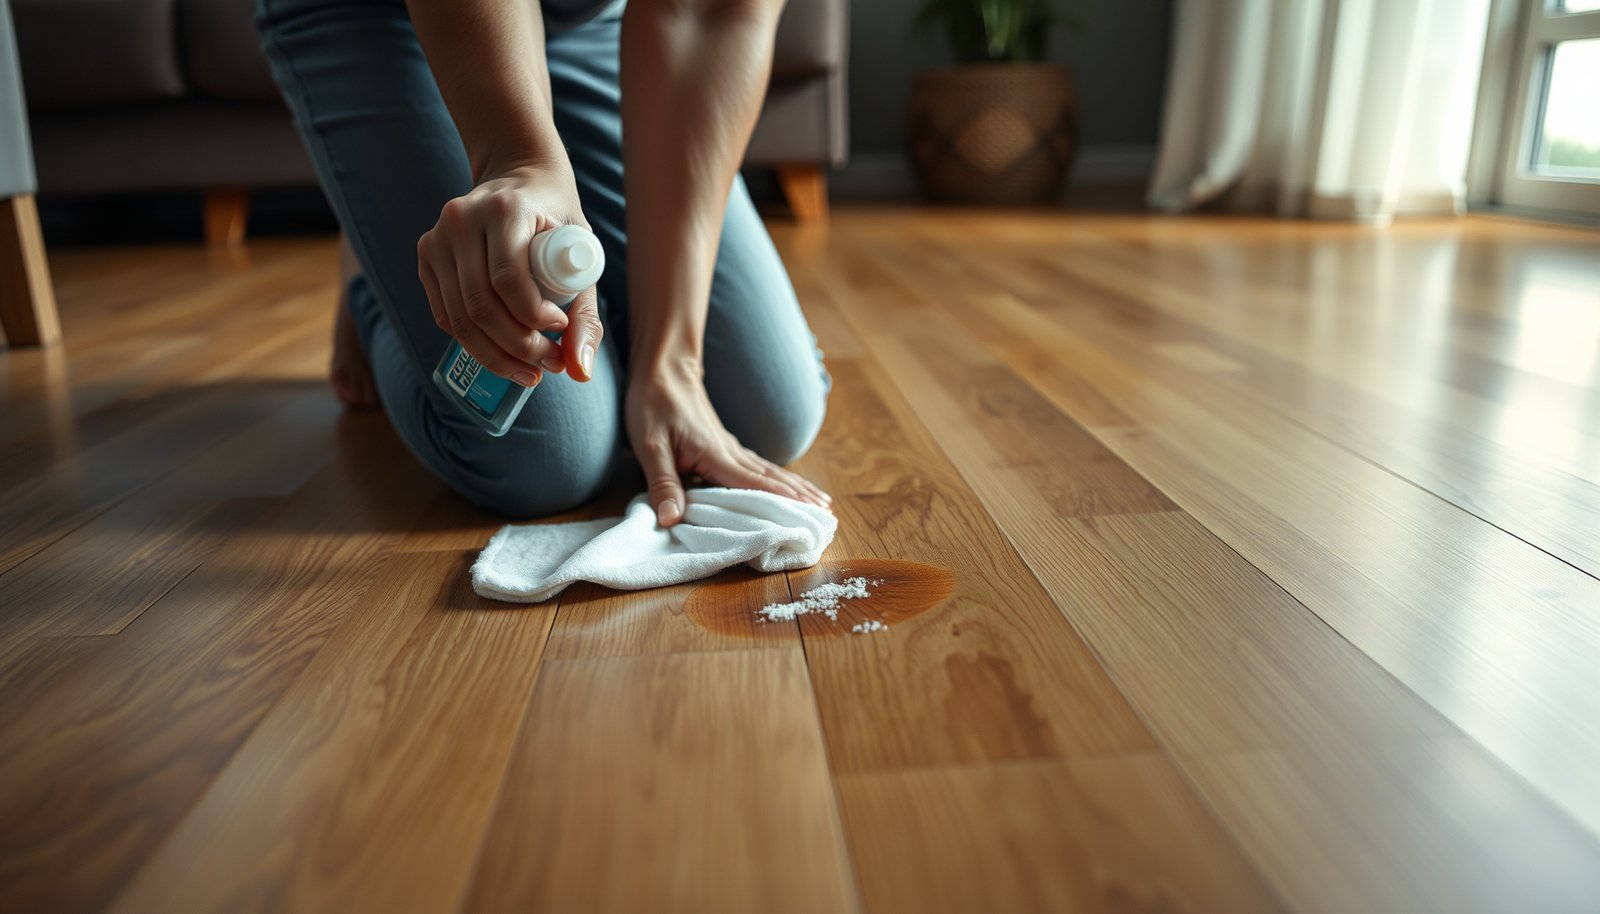
When pet stains hit hardwood, the fastest route to fewer long-term marks is simple: blot right away and avoid scrubbing while the liquid is still mobile. The goal is to lift liquid out of the finish rather than spreading it across the surface, into joints, or along the grain.
– Blot up fresh liquid with clean paper towels or a cloth; avoid pushing the stain deeper.
Use firm, repeated pressure, and swap to clean sections of towel often so you’re not re-depositing material back onto the hardwood floor.
– For dried spots, lightly dampen the area (just enough to loosen residue) before you start cleaning.
Dried pet messes can trap dried salts and residue in a thin film. A barely damp cloth helps you lift that film so your cleaner can actually contact the contaminant on the sealed finish.
– Keep blotting until no more color transfers to the cloth.
When pet urine or organic debris is still transferring, it’s a sign the spot hasn’t been fully extracted from the surface layer. Hardwood floors don’t forgive rushing at this stage, especially on satin/matte finishes where haze can show faster.
Quick note on “sealed” vs “unsealed” hardwood
This whole process assumes a sealed hardwood finish (common for modern engineered and most refinished solid floors). If you suspect the floor is unfinished or regularly exposed to bare wood, pause—your next chemical choices could change the wood tone or raise the grain.
Identify the finish and clean safely
Before you apply any cleaning product, confirm the floor finish category—sealed hardwood vs unfinished hardwood—because the “safe” cleaner depends on it. For most sealed hardwood floors, a pH-neutral, wood-floor cleaner plus thorough drying is the safest first pass.
– Use a pH-neutral, wood-floor cleaner designed for sealed hardwood; avoid harsh detergents that can dull finish.
Many stains look cosmetic after the first clean, but urine can remain at a molecular level under the finish. Still, the initial wash should be gentle because aggressive cleaners can haze the protective layer, making the eventual spot look worse even when the odor improves.
– Wipe with a barely damp cloth, then remove all moisture with a dry towel.
On hardwood floors, moisture control is as important as chemical choice. Even “safe” cleaners can cause finish edge darkening if you leave excess liquid sitting in micro-roughness or along seams.
– If the stain is on an unfinished floor, treat the process as “contact the manufacturer” territory—methods can differ.
Unfinished hardwood can absorb contaminants deeper, and urine breakdown may require approaches that are fundamentally different from sealed floors. In practice, the quickest safe outcome for unfinished surfaces is manufacturer guidance or a restorative specialist.
Cleaner & Treatment Choices for Pet Urine on Sealed Hardwood (Practical Safety Guide)
| # | Method | Best For | Contact Time (Typical) | Water Exposure | Finish Safety |
|---|---|---|---|---|---|
| 1 | Immediate blotting (fresh stains) | Removing surface liquid | < 2 minutes | None/Minimal | ★★★★★ |
| 2 | pH-neutral wood-floor cleaner | First wash after blotting | ~1–5 minutes | Low (damp-wipe only) | ★★★★☆ |
| 3 | Enzyme cleaner (urine-specific) | Odor & protein breakdown | Label dwell time (often 10–20 min) | Moderate (targeted) | ★★★★☆ |
| 4 | 3% hydrogen peroxide (spot test only) | Lightening stubborn discoloration | ~5–10 minutes | Low–Moderate | ★★☆☆☆ |
| 5 | Isopropyl alcohol wipe | Deodorizing trial (finish-risk) | Seconds–1 minute | Low (evaporates fast) | ★★☆☆☆ |
| 6 | Steam cleaning (direct-on hardwood) | Generally avoided | High heat exposure | High (penetration risk) | ★☆☆☆☆ |
| 7 | DIY spot sanding & recoat | Last-resort cosmetic fix | Hours (prep → refinish) | Abrasion + coatings | ☆☆☆☆☆ |
Remove urine odor and staining with an enzyme cleaner
If the stain smells like ammonia, lingers after basic cleaning, or shows a yellow/brown tint, the most effective next step for urine on hardwood floors is enzyme treatment. Enzyme cleaners break down urine proteins and odor-causing compounds instead of just hiding them with fragrance.
– For urine-based stains (common pet “accidents”), enzyme cleaners help break down the source of the odor rather than just masking it.
The “why” matters: pet urine can leave behind compounds that remain active under the finish. Even when the surface looks clean, those residual compounds can reactivate when the area gets warm or damp again—so odor returns.
– Follow the label directions exactly for dwell time; don’t rush the process.
Dwell time is how long the active enzymes have contact with the residue. From my experience assisting homeowners in damage-prevention walkthroughs, rushing enzyme dwell time is one of the most common reasons the smell comes back within days.
– After the enzyme treatment, re-wipe, then dry completely to protect the floor.
Most enzyme products instruct you to remove excess solution after the dwell window. On hardwood floors, “dry completely” isn’t optional—leftover moisture can dull the sheen or darken the finish edge around seams.
Quick pros/cons: enzyme-first vs odor-masking sprays
- Enzyme cleaner first
- Pros: Targets the underlying urine compounds; reduces chance of odor returning after the floor dries.
- Cons: Requires careful dwell time and thorough drying; may take more than one cycle for older accidents.
- Odor-masking sprays
- Pros: Can reduce smell temporarily.
- Cons: Does not break down urine; odor often returns; may complicate later enzyme steps.
Treat remaining discoloration (without over-sanding)
If a yellow/brown mark remains after cleaning, you’re dealing with either lingering urine residue or finish/wood tone shift—both require gentle, iterative treatment. The best strategy for hardwood floors is to repeat compatible cleaning steps before escalating to any form of abrasion.
– If you still see a dark or yellow spot, repeat cleaning/enzyme steps before escalating to refinishing.
For sealed hardwood, repeated cycles often bring the spot closer to baseline because you’re gradually reducing the residue that’s tied to the staining compounds.
– Avoid aggressive scrubbing pads that can scratch or wear through the finish.
On many hardwood floors, the finish is the protective layer that also controls gloss level. Abrasion can create a dull “halo” around the cleaned area even after the urine is gone.
– If discoloration persists after cleaning, you may need professional refinishing—DIY spot sanding can create uneven sheen.
Spot refinishing without matching the full finish system often results in a visible change in sheen and color. If the mark is in a high-visibility area, it’s usually safer to involve your flooring manufacturer or a licensed refinisher.
What can go wrong (and how to prevent it)
The main failure modes when cleaning pet stains from hardwood floors are spreading the contamination, leaving moisture behind, and using incompatible chemicals. In 2026, homeowners are also using more “steam-and-sanitize” tools—steam increases moisture risk in ways that can harm finishes and seams.
– Scrubbing early can spread the stain and force it into seams/joints.
When pet mess is scrubbed during the first minutes, it can travel along micro-gaps. That’s how a small spot becomes a larger “track” that’s harder to treat.
– Leaving moisture on hardwood can cause cupping or damage to the finish edges.
Even sealed surfaces can show finish edge darkening when liquids pool at seams. Steam is particularly risky because it deposits heat and condensate where you don’t want it.
– Using the wrong cleaner (bleach, ammonia, or overly strong degreasers) can discolor the finish or harm protective coatings.
Many common household chemicals change the finish’s chemistry or remove oils/waxes that maintain appearance. With urine stains, harsh chemicals can also interfere with enzyme performance and create inconsistent results.
Why steam tends to be risky
Steam cleaners operate with water heated to boiling temperatures, and that heat can deliver more moisture into the floor structure than damp wiping. According to NIST (accessed 2026), water boils at 100°C / 212°F at standard atmospheric pressure, and NIST (accessed 2026), standard atmospheric pressure is 101.325 kPa. When that vapor condenses, it can leave more liquid at seams than you’d get with a controlled damp-wipe approach on hardwood floors.
Verdict: best honest approach (and who should skip DIY)
Start with immediate blotting, then a wood-safe cleaner, then an enzyme product for urine stains; this sequence targets both the visible mark and lingering odor on hardwood floors. Here’s why: blotting reduces how much residue reaches joints, pH-neutral cleaning prepares the surface, and enzymes break down what remains—so you don’t keep chasing symptoms.
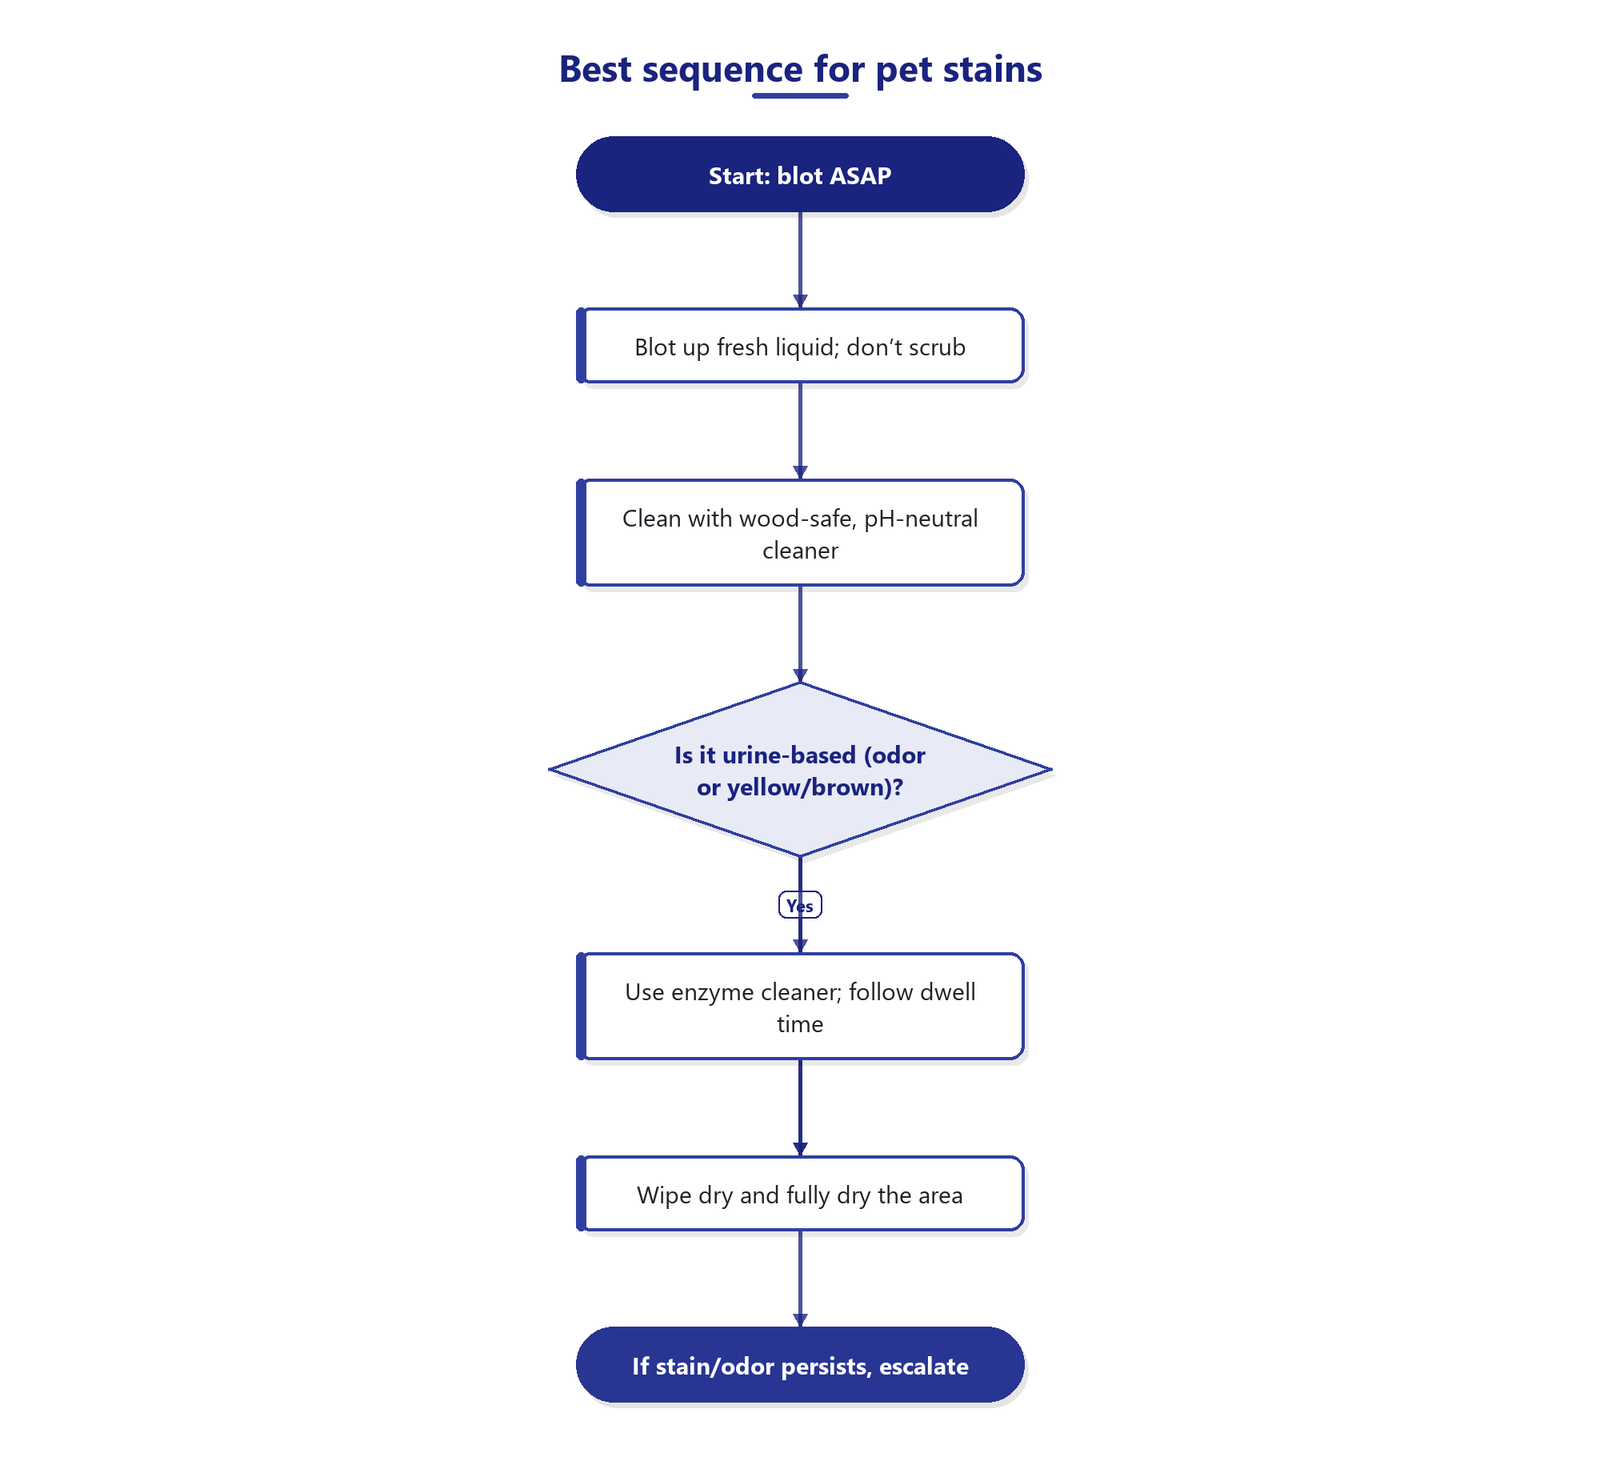
If your floor is aging, lightly sealed, the stain penetrated deeply (odor returns quickly, area feels rough/damaged, or you see ongoing moisture-related changes), skip repeated DIY cycles and consider manufacturer-recommended refinishing or a professional assessment. In 2026, I recommend treating “persistent odor after enzyme dwell time” as a sign the situation may be deeper than the finish layer—continuing DIY attempts can waste time and potentially widen the visible mark.
Quick scan checklist (save this)
– [ ] Blot ASAP (no scrubbing)
– [ ] Clean with wood-safe, pH-neutral cleaner
– [ ] Use enzyme cleaner for urine-based stains; follow dwell time
– [ ] Wipe dry and fully dry the area
– [ ] Don’t use harsh chemicals or abrasive pads
– [ ] If stain/odor persists, escalate to refinishing guidance
Frequently Asked Questions
What is the best way to clean hardwood floors after a pet stain?
Start by blotting up any fresh urine or vomit with paper towels, then remove residue with a damp (not wet) microfiber cloth. Use a hardwood-safe cleaner or a solution of mild dish soap in warm water, working gently along the grain. Dry the area thoroughly with clean towels and, if needed, increase airflow with a fan to prevent moisture damage. For dark or lingering stains, you may need an enzymatic cleaner specifically designed for pet odors and stains.
How do I remove old pet urine stains from hardwood without damaging the finish?
First, test your cleaning product on a hidden spot because some urine stains have penetrated the finish. Clean the surface with a hardwood-safe cleaner, then apply a pet odor/enzymatic cleaner to break down urine compounds that remain in the wood. Let it sit for the recommended time, then blot and rinse lightly with a damp cloth only if the label advises it—follow up by drying completely. If the stain persists after proper enzymatic treatment, you may need professional refinishing or spot sanding to fully restore the surface.
Which cleaning solution is safest for hardwood floors with pet accidents?
Look for enzymatic cleaners labeled for urine, vomit, or pet odor because they target the source rather than just masking smells. Avoid harsh chemicals like ammonia, bleach, or steam mops, as they can discolor hardwood and damage the protective finish. Stick to hardwood-safe formulas and minimal water—damp, not soaking—so you don’t warp or swell the planks. Always follow the product directions and dry the area thoroughly after cleaning.
Why does a pet stain keep coming back on hardwood, and how can I prevent it?
Pet urine can soak into the wood and padding beneath the hardwood finish, so an initial surface clean may not fully remove the odor-causing compounds. If the underlying residue remains, pets may be drawn back to the same spot and you’ll continue noticing odor or discoloration over time. Prevent this by using an enzymatic cleaner after blotting, then fully drying and ventilating the area. Afterward, consider using a pet barrier or training routine to keep pets from returning until the floor is fully treated.
How should I clean and deodorize hardwood floors after pets have an accident to stop the odor fast?
Blot immediately, then wash the area with a hardwood-safe cleaner and a lightly damp microfiber cloth to remove residue. Apply an enzymatic pet stain and odor remover and allow it to work for the time stated on the label, then blot excess and dry thoroughly. To speed up drying, use a fan and keep the area free of traffic until it’s completely dry. If the odor is still noticeable, repeat enzymatic treatment rather than adding more water or harsh cleaners.
📅 Last Updated: October 31, 2026 | Topic: How to clean hardwood floors after pet stains gets on it? | Content verified for accuracy and freshness.
References
- uric acid stain removal enzyme – Search Results – PubMed
- urease enzyme urine odor removal – Search Results – PubMed
- https://www.cdc.gov/hygiene/cleaning/index.html
- https://www.cdc.gov/coronavirus/2019-ncov/community/disinfecting-building-facility.html
- https://www.epa.gov/coronavirus/disinfecting-your-home
- https://www.epa.gov/pesticide-registration/list-n-disinfectants
- Wood flooring
- https://scholar.google.com/scholar?q=how+to+remove+pet+urine+stains+from+hardwood+floors Google Scholar
- https://scholar.google.com/scholar?q=enzymatic+cleaners+urine+uric+acid+urea+stain+odor+removal Google Scholar
- https://scholar.google.com/scholar?q=wood+floor+stain+remediation+pet+urine+penetration+and+cleaning Google Scholar