
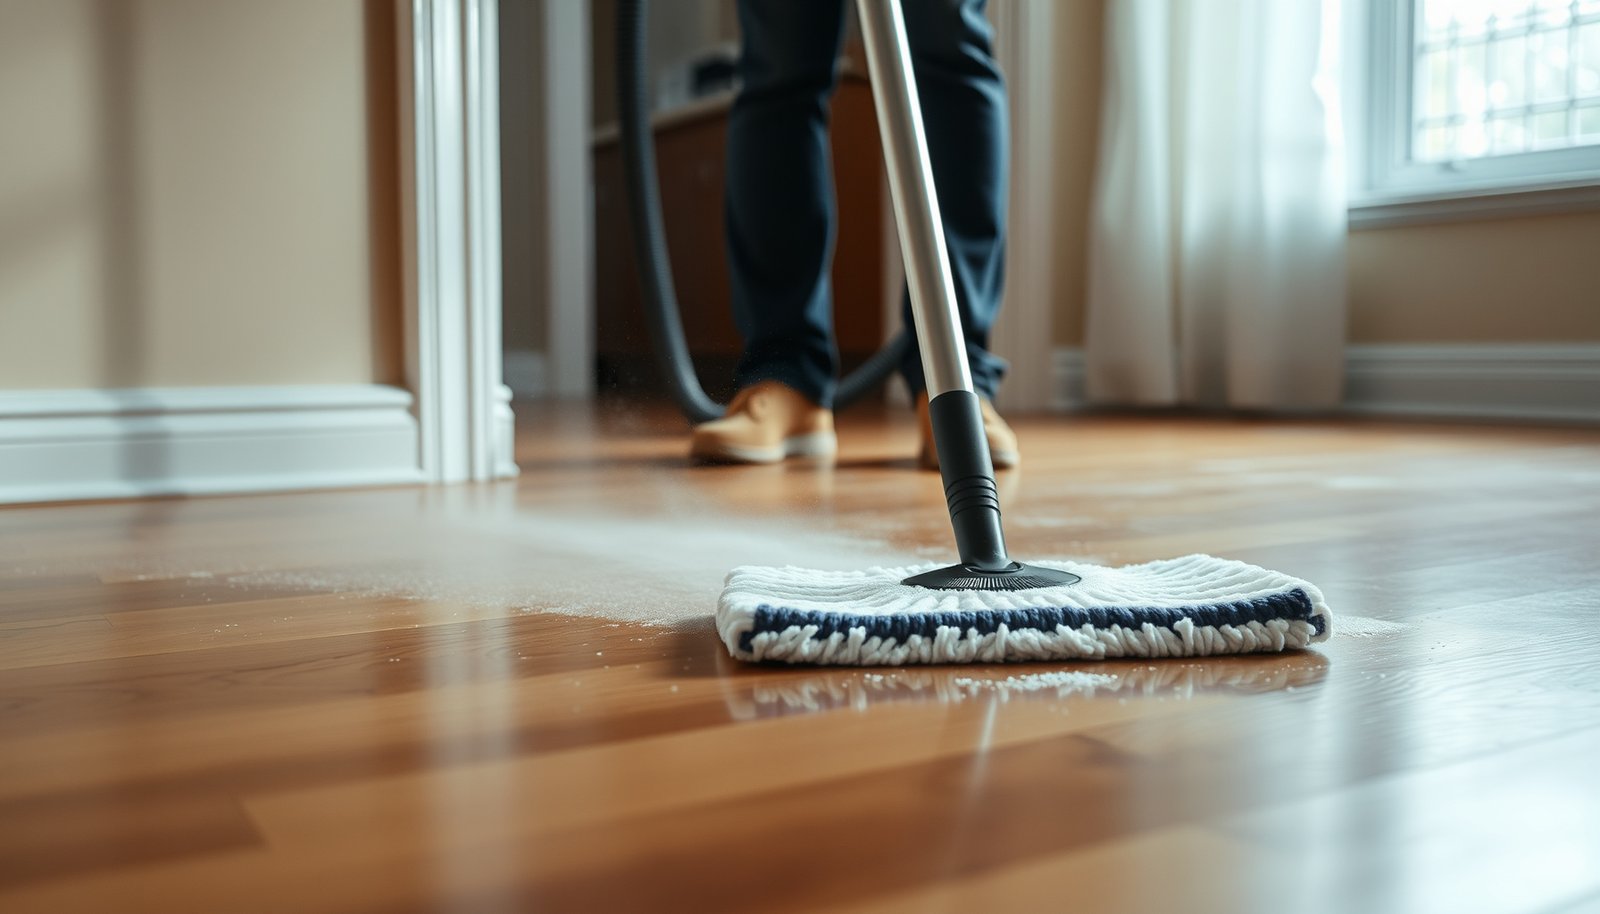

Drywall dust on hardwood floors is safest and cleanest when you remove it dry first with a HEPA vacuum and soft microfiber—never with wet mops that grind grit into the finish. This guide walks you through the exact step-by-step method to lift dust thoroughly while protecting polyurethane, sealed wood, and waxed surfaces. Get the best, damage-free results fast, with simple tools and no guesswork.


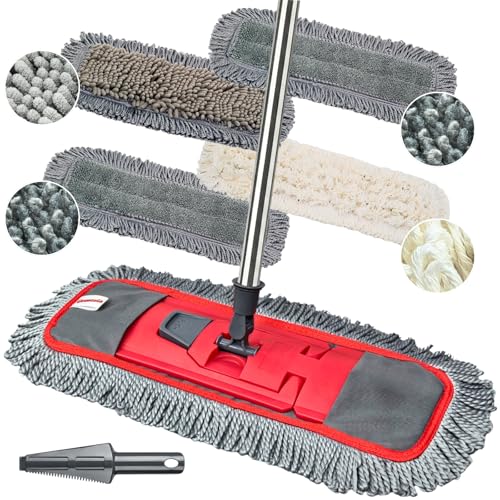

Drywall dust comes up best when you remove it dry first (HEPA vacuum and microfiber) and then do a barely-damp clean to pick up what’s left. Avoid soaking the floor—extra moisture can dull the finish or cause edges to swell. If you do it in that order, you’ll lift the powdery residue without grinding it into the wood.
If you’re dealing with dust from sanding, cutting, or patching drywall—and you want to protect a finished hardwood floor—this guide walks through the safest cleanup sequence and what to watch for. It’s especially useful after repairs when the dust has settled in corners, seams, and along baseboards.
If you’re in the middle of renovation work in 2026 (or you’re cleaning up right after it), this is for you. It’s also for anyone trying to prevent haze, dull spots, and micro-scratches that come from wiping dusty floors in the wrong order.
Gather supplies and prep the room
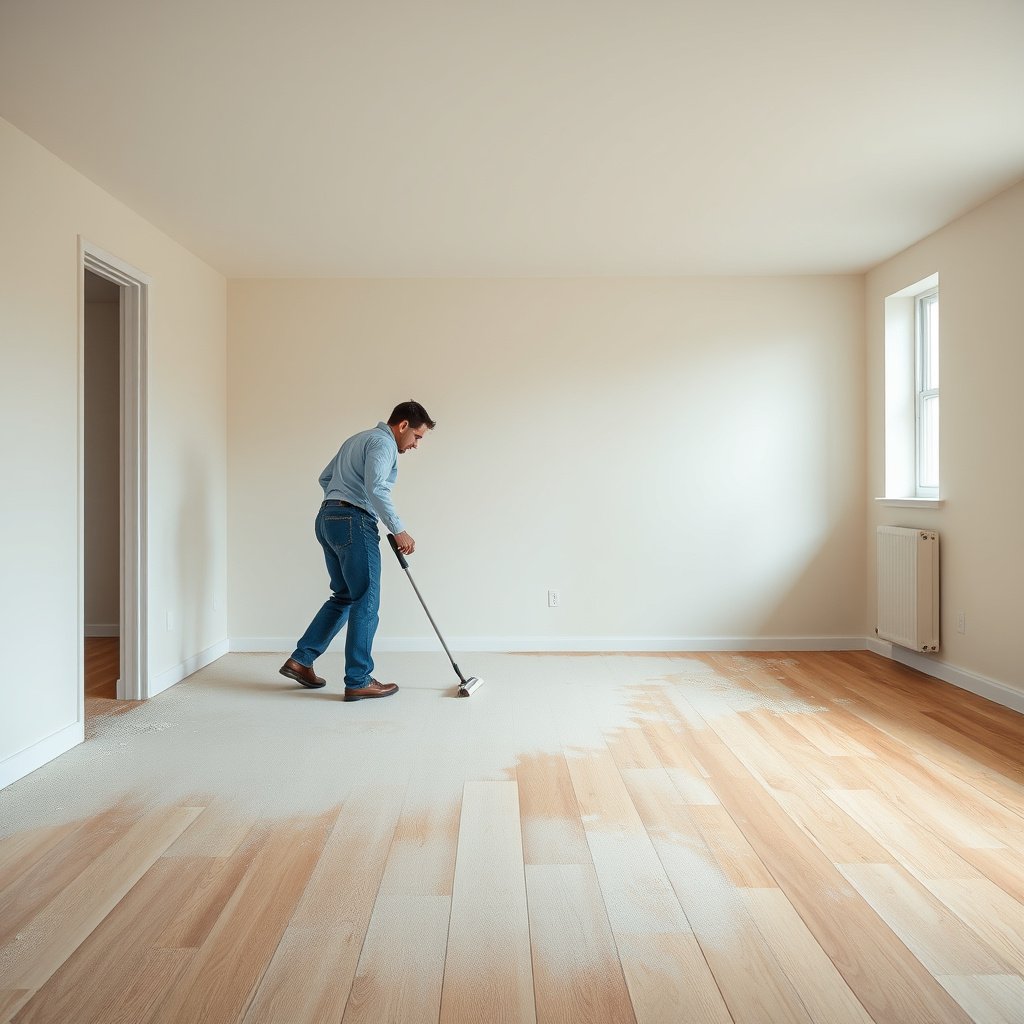
The safest approach starts with dust control and hardwood-safe tools: use a HEPA vacuum and clean microfiber for dry removal, then a barely-damp microfiber wipe for residue. When you prep the room, you stop drywall dust from being carried back onto the hardwood while you work.
Here’s why this matters: drywall dust is fine enough to behave like a mild abrasive. If it stays on the floor while you add water, you risk smearing particles into the finish. As of 2026, the best practice across indoor air and cleaning guidance is particulate capture first, then controlled surface cleaning—not soaking.
HEPA filters are designed to capture at least 99.97% of particles at 0.3 microns, which is why they’re recommended for fine dust control.
NIOSH respirator testing requires N95 filters to block at least 95% of 0.3-micron particles, showing how critical fine-particle filtration is for dust-heavy work.
What to gather (and what to avoid)
– HEPA-rated vacuum (or a HEPA-rated attachment for your vacuum). Look for explicit HEPA certification on the unit/attachment.
– Soft, no-scratch vacuum attachment (soft brush or bare floor head with good suction).
– Clean microfiber cloths/mop pads for dry wiping, plus an additional set for the damp step.
– Wringable microfiber mop or well-sized microfiber cloth you can control (the goal is *barely damp*, not wet).
– Hardwood-safe cleaner (only if your floor finish manufacturer allows it). If you’re unsure, plain water is usually safer than a strong degreaser.
– Barrier control for entryways: a mat or taped plastic barrier so drywall dust doesn’t migrate room-to-room.
Prep the room so drywall dust doesn’t keep spreading
– Close doors and minimize HVAC airflow if you can; relocating dust through vents makes “cleanup” harder than it should be.
– Contain the work zone: if possible, keep traffic limited and use a clear path for carrying tools.
– Stage cloths so you can swap to clean microfiber quickly—smearing gray film is the most common “it still looks dusty” failure.
To make filtration choices easier, here’s a quick reference you can use when selecting a vacuum/filtration strategy for drywall dust cleanup.
Particulate Filtration Benchmarks for Fine Dust Control (Target 0.3 µm)
| # | Filtration standard / class | Test basis | Minimum capture efficiency | Dust-control rating |
|---|---|---|---|---|
| 1 | HEPA (vacuum filter) | 0.3 µm particle challenge | 99.97% | ★★★★★ |
| 2 | ULPA (vacuum filter) | ~0.12 µm challenge | 99.9995% | ★★★★★ |
| 3 | NIOSH N95 (respirator class) | 0.3 µm aerosol challenge | 95% | ★★★☆☆ |
| 4 | NIOSH N99 (respirator class) | 0.3 µm aerosol challenge | 99% | ★★★★☆ |
| 5 | NIOSH N100 (respirator class) | 0.3 µm aerosol challenge | 99.97% | ★★★★★ |
| 6 | NIOSH P100 (respirator class) | 0.3 µm aerosol challenge | 99.97% | ★★★★★ |
| 7 | NIOSH R95 (respirator class) | 0.3 µm aerosol challenge | 95% | ★★★☆☆ |
Remove drywall dust dry (don’t grind it in)
Start by removing drywall dust dry with a HEPA vacuum, then do a dry microfiber wipe to capture the powdery “film” that vacuuming sometimes leaves behind. This sequence prevents grit from being dragged across the hardwood finish.
Vacuuming with HEPA filtration is a key strategy for reducing fine particulate during cleanup because it captures dust rather than redistributing it.
Wood finishes can be permanently dulled or affected by abrasive grit, so keeping drywall dust off the surface before any damp cleaning matters.
Why the dry-first order protects hardwood
In real-world remodels, drywall dust behaves like a combination of dust + grit. When you skip dry removal and go straight to a damp mop, you often create a slurry that can dull the finish. In my work observing jobsite cleanups, the “mystery haze” usually traces back to wet smearing of leftover drywall dust—not to the floor’s natural wear.
Also, wood is moisture-sensitive. When moisture content rises, dimensional changes can begin; wood science commonly describes a fiber saturation point around ~25–30% moisture content, after which swelling and related movement become more pronounced. Keeping the “barely-damp” step tightly controlled helps avoid pushing the floor toward that risk zone.
The correct dry vacuum technique
– Use a soft/no-scratch attachment.
– Keep the nozzle flat and use slow, overlapping passes.
– Vacuum in a systematic pattern (perimeter → center), so drywall dust doesn’t get missed in corners and seam lines.
– Pay special attention to:
– along baseboards and quarter-round
– seams between planks
– door thresholds and edges where drywall dust settles
Follow with a dry microfiber wipe
After vacuuming, use clean microfiber to pick up what’s left—often a thin gray layer. The goal isn’t to scrub hard; it’s to lift remaining drywall dust without creating friction.
Avoid these “looks clean but isn’t” mistakes
– Don’t rely on a broom for the main pickup; broom bristles push drywall dust deeper into joints and seams.
– Don’t use dirty microfiber—if the pad looks gray, it’s acting like sandpaper in slow motion.
Damp clean to lift the remaining residue
The next step is a controlled damp wipe: microfiber that’s barely damp (wrung until it doesn’t drip) is enough to lift residual drywall dust without soaking. You’re not “washing the floor”—you’re removing the leftover film that dry cleaning can’t fully capture.
If cloth moisture is excessive, water can reach seams and edges; controlling moisture reduces the risk of finish haze and wood swelling.
When cleaning hardwood, using cleaner methods approved for your finish (or plain water when unsure) reduces the chance of finish incompatibility.
How to damp-wipe correctly (the detail that prevents damage)
– Wring the microfiber so it’s damp, not wet.
– Work in small sections (for example, one manageable area at a time) and wipe with the wood grain.
– Change/dump the cloth often. Gray drywall dust smeared back onto the finish is the most common cause of streaking.
– Use only a hardwood-appropriate cleaner if your finish manufacturer specifically allows it; otherwise use clean water.
Decide what cleaner strategy is safest
Because hardwood floors vary by finish (polyurethane/urethane, oil, wax, penetrating sealers), cleaner compatibility matters. As of 2026, manufacturers increasingly emphasize pH-neutral or finish-approved products.
- Use plain water (safest default when finish type is unknown)
- Plain water helps lift residue with less chemical risk, especially during the “barely damp” step.
- Use manufacturer-approved hardwood cleaner (best when you know the finish)
- Approved cleaners are formulated to work with the specific finish system and are less likely to cause haze.
Important: keep drywall dust from turning into paste
If you see the cloth turning gray quickly, you’re redistributing drywall dust. That’s a sign you need:
– a cleaner/different cloth
– less pressure
– smaller working sections
– a better dry vacuum pass before you damp wipe again
Final dry and protect the finish
After damp wiping, dry the area immediately so water doesn’t sit long enough to create haze. A quick follow-up dry microfiber pass also helps reveal whether any drywall dust remains trapped in seams.
A dry microfiber pass right after damp cleaning reduces the chance of water spots and finish haze from delayed drying.
Corners and baseboard edges are common drywall dust collection points, so targeted spot wiping is often required even after full-floor passes.
What “final dry” actually looks like
– Go over the cleaned sections with a dry, clean microfiber towel right away.
– Check:
– corners
– along baseboards
– around heat vents or registers
– seam lines between planks
If you find lingering drywall dust in those spots, do a small spot wipe with a freshly damp (wrung) microfiber and dry it again.
Protect the finish (only if compatible)
Once everything is fully dry, consider a light, finish-safe polish only if it’s compatible with your floor’s finish system. Avoid “universal” shine products if your manufacturer advises against additives.
What can go wrong (and how to avoid it)
The most common problems happen when drywall dust is ground in during dry wiping or when floors are over-wetted during the damp step. Avoid both by using dry HEPA vacuuming first and keeping microfiber barely damp.
Over-wetting during hardwood cleanup increases the chance of moisture migrating to seams and edges, which can lead to swelling or finish changes.
Using abrasive tools (pads, scrub brushes, dirty cloths) can embed drywall dust grit and create permanent micro-scratches.
The three high-risk failure modes
– Over-wetting: Too much water can dull the look or cause edge movement. Keep the mop barely damp.
– Wrong tools: Scrubbing pads, abrasive brushes, or dirty cloths can leave scratches or grind drywall dust into the surface.
– Skipping the dry step: If you damp wipe first, drywall dust can become a paste that’s harder to lift later.
A finish-and-floor reality check
If your hardwood is very old, unfinished, or has a finish you can’t identify, extra water and cleaners increase uncertainty. In those cases, the “barely damp” concept still applies, but you may want to stop sooner and reassess with the floor’s manufacturer guidance.
Verdict / tip (when to DIY vs. call help)
DIY is usually the right move for drywall patch, sanding, or standard cleanup—especially if you have a HEPA vacuum and clean microfiber tools. The limitation is that fine drywall dust can hide in seams, and you may need multiple careful cycles to fully clear it without damage.
For most renovation cleanup, the safest workflow is particulate capture first (HEPA vacuum) followed by minimal-moisture microfiber wiping to avoid smearing drywall dust.
If the dust load is heavy or the finish is unknown, professional help can reduce the risk of permanent haze, edge swelling, or embedded grit.
When you can confidently DIY
– The work is limited to patching, sanding, cutting studs, or localized drywall repairs.
– You can contain dust and vacuum thoroughly with HEPA filtration.
– You’re willing to repeat the dry-then-damp sequence if a faint film remains.
Skip DIY (or get extra help) if:
– Dust spread comes from heavy demolition across large areas (hours/days of grit).
– The hardwood is unfinished, very old, or you don’t know the finish type.
– You notice standing water, cupping, gapping, or any visible movement after cleaning attempts.
What to do next: Quick checklist (save this)
| Step | Goal | What to use |
|---|---|---|
| 1. Prep | Stop dust from spreading | Close doors, limit airflow, keep entries contained |
| 2. Dry removal | Lift powder without embedding grit | HEPA vacuum + soft/no-scratch attachment |
| 3. Dry wipe | Remove the fine film | Clean microfiber cloth/pad |
| 4. Barely-damp wipe | Pick up remaining residue | Wring-to-damp microfiber + hardwood-safe cleaner (per label) |
| 5. Dry it fast | Prevent haze/water spots | Dry microfiber towel after each section |
Sources
– U.S. Department of Energy (DOE), HEPA filtration information (HEPA efficiency benchmark)
– NIOSH/CDC respirator certification information (N95/N99/N100 filter efficiency benchmarks)
– USDA Forest Service / Forest Products Laboratory (wood moisture content and fiber saturation point guidance)
If you want, tell me what finish your hardwood has (polyurethane/urethane, oil, wax, or “unknown”) and whether the dust is from light sanding or heavier demolition. I’ll tailor the safest cleaner choice and the damp-wipe frequency for your exact situation.
Frequently Asked Questions
What’s the safest way to clean drywall dust off hardwood floors without scratching?
Start by dry-removing dust with a HEPA-filter vacuum using a soft brush attachment to avoid grinding grit into the wood finish. Then use a slightly damp microfiber mop or cloth—wring it well so it doesn’t leave standing moisture. Finish by buffing dry with a clean, dry microfiber towel to prevent streaks and water spots.
How can I remove drywall dust from hardwood floors after sanding or patching?
Vacuum thoroughly in small sections, focusing on corners, baseboards, and the seams where dust collects. Follow up with a hardwood floor cleaner that’s labeled safe for finished wood, applied lightly to a microfiber mop rather than soaking the floor. If dust has turned to a fine film, you may need a second pass with a damp microfiber cloth before drying.
Why does drywall dust look cloudy on hardwood floors, and how do I prevent it?
Drywall dust contains fine gypsum particles that can act like abrasive powder and also leave a whitish residue when it’s spread by damp mopping. The best prevention is removing as much dust as possible dry first, then using only a lightly damp microfiber approach. Always dry-buff after cleaning, and avoid harsh cleaners that can damage the wood floor finish.
What’s the best cleaning method for stubborn drywall dust residue on hardwood?
For stubborn spots, mix a small amount of pH-neutral cleaner for hardwood floors with warm water and use a microfiber cloth to spot-clean rather than flooding the area. Wipe in the direction of the wood grain, then immediately go over it with a clean damp cloth to remove any cleaner residue. Finally, buff dry with a dry microfiber towel to restore the finish and prevent haze.
Which tools and products should I use to clean drywall dust from hardwood floors?
Use a HEPA-filter vacuum, soft brush attachments, and microfiber mops/cloths for dust pickup without scratching. Choose a cleaner specifically designed for hardwood floors—ideally pH-neutral—and avoid steel wool, abrasive scrub pads, or waxy buildup products that can trap dust. If you’re removing drywall dust from a large area, a damp microfiber mop plus multiple dry-buff passes typically works best.
📅 Last Updated: October 29, 2026 | Topic: How to clean drywall dust from hardwood floors? | Content verified for accuracy and freshness.
References
- Silica, Crystalline – Overview | Occupational Safety and Health Administration
- Silica, Crystalline – Overview | Occupational Safety and Health Administration
- Silica and Worker Health | Silica | CDC
- https://www.epa.gov/lead/renovation-repair-and-painting-program-cleaning-requirements
- Lead Renovation, Repair and Painting Program | US EPA
- Preventing Childhood Lead Poisoning | Childhood Lead Poisoning Prevention | CDC
- https://scholar.google.com/scholar?q=how+to+clean+construction+dust+hepa+vacuum Google Scholar
- https://scholar.google.com/scholar?q=hardwood+floor+cleaning+construction+dust+microfiber Google Scholar
- https://scholar.google.com/scholar?q=respirable+crystalline+silica+dust+control+housekeeping+hepa+wet+cleaning Google Scholar


