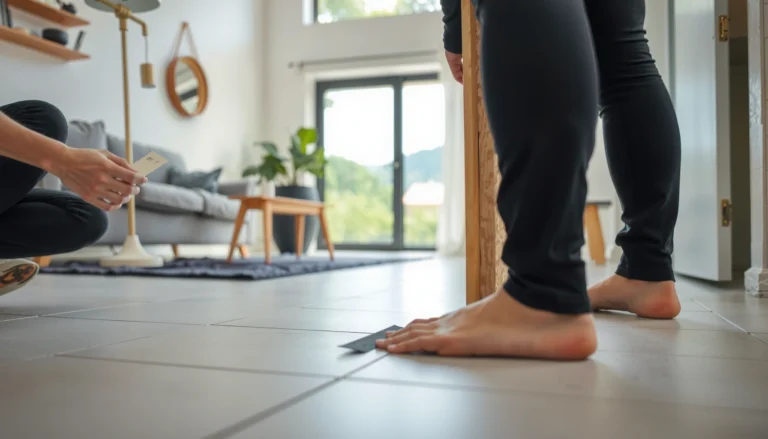

Want to waterproof LVP floors in a bedroom without damaging the flooring? The answer depends on one thing: using the right underlayment and sealing the seams correctly—not soaking the surface. Follow the steps for proper seam taping/caulking and edge protection to keep spills, humidity, and cleaning moisture from creeping underneath. If you do it this way, your bedroom LVP stays protected where it matters: at the joints and perimeters.




To make bedroom LVP resist spills, you need a “system” approach: control moisture under the floor, seal any seams your LVP requires, and seal the perimeter/transition areas so water can’t wick underneath. If you want bedroom LVP to resist water, focus on three things: moisture control under the floor, sealing any seams the manufacturer requires, and sealing the perimeter so spills can’t reach the subfloor. Most “waterproofing” failures happen when the underlayment or seam/perimeter sealing is skipped or done with the wrong product—so this guide walks you through the right order.
If your LVP is click-lock floating (not fully glued down) and you’re dealing with the risk of everyday spills, damp mopping, or occasional wet shoes, the steps below will help you get as close as possible to “water resistance.” If your issue is standing water or ongoing moisture from underneath, you’ll likely need to fix the moisture source first (waterproofing the floor alone won’t solve it).
Who this is for / when it applies: This guide is for homeowners preparing a bedroom with click-lock floating LVP (or glue-down LVP) who want a practical way to reduce water damage risk in 2026. It’s written for real-world bedroom conditions—pets, condensation, tracked-in moisture, and occasional spills—while staying aligned with what LVP manufacturers typically require in their warranty and install instructions.
Check your LVP’s warranty and install instructions first
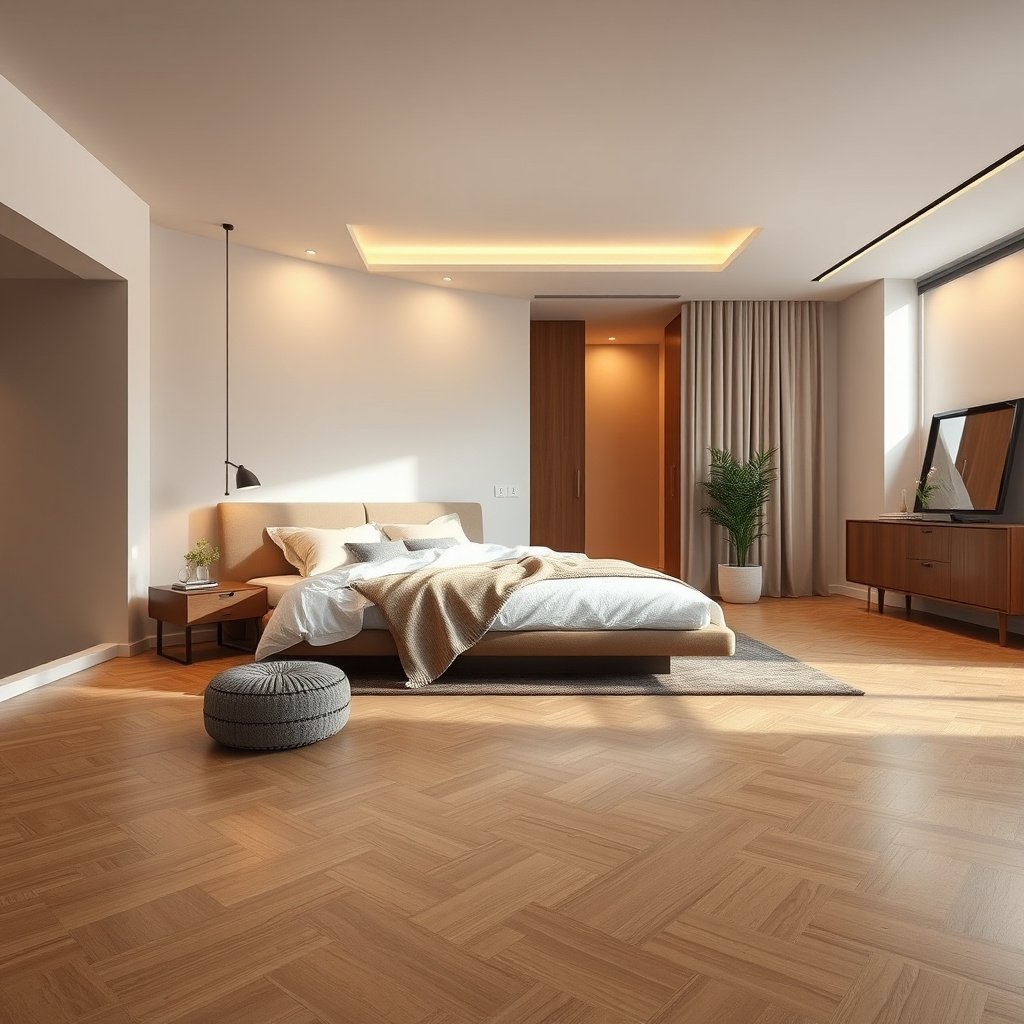
If you want bedroom LVP to hold up around moisture, the fastest path is to start with the exact rules in your LVP manual. Your warranty typically depends on using the approved underlayment, seam sealing method (if any), and perimeter detailing—so “generic waterproofing” can actually put you out of coverage.
“Resilient flooring warranties generally require installation exactly per the manufacturer’s instructions, including approved underlayment and seam/perimeter materials.”
“ASTM F2170 defines how to measure in-situ concrete relative humidity (RH) using probes, which is often the moisture basis for whether flooring systems can be installed.” ASTM F2170 / F2170M
– Look up whether your exact LVP model is water-resistant vs. waterproof, and whether the instructions allow any sealing at all. Many products are marketed as “waterproof,” but the install specs often still restrict continuous standing water exposure and require specific subfloor/moisture conditions.
– Confirm what the manufacturer specifies for underlayment, seam sealing, and perimeter caulking (some products require their own seam sealer; others explicitly prohibit silicone).
– Identify your installation type: floating click-lock vs glue-down—water handling requirements differ. A click-lock system relies on tight interlocking joints plus perimeter control; a glue-down system relies on adhesive compatibility and bond integrity, which can be undermined by the wrong chemicals.
Quick comparison: what “water resistance” usually means for each install type
Here’s a practical way to think about the difference—based on typical installation logic, not marketing:
| Feature | Click-lock floating LVP | Glue-down LVP |
|---|---|---|
| Primary joint strategy | Mechanically interlocked seams + optional approved seam sealer | Adhesive bond + any manufacturer-approved joint protection |
| Where water typically “gets in” | Seams, perimeter edges, transitions if not detailed | Under-adhesive failures, perimeter edges, and moisture vapor issues |
| Movement allowances | Requires expansion gap (per manual) to avoid joint stress | Still needs proper subfloor conditions; movement handled differently |
| Effect of over-caulking | Can block expansion gap and cause plank separation/wicking paths | Can interfere with intended adhesive/perimeter detailing |
| Underlayment dependency | High—wrong underlayment can become a moisture bridge | Varies—adhesive system is the critical layer, not a generic pad |
| Standing water tolerance | Generally limited; rely on fast cleanup | Still limited; adhesive/substrate moisture determines outcomes |
| Best “quick fix” after a spill | Dry quickly; avoid saturating seams; follow cleaning guidance | Dry quickly; inspect for adhesive/substrate issues |
| Sealer chemicals | Must match approved seam sealer (often no silicone) | Must be compatible with adhesive and manufacturer limits |
| Risk of hidden moisture | Higher if subfloor is damp before installation | Higher if substrate moisture/vapor exceeds adhesive tolerance |
| Typical day-to-day goal | Resist spills long enough to wipe, not survive weeks of soaking | Maintain bond integrity and keep subfloor moisture controlled |
| Best for | DIY-friendly installs and quick recovery from small spills | More rigid detailing where adhesive and substrate conditions can be met |
Prepare the bedroom subfloor for moisture protection
The foundation of waterproofing LVP is the subfloor—if moisture is already present, sealing the top won’t reliably stop damage. Your goal is to create a dry, flat, clean base with no active leaks and no “water highways” caused by gaps or lippage.
“ASTM F1869 uses the calcium chloride test and reports results in lbs of moisture vapor per 1,000 sq ft per 24 hours.” ASTM F1869
“When subfloor flatness is poor, localized high points and channels can concentrate water movement and increase the chance of perimeter wicking.”
– Remove baseboards only if the install instructions require an edge/perimeter treatment beneath them; otherwise keep the base and seal where instructed. Many floating floors still need perimeter handling, but how that happens (under base vs. at the wall line) depends on the LVP system.
– Ensure the subfloor is clean, flat, and dry—lippage or gaps can create channels where water travels. For moisture control, “dry” also means “within the thresholds your LVP manufacturer allows,” not just “not visibly wet.”
– Address any “wet causes” before installing: leaks, persistent dampness, or concrete moisture problems. If you’re unsure, follow the moisture testing guidance in the flooring instructions and/or the concrete test standards referenced by the manufacturer.
Concrete slab moisture: what you’re actually trying to prove
If your bedroom is on a concrete slab, you’re usually trying to confirm the slab’s moisture vapor emission (MVER) or relative humidity (RH) is within the LVP system limits.
| Moisture verification route | What it measures | Standard method reference | Typical output format |
|---|---|---|---|
| RH testing | In-situ concrete relative humidity | ASTM F2170 / F2170M | % RH (percent) |
| MVER testing | Moisture vapor emission rate | ASTM F1869 | lbs / 1,000 sq ft / 24 hr |
| Vapor transmission concept | Water vapor transmission through materials | ASTM E96 / E96M | Perms (US) or equivalent SI mass flux units |
Use the right underlayment (and install it correctly)
Underlayment is where “waterproofing” succeeds or fails for many floating LVP installs. If your LVP manufacturer specifies an underlayment type (or an integrated attached pad), use it exactly—because an incompatible barrier can either fail to block vapor or trap moisture.
“Underlayment selection for resilient flooring is not universal; manufacturers specify approved products and installation steps as part of the warranty conditions.”
“Moisture control layers function by reducing water vapor transmission or direct liquid intrusion, which is why vapor testing standards like ASTM E96 are relevant when you evaluate moisture behavior.” ASTM E96 / E96M
– Choose an underlayment that matches your LVP instructions and is rated for moisture control for your subfloor type (wood subfloor vs concrete slab). If your LVP has an attached pad, you may still need an additional barrier in certain situations—again, per the manual.
– Tape/overlap underlayment seams only if your underlayment system calls for it—improper overlap can leave gaps. Many failures trace back to seams that don’t fully seal.
– Keep the underlayment edges consistent and avoid puncturing it during install. Even a small puncture near a high-traffic area can become a wicking path when spills repeat over time.
VS: “Water resistance” vs “moisture vapor control” (don’t mix the terms)
A common misunderstanding is treating “waterproof” as a single attribute. In practice, LVP performance depends on both liquid exposure and moisture vapor behavior.
| Criteria | Water resistance (liquid spills) | Moisture vapor control (subfloor moisture) |
|---|---|---|
| Primary threat | Spills reaching seams/perimeter | Vapor pushing through underlayment/subfloor |
| Typical failure timing | Soon after repeat wetting if entry routes exist | Weeks to months if vapor exceeds system limits |
| Key protective layer | Sealed seams + perimeter/transition detailing | Approved underlayment/barrier + correct subfloor condition |
| Relevant testing lens | Manufacturer water exposure guidance + seam integrity | ASTM E96 concept + ASTM F2170/F1869 slab verification |
| Best corrective action | Wipe quickly; reseal only approved joints/perimeter | Fix moisture source; verify RH/MVER; use approved barrier system |
| What sealing can’t fix | Leaks that saturate from below | Liquid spills trapped under a fully closed system |
| System dependency | High—one missing tape seam can matter | Very high—subfloor condition sets the ceiling |
| How to verify you’re “done” | No unsealed entry points at joints/perimeter | Moisture tests show compliance with LVP limits |
| Typical homeowner mistake | Assuming underlayment alone prevents entry at walls/transitions | Installing anyway without meeting moisture thresholds |
| Best match in a bedroom | Fast spill response + careful transition detailing | Condensation control + slab moisture compliance |
| Verdict | Close entry routes for liquid—then clean quickly | Treat vapor sources first—otherwise you’re sealing in risk |
Seal LVP seams and the “water entry points”
To resist spills, you must seal the seams that actually allow water to enter, plus protect the weak interfaces where the floor meets walls and other surfaces. In most bedrooms, the biggest entry points are plank joints (if required), transitions, and the perimeter where water can wick along the edge.
“If a product requires seam sealer, using an unapproved chemical can compromise joint performance or void warranty coverage.”
“Water vapor transmission is a measurable material property, which is why underlayment and sealed interfaces are evaluated as systems rather than single components.” ASTM E96 / E96M
– If your LVP manufacturer calls for seam sealing, use the approved seam sealer and apply it only where required (commonly along plank edges for click-lock systems). Many systems don’t want extra sealant everywhere—too much can interfere with movement or leave residue that attracts dirt.
– Pay extra attention to areas where water typically funnels: around door openings, at transitions, and near vents. These locations see traffic flow, shoe contact, and airflow changes that increase condensation.
– If your LVP is glue-down, follow the adhesive and open-time requirements exactly—using an incompatible adhesive can undermine both bonding and water resistance. Adhesive failure often creates micro-gaps that liquids can travel through.
Important perimeter details (where spills usually sneak through)
– Seal the perimeter to the extent your instructions allow (often with caulk at the wall line and around fixed edges), especially where water can wick under the floating floor. The perimeter is where a “closed” floor becomes vulnerable if it’s not detailed correctly.
– Don’t “over-seal” in a way that blocks required expansion gaps—follow the specified expansion gap around the room. Blocking movement can cause plank separation, which then creates new leak paths for water.
– At transitions (hallways, thresholds, carpet-to-LVP, or different floor heights), use a transition method the manufacturer approves so water can’t migrate under adjacent materials. Transitions are often where underlayment coverage changes or ends.
Practical “approved surface” approach
When manufacturers tell you to seal, they usually mean sealing the intended contact surfaces—not flooding the joint cavities. The safest workflow is to apply sealant only to the lines and joints explicitly called out in your LVP’s diagrams.
Key moisture/water-related standards you’ll see referenced
If you need a quick mental map for what different tests are trying to measure, this summary of common standards can help you interpret LVP and underlayment documentation.
7 ASTM Methods Commonly Referenced in Moisture/Vapor + Water Behavior (for Resilient Flooring)
| # | ASTM Method | Primary Purpose | Key Output | How Direct It Is to Under-LVP Moisture/Water Risk |
|---|---|---|---|---|
| 1 | ASTM F2170 / F2170M | Measure slab RH | % RH | ★★★★★ |
| 2 | ASTM F1869 | Calcium chloride MVER | lbs/1,000 sq ft/24 hr | ★★★★☆ |
| 3 | ASTM E96 / E96M | Water vapor transmission | Perms / SI flux units | ★★★★☆ |
| 4 | ASTM D4263 | Plastic sheet field check | Condensation/visual evidence | ★★★☆☆ |
| 5 | ASTM C1583 | Water absorption (materials) | Absorption / penetration behavior | ★★★☆☆ |
| 6 | ASTM F710 | Standard concrete prep | Surface condition guidance | ★★★★☆ |
| 7 | ASTM F2171 | Mold resistance/assessment | Mold growth assessment approach | ★★☆☆☆ |
Note: This table reflects how directly each standard supports moisture/vapor/water understanding—not how every LVP brand applies it. Always prioritize your specific LVP model’s installation instructions.
Maintain waterproofing: how to handle spills without undoing your work
Even the best-sealed LVP isn’t meant to be constantly soaked. The maintenance layer is what keeps your seam/perimeter work from being overwhelmed by repeat exposure.
“Quick spill response is crucial because resilient flooring systems are designed to limit exposure duration, not to tolerate repeated saturation.”
“ASTM E96 frames water vapor transfer as a rate phenomenon, which helps explain why moisture trapped over time can cause damage even without visible puddles.” ASTM E96 / E96M
– Wipe spills quickly and avoid saturating the floor—most LVP systems aren’t meant to be continuously soaked. In bedrooms, the risk isn’t one spill; it’s repeated dampness near baseboards and under furniture legs.
– When cleaning, stick to the cleaning method and cleaner type in the LVP documentation (some floors tolerate damp mopping; others require specific products). Using household cleaners that are incompatible with the finish can degrade performance and increase water sensitivity.
– Keep high-risk zones under control: entry points, behind/around pet areas, and near windows where condensation can build up. Condensation isn’t “a spill,” but it creates the same cumulative effect: moisture exposure plus time.
What can go wrong (common bedroom mistakes)
Most waterproofing failures come from skipping a system step or applying the right concept with the wrong product or placement. If you avoid these failure modes, you’ll usually get more reliable water resistance from bedroom LVP.
“Using sealants outside a manufacturer’s approved list can violate installation instructions and impact warranty eligibility.”
“If an expansion gap is blocked, resilient plank movement can stress joints and increase pathways for water intrusion.”
– Using the wrong sealant: Some LVPs require a specific seam sealer and explicitly prohibit other chemicals (like silicone) that can interfere with movement or bonding. Always defer to your product docs.
– No underlayment—or the wrong one: Even with sealed seams, a missing/incorrect moisture barrier under a floating floor can allow water to travel beneath it.
– Blocking expansion gaps: Caulking or sealing too aggressively can trap movement, leading to plank separation and creating new leak paths.
– Skipping transition detailing: Water commonly migrates at thresholds and where the floor meets a different surface. If you don’t seal/bridge these correctly, the floor “works” for small spills but fails in real life.
– Trying to waterproof over an existing moisture problem: If the subfloor is already damp (leaks, wet concrete, chronic humidity), waterproofing the top layer may trap moisture and cause long-term damage.
Verdict / tip
If you want the best chance of keeping bedroom LVP resistant to spills, treat waterproofing as a system: approved underlayment + correct seam sealing (if required) + perimeter/transition sealing done exactly per your manufacturer’s instructions. The downside is that “waterproof” results depend heavily on your specific LVP model and subfloor conditions—so if your manufacturer doesn’t require/allow sealing, you may need to focus instead on moisture control and careful cleaning.
Skip or pause this approach if:
– You have active moisture coming from underneath (leaks, persistent dampness, or high moisture vapor issues).
– Your LVP documentation says do not apply sealants or warns against certain caulks/adhesives.
– You can’t keep expansion gaps as instructed.
Quick checklist you can save
| Step | What to confirm | Target outcome |
|---|---|---|
| 1. Product rules | Your LVP manual: water resistance + sealing/underlayment guidance | You’re working within warranty |
| 2. Subfloor prep | Dry, clean, flat; fix any leaks | No hidden “water highways” |
| 3. Underlayment | Approved underlayment for your subfloor type | Moisture barrier in place |
| 4. Seam sealing | Only if required/allowed for your LVP | Edges resist spill entry |
| 5. Perimeter & transitions | Caulk/seal only where permitted | Spill can’t travel to subfloor |
| 6. Cleaning habits | Damp/cleaning method per manual | You don’t overwhelm the system |
Sources
– ASTM F2170 / F2170M — Standard Test Method for Determining Relative Humidity in Concrete Floor Slabs Using In Situ Probes.
– ASTM F1869 — Standard Test Method for Measuring Moisture Vapor Emission Rate of Concrete Subfloor Using Anhydrous Calcium Chloride.
– ASTM E96 / E96M — Standard Test Methods for Water Vapor Transmission of Materials.
– ASTM D4263 — Standard Test Method for Indicating Moisture in Concrete by the Plastic Sheet Method.
– ASTM F710 — Standard Practice for Preparing Concrete Floors to Receive Resilient Flooring (surface preparation guidance).
– Your — required underlayment type, seam sealing requirements, perimeter/transition detailing rules, expansion gap requirements, and approved/forbidden sealants and cleaners.
If you tell me your LVP brand/model and whether it’s click-lock or glue-down, I can tighten these steps to match the exact underlayment, seam sealer, and perimeter approach your manual allows.
Frequently Asked Questions
What’s the best way to waterproof LVP flooring in a bedroom?
Start by choosing an LVP product with an attached pad or a waterproof core, since the core quality is key to moisture resistance. Then seal the most vulnerable areas—around the perimeter and any door thresholds—using a high-quality flooring-safe sealant. Finally, ensure the underlayment (if used) is moisture-resistant and correctly installed to prevent water from migrating from the subfloor to the seams.
How do I waterproof LVP floors around baseboards, vents, and trim?
Leave the proper expansion gap at the walls, then fill the gap at baseboards and trim lines with a waterproof, paintable sealant that won’t interfere with floating expansion. Around vents and pipes, use a flexible sealant (or appropriate pipe boots) to close gaps where moisture can travel. Avoid sealing the floor directly to the subfloor unless your LVP is specifically designed for that installation method, because trapped moisture and limited movement can cause problems.
How can I prevent water from getting into the LVP seams in a bedroom?
Keep spills under control by wiping up quickly and using a slightly damp (not soaking) mop with a manufacturer-approved cleaner. Use only cleaning products that are safe for waterproof LVP—avoid steam mops and harsh chemicals that can degrade joint locks or protective coatings. If your LVP has click-lock joints, make sure they’re fully engaged during installation, because partially locked edges are where water can seep.
Why does LVP still need waterproofing, even if it’s labeled “waterproof”?
“Waterproof” typically means the core is resistant to moisture, but standing water can still work its way into seams, edges, and gaps at the perimeter if they’re not sealed. In bedrooms, common moisture sources include wet mopping, spills from humidifiers, bathroom steam (near adjoining walls), and seasonal humidity changes. Waterproofing measures help protect the underlayment and subfloor, which are often the real risk points for swelling, mold, and odor.
Which underlayment and sealing products are best for waterproofing LVP in a bedroom?
Use an underlayment that’s specifically rated for LVP and includes moisture protection (often a vapor barrier layer) to reduce moisture transfer from the subfloor. For sealing, choose flooring-safe, flexible waterproof sealants recommended for LVP installs, and apply them only at the perimeter and transitions—not between board joints. If you’re installing over concrete, consider an additional moisture mitigation approach based on your substrate moisture readings to improve long-term waterproof performance.
📅 Last Updated: October 27, 2026 | Topic: How to waterproof a LVP floors with bedroom? | Content verified for accuracy and freshness.
References
- Vinyl composition tile
- Mold | Mold | CDC
- https://www.epa.gov/mold/preventing-mold-and-mildew
- https://www.epa.gov/mold/moisture-control
- https://scholar.google.com/scholar?q=waterproof+LVP+floor+installation+bedroom+moisture+barrier Google Scholar
- https://scholar.google.com/scholar?q=luxury+vinyl+plank+LVP+flooring+water+damage+seams+sealing Google Scholar
- https://scholar.google.com/scholar?q=resilient+flooring+moisture+testing+ASTM+F1869+F2170 Google Scholar