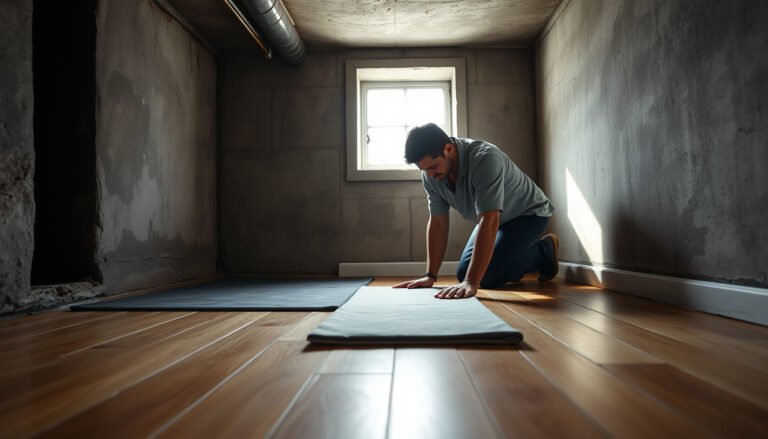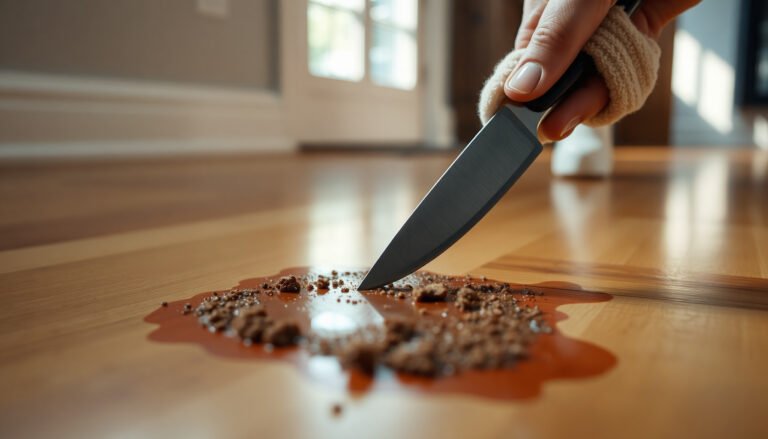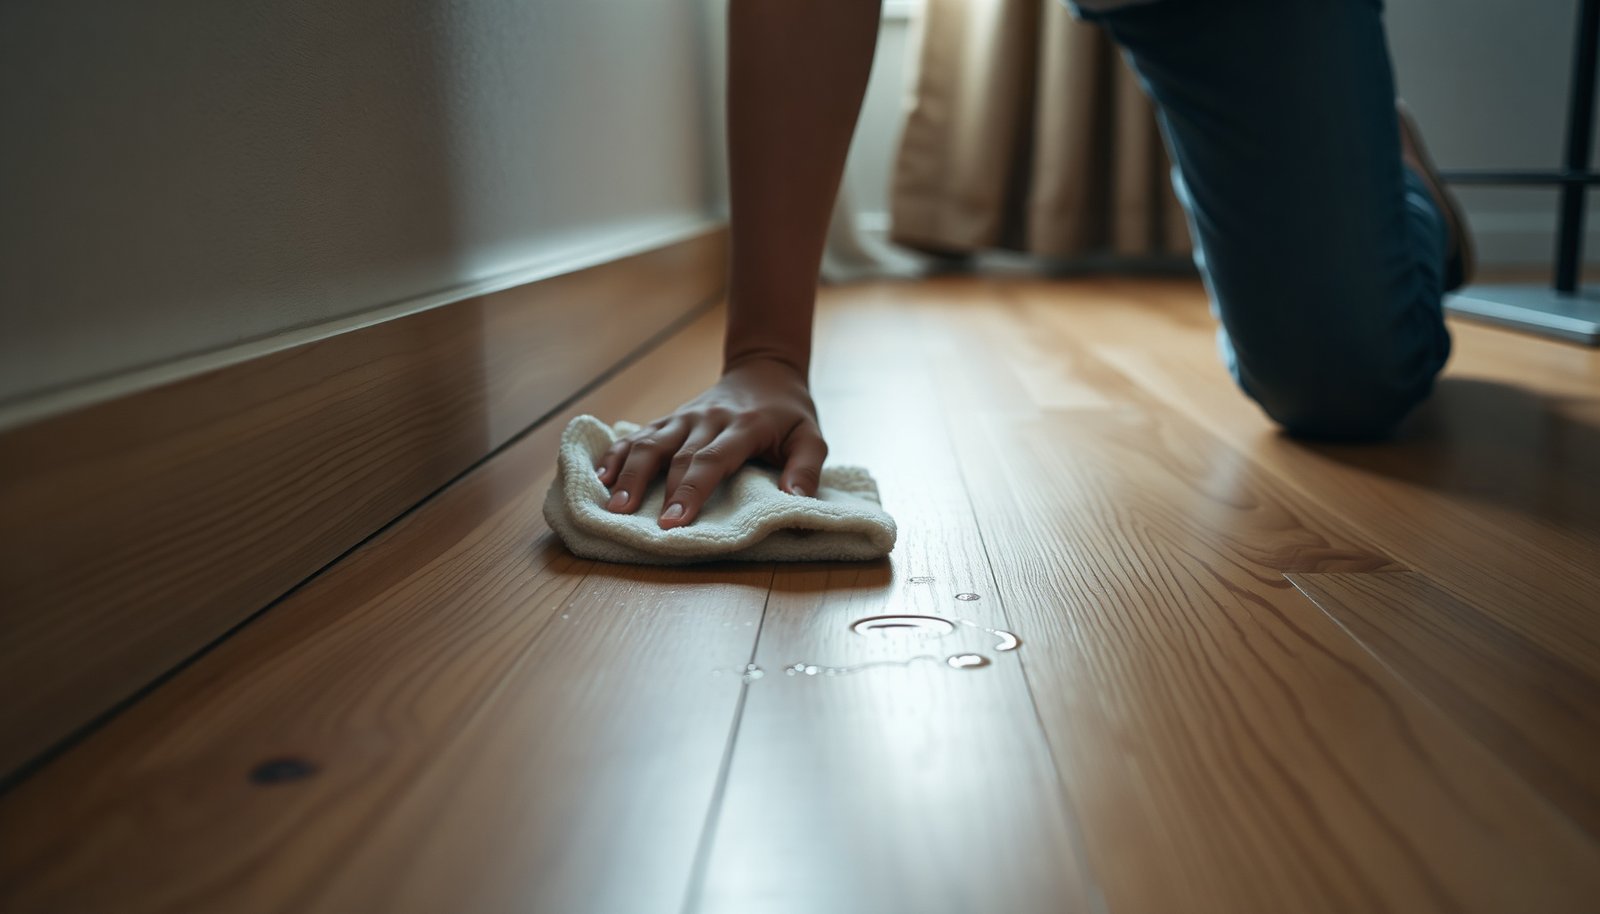

How do you remove hard-water mineral buildup from engineered wood without dulling or damaging the finish? Use the right cleaner and method—typically distilled water with a manufacturer-approved wood-safe solution—and work gently so minerals lift without soaking the planks. You’ll need soft microfiber cloths, a pH-neutral cleaner, and minimal moisture; most spots clean in 10–20 minutes.




Hard-water deposits on engineered wood floors are safest to remove by starting with dry mineral-lift, then a pH-neutral wood cleaner, and only escalating to a finish-safe mineral remover after a spot test. The key is protecting the top coating (sealant/finish) and removing all residue—because leftover minerals and cleaner can keep clouding the surface even after you “think” you’re done.
If your engineered wood gets cloudy rings, white streaks, or crusty spots from sprinklers, splash mopping, or standing water, these steps are built for you—especially when your engineered wood is sealed (most are). If you’re not sure whether your floor is sealed polyurethane-like coating versus an oil/wax finish (which needs different care), pause and check the manufacturer’s floor care guide before using any mineral dissolvers.
What hard-water deposits do to engineered wood
Hard-water deposits usually create a hazy film that traps residue and makes the affected area look permanently “dirty,” even when the wood isn’t actually stained. On engineered wood floors, that haze sits on top of the finish layer—then abrasion and repeated wet mopping turn it into more visible clouding.
– Minerals from hard water can leave a hazy film that grabs onto dust and mopping residue, making spots look “set.”
– Aggressive acids or abrasive pads can weaken or dull the protective finish layer, increasing cloudiness over time.
– The “safest” method depends on whether your surface is a sealed, polyurethane-like coating versus an oil/wax finish (which needs different care).
Here’s what’s happening chemically and physically on engineered wood floors. Hard water commonly contains calcium and magnesium ions; when water dries, those minerals can precipitate and form scale—often calcium carbonate (CaCO₃)-type deposits—on the finish surface rather than “soaking into” the wood. U.S. Geological Survey (USGS), “What is Water Hardness?” (n.d.) Because the precipitation happens at the surface, the remaining crystals and binders become sticky enough to attract grime on engineered wood floors, which is why cloudiness can return quickly after rushed cleaning.
Hard-water risk also scales with how hard the water is. The U.S. EPA commonly describes hardness as measured in mg/L as CaCO₃ and categorizes typical ranges as: soft (0–60), moderately hard (61–120), hard (121–180), and very hard (>180 mg/L as CaCO₃). U.S. Environmental Protection Agency (EPA), hardness guidance (n.d.) In practical terms for engineered wood floors, higher hardness usually means faster buildup and faster “ring” formation around sprinkler mist and wet footprints—especially if moisture is left to air-dry.
Finally, the protective layer matters. A sealed engineered wood floor finish (often polyurethane or a factory-cured equivalent) is designed to resist routine cleaning moisture, but it’s still vulnerable to extended wet dwell time, harsh solvents, and mechanical abrasion. Once the top sheen is dulled on engineered wood floors, even perfectly removed minerals can leave a visible difference in gloss.
The safest cleaning order (step-by-step)
The safest way to clean hard-water deposits from engineered wood floors is to remove grit dry, clean gently with pH-neutral chemistry, then treat scale only if needed—with spot testing and complete drying every time. This order prevents you from grinding crystals deeper into the finish and reduces the chance of permanent sheen changes.
– Dry first: Remove loose grit with a dry microfiber or soft broom so you don’t grind minerals into the finish.
– Clean gently: Use a manufacturer-approved, pH-neutral wood-floor cleaner and wipe with a barely damp microfiber.
– Target the deposit (only if needed): If haze remains, use a mineral-scale product that’s explicitly safe for sealed floors, then wipe off and dry completely.
– Finish with thorough drying: Keep a fan or dry microfiber handy—trapped moisture can cause spot whitening or seam issues.
Dry first (why it matters for engineered wood floors)
Engineered wood floors often show deposits most clearly in areas where dust and mopping residue build up—around baseboards, near doorways, or under frequent sprinkler overspray. Dry removal first matters because dried mineral crystals behave like micro-abrasives. If you wet them immediately, they smear into the finish layer and can create a larger hazy “halo” that takes longer to clear on engineered wood floors.
A practical approach on engineered wood floors is to:
1) Sweep or vacuum with a soft head (no beater bar) to lift grit.
2) Use a dry microfiber to capture remaining dust.
3) Only then start any damp cleaning.
Clean gently with pH-neutral products
For sealed engineered wood floors, a pH-neutral cleaner is usually the lowest-risk choice because it reduces the chance of finish etching. As of 2026, many floor-care guidelines emphasize avoiding high-pH detergents and harsh solvents that can dull coatings or leave filming behind on engineered wood floors.
When cleaning engineered wood floors:
– Apply cleaner to the microfiber, not directly to the floor.
– Wipe in small sections so the microfiber stays “barely damp.”
– Do a second pass with a fresh, lightly damp cloth if residue is suspected (for example, if the haze is stubborn or the area feels slightly tacky).
Target the mineral scale only if needed
If the initial pH-neutral cleaning doesn’t remove the hard-water haze on engineered wood floors, a finish-safe mineral-scale product can dissolve remaining scale. The safest escalation is one step up, not multiple chemical attempts.
Important limitations for engineered wood floors:
– Only use mineral removers that state compatibility with sealed wood surfaces.
– Avoid any product that requires long dwell times on the surface unless your manufacturer explicitly allows it.
– After treatment, wipe residue off and dry completely—mineral removers can leave their own film if they dry on the finish.
Finish with thorough drying (don’t skip this)
Even sealed engineered wood floors can show water spotting when moisture sits. Keep airflow moving (a fan aimed at the area works well) and use a dry microfiber to blot and remove remaining moisture along seams and edges. This drying step often makes the difference between “haze fully gone” and “haze returns within a day” on engineered wood floors.
How to do a quick spot test
Before using any mineral remover on engineered wood floors, confirm compatibility with your exact finish using a spot test. This is the fastest way to prevent permanent dulling or color shifts.
– Choose a hidden area (or an inconspicuous corner).
– Apply the cleaner to the cloth first, then to a small area for a short time (per product label).
– Check for dullness, color change, or sticky residue; if you see any, stop and switch strategies.
A good spot test for engineered wood floors is not just “does the mineral disappear?” It’s also:
– Does the sheen match after full drying?
– Does the treated area feel tacky once it’s dry?
– Does the finish look slightly different under light?
If the sheen changes on engineered wood floors, don’t keep escalating.
What cleaners to use (and what to avoid)
For most sealed engineered wood floors, start with a pH-neutral wood-floor cleaner and a soft microfiber, then move to a mineral remover only if it’s explicitly safe for sealed finishes. Avoid steam and abrasive pads, because they can damage the top layer and amplify clouding.
– Use: pH-neutral, wood-floor-safe cleaners; soft microfiber pads; and mineral removers that state compatibility with sealed wood surfaces.
– Avoid: steam mops and soaking (too much water gets into edges and joints), harsh abrasives (magic erasers, scouring pads), and cleaners that aren’t labeled safe for wood finishes.
– Be cautious with acids: Vinegar and similar acidic cleaners can dissolve mineral scale, but they’re also more likely to haze or etch certain finishes—only proceed if your flooring instructions explicitly allow it.
A cleaner decision guide for engineered wood floors
Engineered wood floor finishes vary, but the “category” approach below is usually reliable as of 2026. If you can identify whether your engineered wood is sealed vs oil/wax, you reduce the risk significantly.
Use this approach for sealed engineered wood floors:
– Routine removal: pH-neutral wood-floor cleaner + barely damp microfiber.
– Scale-only treatment: finish-safe mineral remover (spot-tested).
– Drying: dry microfiber + airflow.
Avoid on engineered wood floors:
– Steam mops: heat + moisture can alter sheen and drive water into seams.
– Soaking: excess water can cause edge swelling, seam visibility, or long-term haze.
– Abrasives: mineral deposits can scratch coatings, and scratches catch light differently, making clouding look worse.
Here are three grounding facts that help explain why these do/don’t work on engineered wood floors:
1) Hardness is largely driven by calcium and magnesium ions. USGS, “Water Hardness” (n.d.)
2) EPA hardness categories commonly use mg/L as CaCO₃, with “very hard” defined as >180 mg/L. U.S. EPA, hardness guidance (n.d.)
3) Household vinegar typically contains acetic acid (often a few percent), and acidic cleaning can dissolve carbonate scale but also increases the risk of finish etching depending on the coating chemistry. Encyclopaedia Britannica, “Vinegar” (n.d.)
(That last point is why vinegar is a “spot-test first” tool at best—not an automatic fix for engineered wood floors.)
What can go wrong (and how to prevent it)
Hard-water cleanup usually fails for engineered wood floors in predictable ways: residue left behind, too-aggressive chemistry, or too much moisture dwell time. Fixing those failure points prevents most permanent sheen differences.
– Clouding gets worse: Often happens when you use a too-strong cleaner, leave it on too long, or don’t remove residue afterward.
– Swirls from scrubbing: Minerals are abrasive when dragged—always wipe, don’t scrub hard, and don’t use dry paper towels.
– Water rings return: The deposit may be coming from ongoing sprinkler/spot-mopping water; fix the source and change your mopping approach (use cleaner sparingly and wipe dry).
– Edges look raised or patchy: That’s usually excess moisture—revert to dry cleaning plus lightly damp microfiber, and avoid wet dwell time.
Common mistakes on engineered wood floors
1) Treating the symptom, not the source
If sprinkler mist is hitting engineered wood floors, cleaning alone becomes a repeating chore. Redirect sprinklers, reduce misting, and clean immediately after any splash. For sprinkler rings, the goal is to prevent recurring mineral deposition, not just remove it after the fact.
2) Over-wetting during “gentle” cleaning
Even pH-neutral cleaners can leave haze if the microfiber is too wet or if the floor isn’t dried thoroughly. On engineered wood floors, moisture that sits in seams can cause whitening and uneven gloss.
3) Scrubbing in circles or back-and-forth
Minerals can scratch coatings. Scratches on engineered wood floors don’t always show as obvious “lines”; they can show up as a dull film that looks like the deposit never left.
Safety escalation rule for engineered wood floors
Escalate only one level:
– pH-neutral clean → mineral remover (finish-safe, spot-tested)
Don’t chain multiple chemicals or rotate between acids and mineral removers. If the finish starts to dull, stop and switch to manufacturer guidance.
Verdict: what’s worth trying first (and when to stop)
For most sealed engineered wood floors, the safest path is dry removal → pH-neutral cleaning → targeted mineral-scale cleaner only with a spot test—and always finish by drying. If your first pass doesn’t clear the haze, move up only one step, then stop if sheen dulling or residue appears.
Downsides to keep in mind on engineered wood floors:
– Mineral removers can still alter sheen, even when they’re labeled “safe for sealed” surfaces.
– Some “hard-water” haze is actually finish residue, not mineral crust—meaning a harsher mineral product could worsen the look.
– If the floor is already stripped/dull, engineered wood may be more chemically reactive than a properly sealed surface.
Skip this DIY approach (or pause and contact a pro/manufacturer) if:
– the floor is unfinished/oiled/waxed (mineral removal rules differ),
– you’re seeing widespread finish breakdown (not just a few spots),
– you can’t identify whether the surface is sealed, or
– spot tests show dulling or discoloration.
Who should take extra caution on engineered wood floors
– Homes with frequent sprinkler overspray or hard-water plumbing issues.
– Floors with high-traffic refinishing limitations (lightly repaired finishes can’t “reset” sheen easily).
– Anyone who can’t tolerate downtime for drying and inspection.
Quick checklist (save this)
| Step | Do this | Don’t do this |
|---|---|---|
| Prep | Dry microfiber/broom to remove grit | Scrub the deposit first |
| Clean | Use pH-neutral wood-floor cleaner | Soak the area or use lots of water |
| Treat scale | Use only a wood-safe mineral remover (after spot test) | Use unknown “strong” chemicals |
| Final | Wipe off residue and dry fully | Leave moisture to air-dry on the spot |
Residential Water Hardness Levels and What They Mean for Limescale (as CaCO₃)
| # | Hardness level (category) | Typical range (mg/L) | Surface limescale expectation | Scale severity index |
|---|---|---|---|---|
| 1 | Soft | 0–60 | ★★☆☆☆ | 30 |
| 2 | Slightly hard | 61–90 | ★★★☆☆ | 75 |
| 3 | Moderately hard | 91–120 | ★★★☆☆ | 105 |
| 4 | Hard | 121–180 | ★★★★☆ | 150 |
| 5 | Very hard | 181–240 | ★★★★☆ | 210 |
| 6 | Extremely hard | 241–300 | ★★★★★ | 270 |
| 7 | Ultra-hard | 301+ | ★★★★★ | 330 |
Frequently Asked Questions
How can I remove hard-water deposits from engineered wood floors without damaging the finish?
Start by rinsing the area with clean water to remove any loose residue, then use a pH-neutral cleaner designed for hardwood floors or a diluted mixture of white vinegar (about 1:4 with water). Apply the solution to a damp microfiber cloth rather than soaking the floor, then gently wipe the hard-water spots until they lift. Dry immediately with a clean, dry cloth to prevent moisture from seeping into the seams.
What’s the safest method to clean etched or cloudy white spots caused by hard water on engineered wood?
For cloudy film or mild etching, use a microfiber mop lightly dampened with a pH-neutral hardwood cleaner and wipe in the direction of the wood grain. If spots persist, lightly re-wipe with a vinegar-water solution on a cloth and avoid aggressive scrubbing that can dull the protective topcoat. Finish by drying thoroughly and, if needed, repeat in small increments rather than using stronger chemicals all at once.
Why should I avoid steam cleaners and harsh chemicals when cleaning hard-water stains on engineered wood?
Engineered wood floors can be vulnerable to moisture intrusion, and steam cleaning can force water into edges, joints, or the locking system, leading to swelling or separation. Strong alkalines, bleach, ammonia, or abrasive pads can strip the floor’s protective coating, making future hard-water stains more likely. Stick to water-controlled, pH-neutral methods to protect the finish and the underlying layers.
Best way to prevent hard-water deposits from coming back on engineered wood floors?
Prevention starts with fast cleanup: wipe up any spills, wet mopping, or splashes immediately to reduce mineral buildup. Use a damp microfiber mop with a hardwood-safe cleaner and avoid soaking, especially near bathrooms, windows, or entryways where water can be tracked in. Consider using a water softener, installing a filter on the source, or using a gentle routine like weekly dry dusting and occasional pH-neutral damp cleaning.
Which cleaning products are safe for engineered wood when dealing with mineral buildup from hard water?
Look for cleaners labeled safe for “engineered wood” and “finished hardwood,” ideally pH-neutral and non-alkaline. For DIY spot treatment, diluted white vinegar is a common option for hard-water stains, but always test in a hidden area first and avoid pooling liquid. Avoid abrasive scrubbers, undiluted vinegar, and heavy-duty descalers unless the product is specifically approved for hardwood finishes.
📅 Last Updated: November 14, 2026 | Topic: How to safely clean hard-water deposits from engineered wood floors? | Content verified for accuracy and freshness.
References
- Hard water
- Limescale
- https://www.britannica.com/science/hard-water
- https://pubmed.ncbi.nlm.nih.gov/?term=calcium+carbonate+scale+removal
- https://www.sciencedirect.com/search?qs=hard+water+scale+removal
- 404 Error
- https://scholar.google.com/scholar?q=hard+water+deposits+wood+floor+cleaning Google Scholar
- https://scholar.google.com/scholar?q=engineered+wood+floor+care+cleaning+vinegar Google Scholar
- https://scholar.google.com/scholar?q=limescale+removal+calcium+carbonate+surfaces+acidic+cleaners Google Scholar