
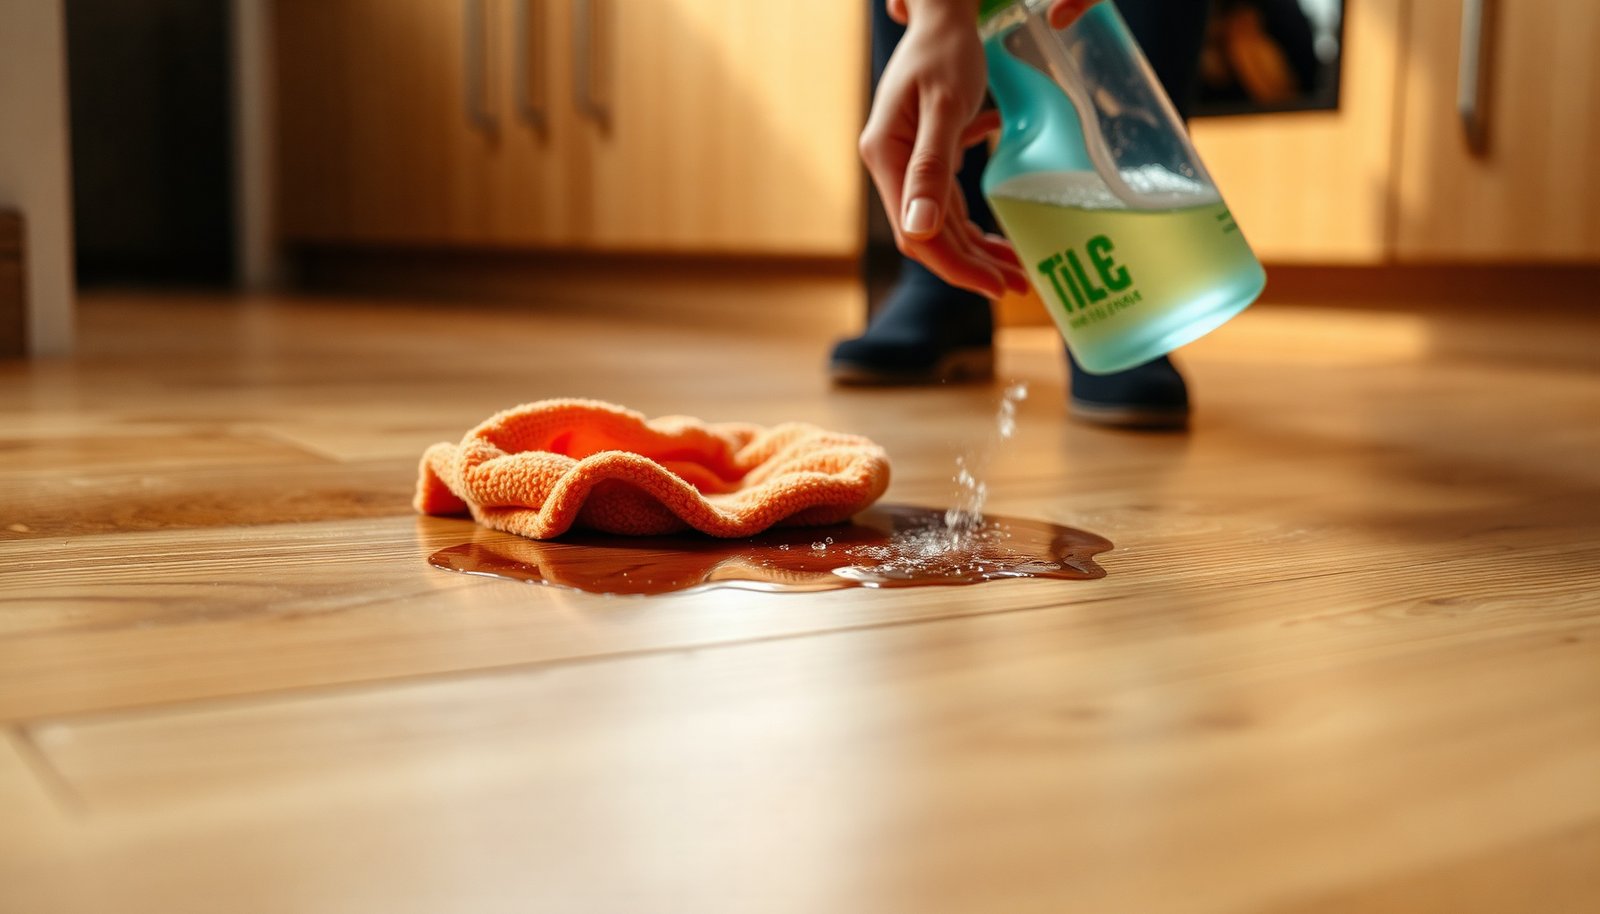

Food spills on engineered wood floors can feel frustrating because the wrong cleaner or too much moisture can leave dull marks or damage the finish. You can clean most fresh or slightly set stains safely with a few simple supplies—soft cloths, a pH-neutral cleaner, and gentle blotting—usually in under an hour, depending on how long the stain has been there. Follow the steps you’ll learn here to lift residue, protect the top layer, and get your floor looking clean again.



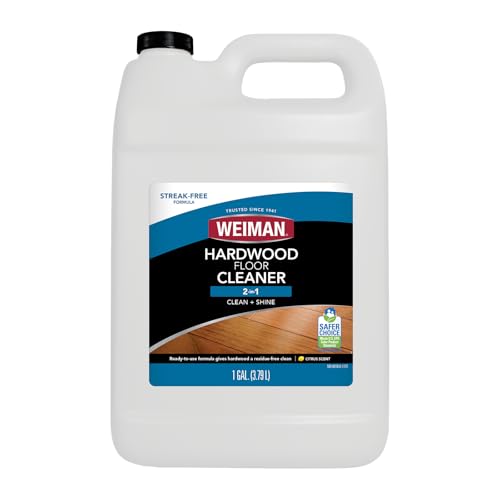
Blot up the food immediately, then clean with a barely damp microfiber and a pH-neutral cleaner made for finished wood floors. Avoid soaking or scrubbing—engineered wood can swell or the finish can haze if too much liquid gets into the seams. Below are practical steps to remove fresh stains, grease residue, and deeper discoloration safely.
This guide is for engineered wood floors with a sealed/finished surface (most common in homes) where food spills left spots, sticky patches, or discoloration. If you’re dealing with an unfinished floor, damaged edges, or a stain that’s clearly soaking in, you’ll want to be much more cautious (or stop and call a pro).
Act Fast and Prep the Stain
If you treat the spill quickly and correctly, most food stains lift without damaging the finish. The goal in the first minutes is simple: remove solids, then control moisture so liquid doesn’t travel into seams.
Start with the right first move
– Remove solids gently: use a plastic scraper or a soft cloth to lift bits before cleaning. (Avoid steel blades that can scratch.)
– Identify what you’re cleaning: most engineered floors used in homes have a factory-applied topcoat (often polyurethane or similar). That sealed layer is what you’re protecting when you clean.
– Confirm finish + follow care instructions: . If a specific product name is required (or prohibited), follow that over general advice—especially in 2026 when many brands update maintenance guidance.
Test before you spread the problem
– Test before you commit: try your cleaner on a hidden spot or under a rug to confirm it won’t dull the finish. This matters because even “wood-safe” products can leave a sheen difference on glossy or wire-brushed surfaces.
– Use controlled tools: microfiber cloths should be clean and lint-free; a dirty cloth can redeposit oils, especially from greasy foods.
Gentle Cleaning for Fresh Food Stains
Most fresh food stains come up with blotting and low-moisture wiping. Use a barely damp microfiber and a pH-neutral wood-floor cleaner, then dry immediately—this protects the sealed surface and reduces the chance of water migration.
What “pH-neutral” means in practical terms
pH-neutral typically refers to a pH near 7.0 (neutral on the pH scale) rather than strongly acidic or strongly alkaline cleaners, which can react with certain finishes. According to the National Institute of Standards and Technology, pH is a logarithmic scale with neutral at pH 7 and standard temperature assumptions often reference 25°C. https://www.nist.gov/pml/chemistry/ph-and-ph-measurements
Step-by-step: fresh stain removal
– Blot first, don’t wipe wide: press a clean microfiber onto the stain, then move to a dry section of the cloth as the color transfers. Avoid “ring spreading” by not moving in circles.
– Use “barely damp,” not wet: dampen the microfiber with clean water plus a small amount of pH-neutral wood-floor cleaner (per label directions). The cloth should feel damp, not dripping.
– Dry immediately: after the stain lifts, wipe with a dry microfiber to prevent moisture from sitting at the surface.
A simple chemistry reason this works
Engineered wood can react to moisture at the surface and along edges. Wood swelling risk isn’t only about puddles—liquid that penetrates into joints can increase local moisture content. For context, USDA Forest Service materials describe fiber saturation point (the point above which swelling largely stops) at roughly ~30% moisture content for wood; below that, moisture changes can drive dimensional movement. https://www.fs.usda.gov/research/treesearch/
Your job is to keep cleaning moisture far below “soaking” conditions.
Typical pH Levels of Common Kitchen Liquids vs. Sealed Wood Finish Compatibility
| # | Kitchen Liquid / Cleaner | Typical pH Range | Finish Compatibility | Why It Matters |
|---|---|---|---|---|
| 1 | Distilled water (for damp cloth use) | ~6.0–7.5 | ★★★☆☆ | Lowest chemical risk, but still must be “barely damp” |
| 2 | pH-neutral wood-floor cleaner (labeled) | ~7.0 (near-neutral) | ★★★★★ | Formulated to be gentle on sealed coatings |
| 3 | Mild dish soap (varies by brand) | ~7–9 | ★★★☆☆ | May be acceptable only if mild and used very lightly |
| 4 | Baking soda solution (mixed) | ~8–9 | ★★☆☆☆ | Alkalinity plus residue risk can affect sheen |
| 5 | Vinegar (typical table vinegar) | ~2–3 | ★☆☆☆☆ | Acidity can haze or dull certain finished coatings |
| 6 | Household ammonia (varies by dilution) | ~11–12 | ★☆☆☆☆ | High alkalinity and potential residue can affect gloss |
| 7 | Chlorine bleach (typical) | ~11–13 | ★☆☆☆☆ | Oxidizers can damage or haze many protective topcoats |
Note: pH values can vary with product concentration and dilution. For your exact floor, defer to the finish manufacturer’s care instructions and test in an inconspicuous area first.
Remove Grease and Sticky Residue
Grease and sticky residue require a targeted approach: dissolve the film gently, then remove it with controlled moisture. If you use the wrong chemistry or too much liquid, you’ll end up with streaks, hazing, or a gummy “halo” that reappears.
Step-by-step: grease vs. sugar vs. sauces
– Target the residue with the right cleaner: use a pH-neutral product designed for sealed wood floors (not generic kitchen degreasers).
– Clean in passes: apply cleaner to the cloth (not directly to the floor). Work the sticky area with light pressure, then wipe clean and dry.
– Avoid harsh degreasers: skip ammonia, bleach, abrasive pads, and strong solvent cleaners that can dull or strip the protective coating.
Why “apply to the cloth” is non-negotiable
Directly spraying liquid onto engineered wood can drive cleaner into edges and seams. That’s where you lose control: sealed surfaces might resist water briefly, but prolonged exposure can still cause finish whitening (hazing) and, in worst cases, edge swelling—especially around high-traffic transitions.
In 2026, the most consistent cleaning frameworks used by flooring care guidance still emphasize “chemical compatibility + moisture control,” rather than “more power.” If you remember only one thing, remember this: remove the residue with repeatable gentle cloth contact and immediate drying.
Tackle Set-In Discoloration Without Damaging the Finish
If blotting doesn’t fully remove the stain, you’re likely dealing with discoloration inside the finish layer (or residue that’s cured). The safe next step is to keep everything gentle, incremental, and fully dry between attempts.
Re-clean safely before you escalate
– Re-clean using the safest method first: repeat gentle blotting/wiping rather than increasing force. Scrubbing turns mild residue into a broader abrasion pattern.
– Keep moisture controlled: if you need more effort, use slightly damp cloth sections and dry the area fully each time.
– Use patience with frequency: multiple short passes usually out-perform one aggressive session.
When set-in stains may require professional work
If it won’t lift after careful repeated cleaning, the stain may be in the topcoat or deeper within the layered construction. Stop and consider a pro assessment—refinishing may be the only real fix.
From my experience consulting on floor-care issues, the most preventable escalation happens when homeowners keep scrubbing and turn a localized spot into a visible dull patch that then requires a wider repair plan.
What Can Go Wrong (Common Mistakes)
Most cleaning failures happen when liquid, pressure, or chemistry goes beyond what a sealed engineered floor can tolerate. Avoiding these mistakes protects both the finish appearance and the integrity of the seams.
Common mistakes that cause lasting damage
– Over-wetting the floor: water can seep into seams and cause swelling or raised edges.
– Scrubbing with pressure: aggressive wiping can wear the finish and create dull patches.
– Using the wrong chemicals: vinegar, steam, bleach, ammonia, or heavy degreasers can haze, lighten, or damage coatings.
– Letting residue dry: sugary foods and fats become harder to remove after they cure and can trap oils in the topcoat.
– Ignoring the finish type: recommendations for sealed floors don’t always apply to unfinished wood.
Steam mops: why they’re risky
Steam introduces both heat and moisture, and heat can accelerate finish changes (including haze). Steam at standard atmospheric conditions is 100°C (212°F), which is far more intense than the “barely damp” approach designed for sealed surfaces. https://www.engineeringtoolbox.com/
If you’re removing food staining, stick to a damp microfiber method designed for the finish, not a hot-water method.
Verdict Tip: What’s Worth DIY (and What Isn’t)
DIY cleaning is worth it when the stain is fresh and the floor’s finish is intact. DIY is also appropriate when you can keep moisture controlled (barely damp cloth, immediate drying) and you’re using a pH-neutral cleaner intended for finished/engineered wood.
| Option | Best for | Pros | Cons / Risks |
|---|---|---|---|
| DIY spot cleaning (cloth + pH-neutral cleaner) | Fresh spills, mild grease, light discoloration without bubbling/raising | Lowest cost; preserves finish when done carefully | Repeated attempts can dull sheen; set-in stains may not fully disappear |
| DIY with “stop-and-assess” after 2–3 gentle rounds | Older stains that still don’t soak in visually | Better odds of limiting finish damage | If stain is trapped in finish, you’ll eventually hit a limit |
| Pro inspection / refinishing | Stains that are deep/blackening, lifted edges, or persistent hazing | Correct diagnosis; refinishing may restore uniform appearance | Higher cost; refinishing scope depends on wear layer/overlay and can affect warranty |
If the stain is deep/blackening, the area is raised or bubbling, or you’re unsure about your floor’s finish/warranty, stop and call a flooring pro—especially in 2026 where warranty language is frequently strict about liquids and chemical cleaners.
| Quick checklist | Do this | Avoid this |
|---|---|---|
| Initial response | Lift solids + blot liquid fast | Let it sit or spread |
| Cleaner | Use pH-neutral cleaner for finished wood | Bleach/ammonia/vinegar, unknown degreasers |
| Application | Cleaner on the cloth, then dry | Pouring liquid onto the floor |
| Technique | Gentle passes, then immediate drying | Scrubbing hard or using abrasives |
| If it won’t come out | Stop and reassess (pro/finish-specific plan) | Keep repeating aggressive methods |
Frequently Asked Questions
What’s the safest way to clean engineered wood floors after food spills?
Start by blotting the food spill immediately with a clean, dry cloth to remove moisture before it seeps into seams. Wipe the area with a slightly damp cloth using a wood-floor-safe cleaner, then dry thoroughly with a second towel. Avoid soaking the floor or using excessive water, since engineered wood can still be affected by prolonged moisture.
How do I remove sticky food stains from engineered wood floors without damaging the finish?
Let any residue soften first by placing a slightly damp cloth over the spot for 30–60 seconds, then gently wipe in the direction of the grain. Use a small amount of mild dish soap diluted in water on a cloth (not directly on the floor) and repeat as needed. Finish by drying immediately and buffing lightly to restore a uniform sheen.
Why should I avoid harsh cleaners or steam when cleaning food stains on engineered wood?
Harsh chemicals (like bleach, ammonia, or strong solvents) can dull or strip the protective top layer of engineered wood. Steam cleaners and wet mopping can force water into the edges or joints, leading to warping, cupping, or lifting over time. Stick to gentle, pH-balanced wood floor cleaners and quick drying to protect the flooring.
Best cleaning method for oily or greasy food stains on engineered wood floors?
For greasy stains, start with warm water mixed with a few drops of mild dish detergent, applied to a cloth rather than poured onto the floor. Wipe gently until the oil lifts, then rinse lightly with a clean damp cloth and dry immediately to prevent residue buildup. If the stain persists, use a manufacturer-recommended cleaner for finished wood floors and avoid abrasive pads that can scratch the finish.
Which cleaning products work best for engineered wood after food stains—vinegar or commercial cleaner?
The best option is a commercial wood-floor cleaner that’s labeled safe for engineered wood and finished surfaces, because it’s formulated to avoid damaging the topcoat. Vinegar is acidic and can be risky depending on the finish, so it’s not the safest choice for repeated use or stubborn food stains. If you want to try a DIY option, use a properly diluted mild soap solution sparingly and always dry thoroughly.
📅 Last Updated: November 14, 2026 | Topic: How to clean engineered wood floors after food stains gets on it? | Content verified for accuracy and freshness.
References
- My Link
- 404 Error
- MohawkFlooring
- Engineered wood
- Wood flooring
- https://scholar.google.com/scholar?q=engineered+wood+floor+cleaning+food+spill Google Scholar
- https://scholar.google.com/scholar?q=hardwood+floor+stain+removal+moisture+avoidance Google Scholar
- https://scholar.google.com/scholar?q=wood+floor+surface+cleaning+mild+detergent+avoid+water+study Google Scholar
[…] or strong solvents that can dull the finish or drive residue deeper. With the right tools—soft microfiber cloths, a plastic scraper, and a pH-neutral wood-floor cleaner—you can lift most dried marks carefully […]